Quick answer
Start by emptying your Everyday Deluxe planner and sorting every insert into keep, move, or remove. Then measure your first spread with a B5 Dot Grid Planner Stencil, label each section, and write only the next two weeks. This order prevents rework and keeps your setup usable from day one.
Gather your tools before you open the planner
You need a flat surface, a pencil, an eraser, and a fine-tip pen. A clear B5 Dot Grid Planner Stencil is optional but speeds up measuring. Keep a small tray for loose inserts so nothing gets lost while you sort.
Sort inserts by frequency of use, not by category
Pull every insert out of the planner. Make three piles: daily use, weekly use, and reference. Daily-use inserts go near the front, weekly-use in the middle, and reference at the back. This order matches how you actually reach for pages during a busy morning.
Measure your first spread with a stencil
Place the B5 Dot Grid Planner Stencil on a blank spread. Use the guide boxes to mark a header, a task column, and a notes column. Draw light pencil lines first, then trace with pen once you are happy with the spacing. The stencil helps you avoid counting dots and uneven lines.
Label sections with removable tabs or stickers
Write section names on small stickers or tabs and place them on the edge of each insert. If you use printable stickers, print them on matte paper so pen ink dries quickly. Labels make it obvious where to turn when you are in a hurry.
Write only the next two weeks
Fill in dates, appointments, and top tasks for the next 14 days. Leave the rest blank. This keeps the planner flexible if your schedule changes and prevents the discouragement of unused pages.
Do a two-minute daily reset
At the end of each day, close the planner and spend two minutes moving unfinished tasks to tomorrow. Then put the planner back in the same spot. A consistent reset keeps the system from collapsing into a pile of loose notes.
Everyday Deluxe setup steps
- Empty and sort: Remove all inserts and sort into daily, weekly, and reference piles. Checkpoint: if a pile has fewer than three items, merge it with the next pile.
- Measure with a stencil: Use the B5 Dot Grid Planner Stencil to mark a header, task column, and notes column on your first spread. Common mistake: pressing too hard with pencil; use light strokes so you can erase without ghosting.
- Label and load: Add tabs or stickers to each section, then place inserts in daily, weekly, reference order. Checkpoint: flip through the planner with your eyes closed; you should feel the tabs guide you.
- Write two weeks: Fill in dates and top tasks for the next 14 days only. Common mistake: filling a full month; leaving blank pages causes guilt and wasted space.
- Reset daily: Spend two minutes each evening moving unfinished tasks forward and returning the planner to its spot. Next step: after one week, review which sections you actually used and remove the rest.
Tools that support this setup
- B5 Dot Grid Planner Stencil: Clear B5 Dot Grid Planning Stencil with guide boxes and shapes, made from thicker plastic for precise outlines. Lets you mark consistent headers and columns without counting dots, so your first spread looks intentional.
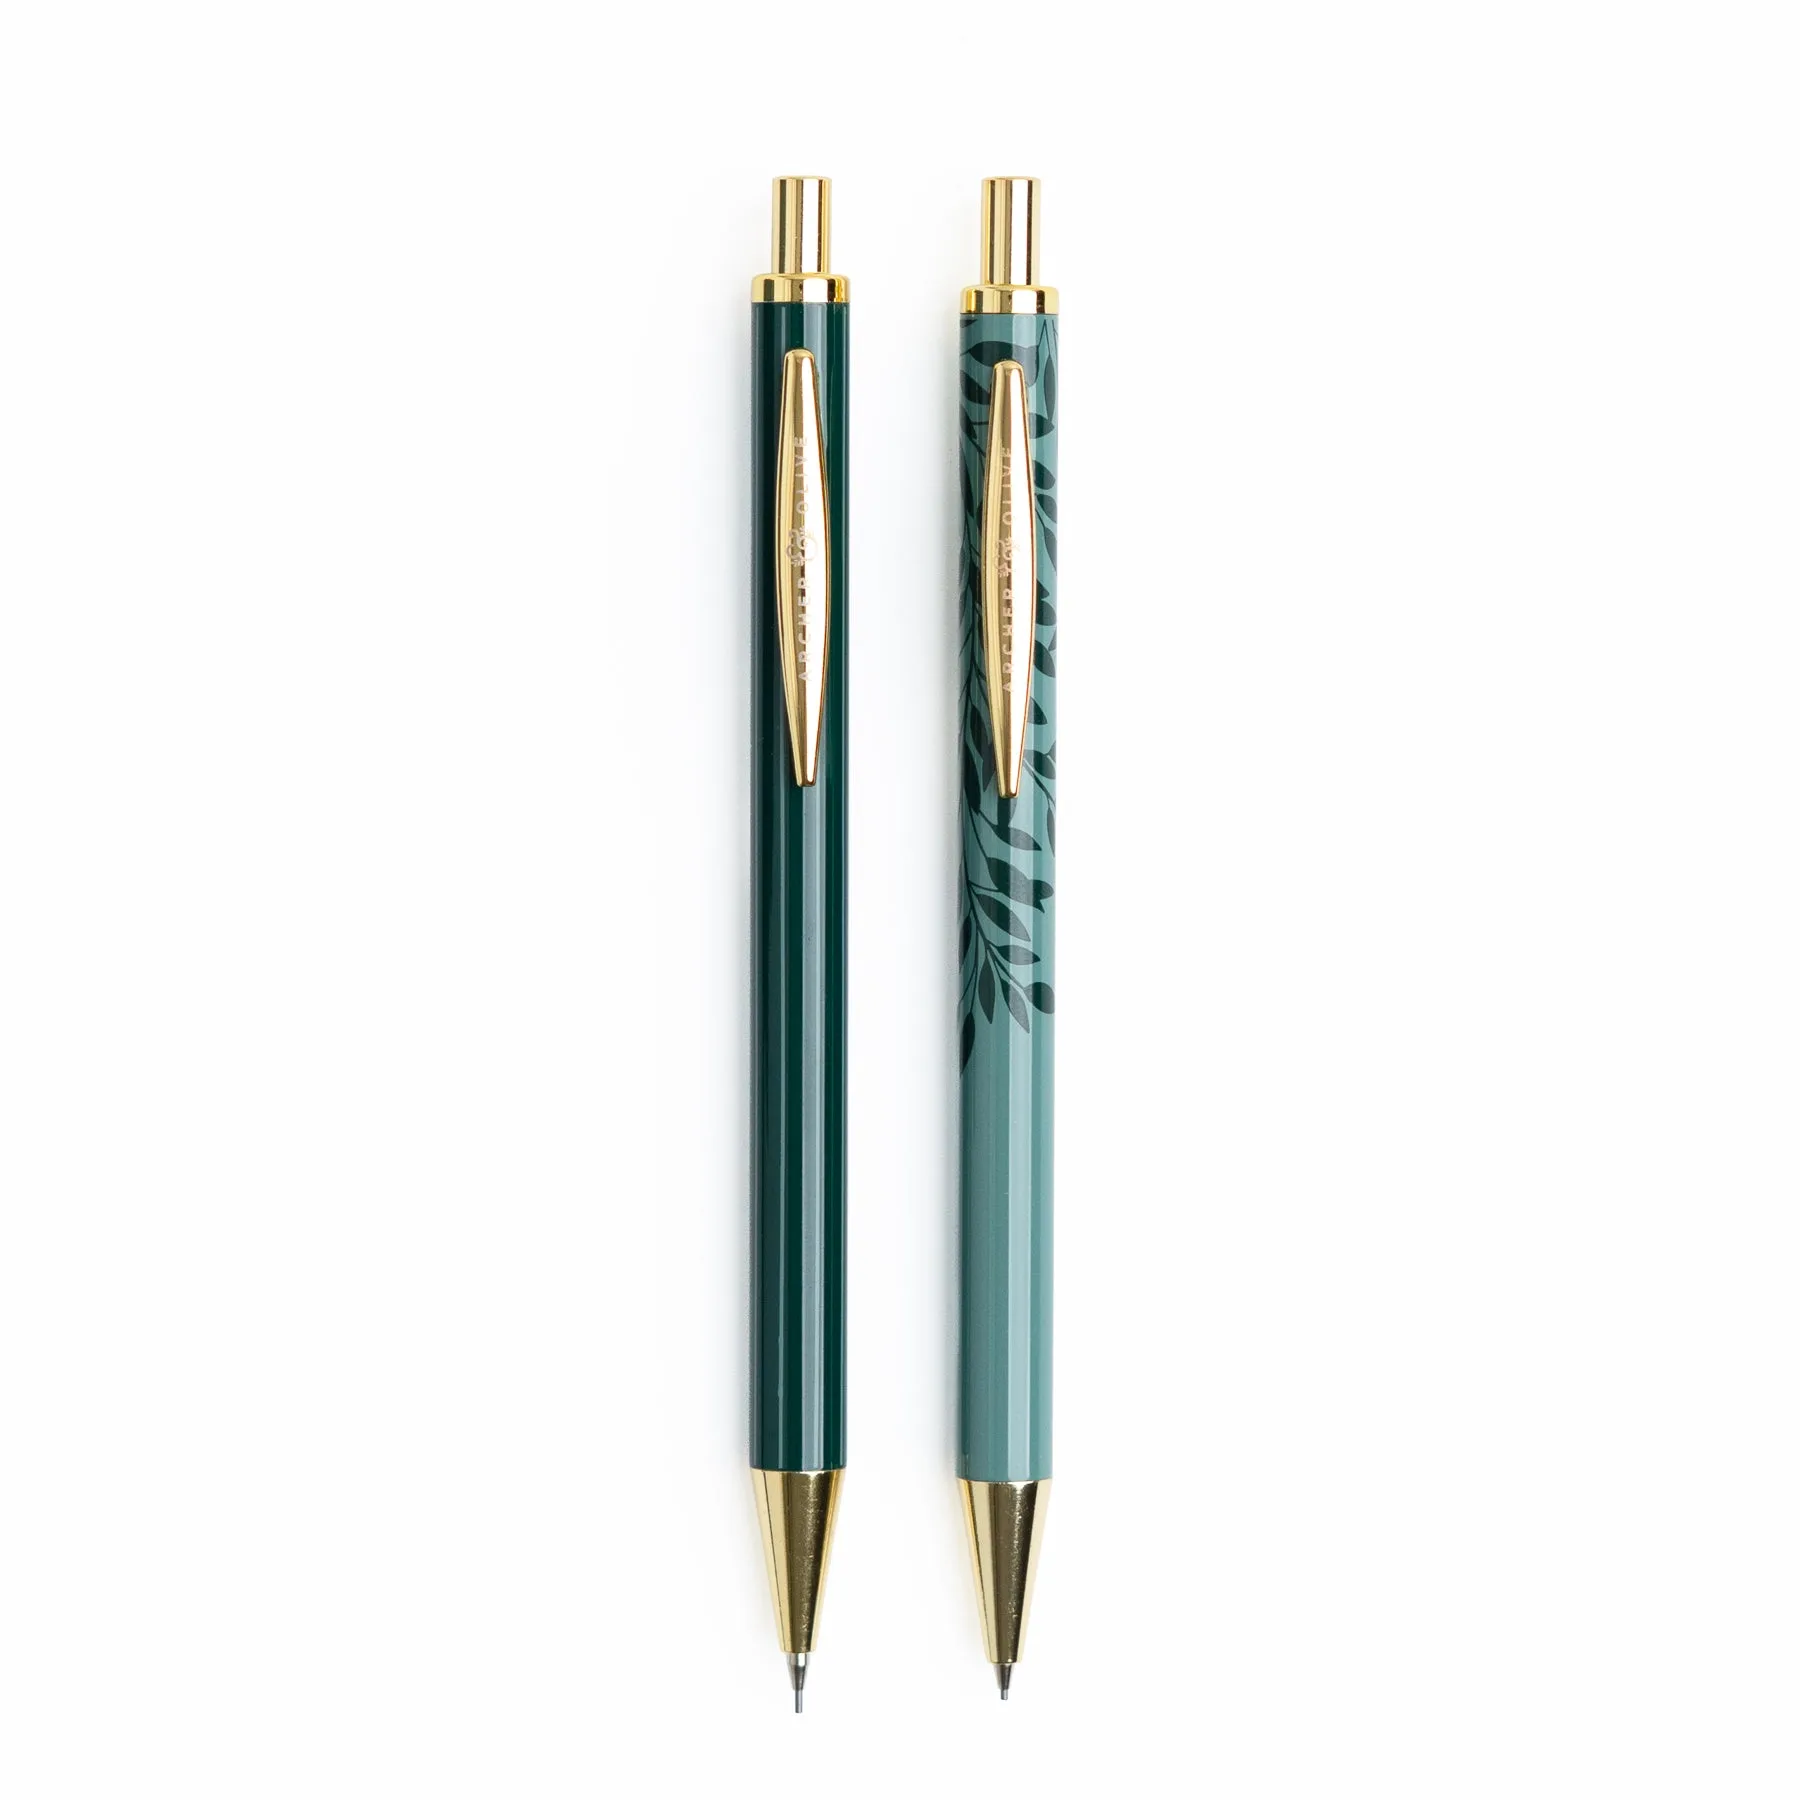
- Ballpoint Pens | Set of 2: Set of two ballpoint pens with blue floral designs and gold accents. A dedicated pen pair stays with the planner, so you are never searching for something to write with during your daily reset.