Quick answer
To set up the EXPRESS Wireless Car Charger (Gen 2), pick a mount spot that keeps the phone in your line of sight without blocking controls, connect the charger to a stable power source, then place your phone so its charging coil lines up with the charger's center. Test it on a short drive before trusting it for a long trip. The most common mistake is mounting too low or too far left, which forces you to look away from the road to check alignment.
Choose a mount location that works with your car, not against it
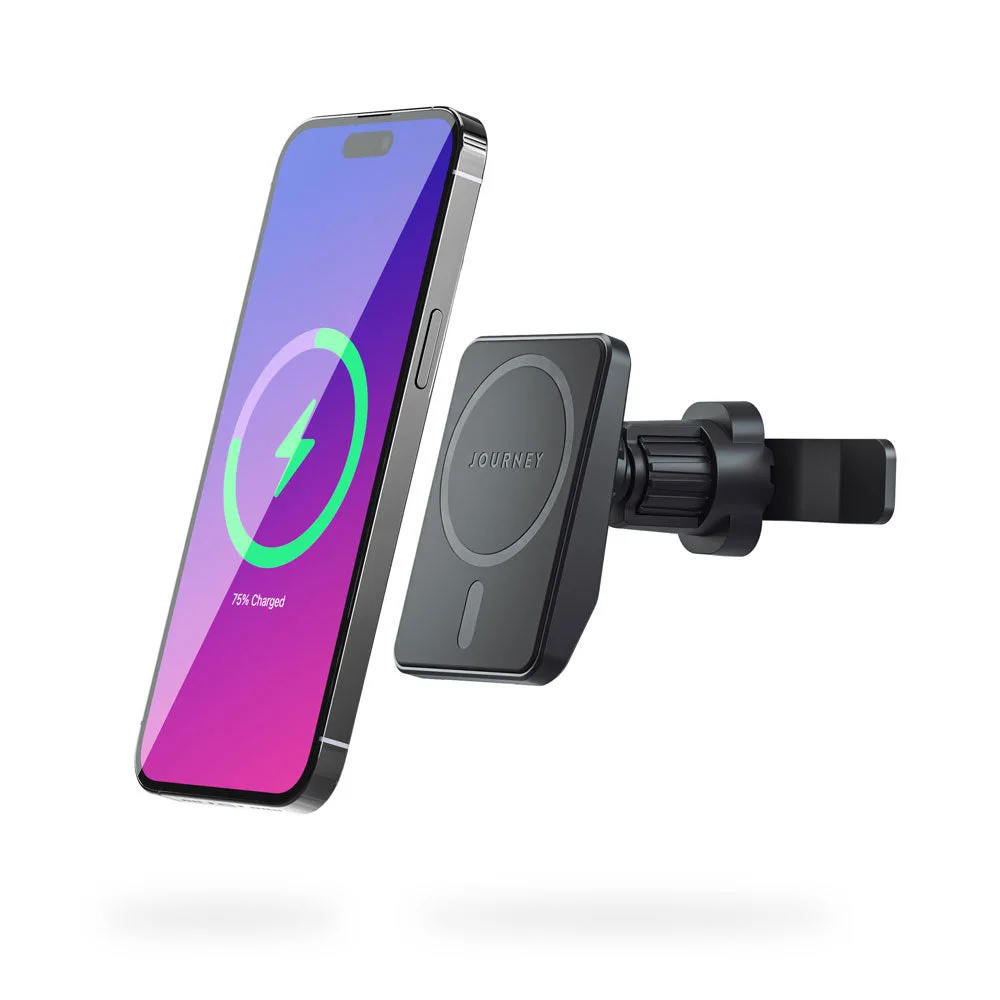
The EXPRESS Wireless Car Charger (Gen 2) is a car-mounted wireless charger, so where you put it determines how easy it is to use. Aim for a spot where the phone sits roughly at dashboard height and within easy reach. Avoid positions directly in front of airbags, over buttons you use often, or behind the steering wheel where the phone can block your view of the instrument cluster.
If your car has a deep or curved dashboard, check that the mount's attachment surface is flat enough to hold. Vent mounts work well in many cars, but vents with thin or flexible slats may not support the charger plus a phone without sagging. Test the mount empty first, then with your phone, before you commit to a location.
- Keep the phone screen visible without turning your head far from the road.
- Leave room for a charging cable to reach the charger without pulling tight.
- Avoid spots where direct sun hits the phone for long periods, which can cause heat-related charging slowdowns.
Connect power and manage the cable before mounting
Plug the charger into a power source that stays on while the engine runs. A USB port that cuts power when the car is off is fine, but a port that only works with the ignition on is better for avoiding battery drain. Route the cable behind trim or along a seam so it does not hang across the dashboard or catch on your hands while driving.
Once power is connected, confirm the charger's indicator light comes on, if your unit has one. If nothing happens, try a different port or cable before assuming the charger is faulty. Many wireless car chargers need a certain amount of power to start, and a weak port or thin cable can prevent charging even when the phone is aligned correctly.
Align your phone for consistent wireless car charging
Wireless charging depends on the phone's charging coil sitting close to the charger's coil. On most phones, the coil is near the center of the back, but cases and camera bumps can shift the sweet spot. Place the phone flat against the charger and slide it slightly until charging starts, then note that position.
If your phone charges for a moment and then stops, it is usually a sign of misalignment or a case that is too thick. Remove the case and try again. If it works without the case, look for a thinner case or a magnetic ring accessory that helps the phone snap into the right spot. The EXPRESS Gen 2 does not include a magnetic alignment system in the supplied catalog details, so alignment is manual.
- Center the phone on the charger rather than letting it rest on the bottom edge.
- Check that the phone is not resting on a camera bump that lifts the coil away from the charger.
- Recheck alignment after bumps or sharp turns, since the phone can shift.
Test the setup on a short drive before you rely on it
After mounting and aligning, take a five-minute drive and watch whether charging continues. Stop-and-go traffic, rough roads, and temperature changes can all affect contact. If charging stops repeatedly, adjust the mount angle so the phone sits more securely, or move the mount to a spot with less vibration.
Also check that the phone does not overheat. Wireless charging generates some heat, and direct sun or a thick case can make it worse. If the phone feels hot and charging slows, move the mount out of direct sun or remove the case during charging.
Setup steps
- Pick the mount location: Hold the charger in a few spots with your phone attached. Choose one that keeps the screen visible without blocking buttons, vents, or airbags. Checkpoint: you should be able to glance at the phone without moving your head far from the road.
- Attach the mount securely: Clean the surface if using an adhesive mount, or tighten the vent clip if using a vent mount. Press firmly and let adhesive mounts set before adding the phone's weight. Common mistake: mounting on a curved or textured surface that lets the adhesive fail later.
- Connect power and route the cable: Plug the charger into a port that stays powered while driving. Tuck the cable behind trim so it does not hang loose. Checkpoint: the charger should power on before you place the phone.
- Align the phone and start charging: Place the phone flat against the charger and slide it until charging begins. Note the position so you can repeat it. Common mistake: leaving a thick case on and assuming the charger is broken when it is actually a distance issue.
- Test on a short drive: Drive for a few minutes over normal roads. Watch for charging interruptions or heat buildup. Next step: if charging stops, adjust the mount angle or move the mount to a less vibration-prone spot.
Product facts
- EXPRESS Wireless Car Charger (Gen 2): Car-mounted design for hands-free use while driving. This means you can mount it where the phone is visible and reachable, but you still need to choose a location that does not block your view or controls.
- EXPRESS Wireless Car Charger (Gen 2): Wireless charging functionality for compatible smartphones. Your phone must support wireless charging; if it does not, this charger will not work without a compatible receiver accessory.
- EXPRESS Wireless Car Charger (Gen 2): Gen 2 model from the EXPRESS line. If you owned the first generation, the mounting and alignment process is similar, but check the included parts because attachments can change between generations.