Quick Answer
To get the most from the Faewild Sea mat, build your terrain in layers: start with the mat as your base, add low features for cover, then tall pieces for line-of-sight blocking, and always test placement before the game starts.
Why the Mat's Design Matters for Tactics
The Faewild Sea mat's vibrant, detailed artwork isn't just for looks—it helps you visualize the battlefield. The shoreline and fantastical elements can inspire terrain placement that feels natural and strategic.
Because the mat is printed on ultra-durable heavy weight matte banner material, it lies flat and stays put during play. That means you can build terrain directly on top without worrying about shifting or sliding, which is essential for games that last hours.
Terrain Layering: A Simple Framework
Instead of placing terrain randomly, think in three layers: ground cover (low obstacles like rocks or bushes), mid-height (walls or ruins), and high (towers or trees). This creates interesting sight lines and movement choices.
The mat's artwork can guide your placement—put low features near the shoreline, mid-height pieces around the central areas, and high terrain on the flanks. This keeps the board balanced and visually coherent.
Step-by-Step Terrain Setup for the Faewild Sea Mat
- Unroll and flatten the mat: Lay the mat on a clean, flat surface and let it settle for a few minutes. If it curls at the edges, place a few books or weights on the corners temporarily. Check that the mat lies completely flat before placing any terrain—curled edges can cause pieces to topple.
- Plan your terrain zones: Look at the mat's artwork and decide where the main engagement areas will be. Use the shoreline as a natural boundary or a route to flank, and mark central zones for objective placement. Avoid placing objectives in corners—this encourages static play. Instead, put them near the center or along the shoreline to force movement.
- Place low terrain first: Add low obstacles like rocks, bushes, or crates to provide cover for infantry. Space them so they create lanes of movement but don't block all line of sight. A common mistake is to over-clutter low terrain. Leave gaps so units can move without being funneled into a single path.
- Add mid-height and high terrain: Place walls, ruins, or trees to block line of sight and create elevation advantages. Ensure that high terrain doesn't dominate the board—players should have multiple ways to approach. Test that at least one firing lane remains open from each deployment zone to the center, so ranged units aren't useless.
- Do a final walkaround: Walk around the table and check sight lines from each deployment zone. Adjust any terrain that creates an unfair advantage or blocks critical paths. If a player has no clear path to an objective, move a piece of terrain to open a route. Balance is more important than perfect aesthetics.
Product Spotlight
-
Faewild Sea Tabletop Wargaming Play Mat: The Faewild Sea mat features a vibrant, scratch-resistant design printed on ultra-durable heavy weight matte banner material. This means the mat can handle repeated terrain placement and movement without visible wear, so you can focus on tactics rather than worrying about damaging your surface.
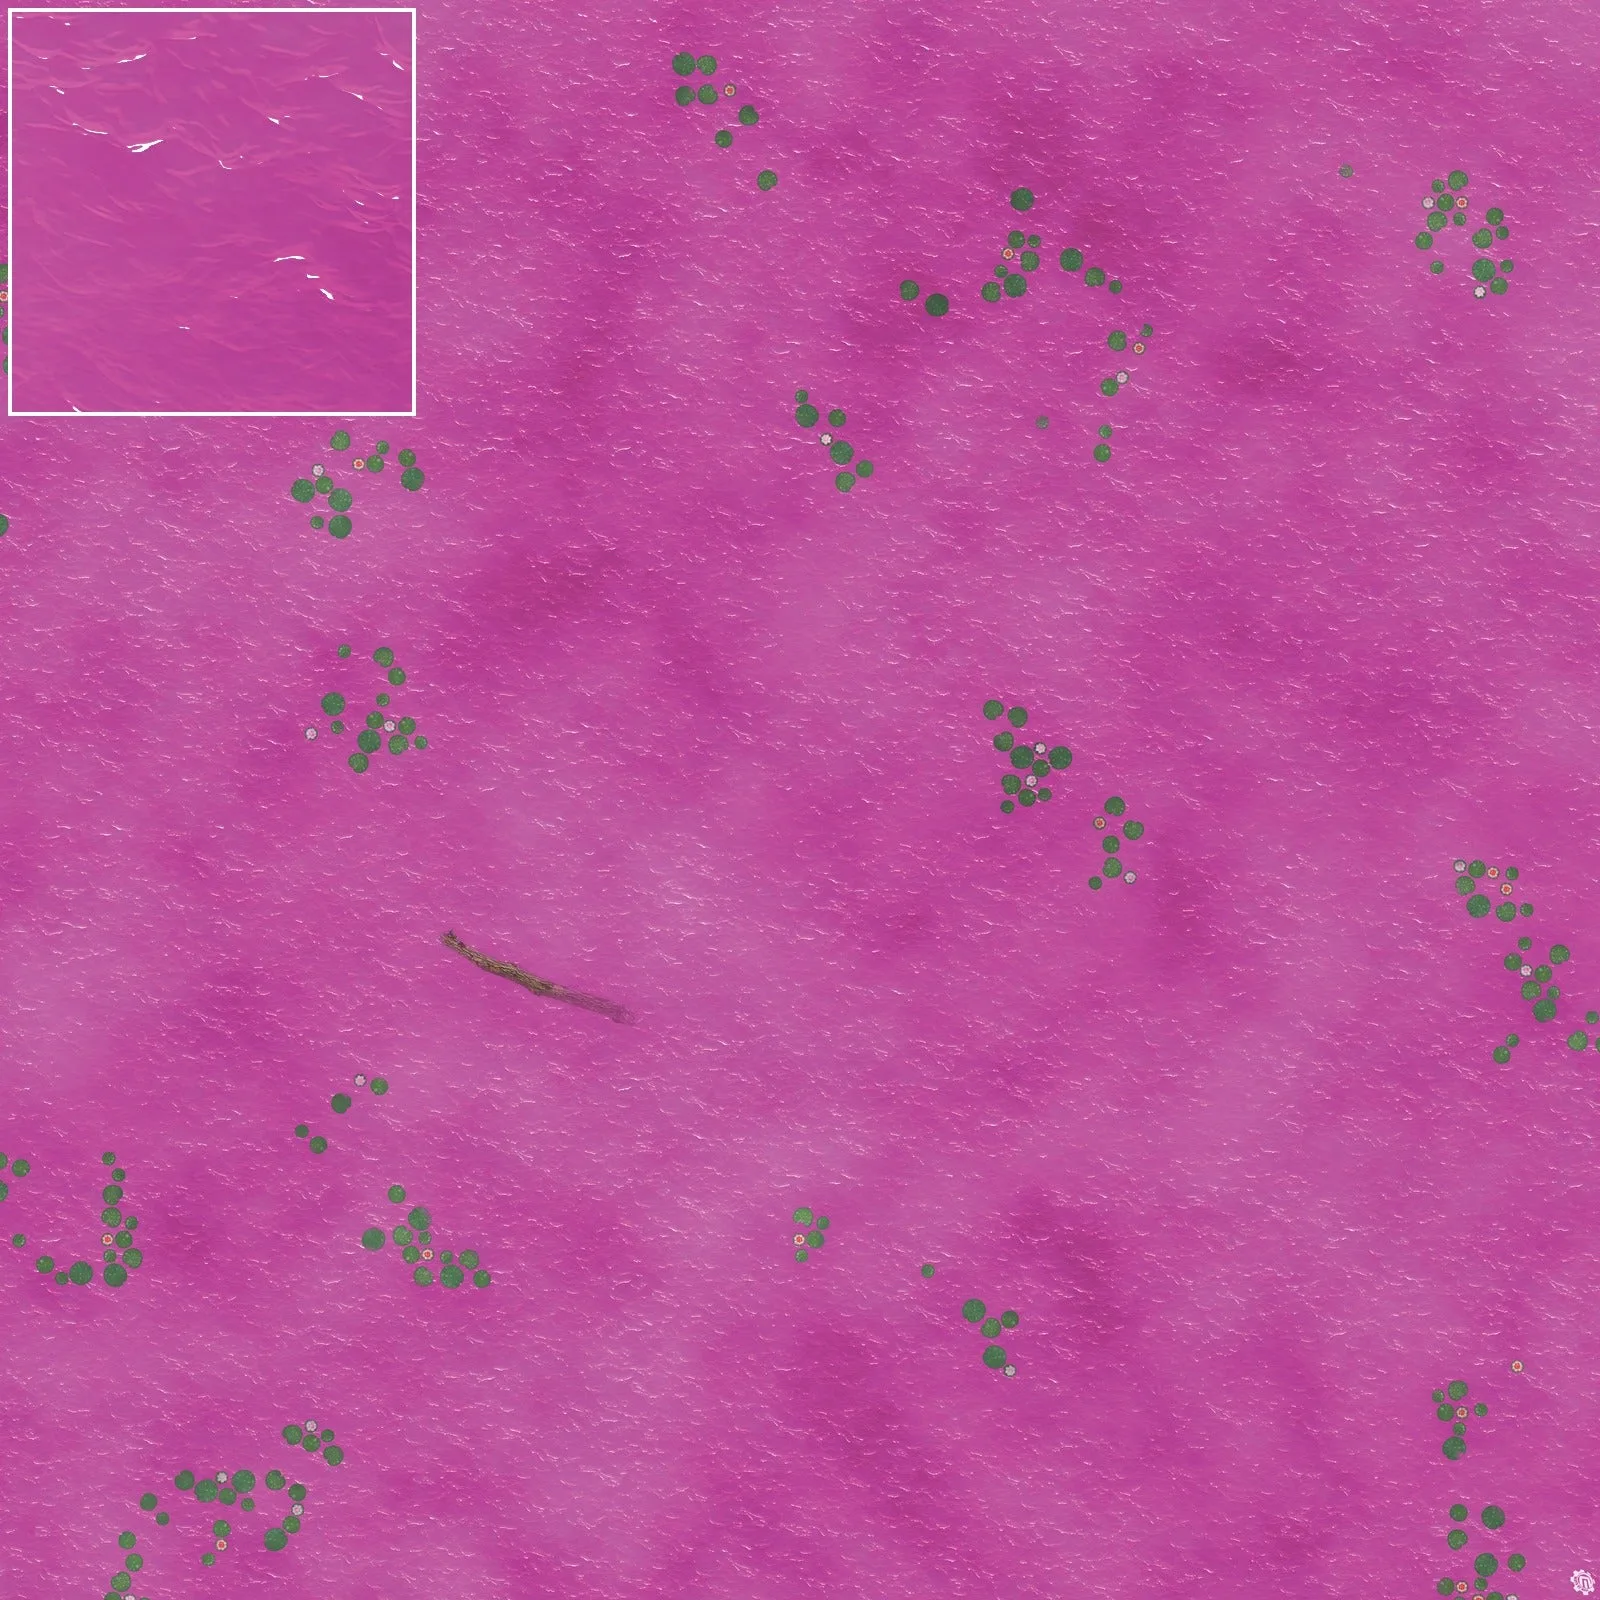
Faewild Sea Tabletop Wargaming Play Mat