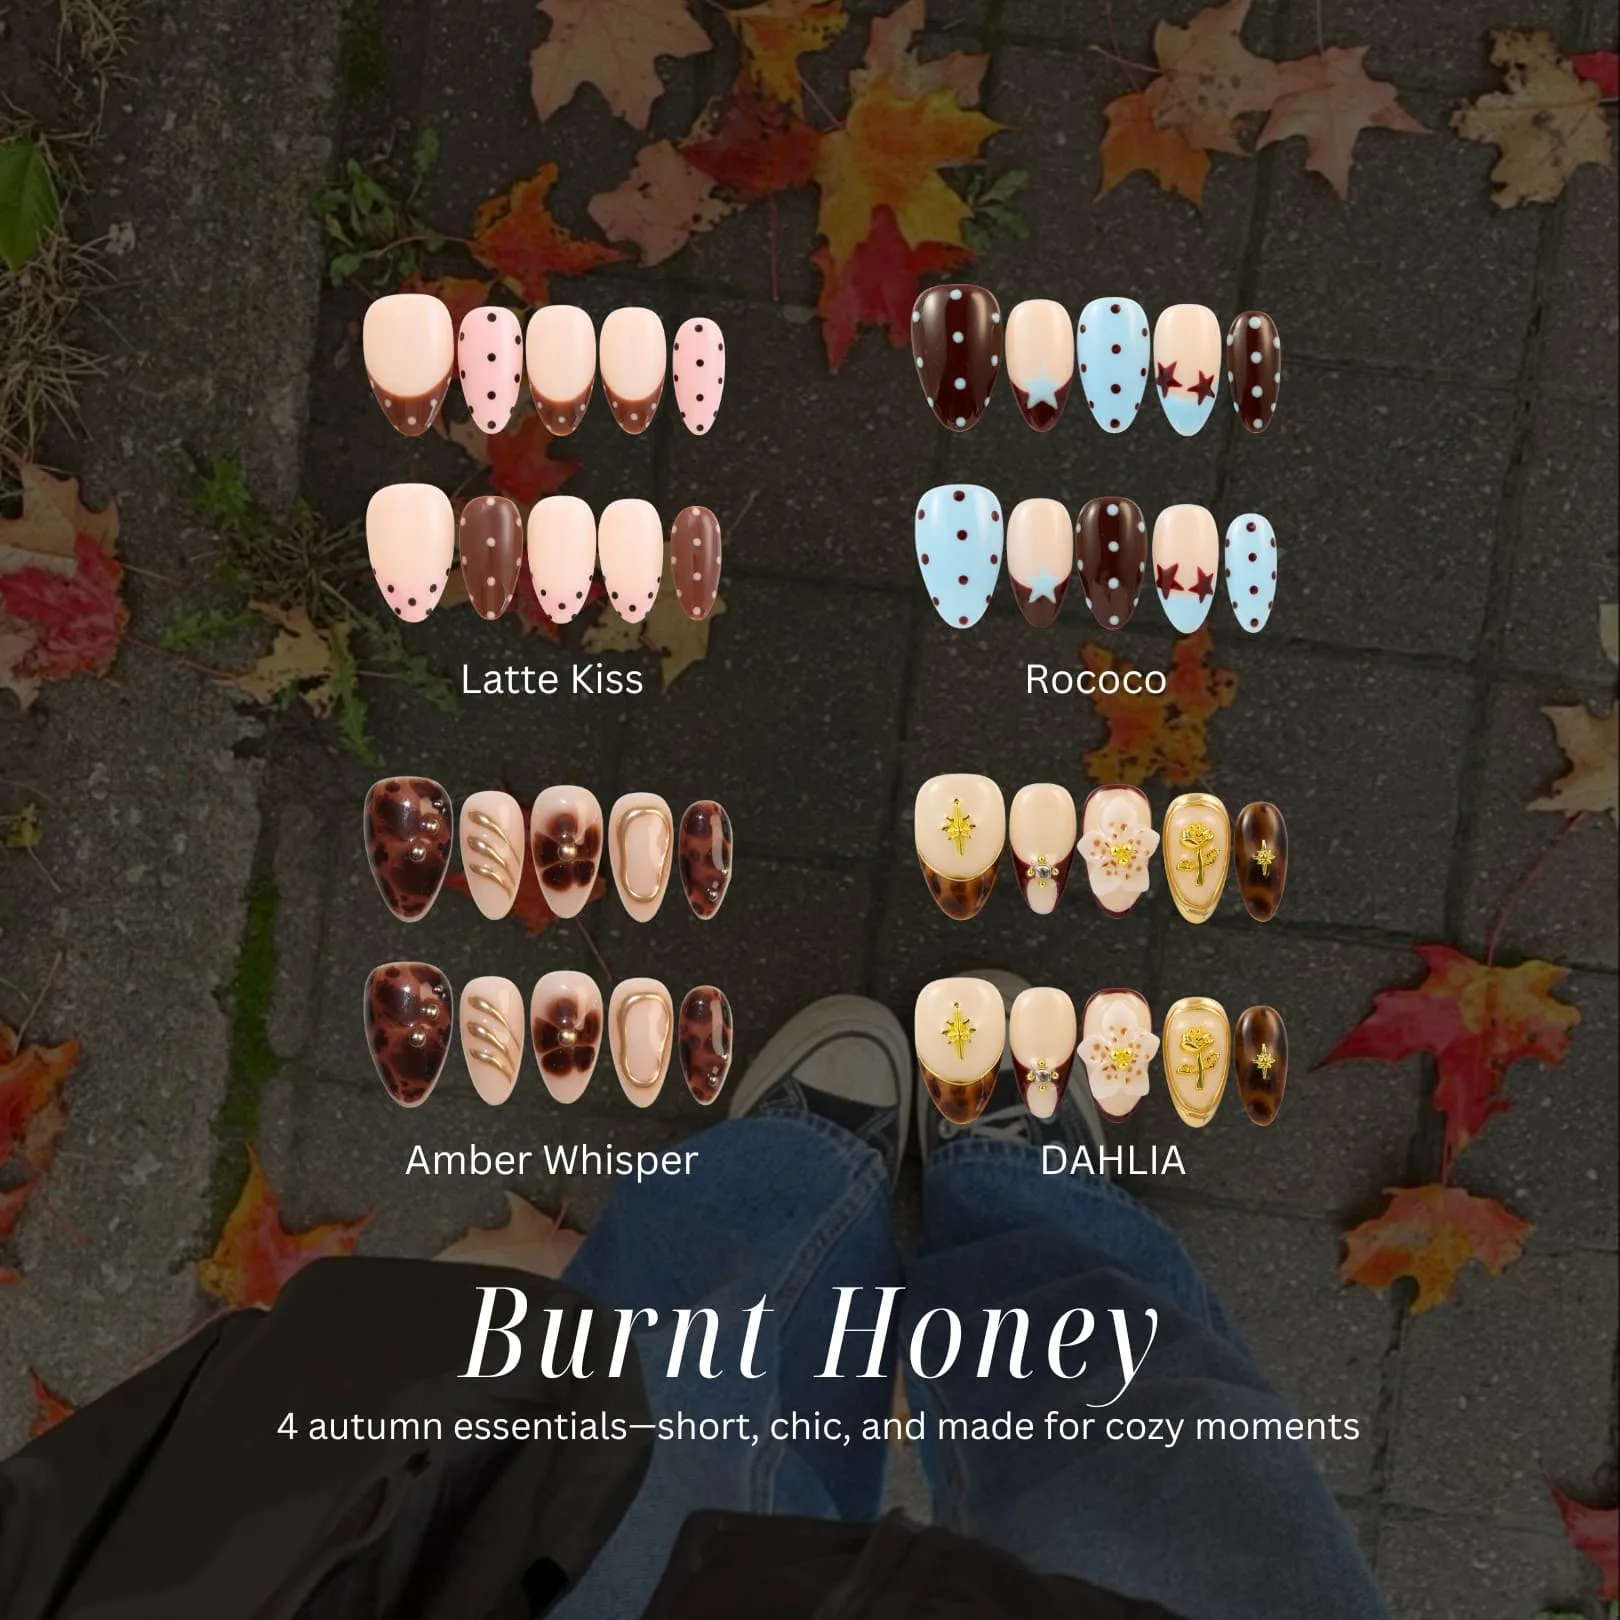
Quick answer
Buy one medium-length set with a simple, single-finish design and a shape close to your natural nail bed, plus a basic prep kit (nail file, cuticle stick, alcohol wipe, and nail glue or adhesive tabs). Skip long stiletto shapes, heavy 3D charms, and multi-pack hauls until you have applied one set successfully. A medium almond or short square set is the easiest starting point, and one well-applied set will teach you more than five unopened boxes.
Start with shape and length, not design
The biggest beginner mistake is choosing the flashiest design first. Shape and length determine how hard a set is to apply and how long it stays on. Short to medium lengths sit closer to your natural nail, so there is less free edge to catch on things, and the press-on is less likely to lift at the cuticle. Long stiletto or coffin shapes look dramatic but put more leverage on the adhesive every time you type, open a drawer, or pull on a jacket.
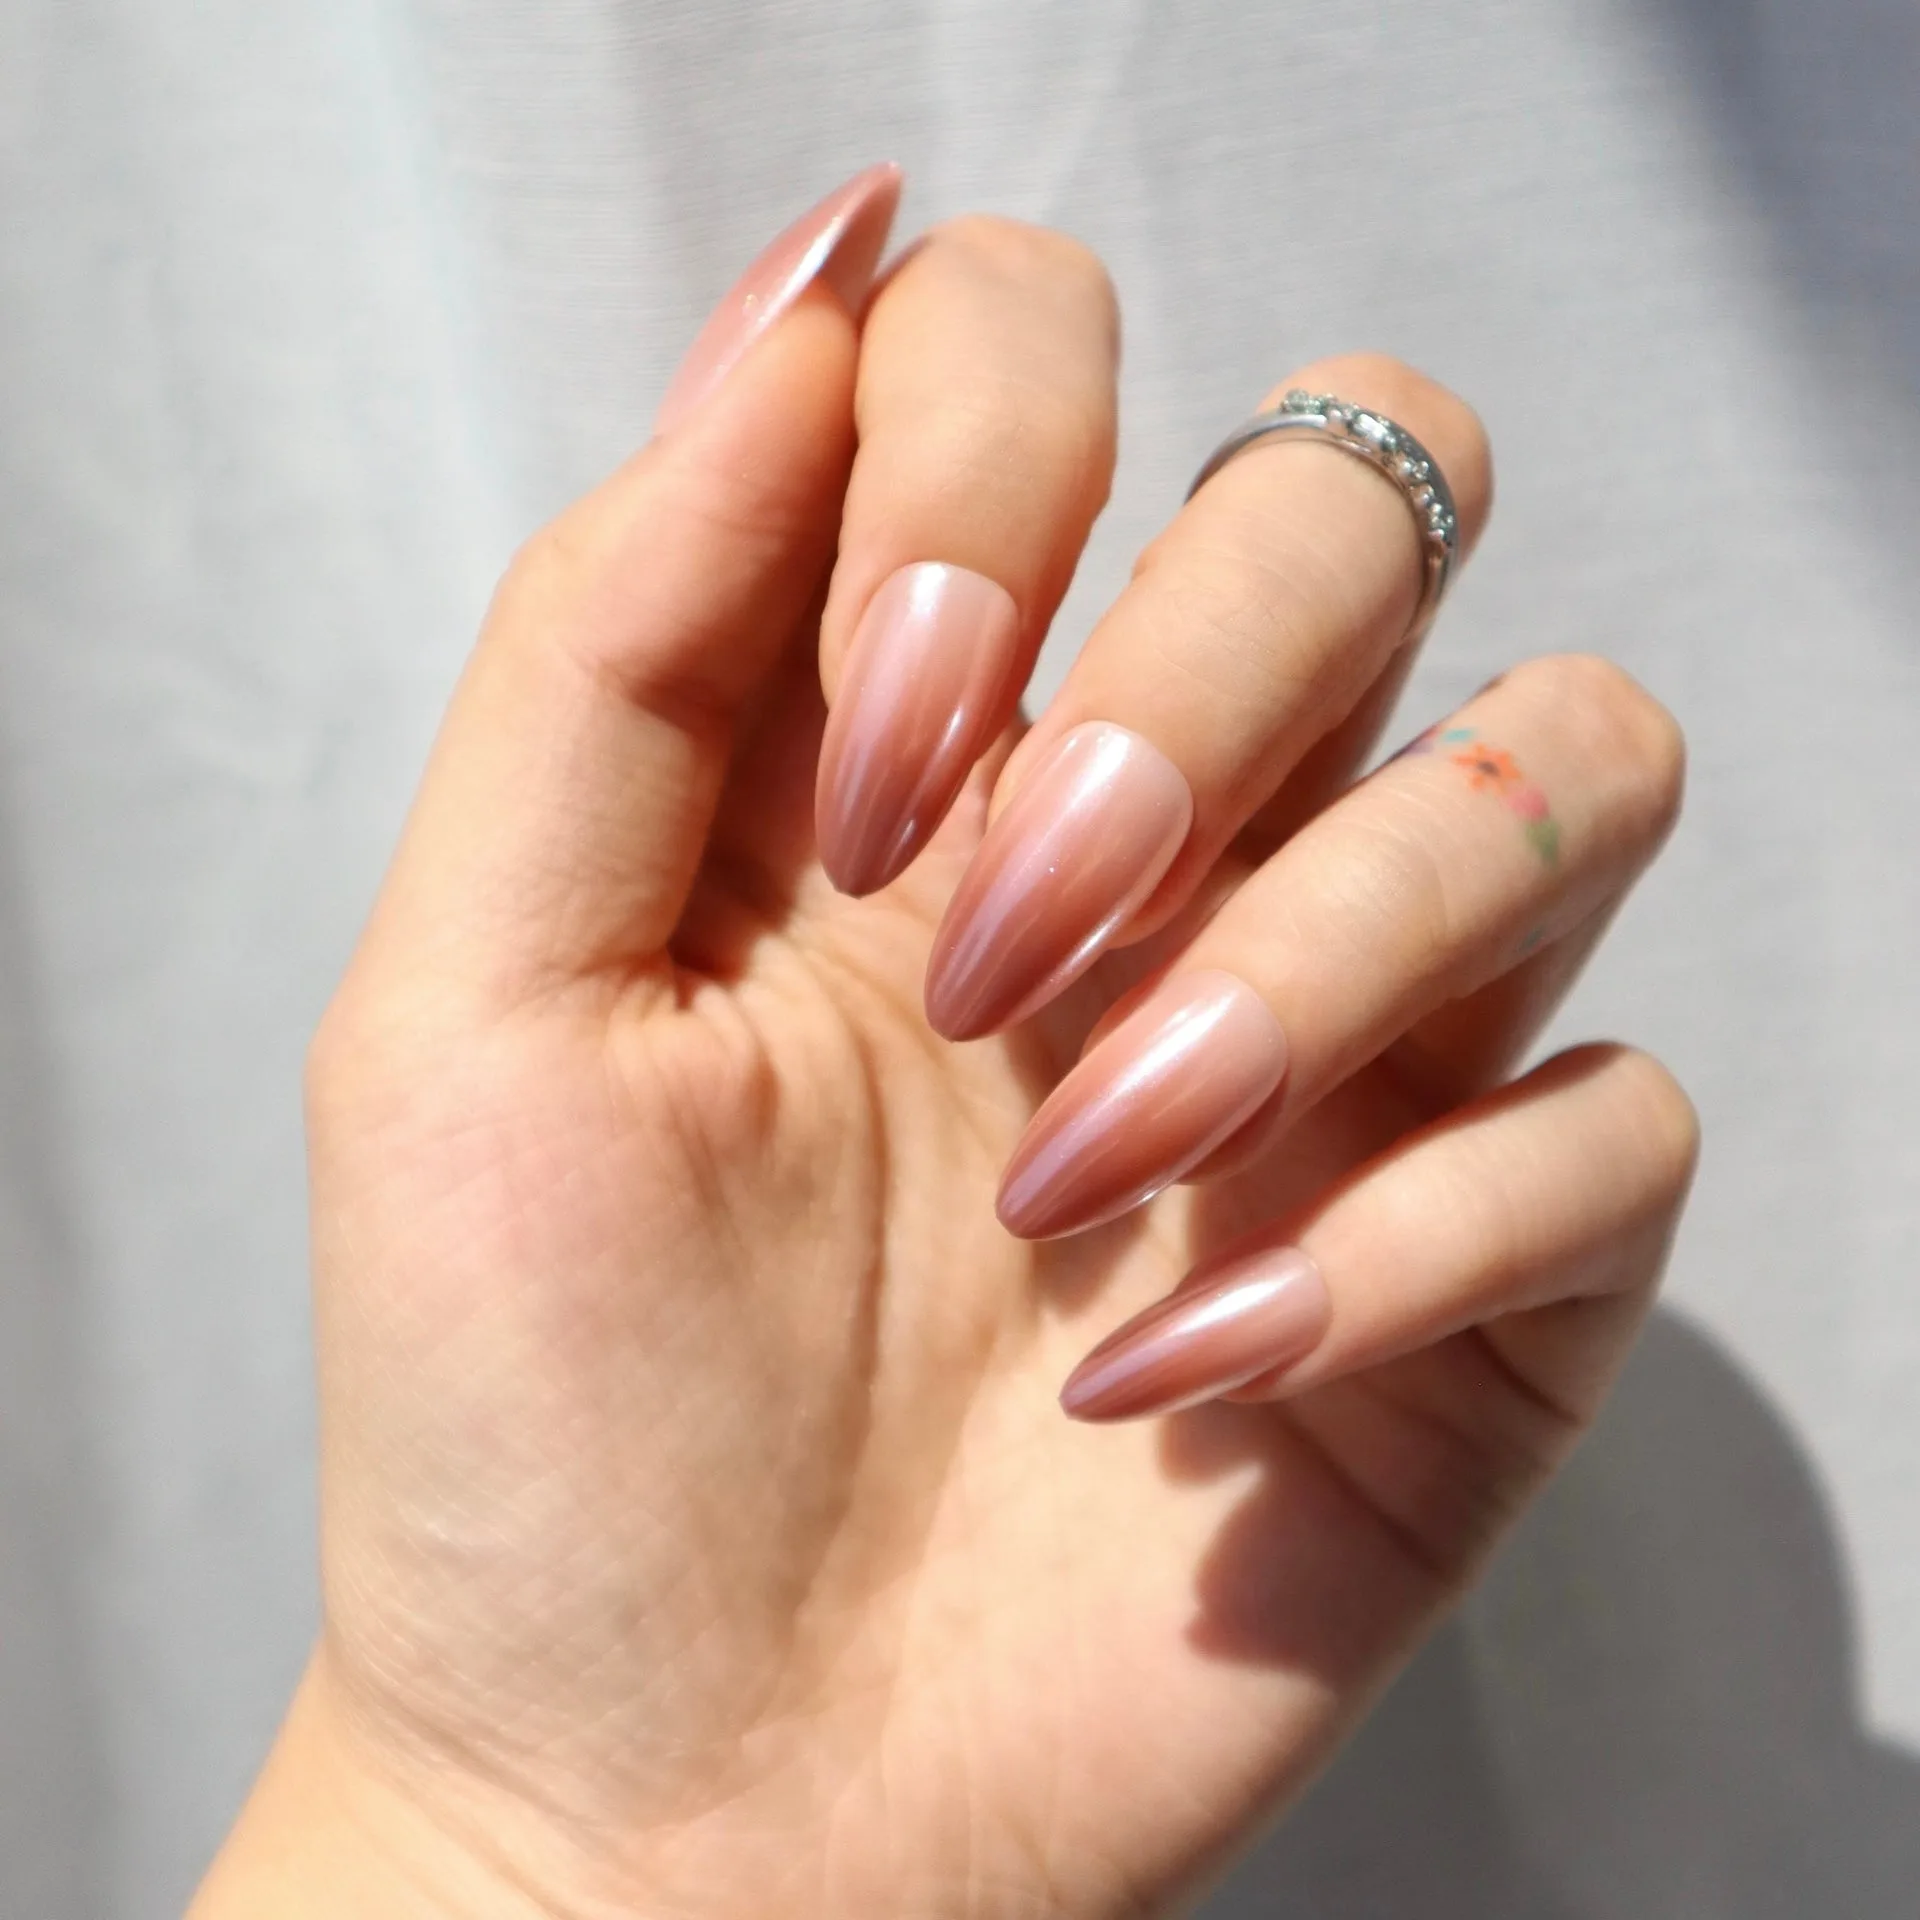
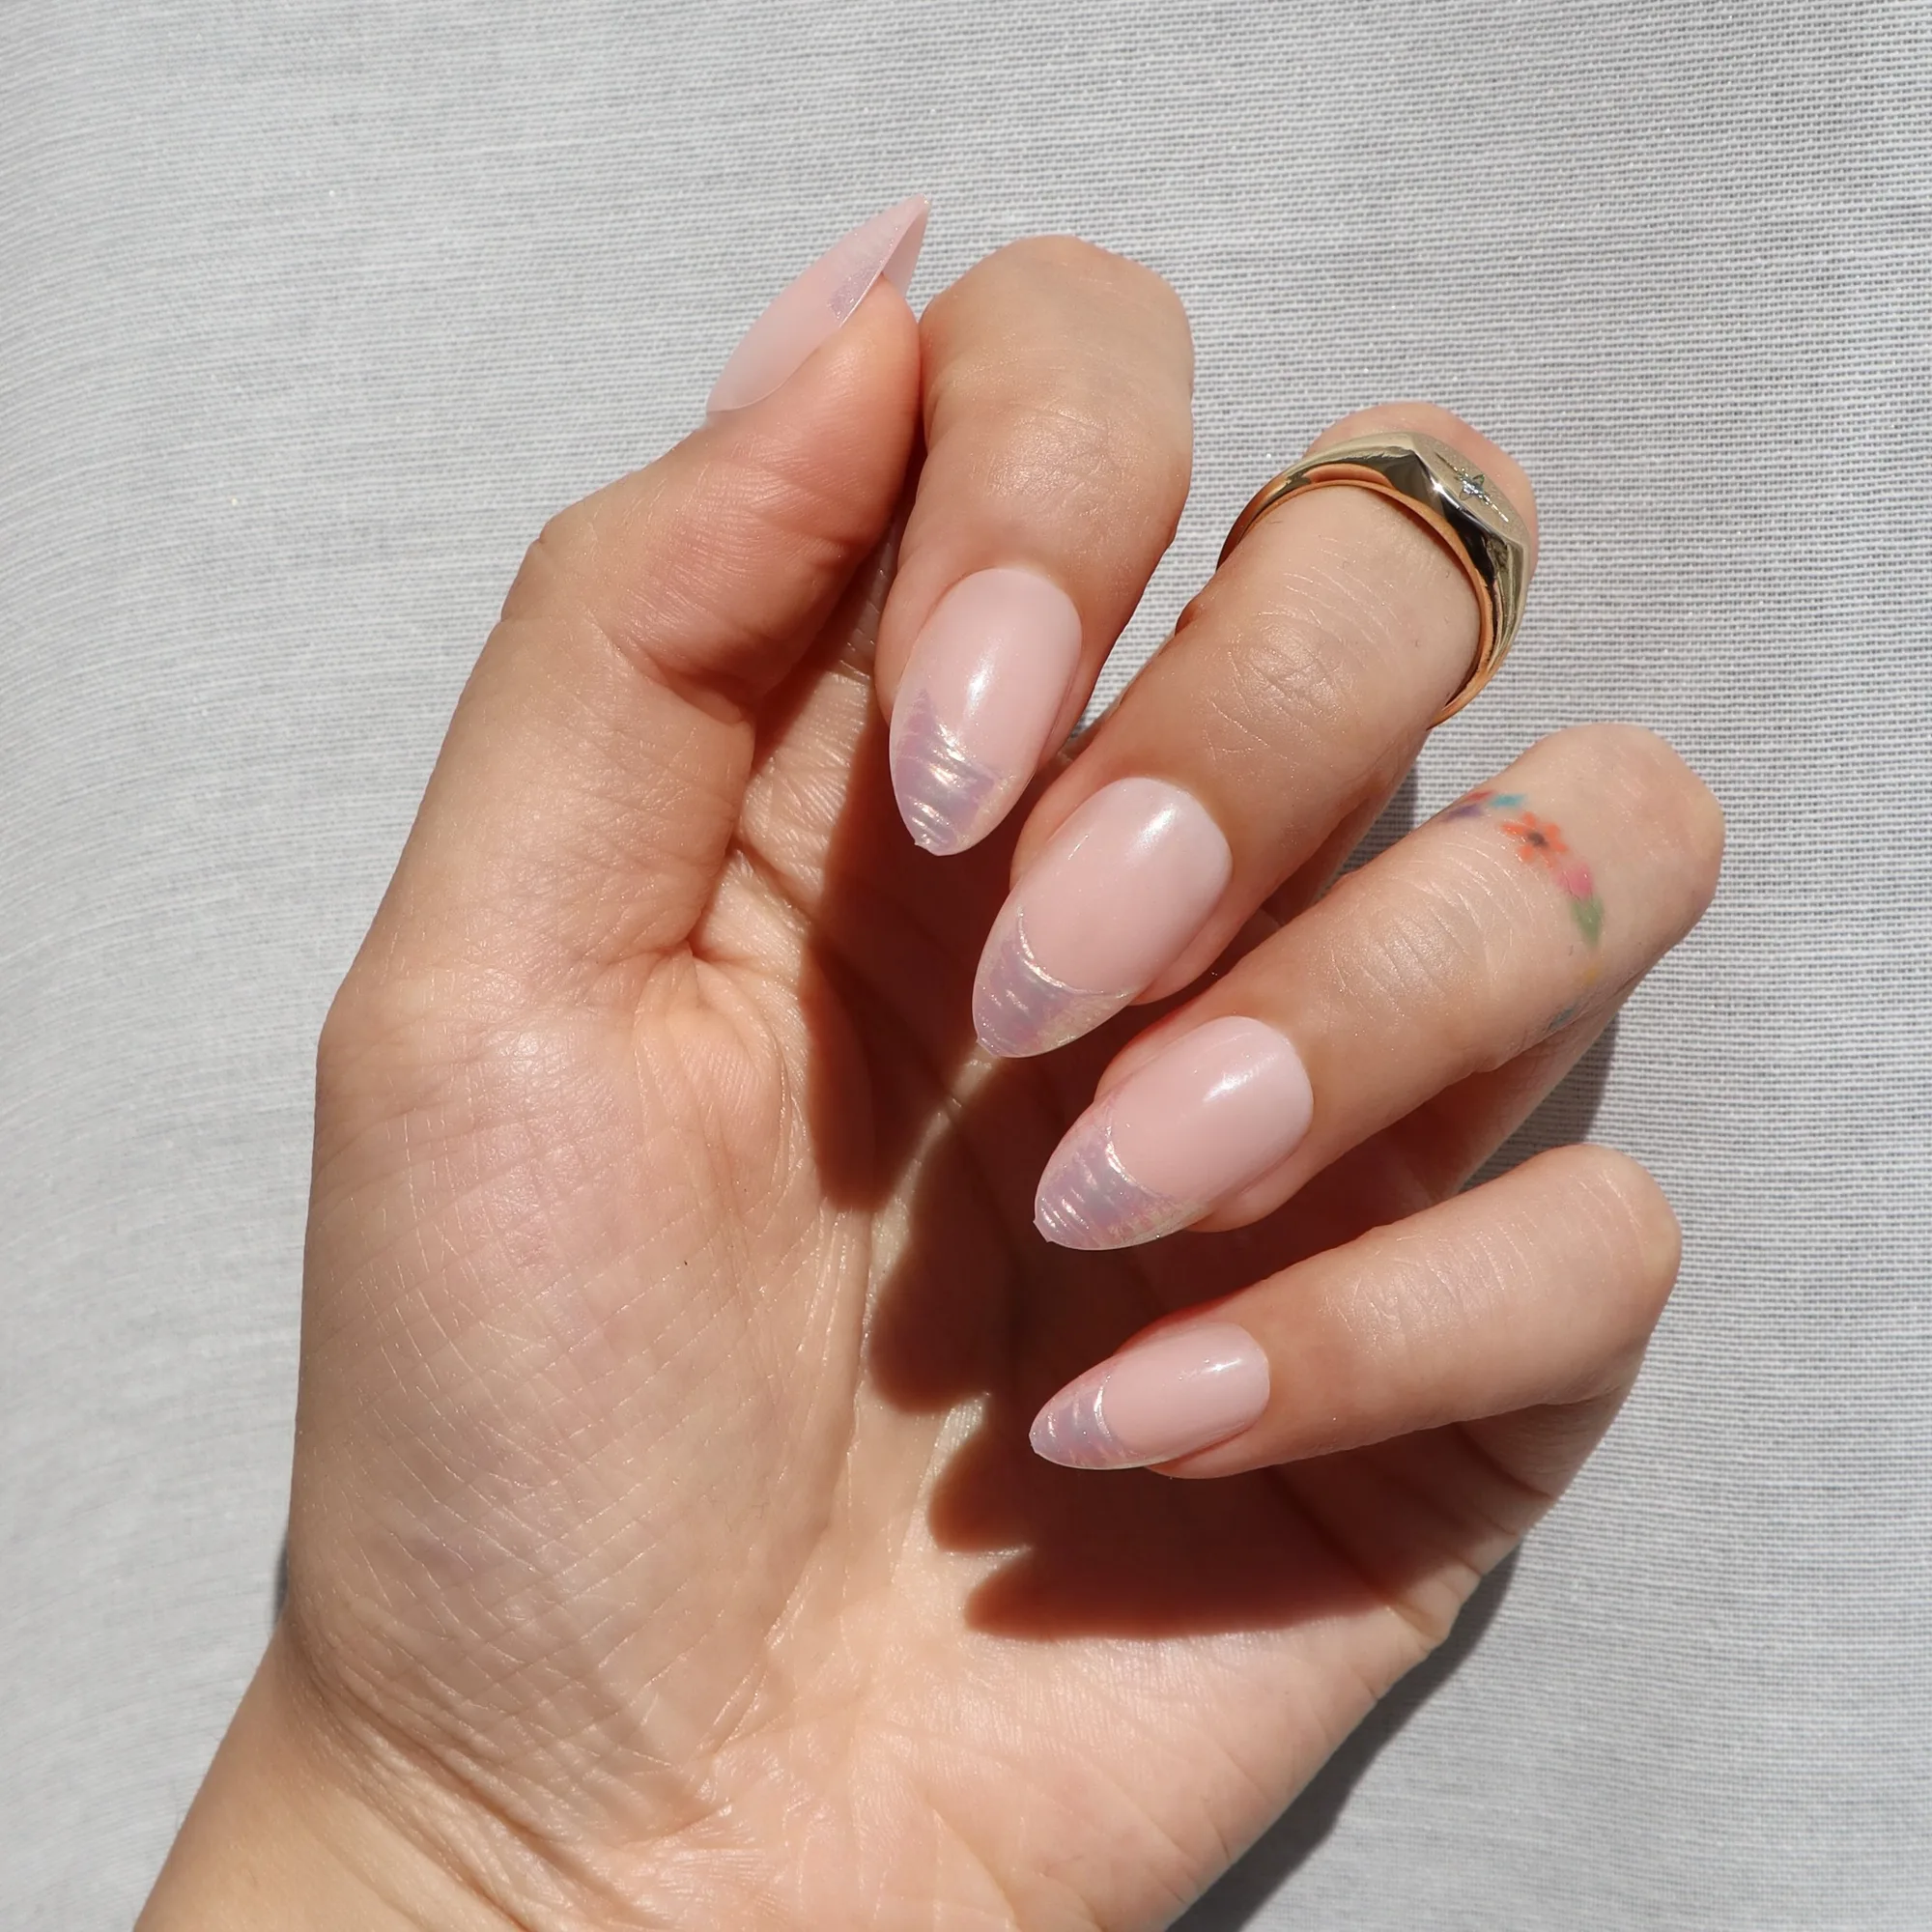
As a rule, pick a shape that mirrors your natural nail bed. If your nails are wide and short, a square or squoval press-on will sit flush; if they are narrower, an almond or oval shape follows the curve more naturally. A shape that is too wide will overhang the sides and peel; too narrow leaves a visible gap at the edges. Medium almond is the most forgiving starting shape because it has a soft curve and moderate length.
Pick a design that hides beginner mistakes
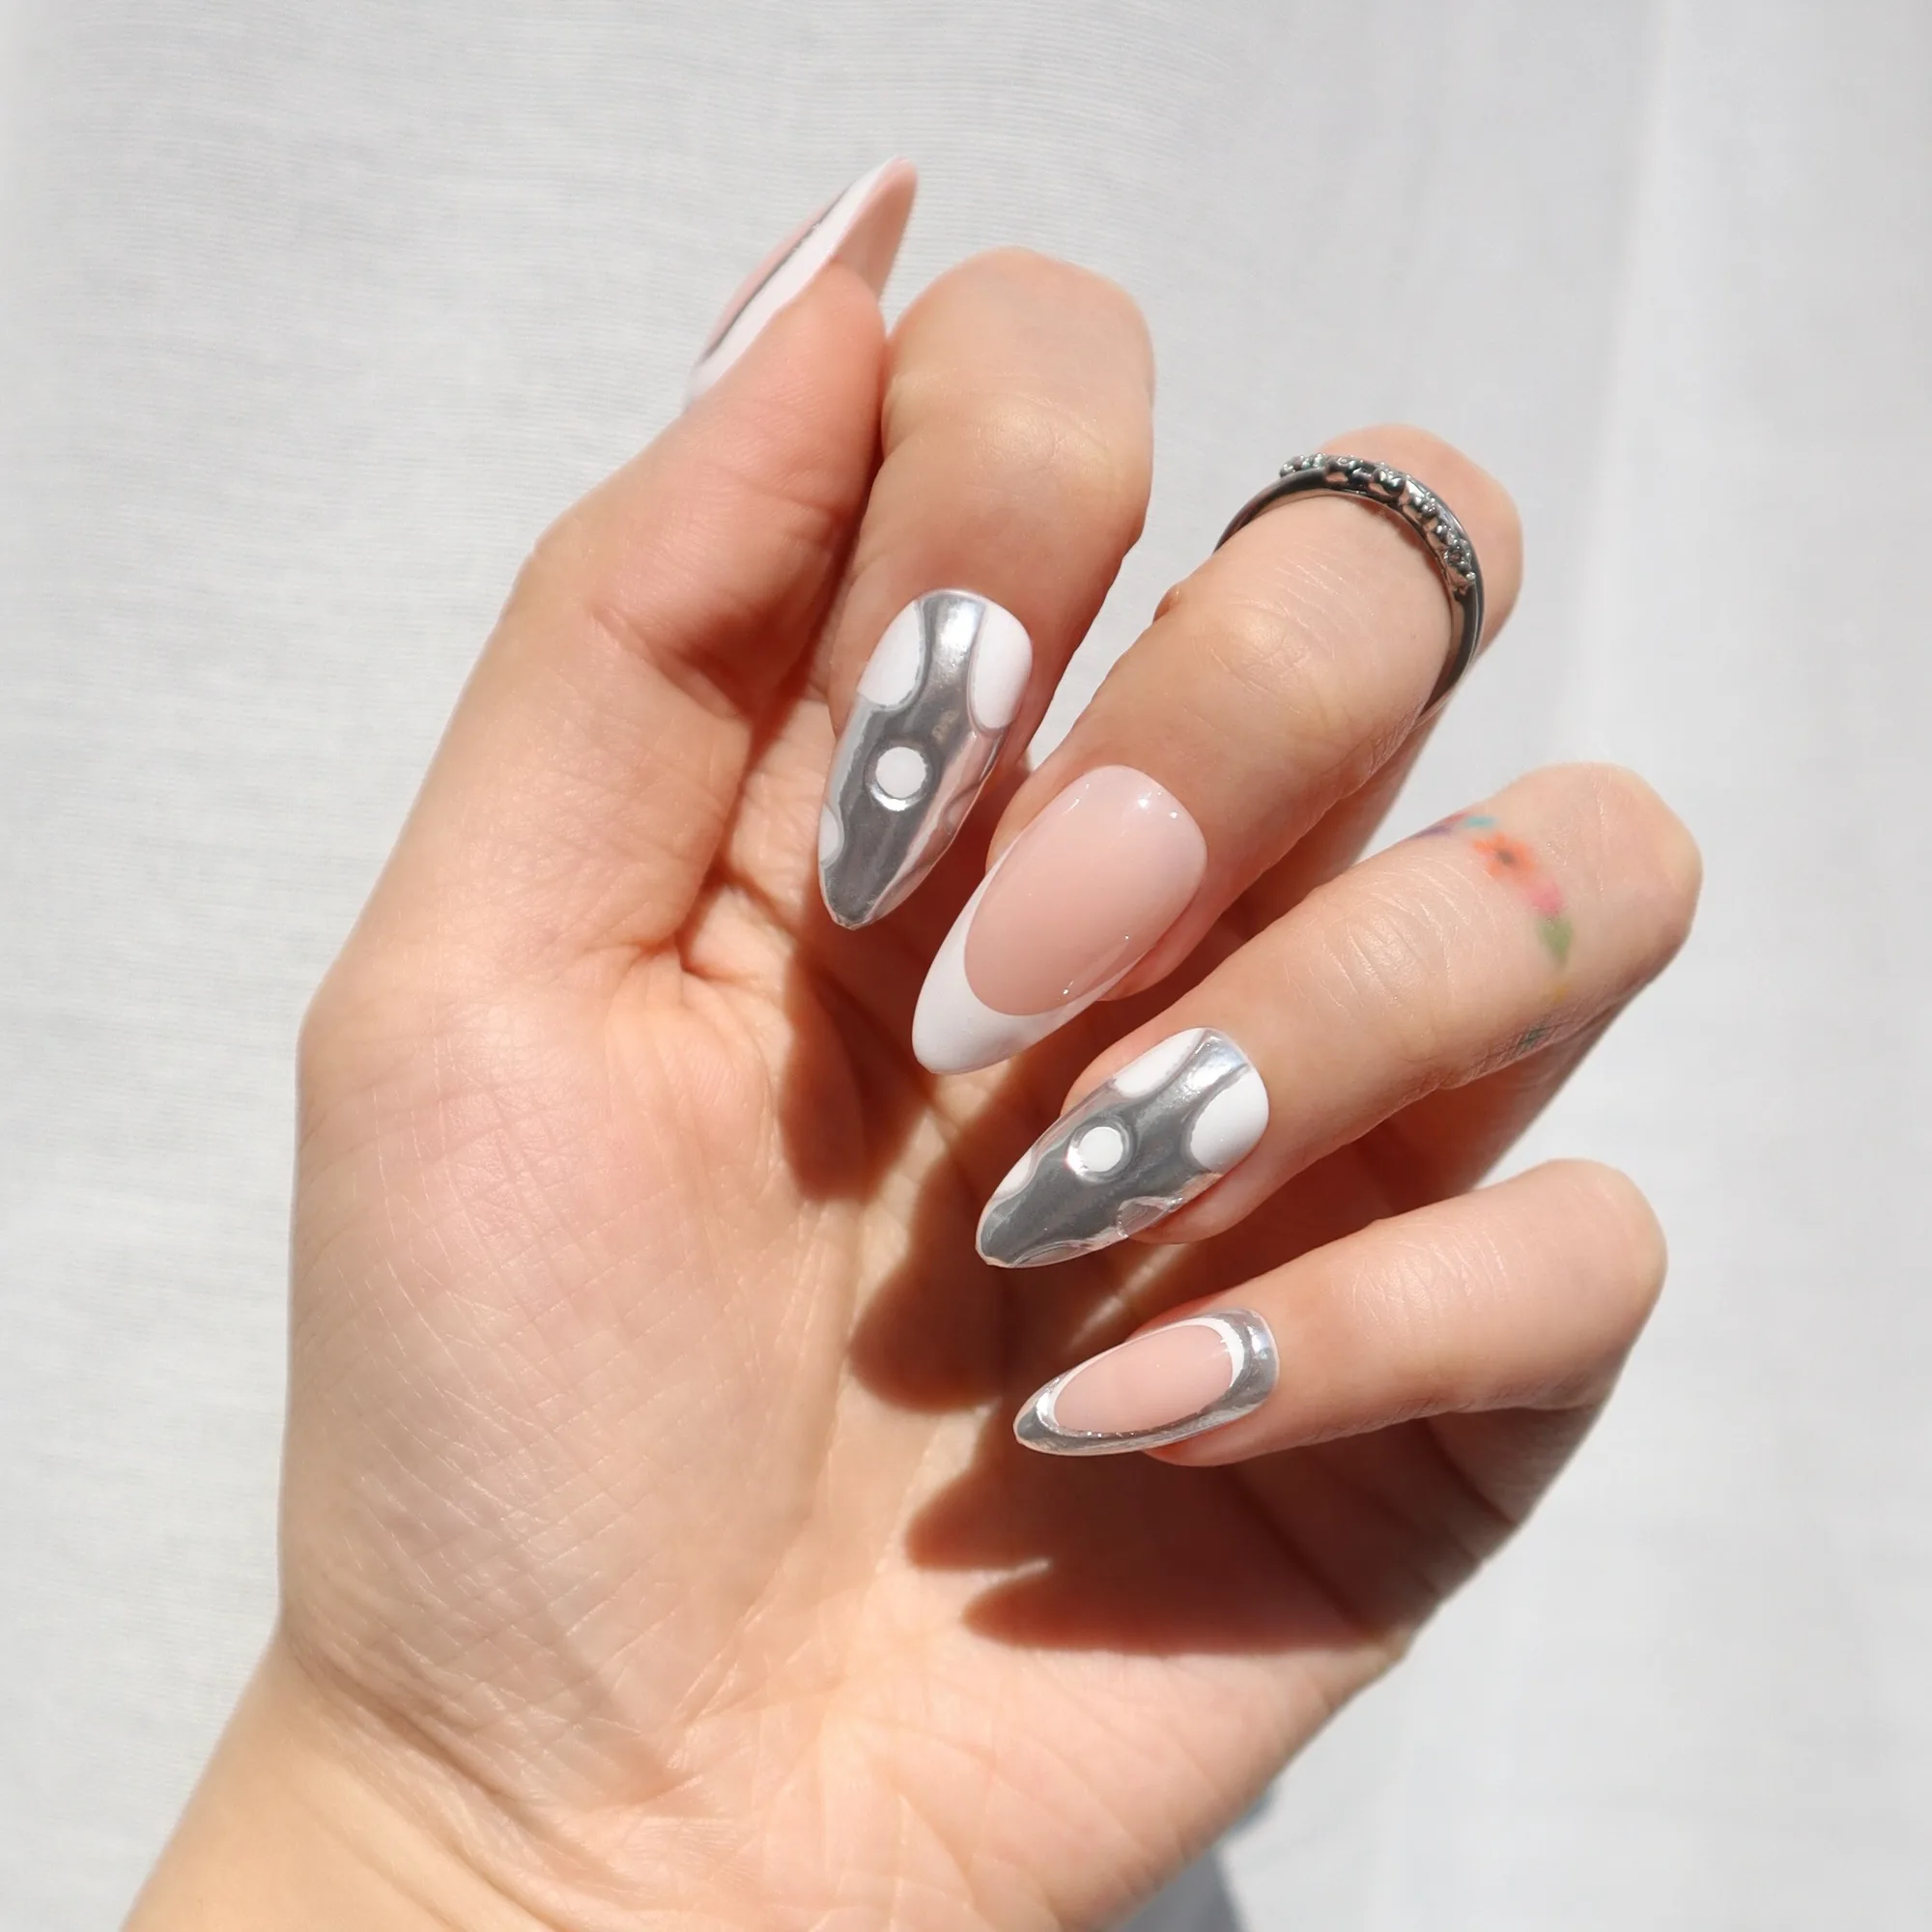
Solid colors and simple French tips are more forgiving than intricate art. A glossy nude base or a single accent nail hides small alignment errors, while busy patterns draw the eye to any uneven edge. If you want something with personality but still easy to apply, choose a set where the art is concentrated on one or two nails and the rest are a clean base.
Avoid heavy 3D charms, large pearls, or raised hearts for your first set. They add thickness at the tip, which can make the nail sit slightly off the natural nail and create a gap where lifting starts. They also make it harder to press the nail down evenly. Save the embellished designs for your second or third application, once you can place a plain set cleanly.
Build a beginner nail tool kit
You do not need a professional setup. A basic kit covers prep, application, and removal: a fine-grit nail file or buffer, a cuticle stick, an alcohol wipe or prep pad, and either nail glue or adhesive tabs. Glue gives a longer wear time; tabs are easier to remove and better for a first practice run. If you plan to reuse your press-ons, add a small cuticle nipper or a removal tool to lift the edges without cracking the nail.
Prep is the step beginners skip and the reason sets pop off in a day. Push back your cuticles, buff the shine off your natural nail, and wipe away oil and dust before applying. Oily nails are the most common cause of early lifting, and no amount of glue fixes a nail that was not cleaned first.
How to choose between glue and adhesive tabs
Glue holds for one to two weeks if applied well, but it is less forgiving: once the nail is down, repositioning is difficult and can damage the press-on. Adhesive tabs hold for a day or two, are easy to remove, and let you practice placement without commitment. For a first set, tabs are the lower-risk choice. Once you can apply a set evenly with tabs, switch to glue for longer wear.
If you want reusable press-ons, tabs are also kinder to the set. Glue residue can be cleaned off, but repeated glue removal is more likely to crack or dull the finish than tab removal. Whichever you choose, keep the spare nails and any extra tabs or glue in the box so you can replace a single nail later.
Decision rules for your first press-on set
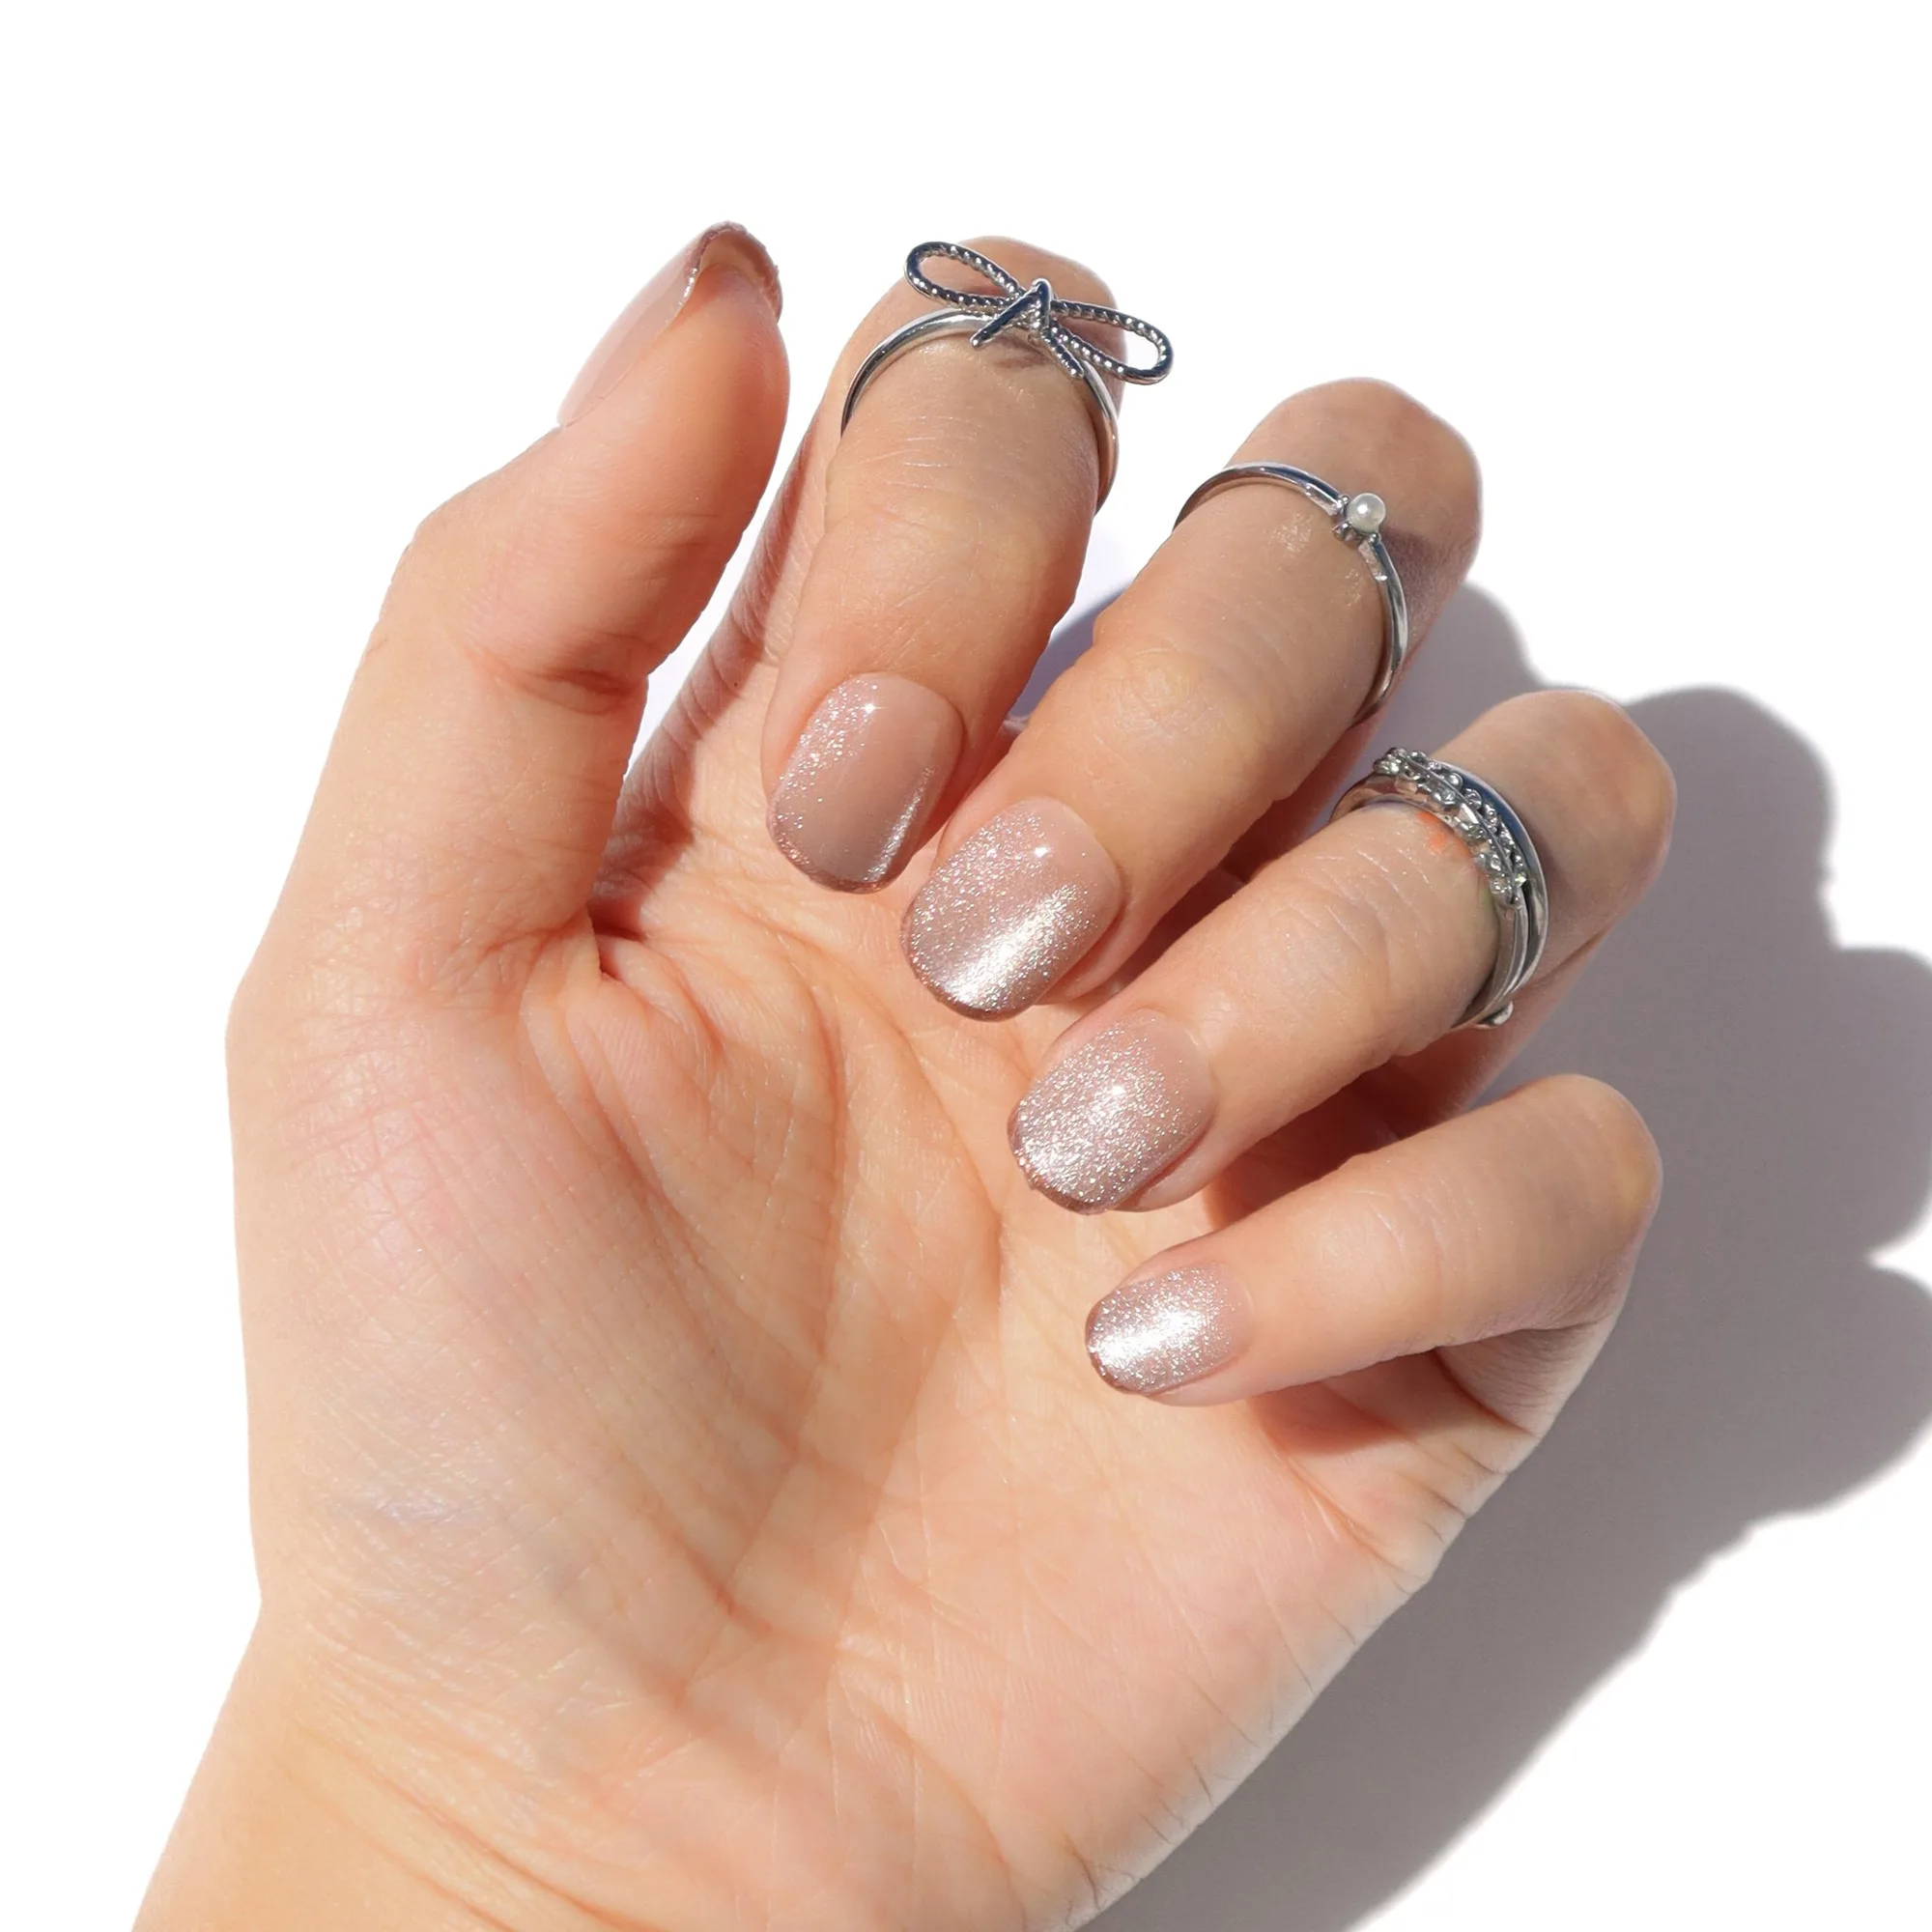
- Choose medium almond or short square: These shapes have moderate length and a soft curve that sits close to most natural nail beds, so there is less free edge to catch and lift. If the shape is longer than your natural nail by more than a few millimeters, size down.
- Pick one finish, not three: A single color or simple French tip is easier to align than a multi-element design with charms or raised accents. Save 3D details for your second or third set.
- Start with adhesive tabs, not glue: Tabs let you reposition the nail during application and remove the set without damaging it, which matters if you want to reuse the press-ons. Switch to glue once you can place a full set evenly on the first try.
- Buy one set, not a bundle: You learn more from applying one set and noticing where it lifts than from owning five designs you have not tried. Add a second design only after your first set stays on for at least a day.
Beginner-friendly sets to consider
- Princess Diaries: Princess Diaries is a light pink French tip set with pearl embellishments. The French tip design is a classic, forgiving look for a first application, but the pearls mean you should expect a little more care when pressing the nail down evenly.
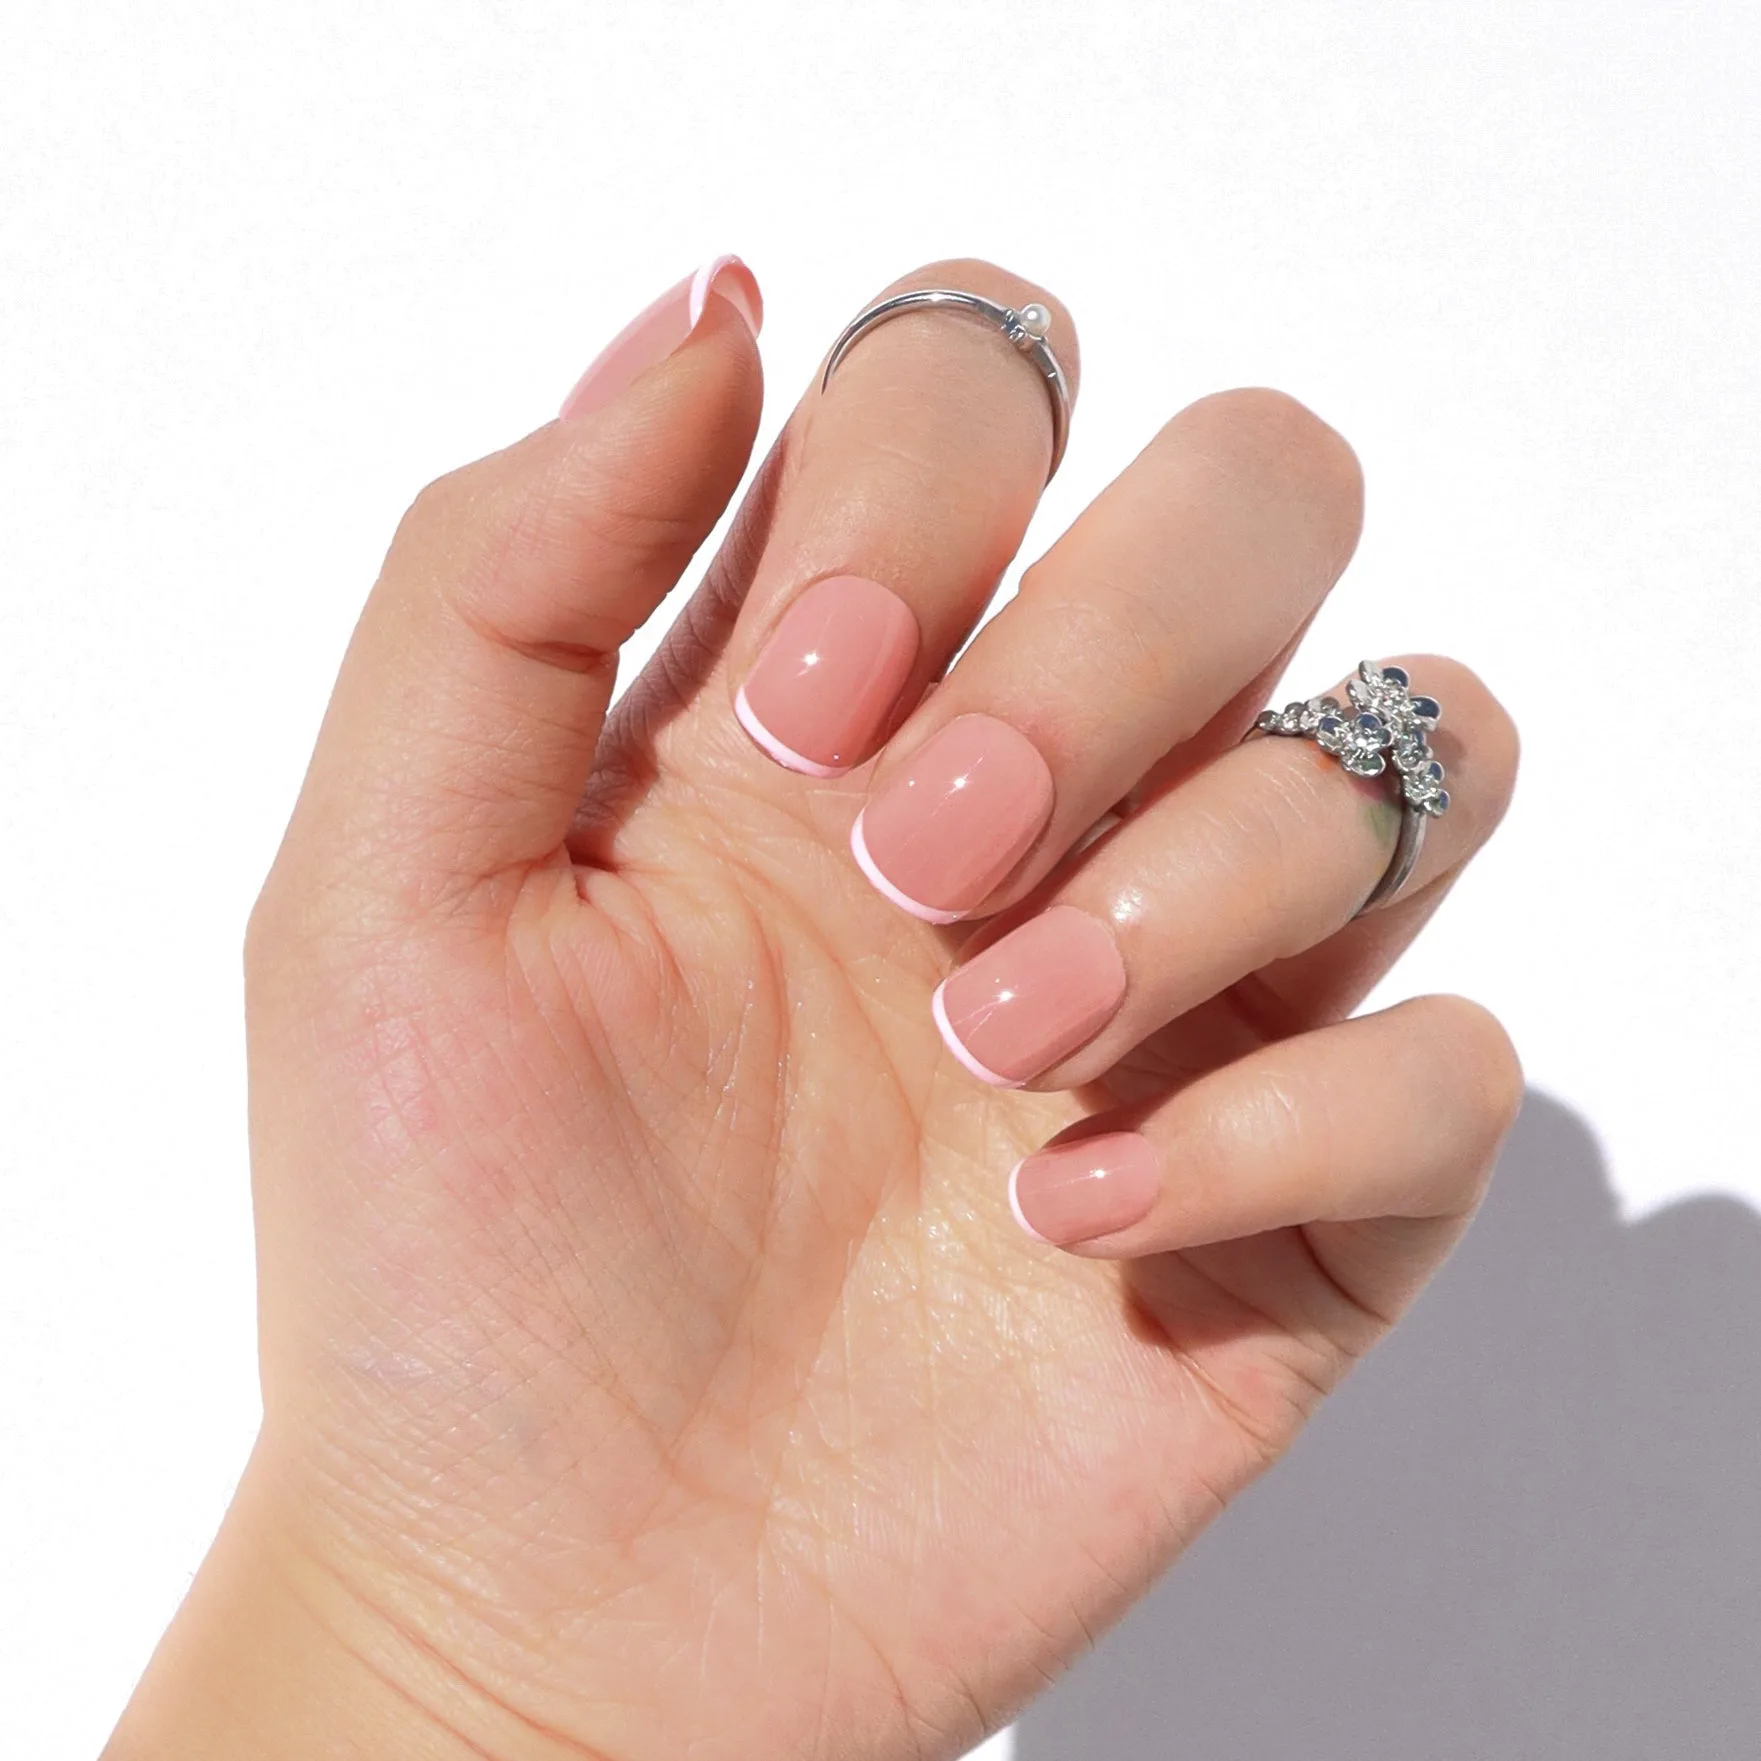
pink French
- Animal Instincts: Animal Instincts has rainbow leopard print, sharp French tips, and a sculpted medium almond shape on a glossy nude base. The medium almond shape is one of the easiest to place on a natural nail bed, making this a good first set if you want a bold design without a long, hard-to-manage length.
- Pink Adore: Pink Adore is a shimmering pink cat eye finish with raised hearts and a single pearled accent in a medium almond shape. The medium almond shape helps with fit, but the raised hearts add thickness at the tip, so this is better as a second set once you are comfortable with even placement.
- Black Magic: Black Magic is a deep black press-on set with a cat-eye shimmer finish. A single-finish design like this is one of the easiest to apply because there are no raised elements to work around, and the dark color hides small alignment gaps at the edges.
Is this the right first set for you?
Best for
- First-time press-on wearers who want a medium-length set with a forgiving shape
- Anyone who wants to practice application with adhesive tabs before committing to glue
- Shoppers looking for a reusable set they can remove without damaging the finish
Not for
- Wearers who need a long stiletto or coffin shape for a specific event
- Anyone who wants heavy 3D charms or complex nail art on their very first application
- People who need a set to survive more than two weeks of heavy manual work