Quick answer
Start with 100% wool felt or a wool-blend felt in two or three colors, a pack of hand-sewing needles, matching thread, small sharp scissors, and a water-soluble marker. Cut two simple shapes, pin them together, and hand sew the edges with a running stitch or blanket stitch. Wool felt holds its shape and hides stitches better than most craft felt, which makes it the easier choice for a first beginner felt sewing project.
Felt is one of the friendliest fabrics for a first hand-sewing project: it does not fray, it holds a crease, and it accepts simple stitches without needing a machine. That is why felt crafts for beginners usually turn into ornaments, small pouches, and layered shapes rather than full garments.
The catch is that not all felt behaves the same way. A few decisions before you cut anything - fiber content, needle size, thread, and pattern complexity - determine whether your first project feels calm or frustrating. The steps below walk through those decisions in order, with the checkpoints that keep a beginner felt sewing project on track.
Wool felt vs craft felt: what to buy first
Wool felt is made from wool fibers and feels dense, slightly fuzzy, and springy. Craft felt is usually a synthetic or blended material that is thinner and flatter. For beginner felt sewing projects, wool felt is more forgiving because it holds its shape, does not stretch out of line while you stitch, and the fibers tend to close around your thread instead of showing every poke.
Craft felt is not a bad material - it is inexpensive, comes in bright colors, and works well for quick flat shapes or paper-like projects. The tradeoff is that it can pill, wrinkle, and look thin at the seams. If you are learning hand sewing felt for the first time, buy a small amount of wool felt in two or three colors and use craft felt for practice cuts.
- Checkpoint: squeeze the felt. If it springs back and feels dense, it will hold a stitched edge better than a limp, flat sheet.
- Buy felt by the sheet or small bundle before committing to a large piece; you will know your preference after one project.
Beginner felt craft supplies to gather
You need very little to start: felt, hand-sewing needles, thread, sharp small scissors, straight pins or clips, and a marking tool. Embroidery floss is a popular thread choice because it comes in many colors and can be separated into strands, but standard sewing thread works too and disappears more easily into the felt surface.
A water-soluble fabric marker or a chalk pencil lets you trace simple felt patterns directly onto the felt and remove the lines later. If you plan to add a hanging loop, keep a small amount of narrow ribbon or cord nearby. A thimble is optional, but it helps when you push a needle through a thick wool felt edge.
- Common mistake: using dull or oversized needles. A sharp hand-sewing needle in a medium size passes through wool felt cleanly and leaves a smaller hole.
- Keep a small tray or tin for needles and pins so loose pieces do not disappear into the felt scraps.
Choose a simple felt pattern before you cut
The easiest first shapes are flat and symmetrical: a circle, a heart, a leaf, a small tag, or a simple animal silhouette. Simple felt patterns with one or two layers let you focus on even stitches instead of complicated construction. Avoid patterns with tiny arms, thin stems, or many separate pieces on your first attempt.
Trace your pattern onto paper first, cut it out, and check the size against your hand. If the shape is smaller than a coin, it will be hard to turn and stitch neatly. Scale it up before you commit the design to felt.
- Checkpoint: if your pattern has more than four pieces, set it aside and start with a two-piece shape instead.
- Cut felt with sharp scissors and long, smooth strokes; short choppy cuts create ragged edges that show up in the finished seam.
Hand sewing felt: two stitches that cover almost everything
A running stitch is the simplest seam: push the needle up through both layers, then back down a short distance ahead, and repeat. Keep the stitches the same length and the same distance from the edge. A blanket stitch wraps the thread around the edge as you go, which creates a finished border and hides the raw edge of the felt.
For most beginner felt sewing projects, use a running stitch around the perimeter and leave a small opening for stuffing or a hanging loop if needed. Knot the thread at the start and end, and bury the tail between the two layers so it does not show. Wool felt grips the thread, so you can usually skip a backstitch.
- Common mistake: pulling the thread too tight. It puckers the felt edge; aim for snug but flat.
- If your stitches look uneven, mark a light guide line around the edge with a water-soluble marker before you sew.
Finishing, stuffing, and cleanup
If your project is flat, you are nearly done after the seam. Trim any loose threads and remove marker lines according to the marker instructions. If you are making a small stuffed shape, add a light amount of fiberfill through the opening, then stitch the opening closed with the same stitch you used around the edge.
Press the finished piece lightly if the felt looks creased, but test the iron on a scrap first, especially with synthetic craft felt. Store leftover felt flat rather than folded, and keep your pattern pieces in an envelope so you can repeat the project later.
- Checkpoint: give the finished piece a gentle tug at the seam. If stitches pull open, reinforce the corners with two extra stitches.
- Label your felt scraps by color and fiber type so the next project is faster to start.
Your first felt project, step by step
- Pick your felt: Choose wool felt or a wool blend for your first project and reserve craft felt for practice cuts. Checkpoint: the felt should spring back when squeezed, not stay flattened.
- Gather your tools: Set out sharp small scissors, a medium hand-sewing needle, thread or embroidery floss, pins or clips, and a water-soluble marker. Common mistake: using dull scissors, which crush the felt edge instead of cutting it.
- Trace and cut a simple shape: Draw a flat, symmetrical pattern on paper, cut it out, and trace it onto two pieces of felt. Checkpoint: if the shape is smaller than a coin, enlarge it before cutting.
- Sew the edges: Pin the layers together and sew around the perimeter with a running stitch or blanket stitch, keeping stitches even and tension snug but not tight. Common mistake: pulling thread too hard, which puckers the edge.
- Finish and store: Trim threads, remove marker lines, add stuffing or a hanging loop if needed, and store leftover felt flat with your pattern pieces. Next step: repeat the same shape in a second color to build stitch consistency.
Felt-friendly extras from the shop
- Mary's Jolly Santas Sticker Sheet: Two 4" x 8" sheets with 12 stickers per sheet, packaged in a plastic sleeve. Small stickers are an easy way to add a seasonal face or accent to a flat felt ornament without stitching tiny details by hand.
- Mary's Christmas Elves Sticker Sheet: Two 4" x 8" sheets with 15 stickers per sheet, sized for scrapbook pages, craft projects, letters, and journal pages. If your felt project is a gift tag or card front, these stickers let you finish the paper part quickly while you practice the felt stitching.
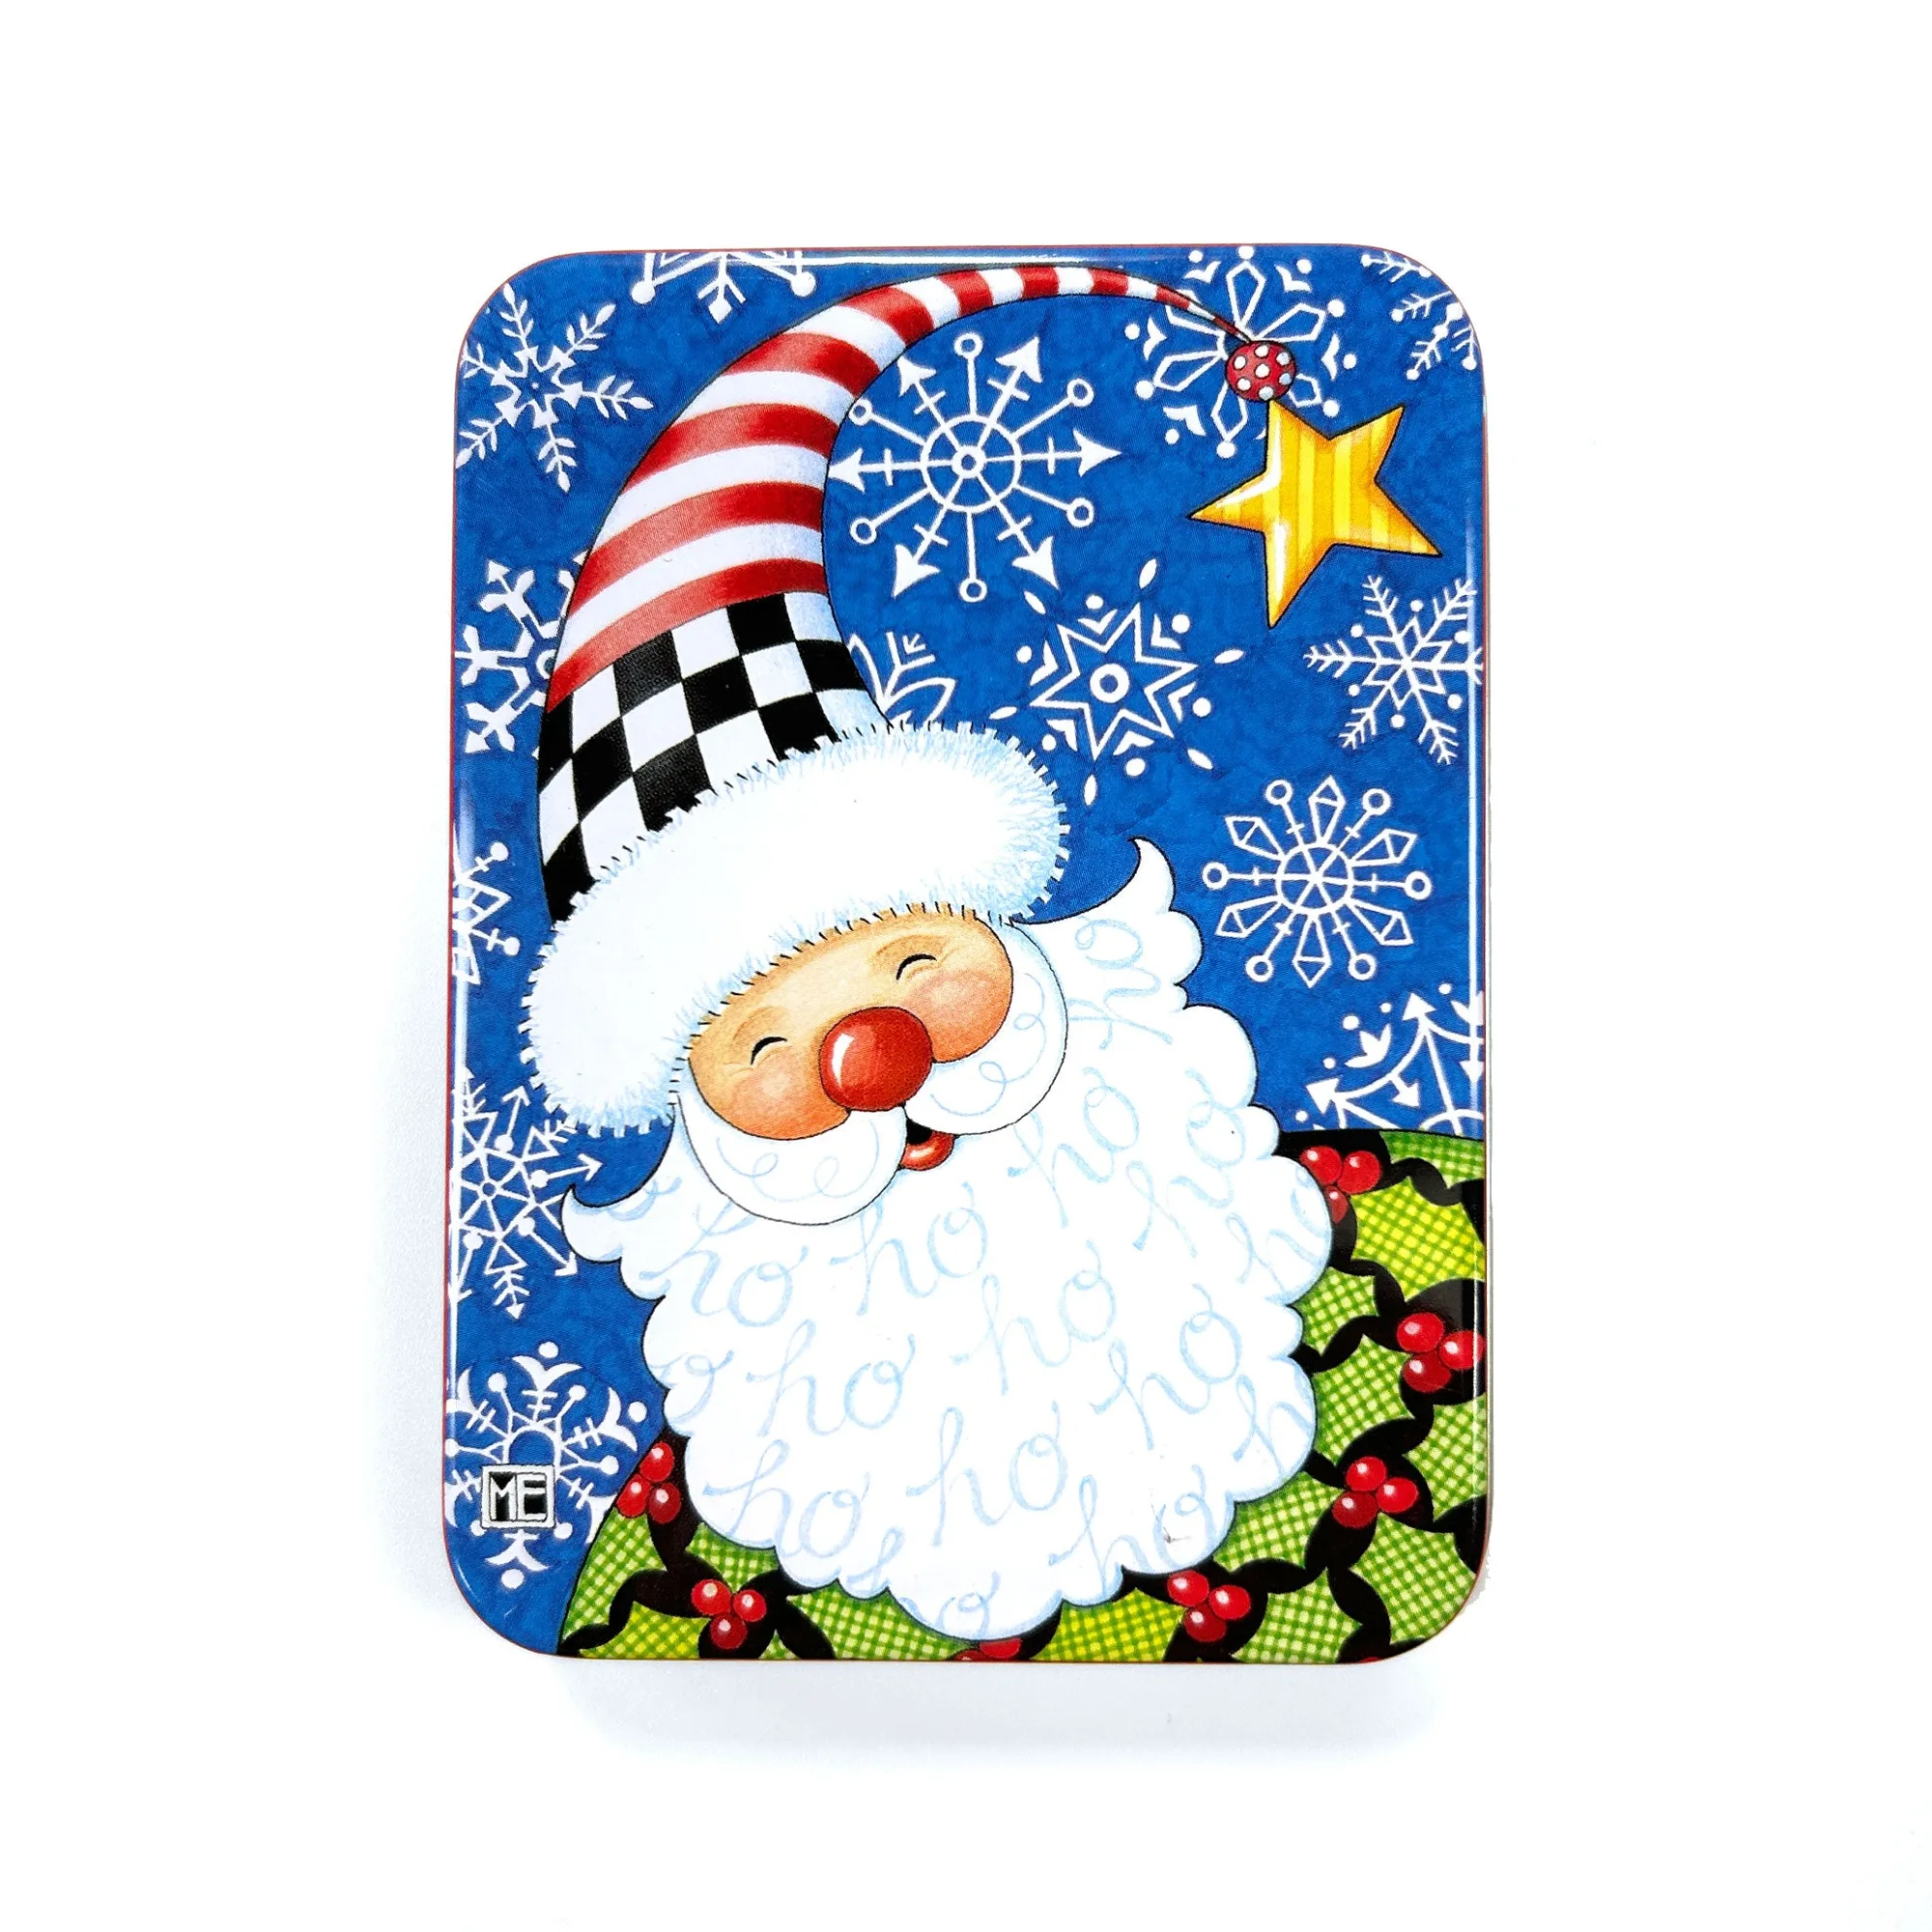
- Santa Snowflake Sticker Tin: A hinged-lid tin measuring 3" x 4.25" that contains 12 vinyl sticker decals, each about 2.25" x 3". The tin doubles as storage for needles, pins, or small felt scraps, so your beginner felt craft supplies stay together between sessions.
- Mystery Card Bundle: A curated 10-card assortment of Mary Engelbreit greeting cards, available in Classic Mary or Engeldark styles. A card bundle gives you a ready place to attach a small felt shape, which is a low-pressure way to practice hand sewing felt before starting a larger project.
Felt crafts for beginners come down to a few calm decisions: choose wool felt over thin craft felt, keep your pattern simple, and practice one or two hand stitches until they feel even. Once your first shape is finished, you will know exactly which supplies to restock and which simple felt patterns to try next.