A first aid kit is only useful if it’s fully stocked and organized. Over time, supplies get used, expire, or become damaged, leaving you unprepared when you need them most. Performing a regular first aid kit inventory check is essential to ensure your kit is ready for any emergency. In this guide, we’ll walk you through a step-by-step process to audit your kit, restock missing items, and maintain it for optimal readiness.
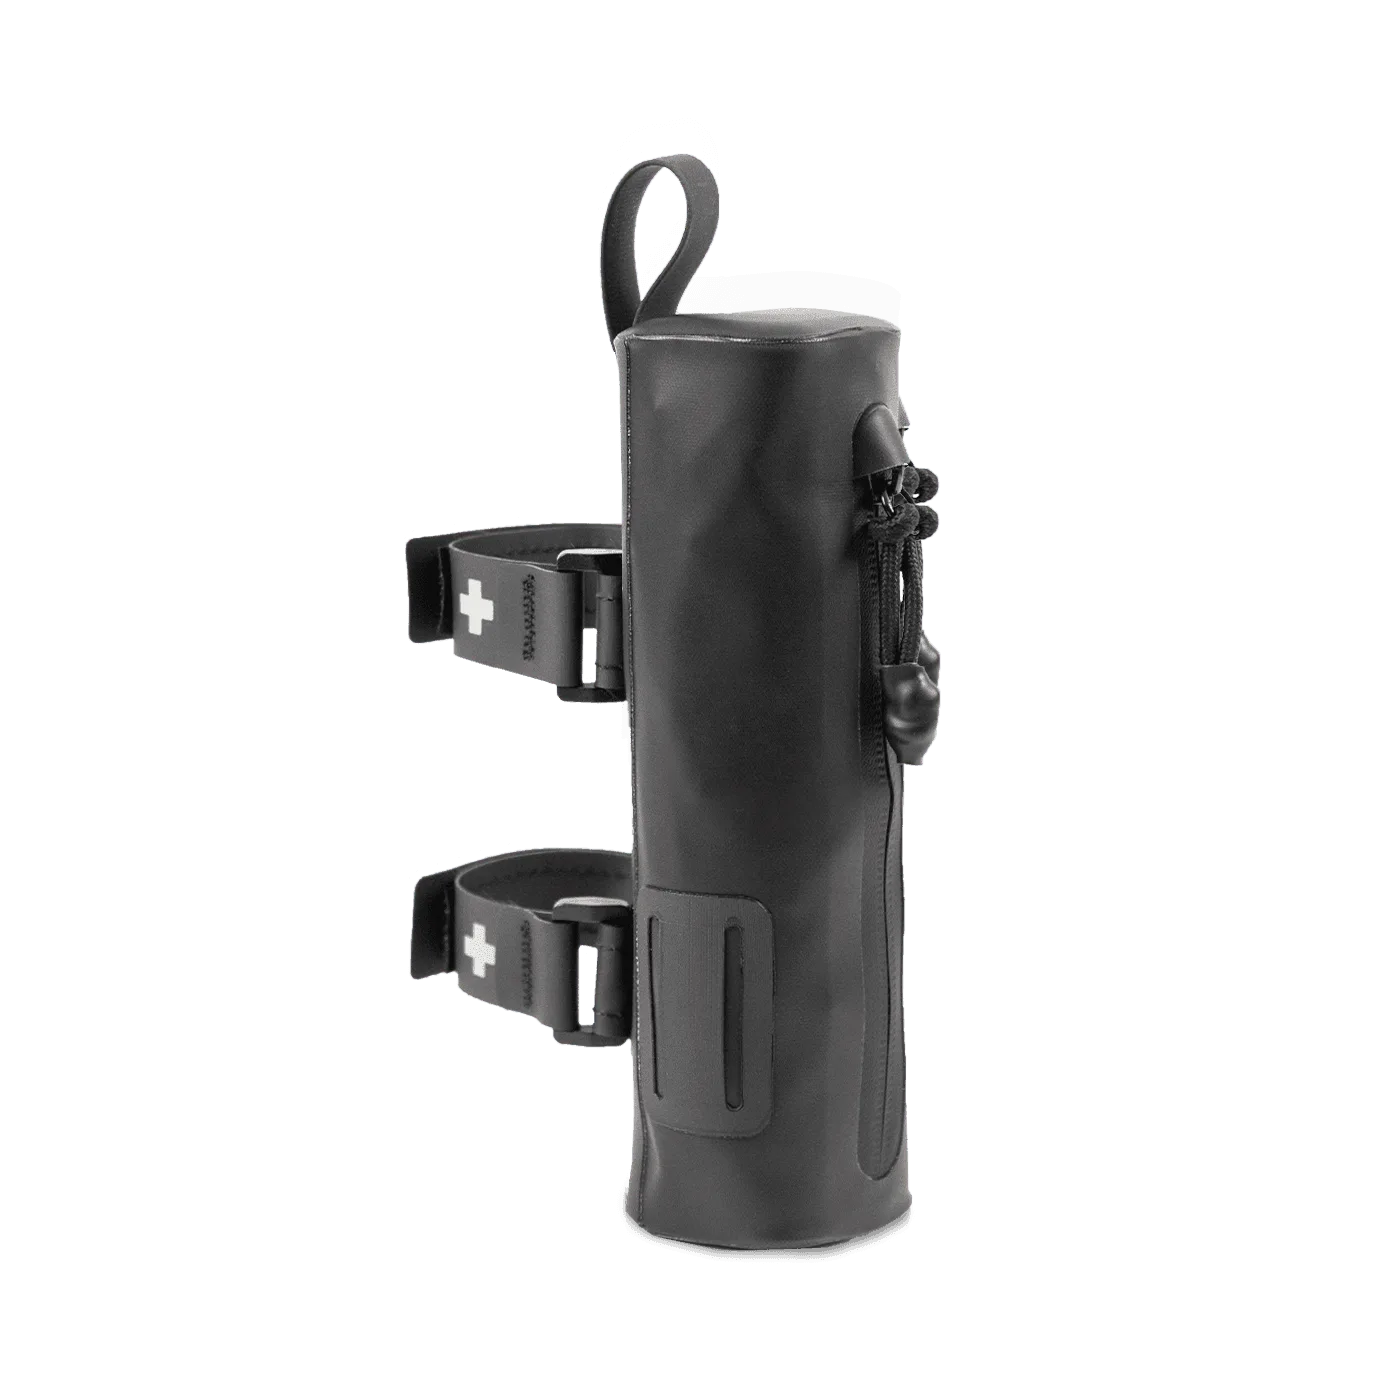
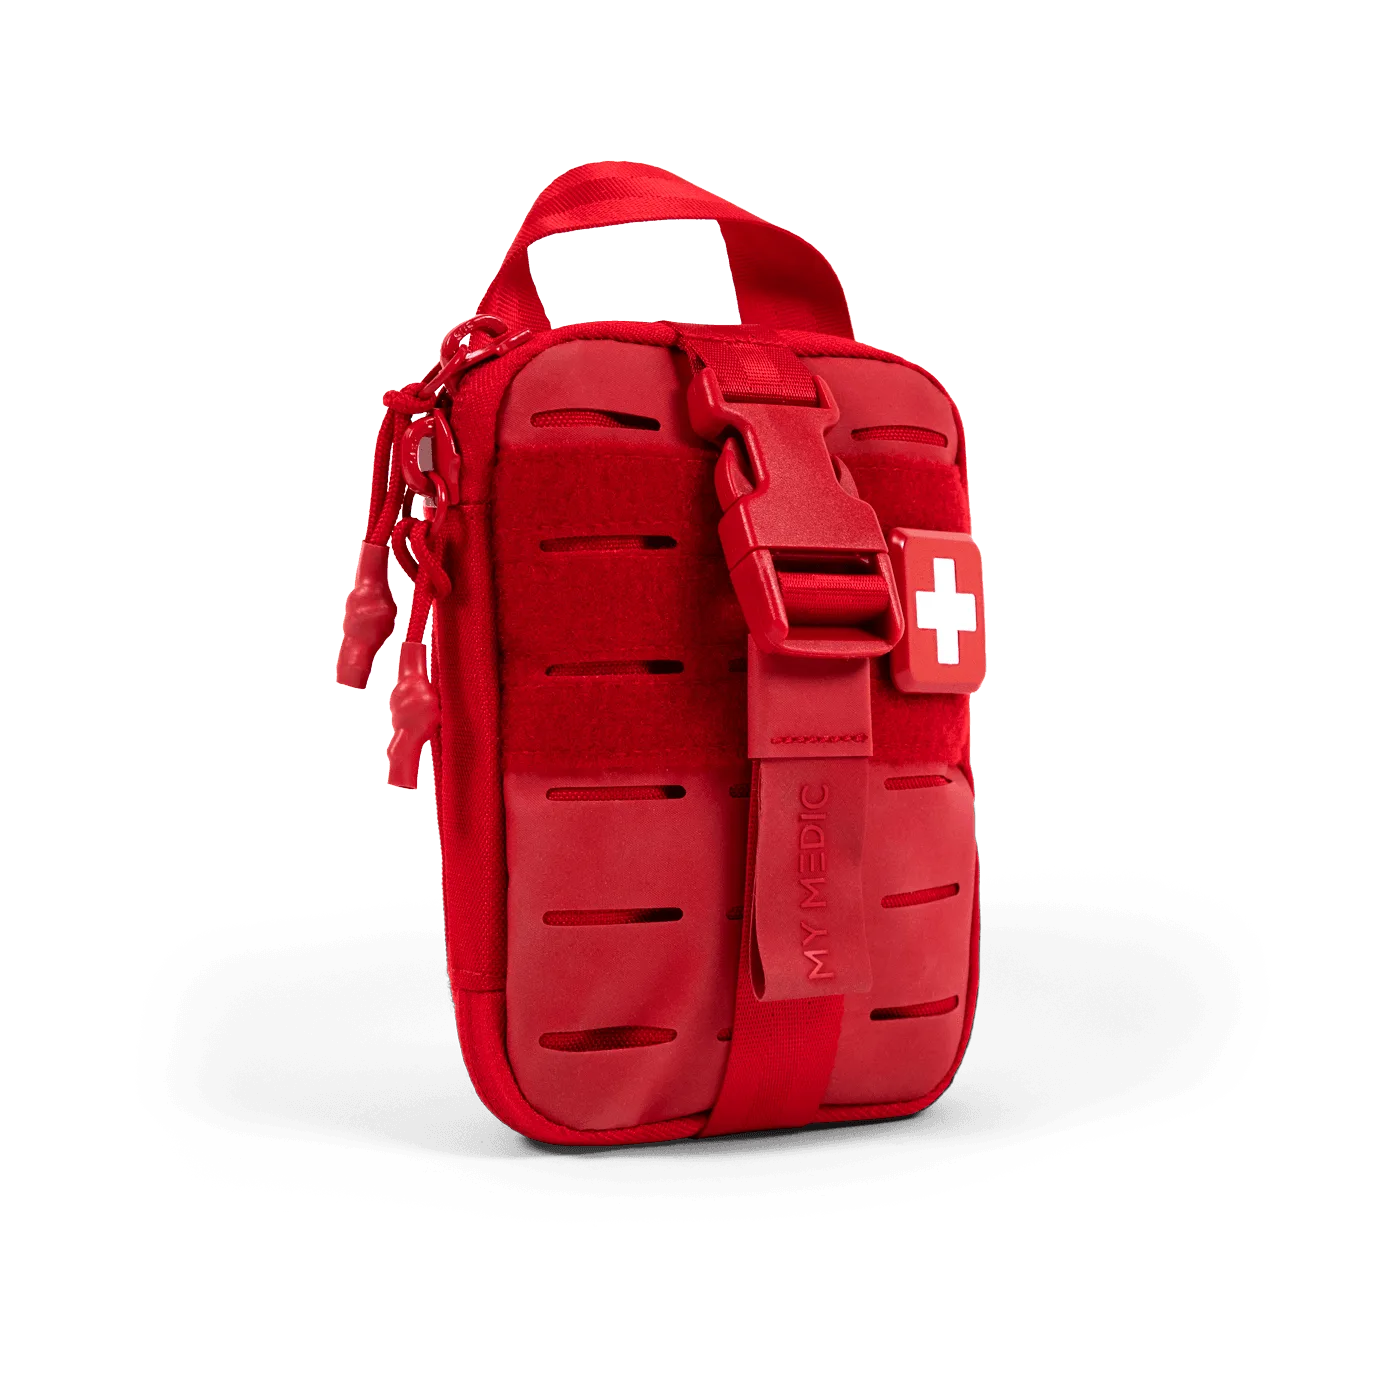
Whether you have a basic home kit, a professional medical bag, or a specialized kit like the medic-bag-only-380137">Medic | Bag Only, regular inventory checks help you identify what’s missing, expired, or in need of replacement. By following our checklist, you’ll know exactly what to look for and how to keep your kit in top condition.
Why Regular First Aid Kit Inventory Checks Matter
An inventory check is more than just looking inside your kit—it’s a proactive way to ensure you’re prepared for injuries and emergencies. Supplies like bandages, antiseptics, and medications have expiration dates. Using expired items can be ineffective or even harmful. Additionally, items may be used during minor incidents and not replaced, leaving gaps in your coverage.
Regular audits also help you familiarize yourself with your kit’s contents. In a stressful emergency, you don’t want to be searching for items or discovering you’re missing a critical component. Knowing your kit inside and out—and confirming it’s fully stocked—gives you confidence and peace of mind.
- Expired items lose effectiveness and may become unsafe.
- Used supplies need to be replaced immediately.
- Regular checks help you remember what’s in your kit and where it is.
Step 1: Gather Your Supplies and Set a Schedule
Before you start, choose a clean, well-lit area and set aside time for the audit. Decide on a schedule—monthly checks are ideal for active kits (like those in vehicles or workplaces), while a quarterly check may suffice for home kits. Mark your calendar so you don’t forget.
Gather a few tools to help with the process: a checklist (you can create one or use our guide), a trash bag for expired items, and a notepad or smartphone to list items you need to restock. Having everything ready makes the process efficient and thorough.
- Set a recurring reminder on your phone or calendar.
- Use a flashlight to see into dark corners of your kit.
Step 2: Empty and Sort All Contents
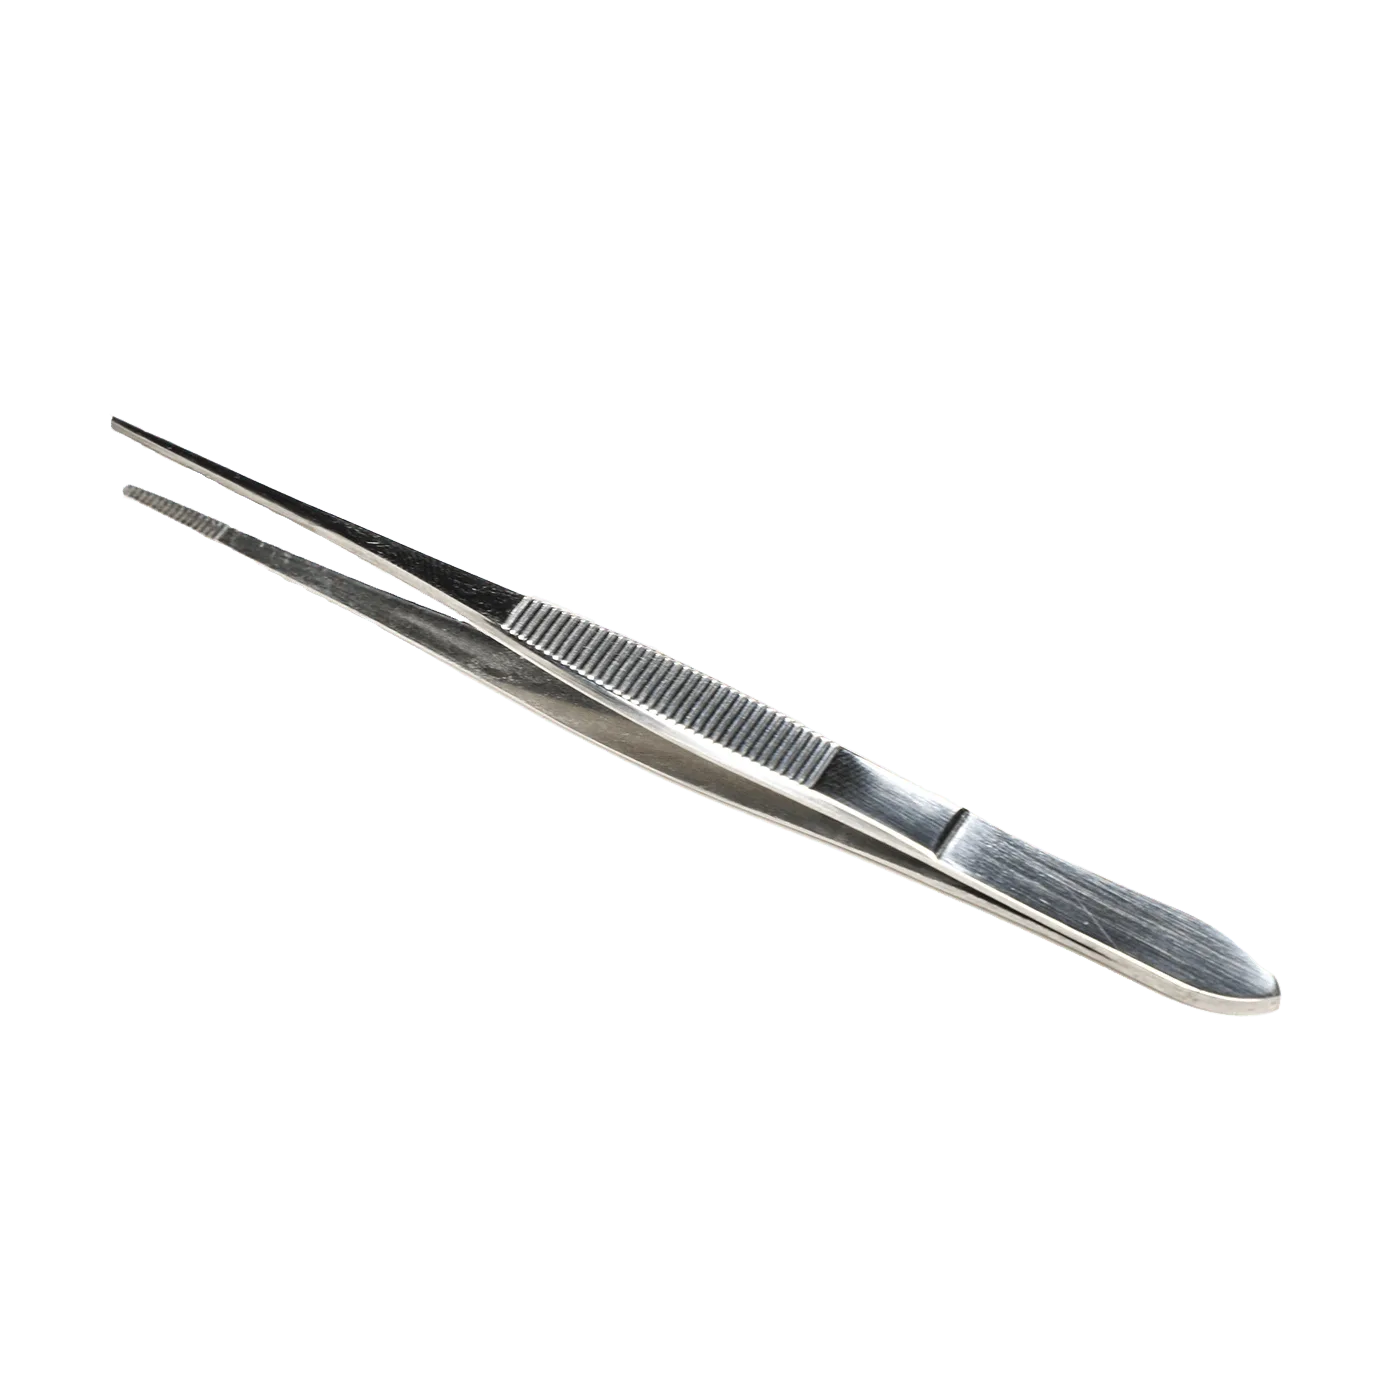
Take everything out of your kit and lay it out on a flat surface. This gives you a clear view of what you have and what’s missing. Sort items into categories: wound care, medications, tools, personal protective equipment (PPE), and any specialized items like splints or tourniquets.
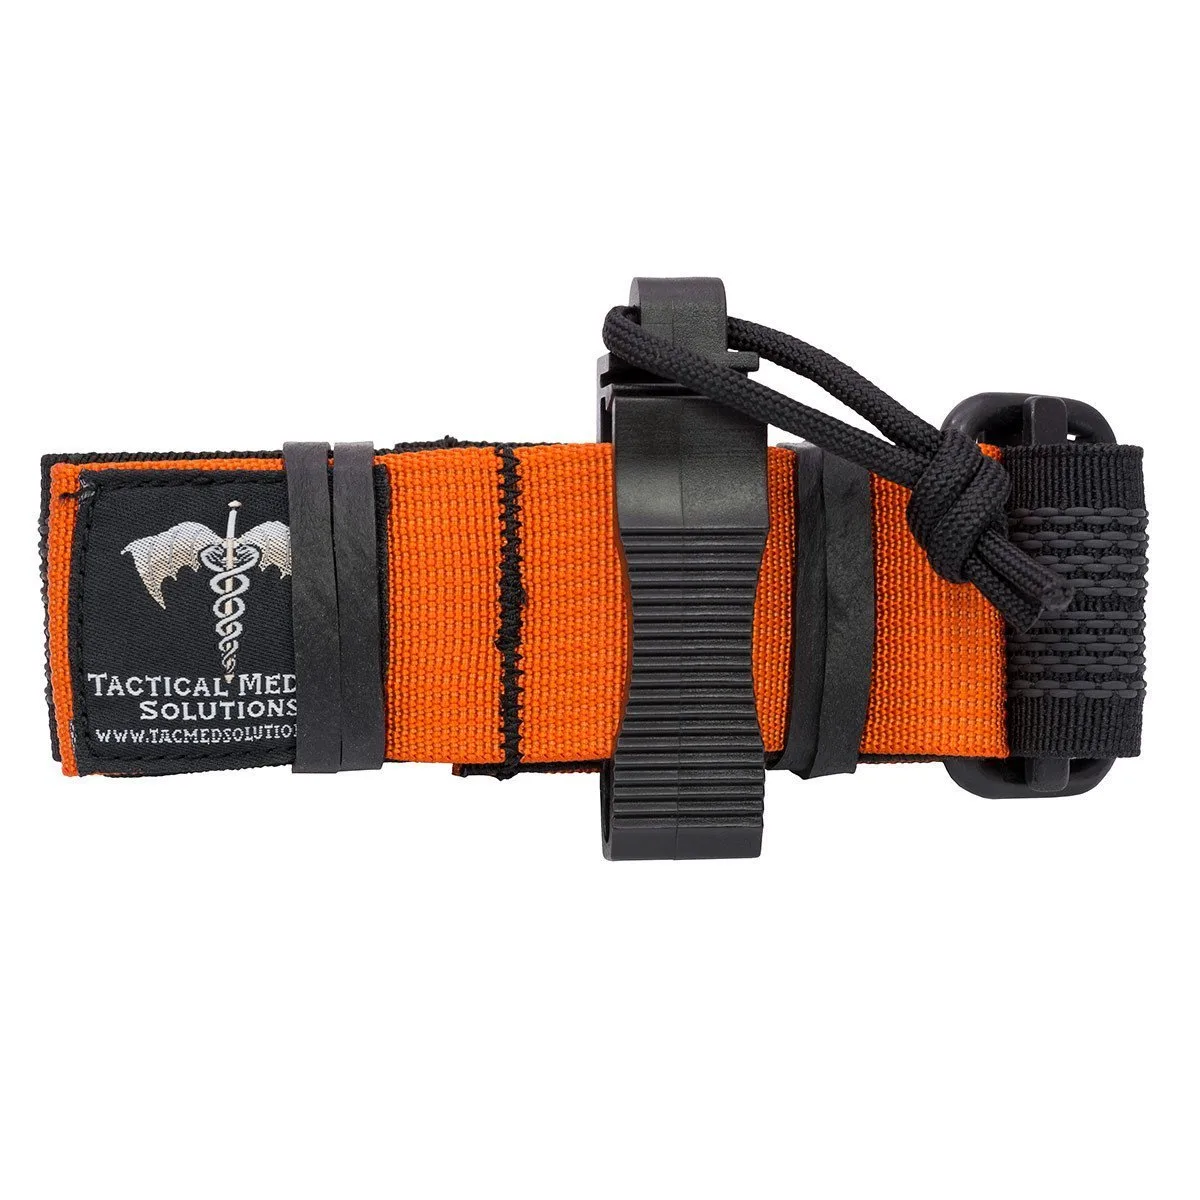
As you sort, check each item for damage. Look for torn packaging, broken seals, or signs of moisture damage. If an item is compromised, set it aside for disposal. For example, a compromised SAM XT Tourniquet should be replaced immediately, as its integrity is critical in a life-threatening bleed.
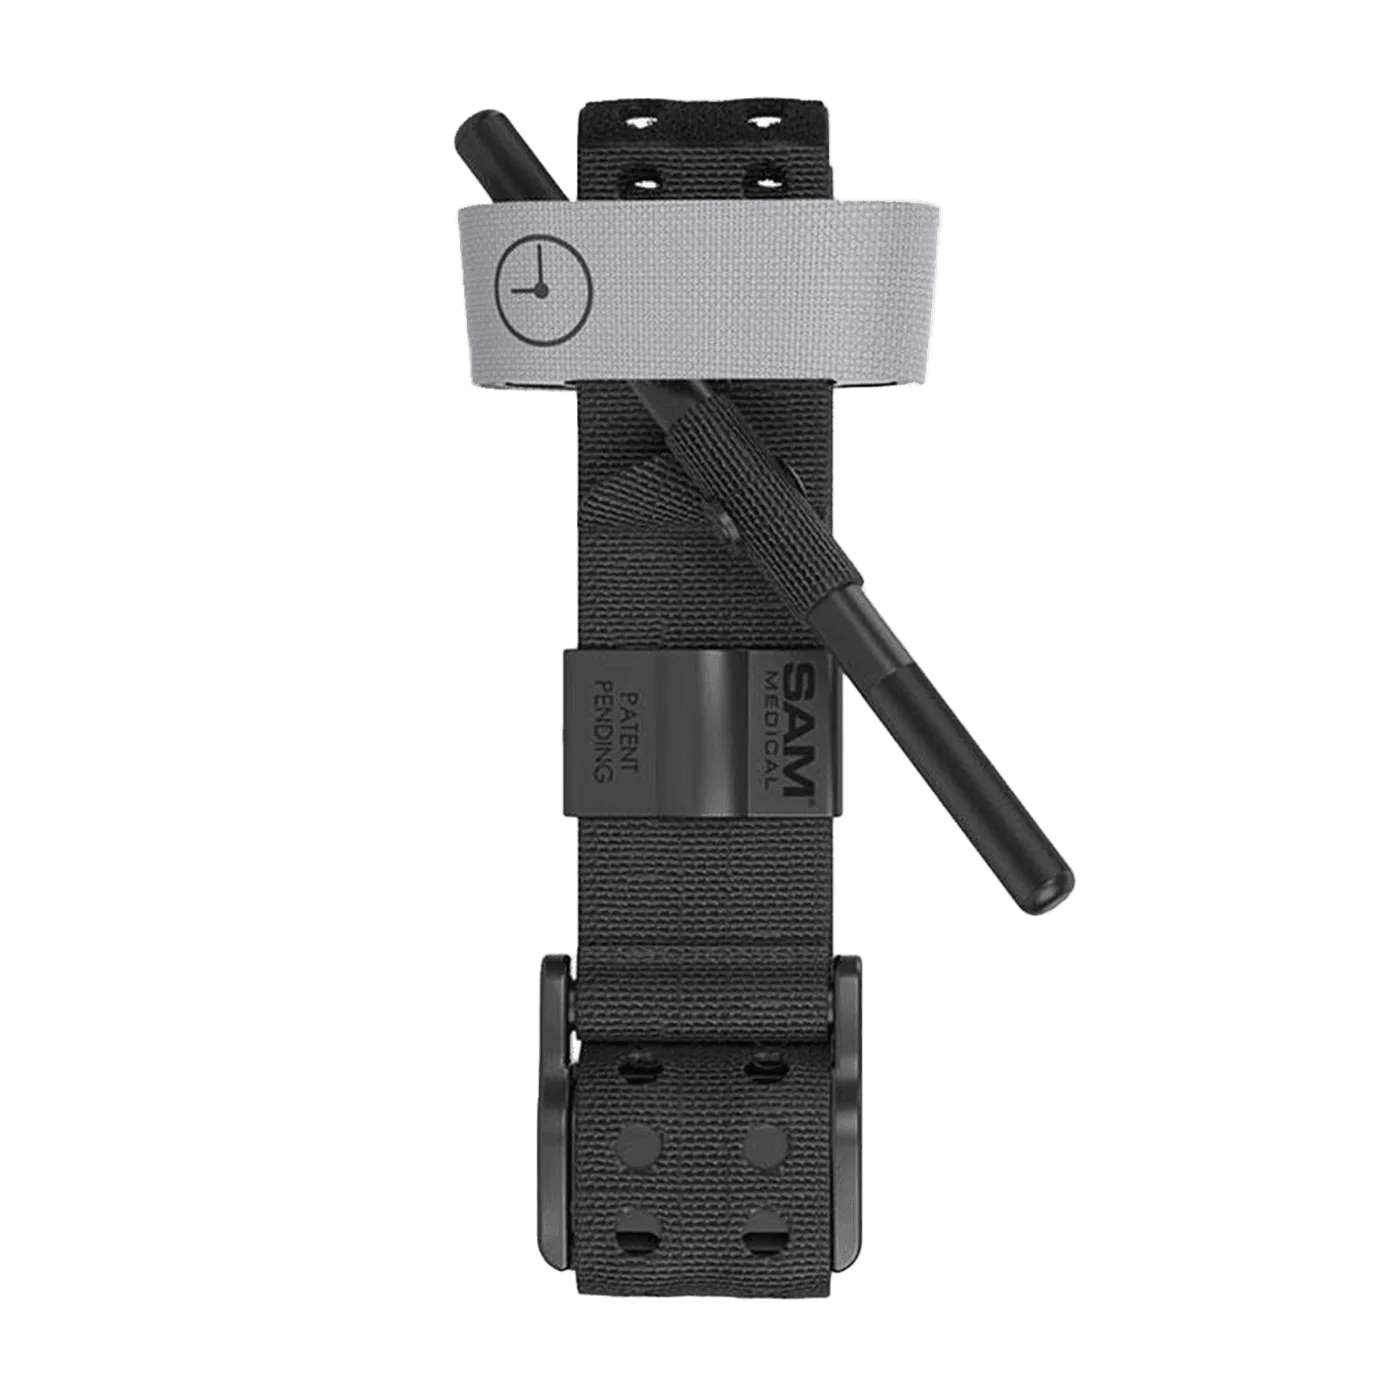
SAM XT Tourniquet
- Wear gloves if you’re handling items that may be contaminated.
- Take a photo of your sorted items for future reference.
Step 3: Check Expiration Dates and Replace Old Items
Check the expiration date on every item that has one. This includes medications, ointments, sterile supplies, and even some tools like adhesive bandages. If an item is expired, remove it and place it in your disposal bag. Do not use expired items—they may not work properly.
For items without expiration dates, inspect them for signs of wear. Elastic bandages, for example, can lose their stretch over time. If they’re stretched out or damaged, replace them. The Elastic Bandage with Self-Closure 2 Pack is a great restock option for ensuring you have reliable compression support.
- Write the date on new items when you add them to your kit.
- Use a permanent marker to note the expiration date on the packaging if it’s not visible.
Step 4: Identify Missing Items and Restock
Compare your sorted items against a comprehensive checklist. What’s missing? Common gaps include bandages, antiseptic wipes, gloves, and trauma supplies. Make a list of everything you need to restock. Be specific about quantities so you can purchase the right amount.
When restocking, consider your kit’s purpose. A home kit may need more everyday items, while a professional kit might require specialized tools like a T-Ring Digit Tourniquet for finger injuries. For trauma-ready kits, ensure you have a reliable tourniquet like the SAM XT Tourniquet, which is a top choice for its durability and ease of use.
- Keep a running list of items you use so you know what to replace.
- Buy in bulk for items you use frequently, like adhesive bandages.
Step 5: Clean and Organize Your Kit
While your kit is empty, take the opportunity to clean it. Wipe down the interior with a disinfectant wipe to remove dirt and germs. Check for any damage to the bag itself, such as broken zippers or tears. If your bag is damaged, it may be time to replace it—consider a durable option like the Medic | Bag Only to house your supplies.
Organize your items logically. Place frequently used items on top or in easily accessible pockets. Group similar items together and use small pouches or bags to keep things tidy. This makes it easier to find what you need quickly during an emergency.
- Use resealable plastic bags to keep small items together.
- Label compartments if your bag allows.
Step 6: Create an Inventory Checklist and Log
A written inventory checklist is a valuable tool for future audits. List every item you should have in your kit, along with the quantity and expiration date. Laminate the checklist and keep it inside your kit, or store it digitally on your phone.
Maintain a log of your inventory checks. Note the date, any items you discarded, and what you restocked. This helps you track usage patterns and anticipate needs. For example, if you notice you’re frequently using burn dressings, you can stock extra.
- Download a printable checklist template or create your own.
- Update your log after every audit.
Step 7: Store Your Kit Properly
Once your kit is clean and fully stocked, store it in a cool, dry place away from direct sunlight. Extreme temperatures can degrade supplies like adhesives and medications. Keep it accessible and make sure all family members or colleagues know where it is.
If your kit is for a vehicle, check it more frequently as it’s exposed to temperature fluctuations. Consider using a moisture-absorbing packet to keep contents dry. Proper storage extends the life of your supplies and ensures they work when needed.
- Avoid storing kits in bathrooms where humidity is high.
- Check vehicle kits at least monthly.
Performing a regular first aid kit inventory check is a simple yet crucial task that ensures you’re always prepared. By following these steps, you can maintain a fully stocked, organized, and ready-to-use kit. Don’t wait for an emergency to discover you’re missing something—start your audit today and restock with high-quality supplies from our store to keep your kit in top shape.