Quick Answer
To stitch the Fishing Needlepoint Beginner Kit, start by threading your needle with a single strand of Appleton's wool, then work the tent stitch from the center outward. Follow the five steps below for a tidy finish.
The Fishing Needlepoint Beginner Kit gives you everything you need for a first project: a printed 10-count canvas, wool yarns, and tools. Here is a straightforward stitch guide to get you from first thread to finished piece.
Why This Kit Works for Beginners
The 10-count canvas has large holes that make it easy to see your stitches and keep an even tension. The single-strand Appleton's wool yarn slides through without splitting, so you can focus on the rhythm of stitching rather than untangling threads.
Tension Tips for a Flat Canvas
Avoid pulling the yarn too tight. If your canvas puckers, the stitches are too snug. Loosen up slightly so the canvas lies flat on your lap or frame. A slack tension also makes it easier to adjust a misplaced stitch.
Step-by-Step Stitch Instructions
- Step 1: Prepare Your Yarn and Needle: Cut an 18-inch strand of wool. Thread it through the eye of the Bohin needle. Do not double the strand—use a single length to keep stitches even. Tie a simple knot at the tail, or leave a 2-inch tail and hold it on the back as you stitch. A common mistake is cutting yarn too long; longer strands fray and tangle. Stick to 18 inches for smooth stitching.
- Step 2: Start in the Center of the Canvas: Find the center of the fish design—often the eye or a bright scale. Insert your needle from back to front. Work outward in a small area, about 2 inches square, to keep tension consistent. Use the tent stitch (diagonal half-cross) for the entire design. If you start at the edge, the canvas may shift. Always start in the middle to keep the design centered.
- Step 3: Stitch in Consistent Rows: Work one direction (left to right) across a row, then return (right to left) to fill the next row. This creates an even diagonal pattern on the back. Keep your stitches uniform in size—each should cover exactly one canvas intersection. A common mistake is skipping canvas holes, which leaves gaps. Count each intersection to maintain full coverage.
- Step 4: Manage Your Wool Yarn Tension: Hold the needle at a 45-degree angle and pull the yarn through until the stitch lies flat against the canvas. Do not yank. If you see a puckered area, loosen your stitches by re-stitching them with a lighter pull. Puckering is the #1 beginner issue. If you see it, stop and fix immediately—it is harder to undo later.
- Step 5: Finish and Secure the Back: When you finish a strand or the whole design, weave the tail through three or four stitches on the back of the canvas. Clip the excess close. Do not use knots—they create bumps that show on the front. For the final border, stitch a simple outline to frame the fish. Knots can make framing difficult. Weaving gives a flat, professional finish suitable for hanging or gifting.
Kit Details
-
Fishing Needlepoint Beginner Kit: Color-printed 3.75" x 3.75" design on 10-count canvas, edge-taped and ready to stitch. Includes a generous selection of 100% Appleton's tapestry wool yarns and two high-quality Bohin needles. The large-count canvas and pre-cut wool reduce frustration, so you spend more time stitching and less time fussing with setup.
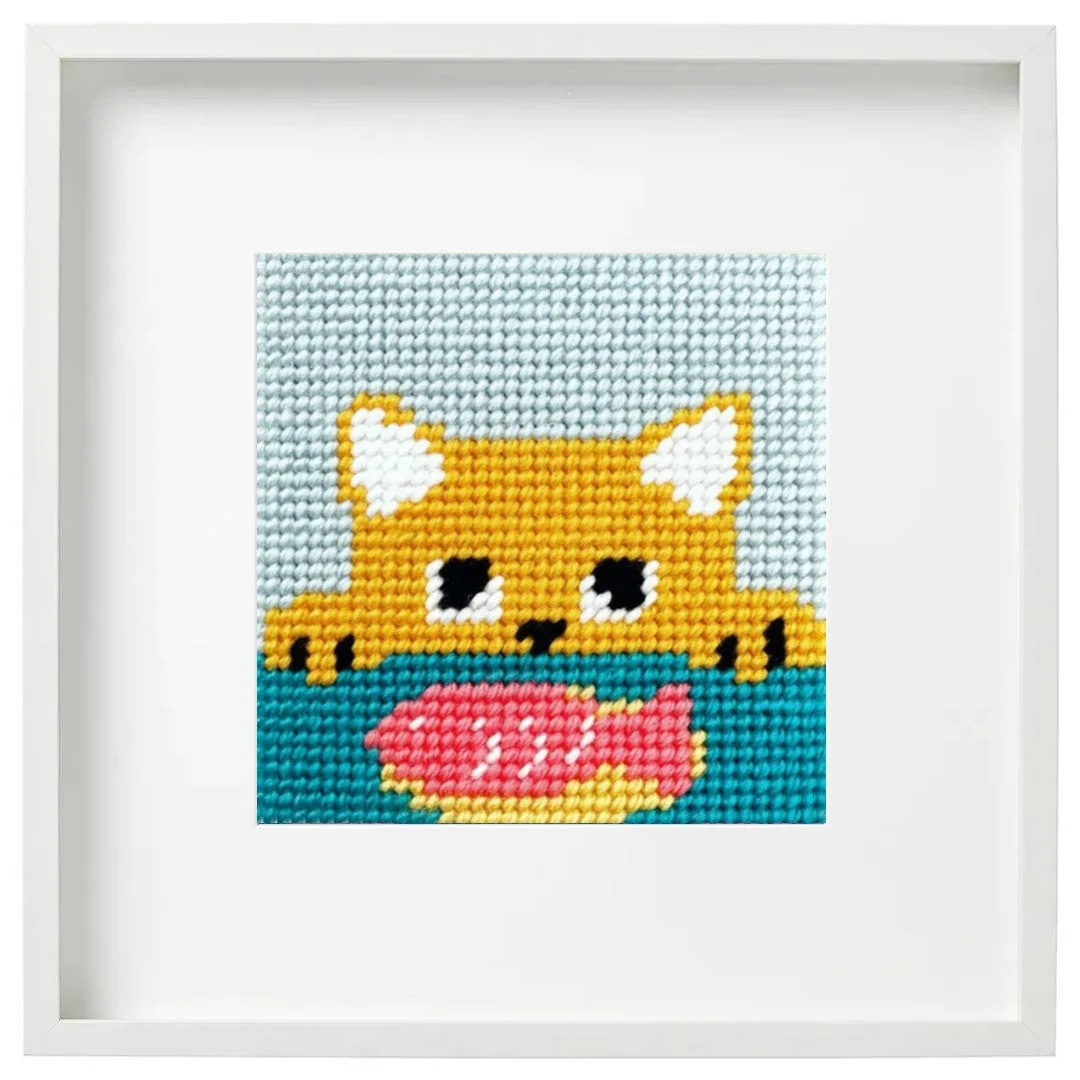
Fishing Needlepoint Beginner Kit


