Quick answer
To fix a candle that won't burn evenly, let it burn long enough on the first use to create a full melt pool across the entire surface. For candles that have already tunneled, use foil or a candle warmer to soften and level the wax before the next burn.
Why candles burn unevenly
The most common cause of uneven burning is not letting the candle burn long enough on the first light. When you extinguish a candle before the wax melts to the edges, the wax near the wick burns down faster, creating a tunnel. This pattern repeats with each short burn, making the tunnel deeper.
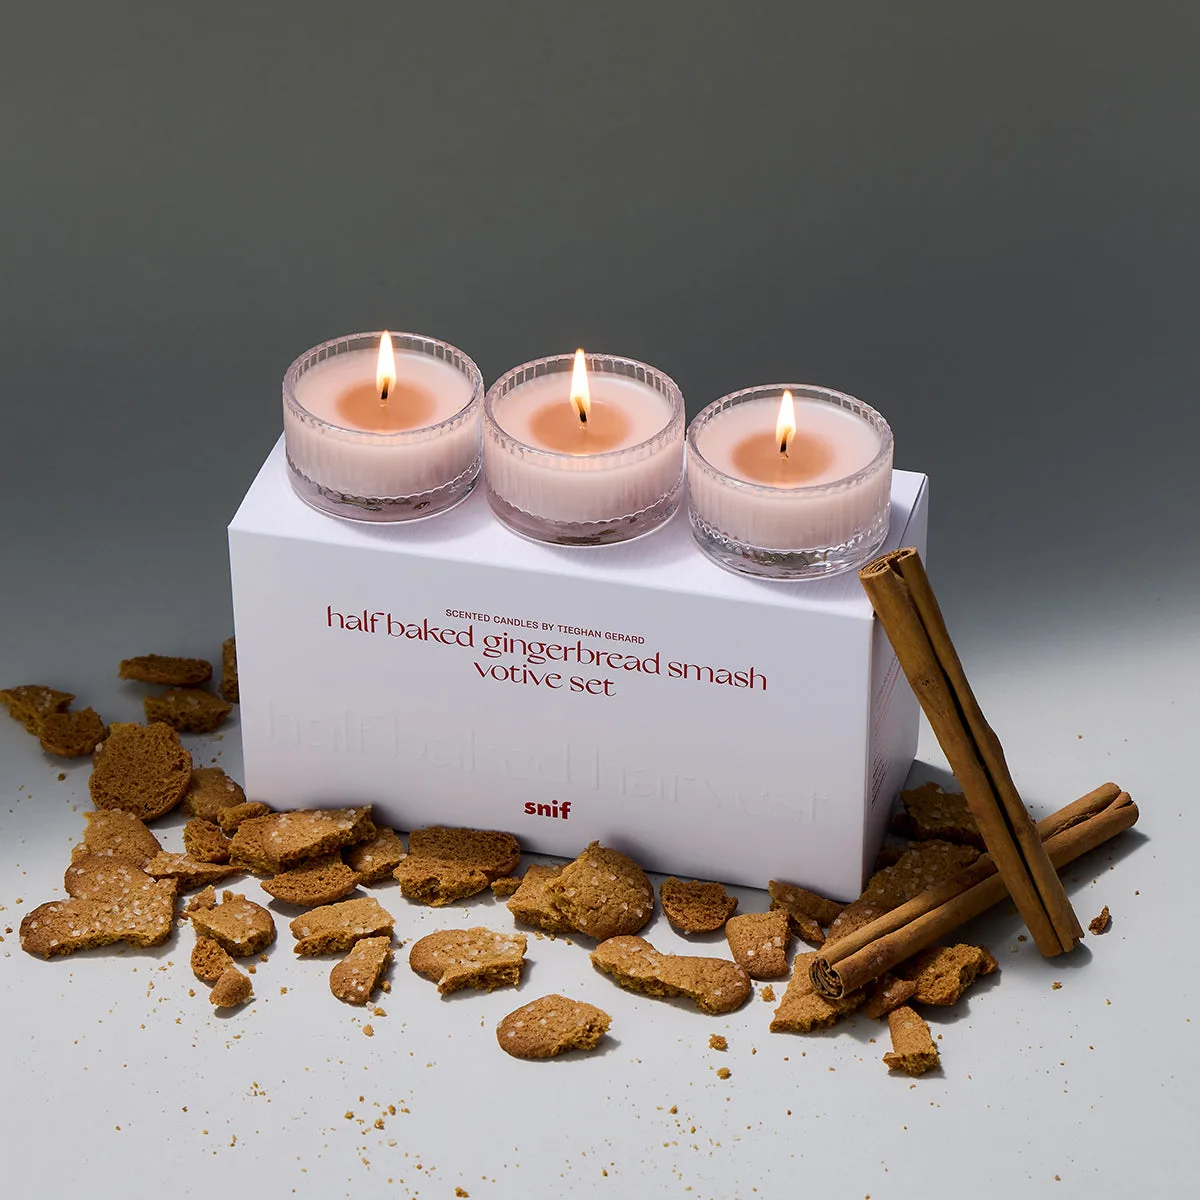
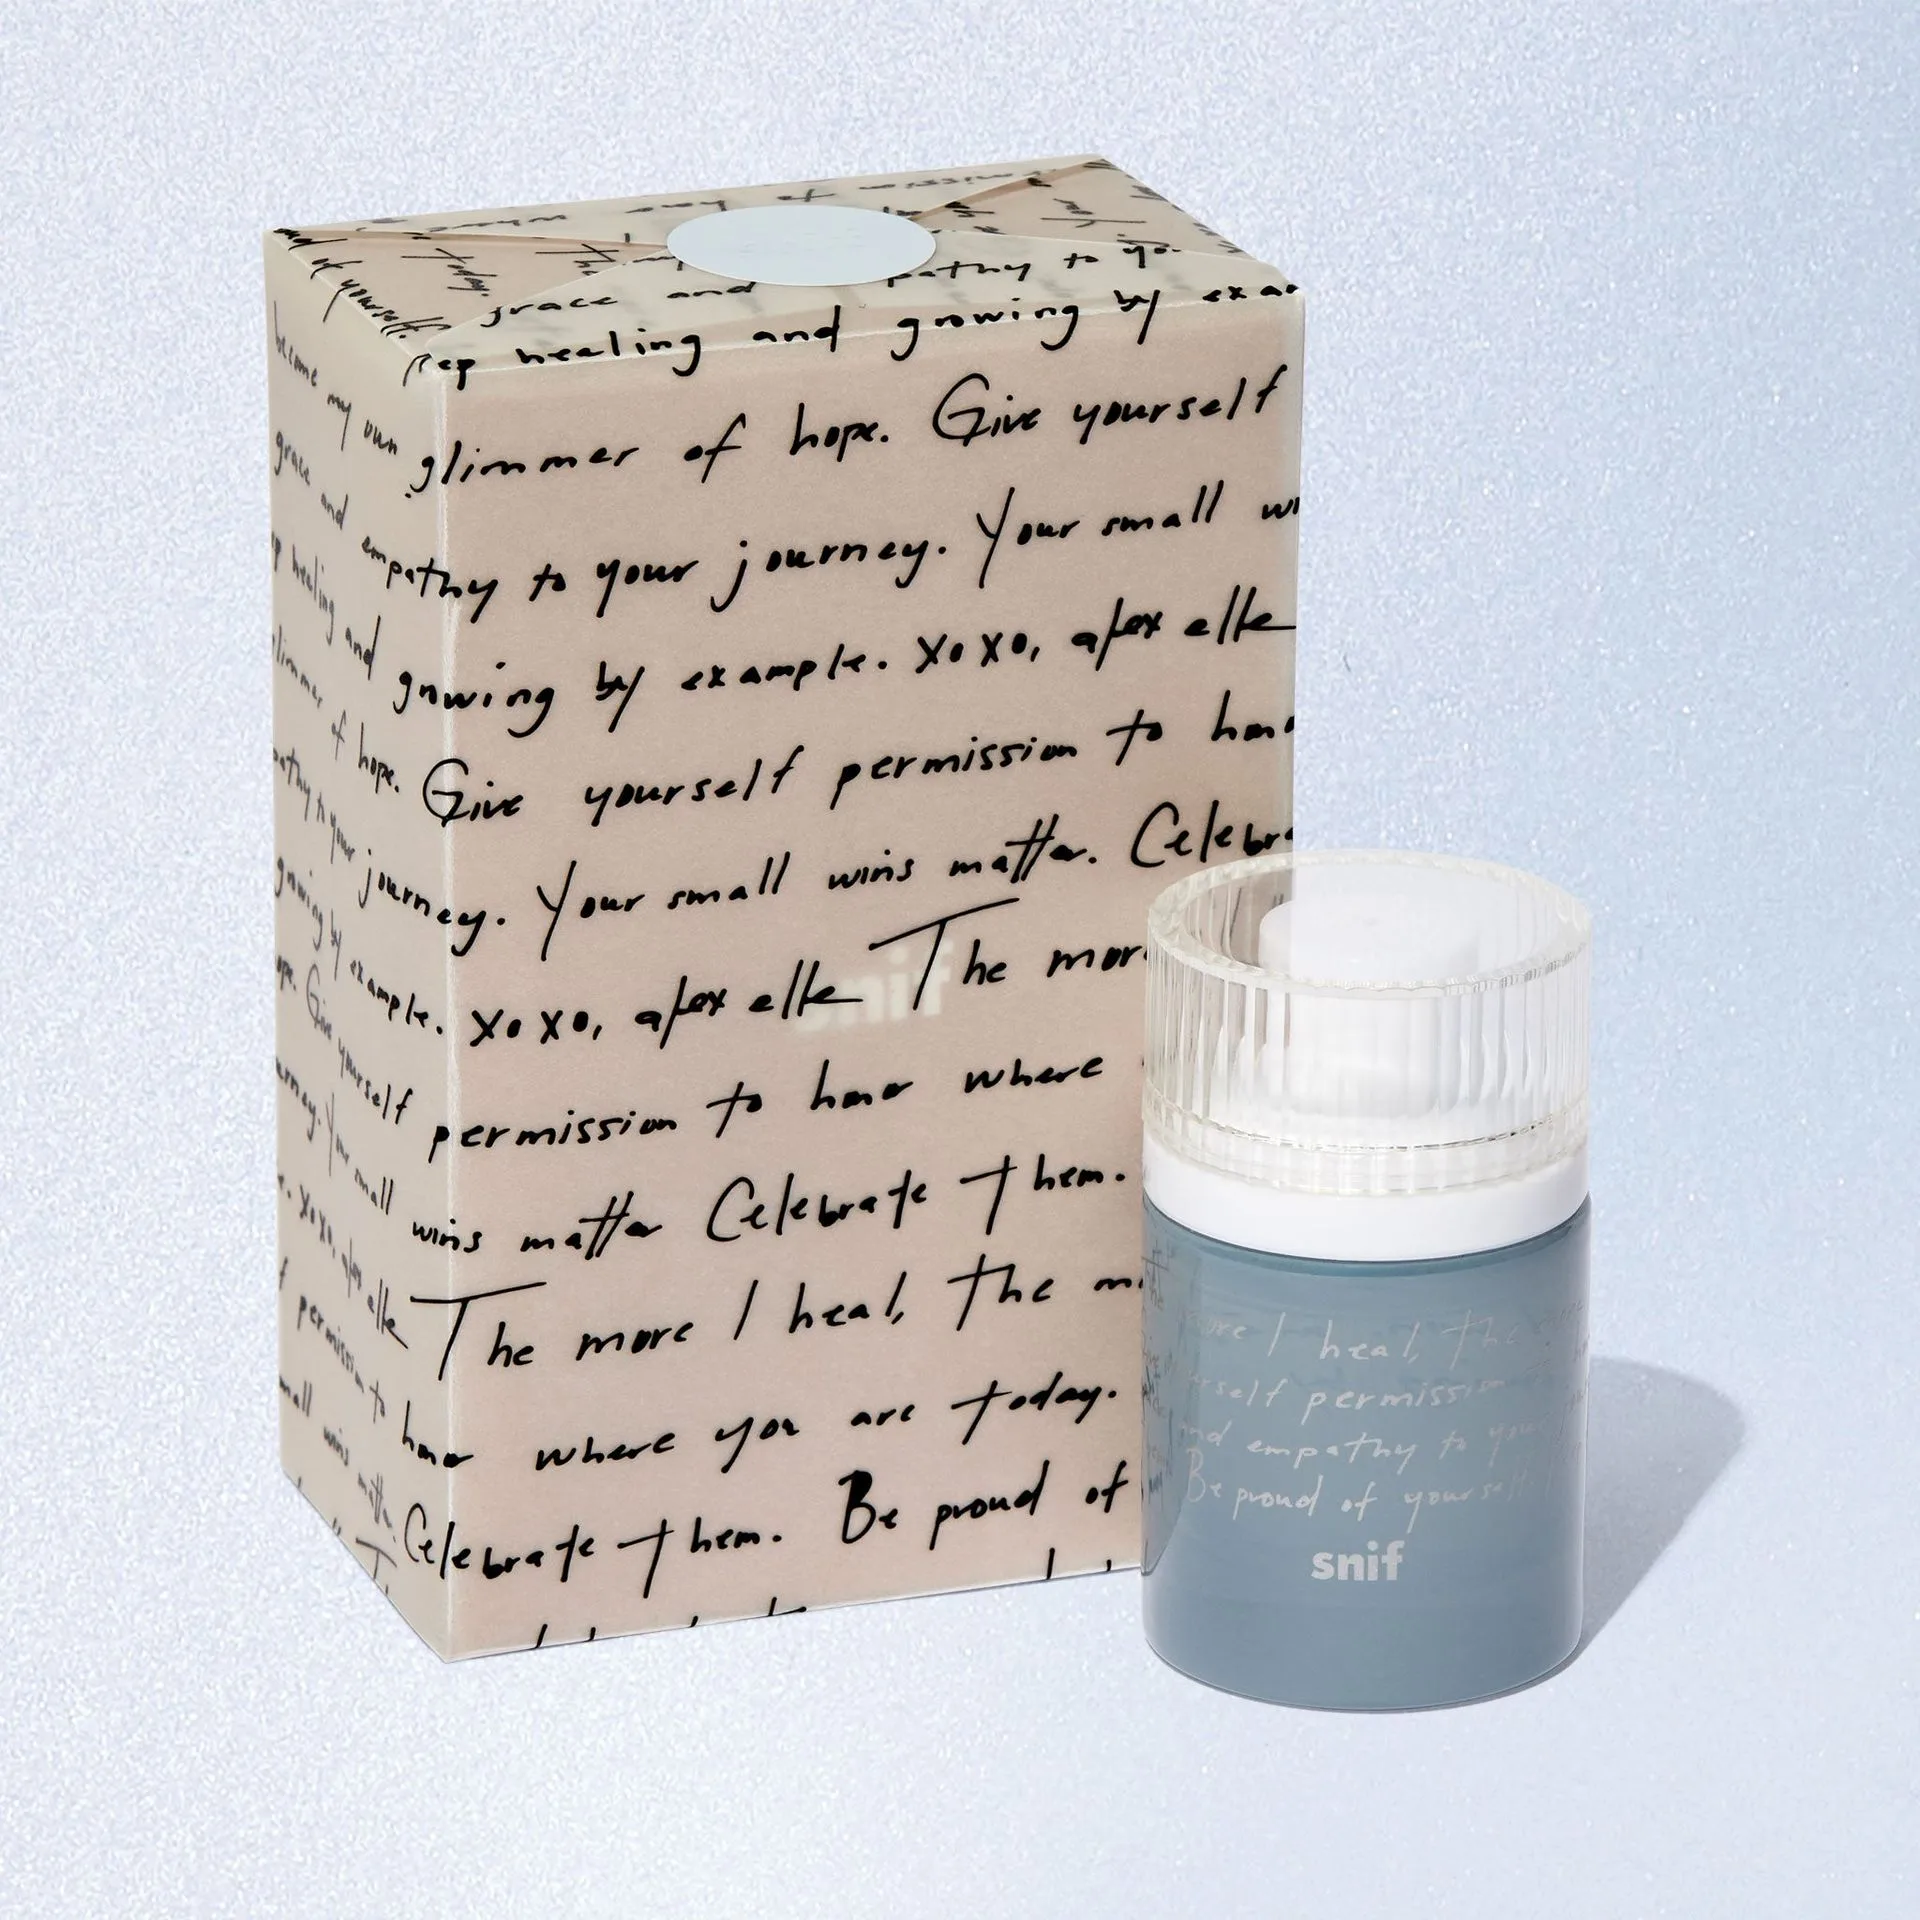
Other factors include drafts that cause one side to burn faster, a wick that is too short or off-center, and low-quality wax blends that don't hold heat well. Votive candles, like the Heal the Way Votive Set, are especially prone to tunneling if not given enough burn time because of their small size.
Heal the Way
How to prevent tunneling from the start
The golden rule is to burn your candle for at least one hour per inch of diameter on the first use. For an 8.5 oz candle like the Ditch Plains Candle, that means a burn time of roughly 3 to 4 hours to reach the edges. For a votive set, aim for 2 to 3 hours.
Keep the candle away from open windows, fans, and air vents. A steady flame produces even heat distribution. Trim the wick to 1/4 inch before each burn to control the flame height and reduce soot.
When to consider the candle's size and type
Larger candles with a wider diameter need longer initial burns to establish a full wax pool. Votive sets are smaller and can achieve a full melt pool faster, but they still require patience. The Merry Mint Mocha Votive Set, for example, has three mini candles that each need their own first burn to prevent tunneling.
If you frequently burn candles for short periods, consider using a candle warmer instead of lighting the wick. This method melts the wax evenly every time and extends the life of the candle.
Steps to fix an unevenly burning candle
- Check the wick: Trim the wick to 1/4 inch. A wick that is too long creates a high, sooty flame that burns unevenly. If the wick is off-center, gently nudge it back to the middle while the wax is still soft. Common mistake: forgetting to trim before each burn. A trimmed wick gives a steadier flame.
- Use the foil method: Wrap a piece of aluminum foil around the top of the candle, leaving a small opening for the flame. The foil traps heat and softens the raised wax edges. Burn for 1-2 hours until the wax pool reaches the sides. Checkpoint: Do not leave the candle unattended while using foil. Remove the foil once the wax is level.
- Level the wax with a heat source: If the tunnel is deep, use a candle warmer or a hair dryer on low heat to melt the top layer of wax. Pour out excess melted wax if needed, but leave enough to keep the wick functioning. Verdict: This method works best for candles that have already tunneled. After leveling, follow the first-burn rule on the next light.
- Burn for the full melt pool: Light the candle and let it burn until the wax melts all the way to the edges. For a votive, this takes about 2 hours. For an 8.5 oz candle, plan for 3-4 hours. Next step: Once the wax pool is full, you can extinguish the candle. Repeat this on every burn to prevent future tunneling.
Products mentioned in this guide
- Heal the Way Votive Set: Set of three votive candles with a whipped texture for a smooth, even burn. The whipped texture helps the wax melt more evenly, reducing the risk of tunneling in small votive candles.
- Merry Mint Mocha Votive Set: Includes three mini votive candles with a festive mint mocha fragrance. Each mini candle needs its own first burn to create a full melt pool, so plan for 2-3 hours per candle on first use.
- Ditch Plains Candle: 8.5 oz candle with a blend of neroli, tuberose, rum, cedarwood, and amber. Larger candles like this one require a longer first burn (3-4 hours) to reach the edges and avoid tunneling.