Quick answer
For a loose plush seam, turn the plush inside out if possible, then use a ladder stitch with matching thread to close the gap from the inside, knotting securely. For lint, use a lint roller or damp rubber glove, not a razor or sticky tape directly on the fabric. Stop and consider professional repair or replacement if the fabric is torn, the stuffing is exposed, or the seam is on a fragile embroidered area.
Diagnose the damage before you touch a needle
Not every loose thread means a seam is failing. A single thread tail often comes from a factory knot and can be trimmed flush with sharp scissors. A seam that is actually opening will show a gap between two pieces of fabric, or you will see the white inner lining or stuffing peeking through. If the fabric itself is torn, not just the stitching, a simple seam repair will not hold. In that case, a patch or professional repair is the better route. For embroidered details like button eyes or a character's face, avoid stitching through the embroidery; it can distort the design permanently.
How to repair a plush seam that is coming apart
Thread a hand-sewing needle with polyester thread that matches the plush fabric. If you cannot match exactly, choose a slightly darker shade rather than lighter. Turn the plush inside out if the seam is accessible from the inside; if not, work from the outside using a ladder stitch. Insert the needle into the fold of one side, then directly across into the fold of the other side, pulling gently to close the gap. Continue along the opening, then knot the thread twice and bury the knot inside the plush. Do not pull too tight, or the fabric will pucker. After sewing, gently tug the seam to test it. If it holds without gaping, you are done. If the fabric still separates, the surrounding fabric may be too weak for stitching, and a fabric patch or replacement is the next step.
Removing lint without damaging the plush surface
Lint and dust cling to plush because of static and the textured fibers. Start with a lint roller or a piece of packing tape wrapped around your hand, pressing gently and lifting. For deeper lint, dampen a rubber glove or a clean sponge and wipe in one direction. Avoid brushing vigorously, which pushes lint deeper into the pile. If the plush has a long pile, a soft-bristle baby brush can lift lint out, but use it dry and lightly. Never use a razor, scissors, or a fabric shaver on plush unless the manufacturer explicitly says it is safe; these tools can cut the pile and create permanent bald spots. For sticky residue from tape, dab with a tiny amount of rubbing alcohol on a cotton swab, then blot dry. Test on a hidden area first.
When to stop and choose another option
Stop sewing if the fabric around the seam is disintegrating, if the plush is filled with foam beads that spill easily, or if the repair area is on a fragile printed or embroidered feature. In those cases, a professional toy repair service or a replacement plush is more practical. Also stop if you have already sewn the seam twice and it keeps opening; the fabric itself is failing, and more stitches will only create new holes. For collectible plush, check whether the item is still available before attempting a risky repair. A replacement may cost less than a botched fix that lowers the plush's display value.
Symptom, cause, and action checker
- Single loose thread with no gap: Likely a factory knot tail, not a seam failure. Trim it flush with sharp scissors, but do not pull it. No repair needed. If the thread is attached to a seam that is opening, treat it as a seam repair instead.
- Seam gap showing lining or stuffing: The stitching has broken or pulled through the fabric. Use a ladder stitch with matching polyester thread, working from the inside if possible. If the gap closes and holds after a gentle tug, you are done. If it reopens, stop and consider a patch or replacement.
- Fabric tear, not just a seam split: The fabric itself is torn, so stitching the edges together will not hold. A fabric patch or professional repair is needed. Do not sew a tear closed under tension; it will rip again. Choose a patch or replacement.
- Lint embedded in the pile: Static and textured fibers trap lint. Use a lint roller, damp rubber glove, or soft brush, working gently in one direction. If lint does not lift after two gentle attempts, leave it; aggressive tools can damage the plush.
- Sticky residue on plush surface: Tape or sticker residue can be dabbed with a cotton swab lightly moistened with rubbing alcohol, then blotted dry. Test on a hidden area first. If the fabric color transfers, stop immediately.
Plush care examples from our catalog
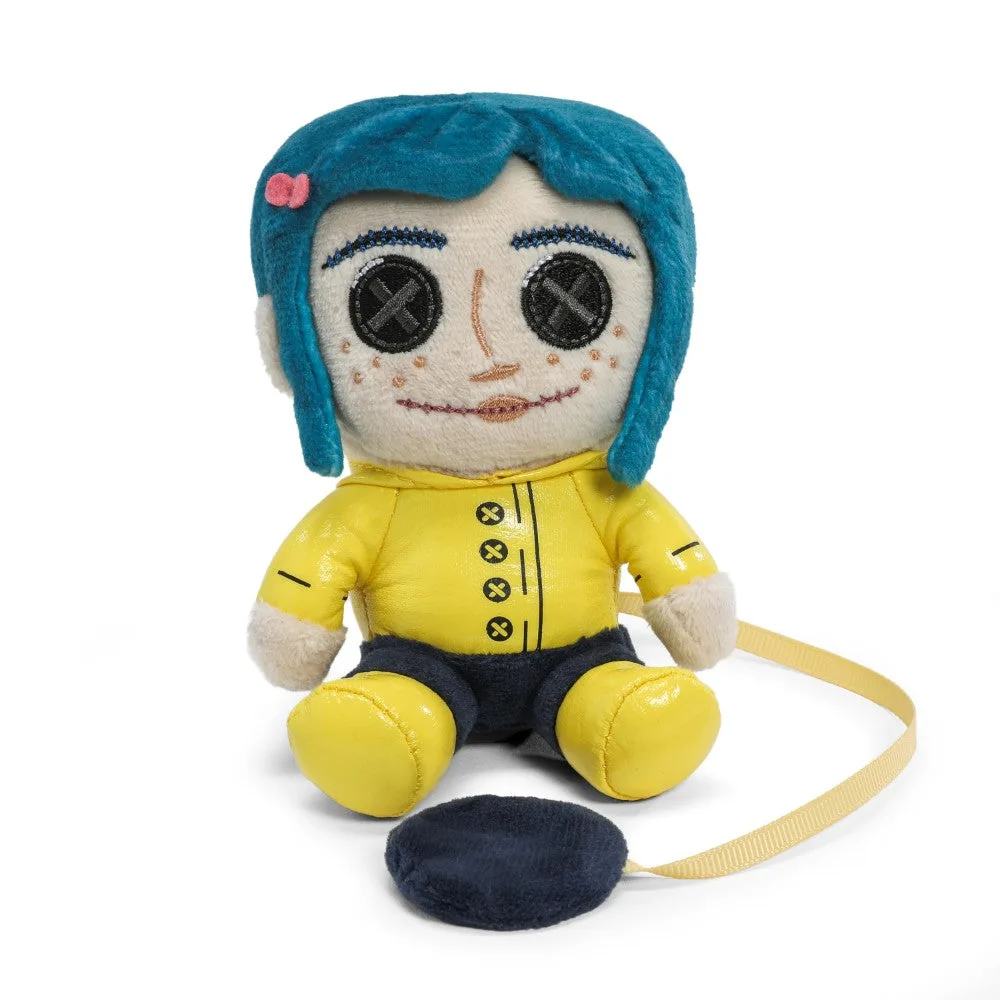
- Coraline with Button Eyes Plush Shoulder Phunny: Coraline with Button Eyes Plush Shoulder Phunny measures 4.5 inches and features embroidered button eyes, blue hair, and a yellow raincoat, with magnets for wearing on your shoulder. The embroidered eyes and small size mean you should avoid stitching through the face; if the magnet pocket loosens, repair from the inside to protect the embroidery.
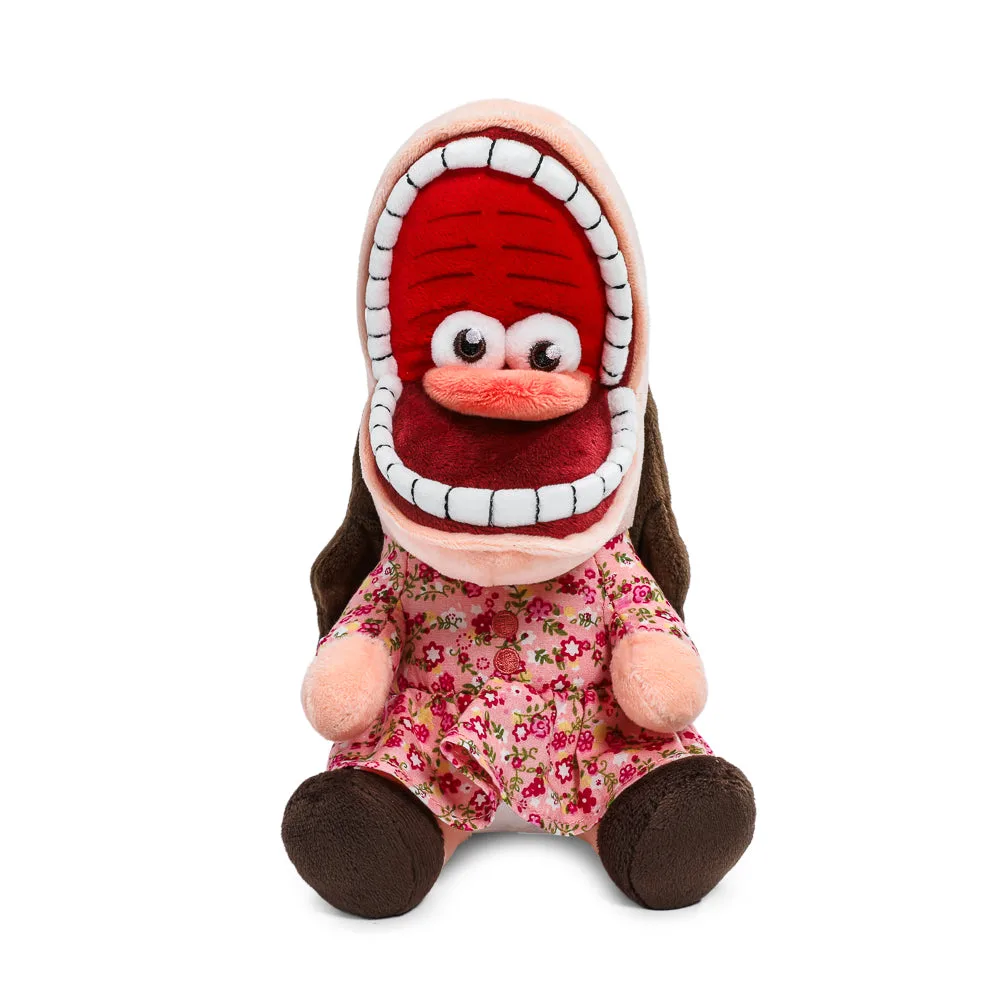
- Beetlejuice Scary Barbara Phunny Plush: Beetlejuice Scary Barbara Phunny Plush stands 7.5 inches tall and includes bulging eyes, tongue, teeth, and a floral dress. The 3D facial details can snag lint easily; use a damp cloth or lint roller gently around the eyes and mouth rather than brushing hard.