Quick answer
To fix a frayed plush seam invisibly, use a ladder stitch with matching thread. Turn the plush inside out if possible, align the raw edges, and sew from the inside so the thread only catches a few fibers of each side. Pull tight every few stitches to close the gap without puckering. This method works on most plush seams and leaves no visible stitching.
Why a ladder stitch is the right repair for plush seams
A ladder stitch (also called a blind stitch) is the standard repair for plush seams because it hides the thread inside the fold of the fabric. Unlike a whipstitch, which wraps over the edge and stays visible, a ladder stitch connects the two sides from the inside. This makes it ideal for collectible plush where appearance matters. Most plush toys, including Youtooz plush, are sewn with a machine overlock stitch that can fray if a seam pops. Replacing that with a hand ladder stitch is often stronger and neater than trying to replicate the original machine finish.
What you need before you start
Gather a hand-sewing needle (size 7 or 8 is good for plush), thread that matches the plush fabric color, small scissors, and optional straight pins or clips. If the seam is on a stuffed area, you may need to remove a small amount of stuffing to access the seam, then re-stuff after sewing. For a plush like the Lucy Nessie Plush (9in), which has a long neck and extended limbs, check whether the fray is on a curved seam or a straight one; curved seams need shorter stitches and more frequent tightening.
Step-by-step plush seam repair
- 1. Assess the damage and secure loose threads: Examine the frayed seam. If there are loose threads, tie them off or trim them short so they don't tangle. Do not pull them, as this can unravel more of the seam. Checkpoint: If the fabric is torn beyond the seam line, you may need a patch instead of a simple resew.
- 2. Turn the plush inside out (if possible): For small plush, you may be able to turn the item inside out to access the seam from the back. If the plush is too stiff or has delicate details, work from the outside using a ladder stitch. Common mistake: Forcing a plush inside out can crack vinyl parts or stretch fabric. Only do this if the plush is soft and flexible.
- 3. Thread your needle with matching thread: Cut about 18 inches of thread. Use a color that matches the plush fabric as closely as possible. Knot the end. For extra strength, you can double the thread. Checkpoint: Test the thread color against the fabric in natural light to ensure it blends.
- 4. Anchor the thread inside the seam: Insert the needle from the inside of one side of the seam, coming out at the fold. Pull through until the knot is hidden inside. Then take a tiny stitch on the opposite side, catching only a few fibers. Common mistake: Catching too much fabric will pucker the seam. Less is more.
- 5. Sew a ladder stitch along the opening: Alternate sides: insert the needle straight across from the last exit point, catching a small bit of fabric on the opposite side. Continue until you reach the end of the tear. Keep stitches about 1/8 inch apart. Checkpoint: Every few stitches, gently pull the thread to close the gap. The seam should meet without overlapping.
- 6. Tighten and secure the seam: After the last stitch, pull the thread firmly to close the seam completely. Hold the seam closed while you tie a knot close to the fabric. Bury the knot inside the plush by inserting the needle and pulling it out elsewhere, then trim. Common mistake: Tying too tight can create a dimple. Tie snugly but not forcefully.
- 7. Fluff and check the repair: Gently rub the seam with your finger to blend the stitches. If the plush was unstuffed, re-stuff it to the original shape. Check that the seam is closed and no thread shows. Final check: If the seam still gapes, add a few more stitches. If the fabric puckers, you pulled too tight; you may need to redo with looser tension.
Plush examples and what to watch for
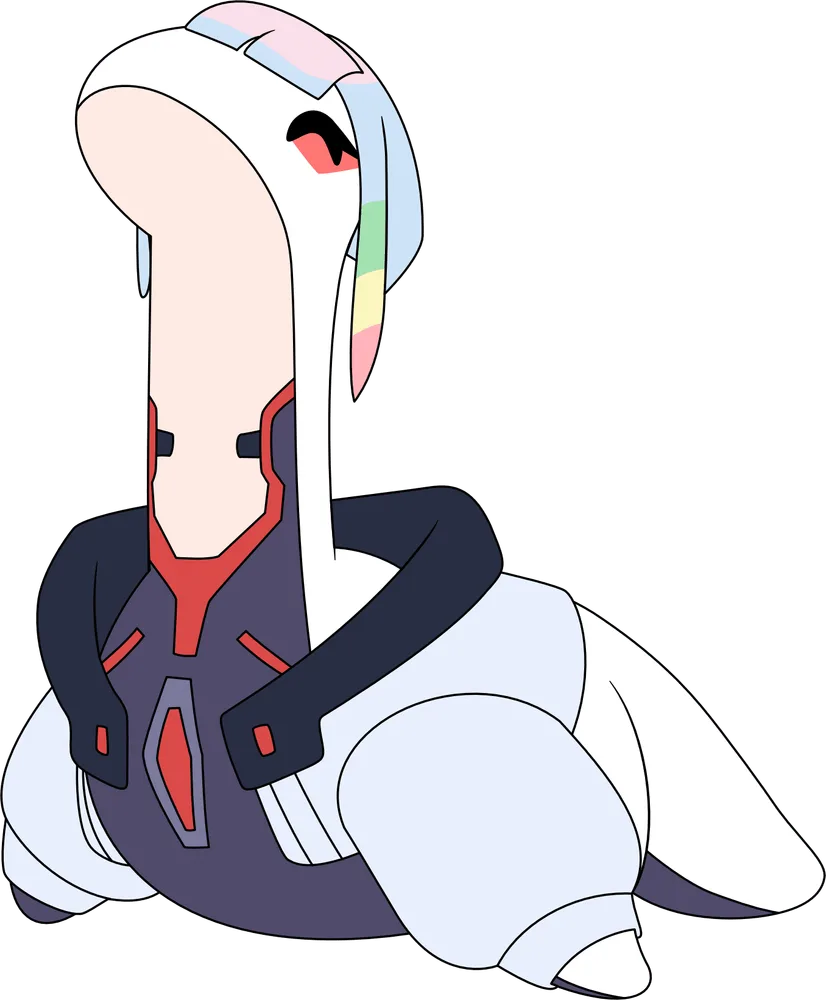
- Lucy Nessie Plush (9in): Lucy Nessie Plush (9in) is a 9-inch plush with a long neck and limbs extended forward and back, dressed in a light blue jacket with navy details and a navy bodysuit. The long neck and extended limbs create curved seams that can fray with handling. When repairing, use shorter stitches along curves and avoid pulling too hard, which can distort the plush shape.
- Cuphead Plush (9in): Cuphead Plush (9in) is a 9-inch plush with a happy grin, a red and white straw, and bright red shorts. The straw and grin are sewn details that can snag. If the seam near these features frays, repair from the inside to avoid stitching over the straw or face.
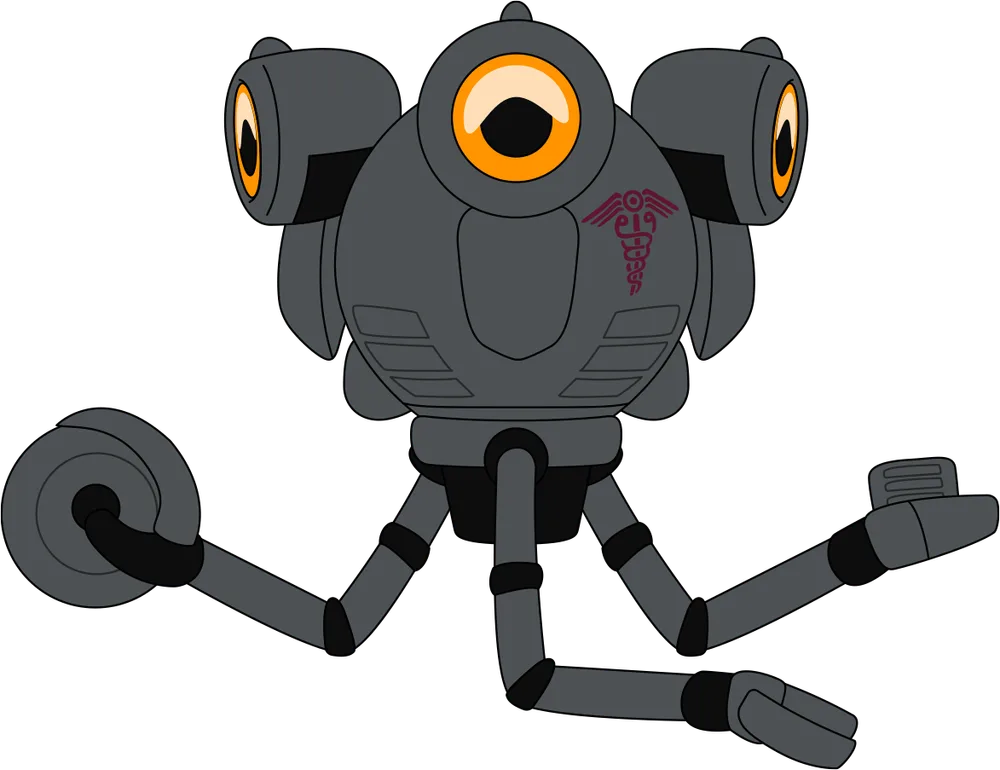
- Snip-Snip Plush (9in): Snip-Snip Plush (9in) is a 9-inch plush with a grey metal-panel body, three glowing orange eyes, and three long arms ending in surgical instruments. The multiple arms and small eye details mean more seams to check. Repair one seam at a time and match thread to the grey body to keep the fix invisible.