Quick Answer
Clean the area around the puncture, apply the included patch firmly, and let it cure before reinflating. The SlumberTot Patch Kit makes this a 5-minute fix.
Why a Quick Repair Matters
A small puncture in your SlumberTot mattress can turn a peaceful travel night into a deflating problem. Catching and fixing it early saves you from hunting for a replacement mid-trip. The patch kit is designed for exactly this scenario—compact enough to pack, simple enough to use without special tools.
What You'll Need
The SlumberTot Patch Kit includes everything you need: a patch, adhesive, and instructions. No extra glue or scissors required. Just make sure the mattress surface is dry and free of dust before you start.
Step-by-Step Repair Instructions
- Locate the puncture: Inflate the mattress slightly and listen for a hiss or feel for escaping air. Mark the spot with a pen or your finger. Do not over-inflate while searching—it can enlarge the tear.
- Clean and dry the area: Wipe the puncture zone with a clean cloth to remove dirt or moisture. Let it air dry for 30 seconds. A dirty surface prevents the patch from bonding properly.
- Apply the patch: Peel the backing from the patch and press it firmly over the puncture. Smooth out any air bubbles from the center outward. Press for at least 30 seconds to ensure full adhesion.
- Let it cure: Wait 2–3 hours before inflating the mattress fully. For best results, leave the patch undisturbed overnight. Using the mattress too soon can cause the patch to peel off.
Product Used in This Guide
-
SlumberTot Patch Kit: This patch kit is designed to quickly and easily repair small punctures on your SlumberTot mattress. It keeps your inflatable bed usable on the road without needing a full replacement.
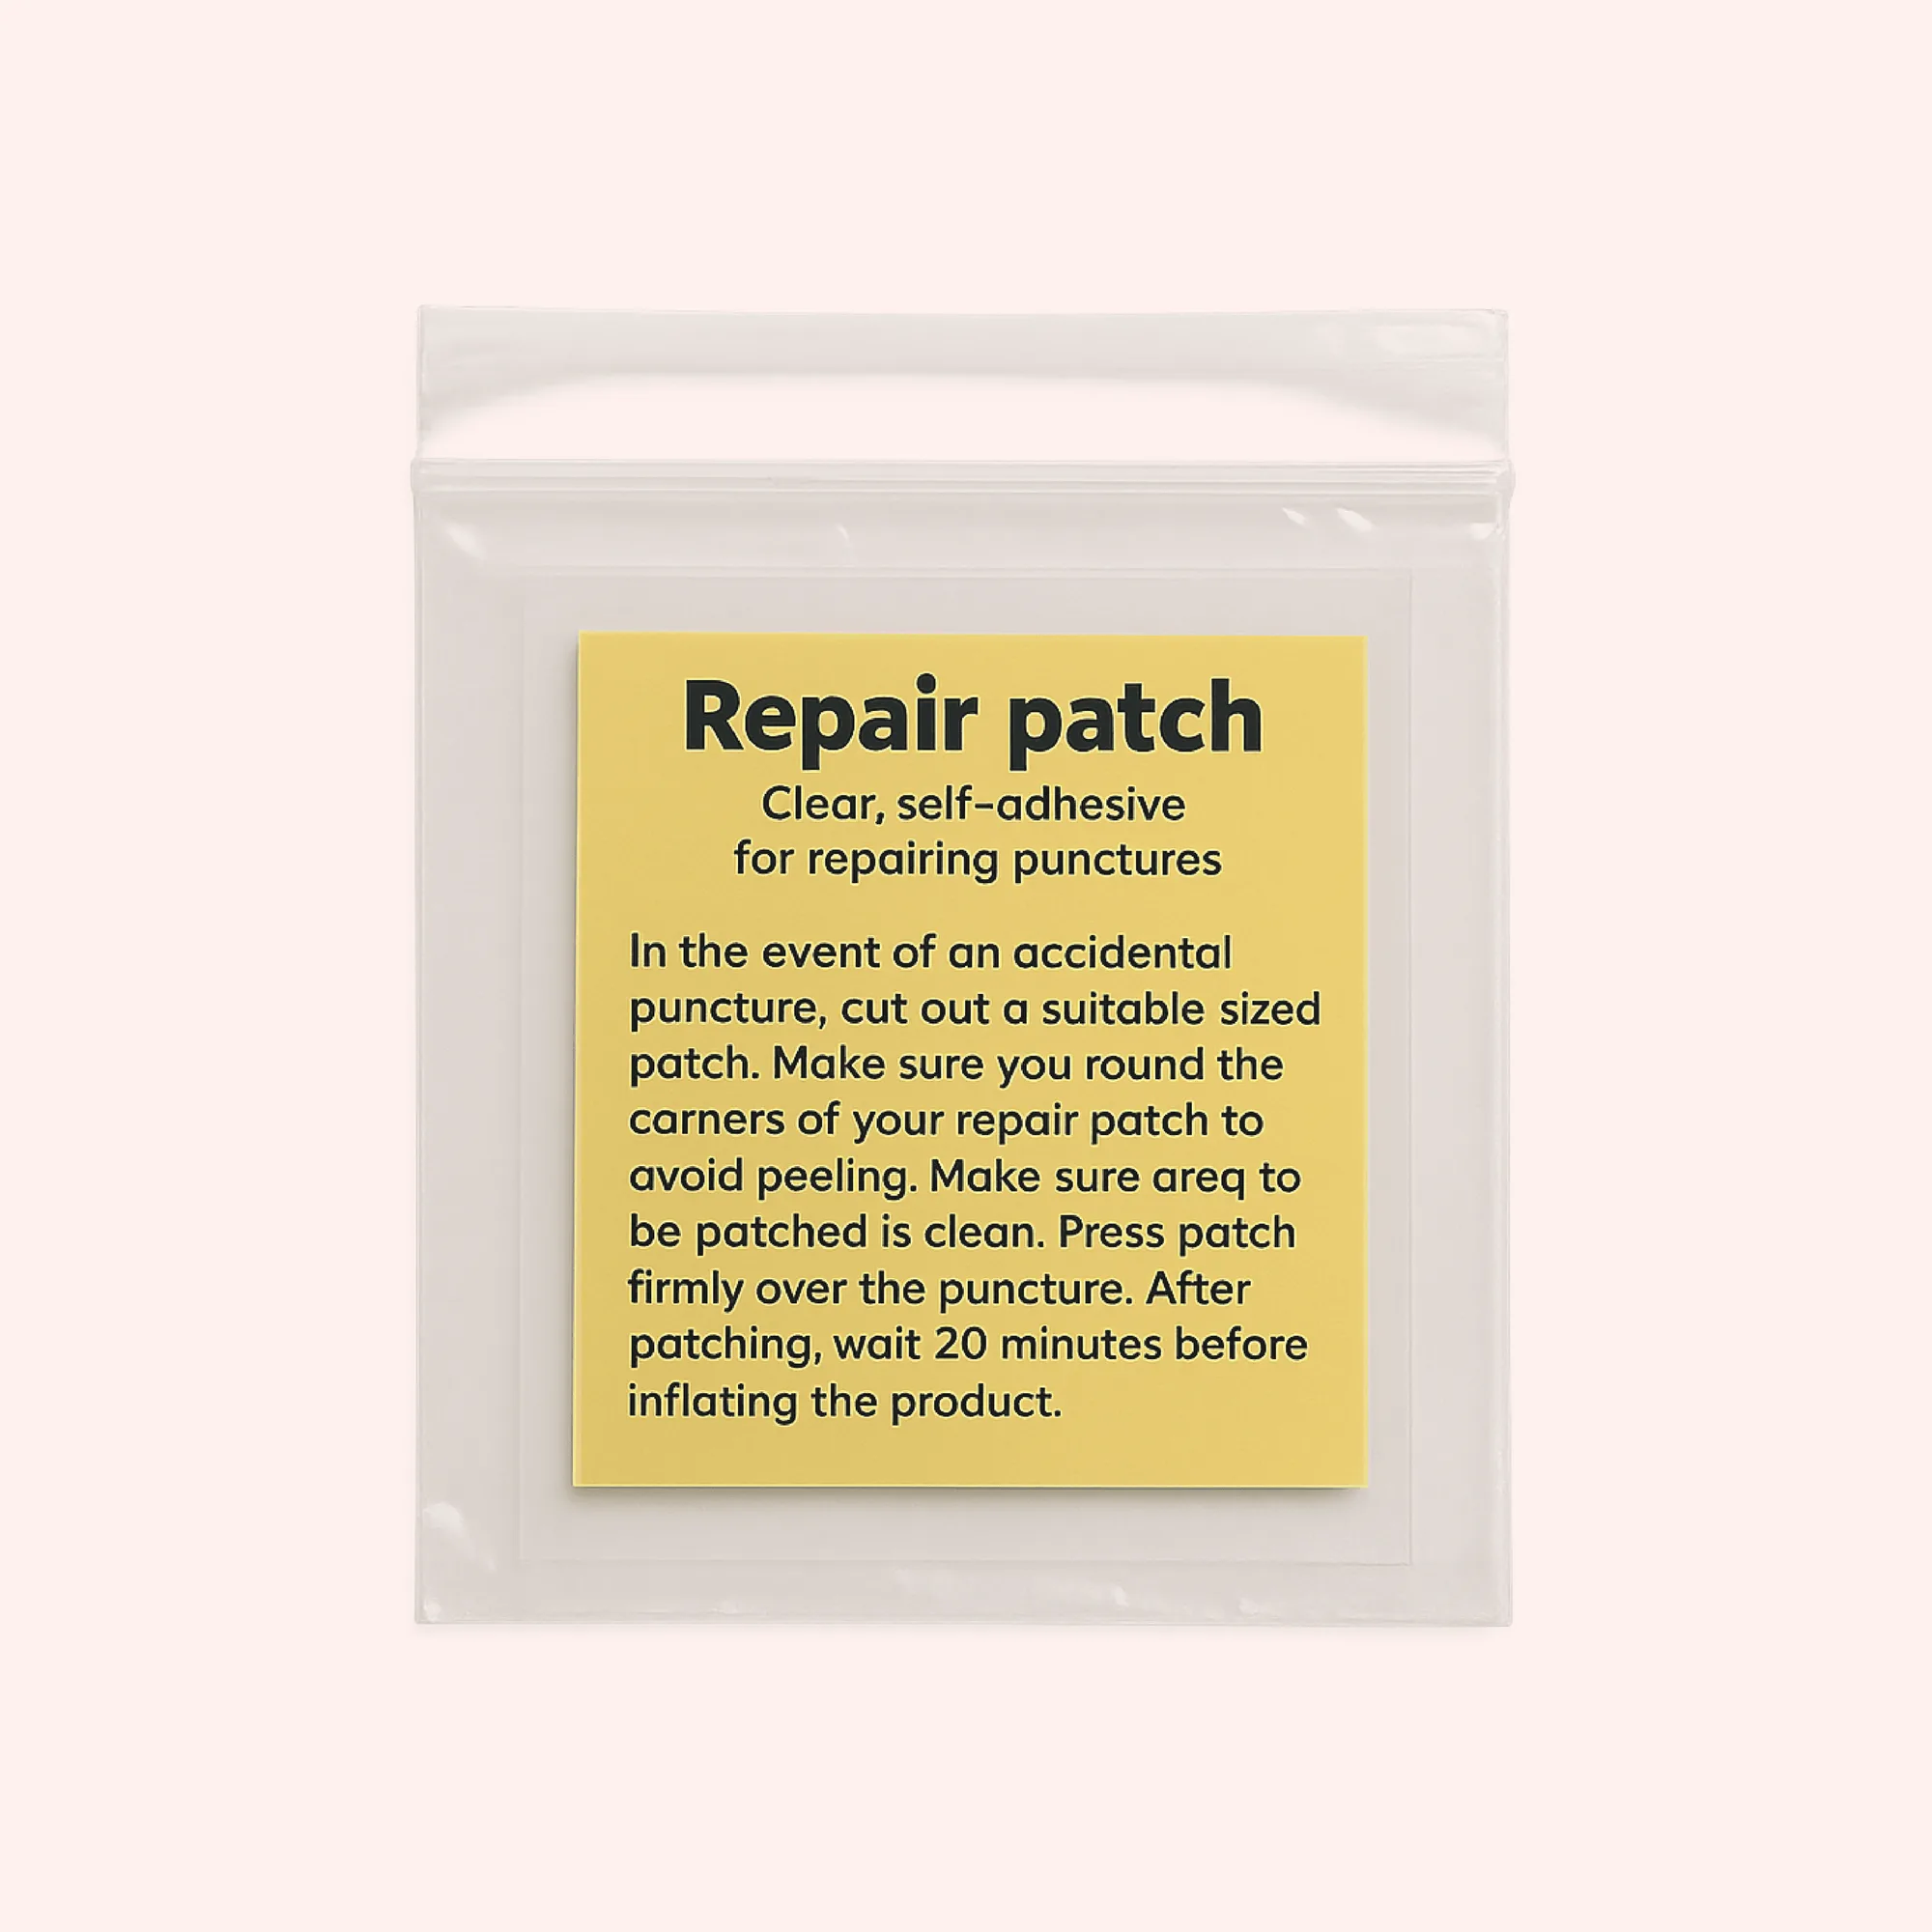
SlumberTot Patch Kit