Quick answer
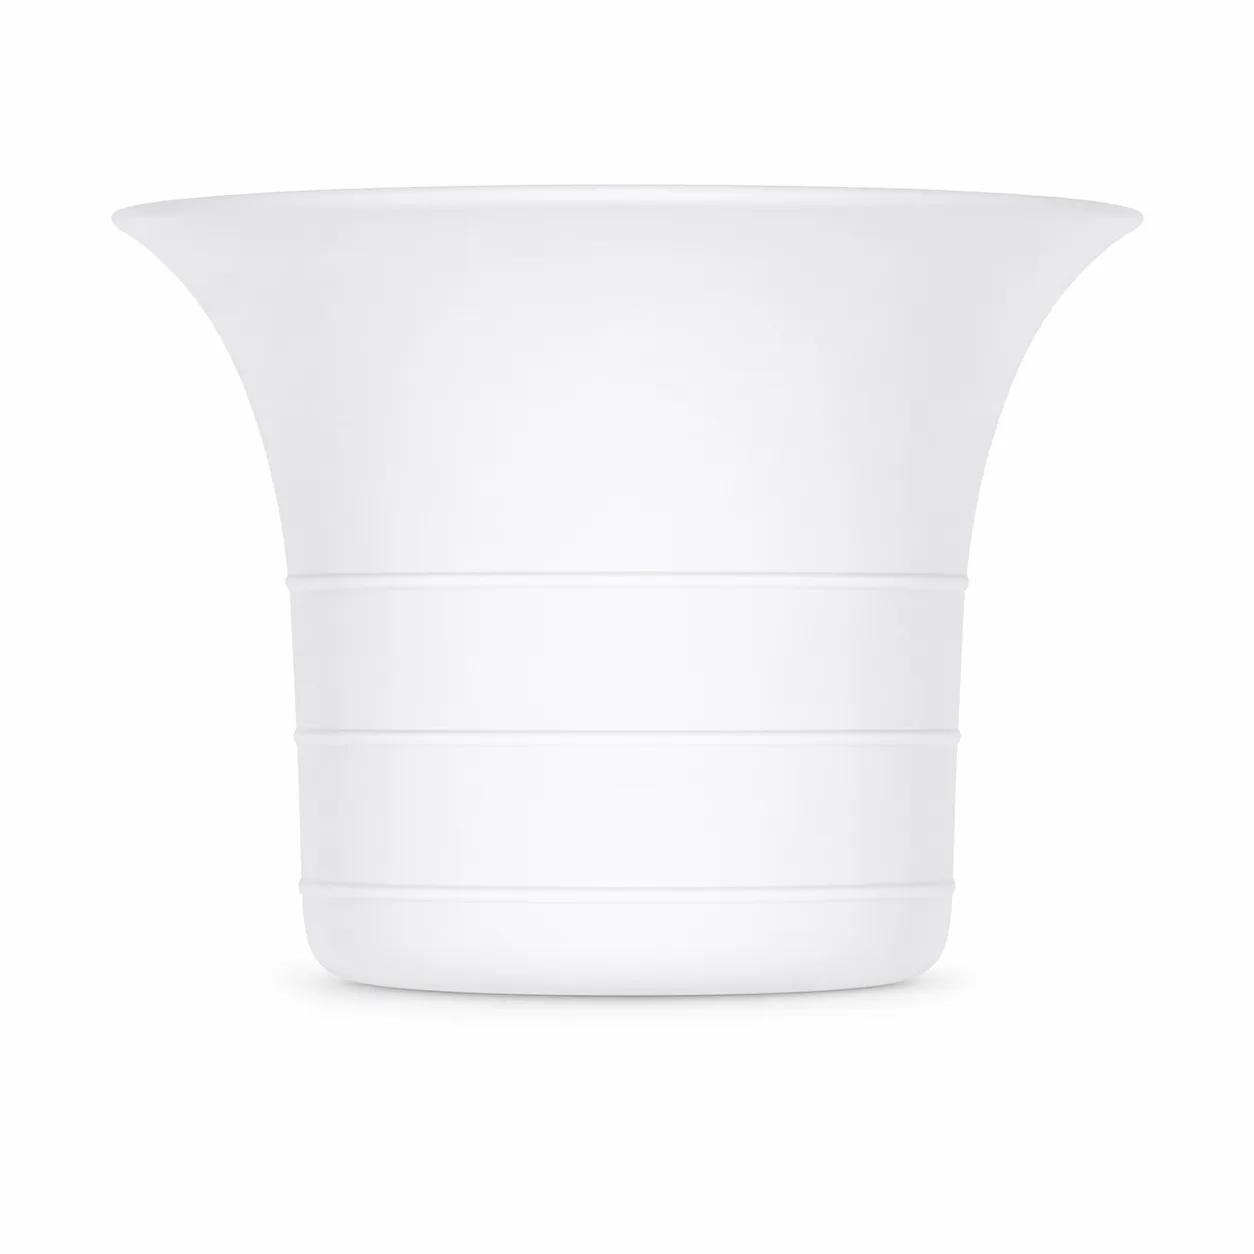
A flange insert is a soft silicone sleeve that drops a 24mm flange tunnel down to a smaller size, so you can fine-tune fit without buying a whole new flange. Measure your nipple diameter in millimeters, add roughly 2 to 3mm for the tunnel, then choose the closest insert size. If you land between sizes, start smaller and size up if pumping feels pinched or output drops.
What a flange insert actually changes
A flange insert does not change your pump's suction or cycle settings. It only narrows the tunnel opening, which changes where your nipple sits during a session. That matters because a tunnel that is too wide pulls in areola, which can cause friction, swelling, and slower milk removal. A tunnel that is too narrow pinches the nipple and can reduce flow. Inserts are the cheapest way to test a size before committing to a different flange.
How to measure before you order
Measure your nipple base diameter, not the areola, using a ruler or caliper in millimeters. Measure before pumping, because pumping temporarily changes the size. Take the measurement on both sides; it is common for one breast to need a different insert size than the other. Write the numbers down and keep them with your pump so you are not re-measuring every time you order.
The 2 to 3mm rule, and where it breaks down
The common starting rule is nipple diameter plus 2 to 3mm equals your tunnel size. So a 15mm nipple points toward a 17mm or 18mm tunnel, and a 19mm nipple points toward a 21mm tunnel. The rule is a starting point, not a verdict. Elastic nipples, swelling during letdown, and how your nipple moves in the tunnel can all push you one size in either direction. Expect to test at least two sizes.
Why the smallest size is not automatically better
New pumpers often assume a tighter tunnel means stronger suction. In practice, an insert that is too small blocks milk ducts at the nipple base, which can feel sharp and slow output. If you see a white ring around the nipple after a session, or the nipple comes out flattened, that is a sign to size up. Comfort and output usually improve together when the fit is right, so treat pain as data, not something to push through.
Using inserts with a wearable pump
Wearable breast pump inserts sit inside the cup that rests against your breast, so the insert has to stay seated while you move. Check that the rim is fully pressed into the flange before you start, and re-seat it if you feel suction drop mid-session. Because wearable cups are often sold in one default size, inserts are usually the only way to adjust fit without replacing the whole cup. Keep a spare pair in your pump bag so a lost insert does not end a session.
Cleaning and replacing inserts
Silicone inserts collect milk residue in the fold where they meet the flange, so pull them out and wash them separately rather than rinsing the assembled flange. Check for cloudiness, sticky spots, or stretched rims, which are signs the silicone is degrading and no longer holding its shape. A stretched insert can slide during pumping and change your effective tunnel size, so replace it rather than trying to stretch more use out of it.
Step-by-step: dialing in your insert size
- Measure the nipple base in millimeters: Measure before pumping, on both sides, using a ruler or caliper. Write the numbers down. Common mistake: measuring the areola or measuring after a session, which inflates the number and leads to an oversized insert.
- Add 2 to 3mm to get a starting tunnel size: Match that number to the closest insert size. A 15mm measurement points toward a 17mm insert; an 18 to 19mm measurement points toward 21mm. Checkpoint: if you are exactly between two sizes, start with the smaller one and size up if needed.
- Test one size at a time for a full session: Run a normal pump session with the insert seated fully in the flange. Note comfort, output, and how the nipple looks afterward. Common mistake: judging fit in the first two minutes, before letdown changes how the nipple sits in the tunnel.
- Check the nipple after you finish: The nipple should look round and feel comfortable, not flattened, blanched, or creased. A white ring at the base means the tunnel is too small. Checkpoint: pinching, blanching, or a drop in output are all reasons to try the next size up.
- Adjust each side independently: If your measurements differ, order two sizes rather than forcing one to work on both sides. Label them so you grab the right one at 3 a.m. Next step: once a size works consistently for a week, buy a second pair so you are never washing inserts mid-session.
BabyBuddha insert sizes at a glance
- Flange Inserts – 17mm (2-pack) for Wearable Breast Pump and 24mm Flanges: 17mm Flange Inserts, 2-pack, designed for wearable breast pump and 24mm flanges; soft, flexible design intended to support nipple alignment and reduce friction. A middle size that fits many pumpers who measure around 14 to 15mm at the nipple base, and a common first test size when 21mm feels too wide.
- Flange Inserts – 19mm (2-pack) for Wearable Breast Pump and 24mm Flanges: 19mm Flange Inserts, 2-pack, designed for wearable breast pump and 24mm flanges; soft, flexible design intended to support nipple alignment and reduce friction. Useful when 17mm pinches but 21mm pulls in areola, giving you a step between the two most common sizes.
- Flange Inserts – 21mm (2-pack) for Wearable Breast Pump and 24mm Flanges: 21mm Flange Inserts, 2-pack, designed for wearable breast pump and 24mm flanges; soft, flexible design intended to support nipple alignment and reduce friction. The largest listed insert size, and the right starting point if your nipple measures about 18 to 19mm and a 24mm flange feels too roomy.