Quick Answer
A flash curing light with a silicone head lets you cure nail art elements in place without moving your stamper, giving you precise control over placement and adhesion.
Why Use a Flash Curing Light for Your Nail Stamper Setup
Traditional nail art stamping requires you to pick up a design, transfer it to your nail, and then cure it under a full-sized lamp. With a flash curing light, you can cure small elements like glitters, dried flowers, or stickers directly on the silicone stamper before placing them onto the nail. This prevents shifting and ensures each piece stays exactly where you want it.
The silicone head on the flash curing light grips the art securely while the UV LED beads cure the gel or adhesive underneath. This method is especially useful for multi-piece designs or when working with delicate items that might move during a standard cure cycle.
Step-by-Step: Flash Cure Nail Stamper Setup
- Prepare Your Silicone Stamper: Clean your silicone stamper with a lint-free wipe and rubbing alcohol to remove any dust or oils. A clean surface ensures the gel or adhesive bonds properly. Common mistake: using a dirty stamper can cause the art to lift or slide during transfer.
- Apply Adhesive or Gel to the Stamper: Apply a thin, even layer of clear gel or nail adhesive onto the silicone stamper head. Place your nail art elements (glitters, flowers, stickers) onto the gel. Checkpoint: make sure the gel layer is thin—too much will cause the art to slide when you press it onto the nail.
- Flash Cure the Art on the Stamper: Turn on the flash curing light and hold the silicone head directly over the art for 5–10 seconds. The UV LED beads will cure the gel, locking the art in place on the stamper. Common mistake: curing too long can make the gel brittle; 5–10 seconds is usually enough for small elements.
- Transfer the Cured Art to Your Nail: Gently press the silicone stamper onto your prepared nail, rolling from one side to the other to avoid air bubbles. The cured gel should release cleanly from the stamper. Checkpoint: if the art sticks to the stamper, you may need to lightly dust the nail with a no-wipe top coat before transfer.
- Finish with a Top Coat: Apply a thin layer of no-wipe top coat over the transferred art and cure under a full-sized lamp for the recommended time. This seals the design and adds shine. Common mistake: skipping the top coat can leave the art exposed to chipping or lifting.
Product Facts
-
Flash Curing Light with Silicone Stamper UV.LED: This mini UV LED nail lamp has a silicone head to securely hold nail stickers, glitters, and dried flowers in place. The silicone head keeps small decorative elements from shifting during the curing process, giving you more control over your nail art placement.
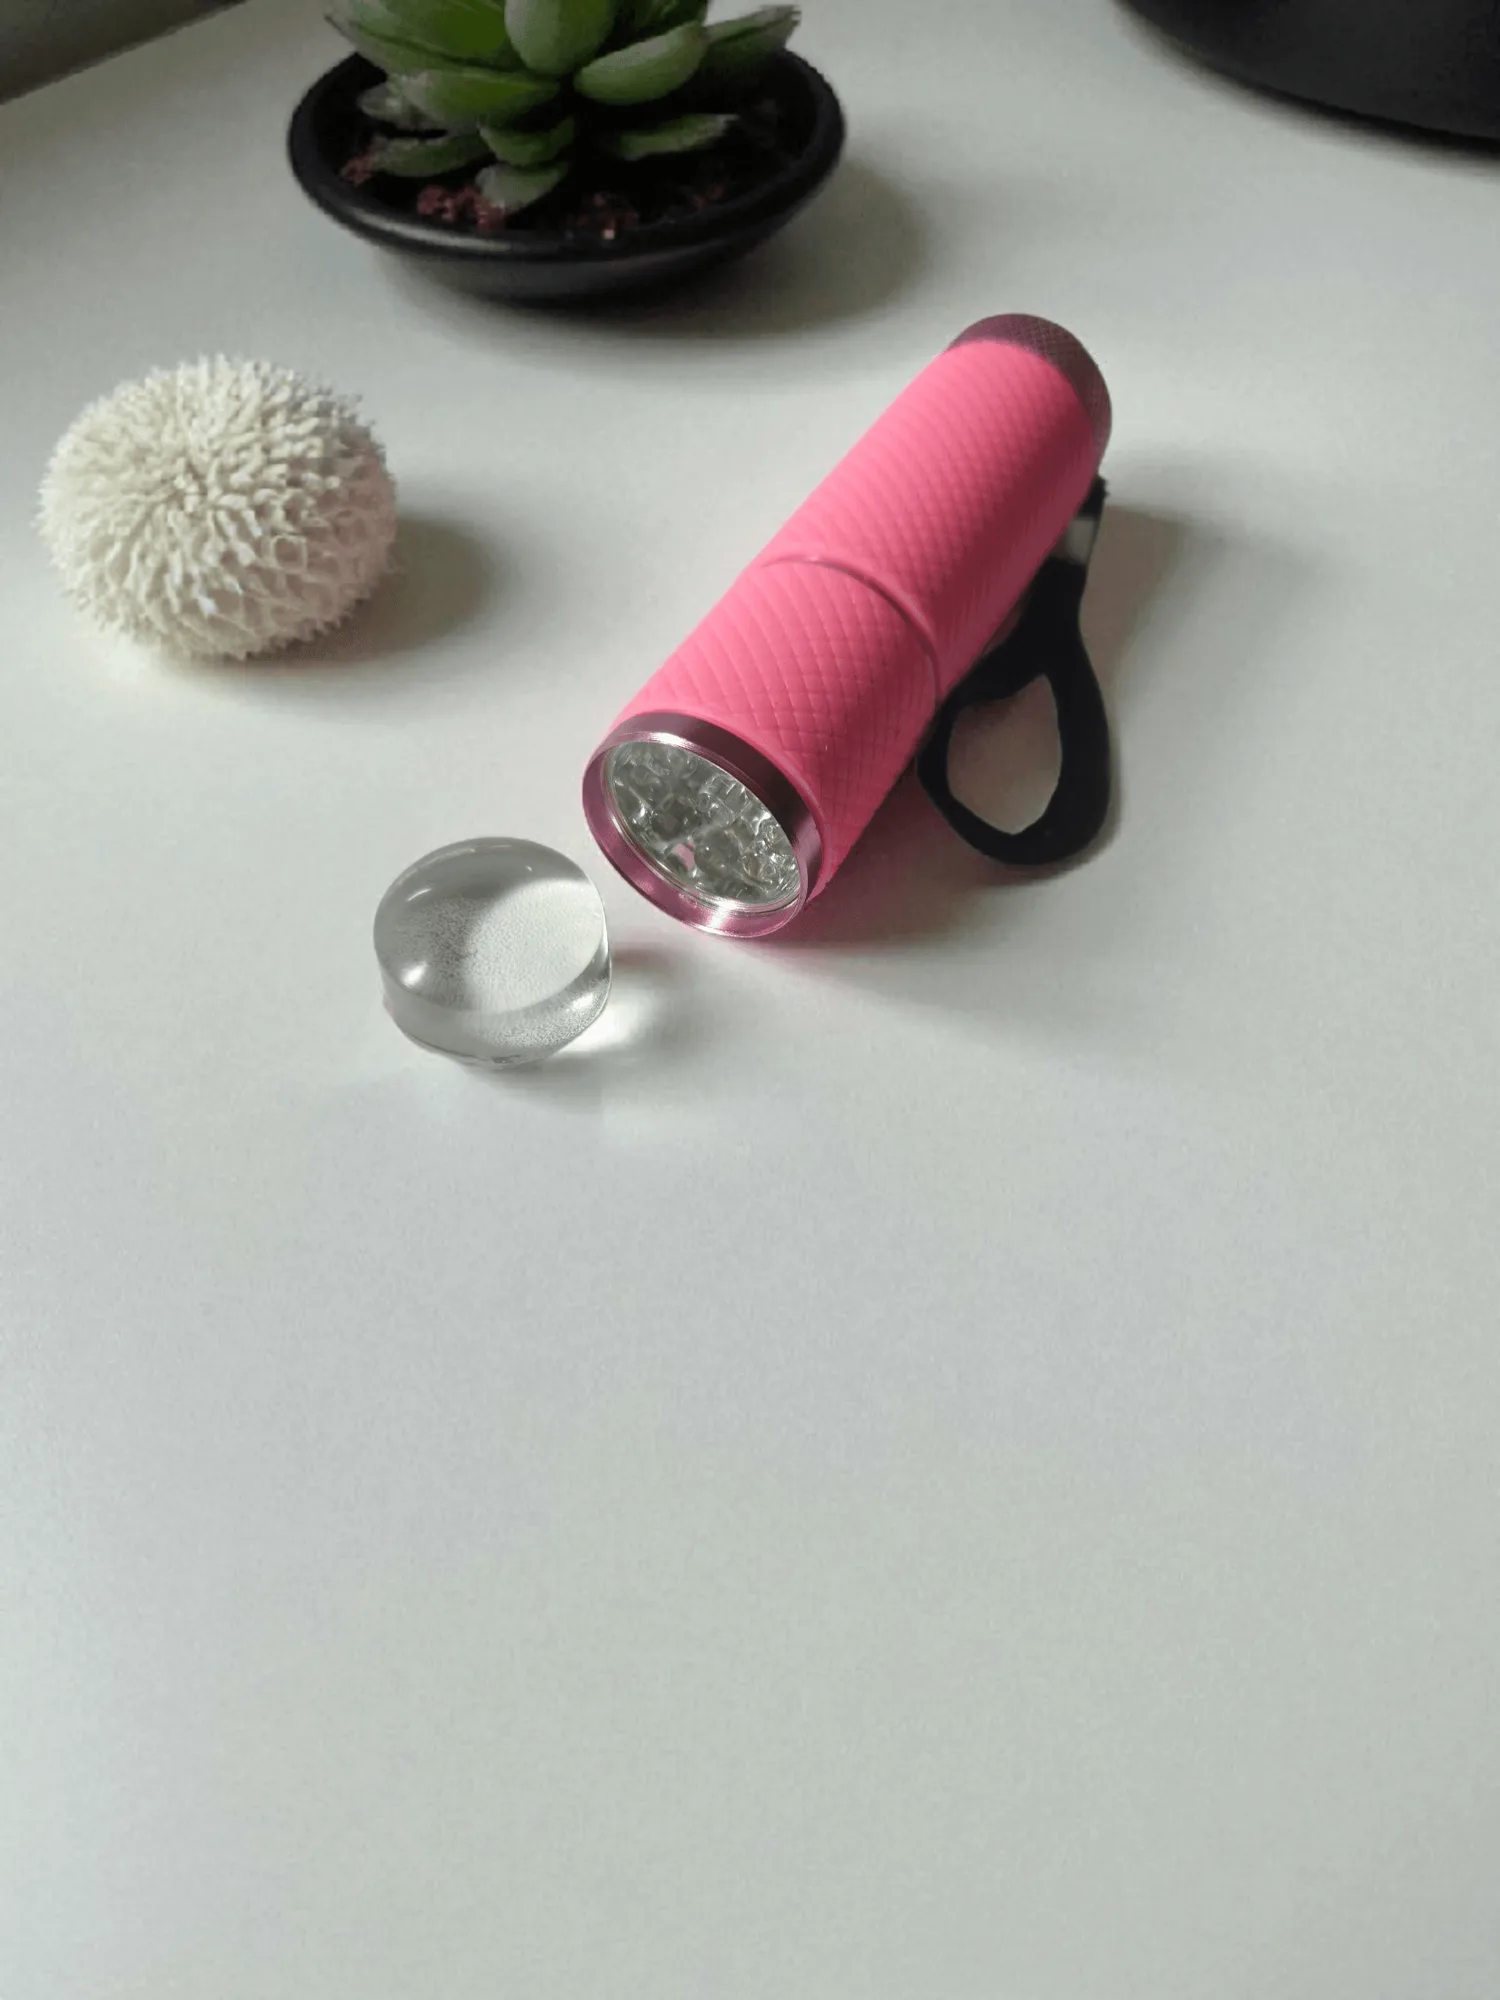
Flash Curing Light with Silicone Stamper UV.LED