Quick answer
Mount your action camera securely on any flat surface by installing a Quad Lock 360 Flat Rectangle Base with the appropriate countersunk fasteners, then attach your camera via a Quad Lock 360 head or adapter. Choose the 2-hole base for lighter setups and the 4-hole base for maximum hold.
Why flat rectangle bases suit action camera setups
Action cameras often need to be mounted on flat, rigid surfaces such as vehicle dashboards, boat decks, or workshop walls. The Quad Lock 360 Flat Rectangle Base provides a low-profile, secure foundation that accepts the universal AMPs hole spacing, making it compatible with a wide range of aftermarket mounts and accessories.
The base can be fixed vertically, diagonally, or horizontally, so you can orient your camera for the best angle without needing a complex bracket. This flexibility is especially useful when space is tight or when you want to keep the camera close to the surface.
Choosing between the 2-hole and 4-hole base
The 2-hole base is lighter and easier to install, making it a good choice for small action cameras or temporary setups. However, if you plan to mount a heavier camera or expect high vibration, the 4-hole base offers a more robust connection. Quad Lock recommends using all four screws with the 4-hole base for the strongest hold.
Consider the surface material and thickness as well. Thicker surfaces may require longer screws, and soft materials like plastic or wood might need pilot holes to prevent cracking.
Step-by-step installation
- Choose and prepare the mounting surface: Select a flat, rigid area that can accept screws. Clean the surface with isopropyl alcohol to remove dust and grease. Mark the hole positions using the base as a template. Common mistake: mounting on curved or flexible surfaces, which can cause the base to warp or loosen over time. Check that the surface is truly flat and strong enough to hold the screws.
- Drill pilot holes: Use a drill bit slightly smaller than the screw diameter (for 10G or M5 screws, a 3.5–4 mm bit is typical). Drill to a depth that allows the screw to bite without protruding through the other side. Common mistake: skipping pilot holes in hard materials, which can split the surface or strip screw heads. Always test the drill bit size on a scrap piece if unsure.
- Position the base and insert screws: Align the base over the pilot holes. For the 4-hole base, insert all four screws and tighten them gradually in a diagonal pattern to ensure even pressure. For the 2-hole base, tighten the two screws firmly. Common mistake: over-tightening, which can crack the base or strip the holes. Tighten until snug, then stop—do not force.
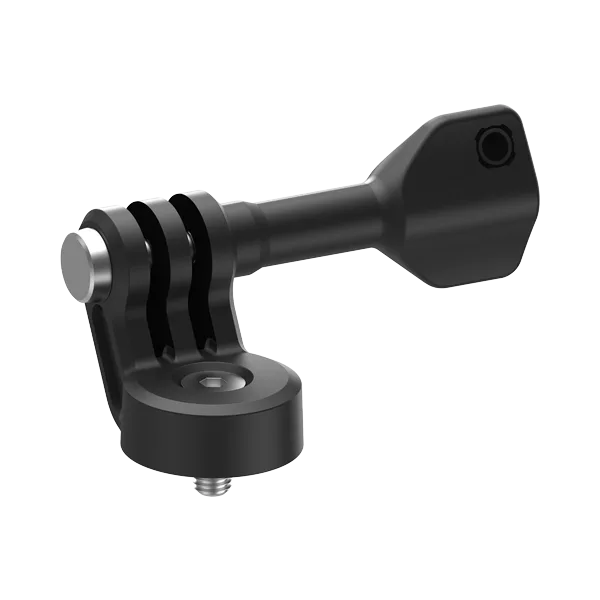
- Attach your action camera: Use a Quad Lock 360 head or adapter (sold separately) to connect your action camera to the base. Ensure the locking mechanism is fully engaged. Common mistake: not checking compatibility between the base and your camera mount. Verify that the camera is secure before use, especially in moving environments.
- Test and adjust: Gently tug on the base and camera to confirm stability. If there is any movement, re-tighten screws or consider adding a thread-locking compound. Common mistake: ignoring slight wobbles, which can worsen with vibration. Perform a final check after the first use and periodically thereafter.
Product facts
-
Quad Lock 360 Base - Flat Rectangle Bases: Uses universal AMPs hole spacing and accepts 10G or M5 countersunk fasteners. This means you can use commonly available screws and have flexibility in mounting hardware.
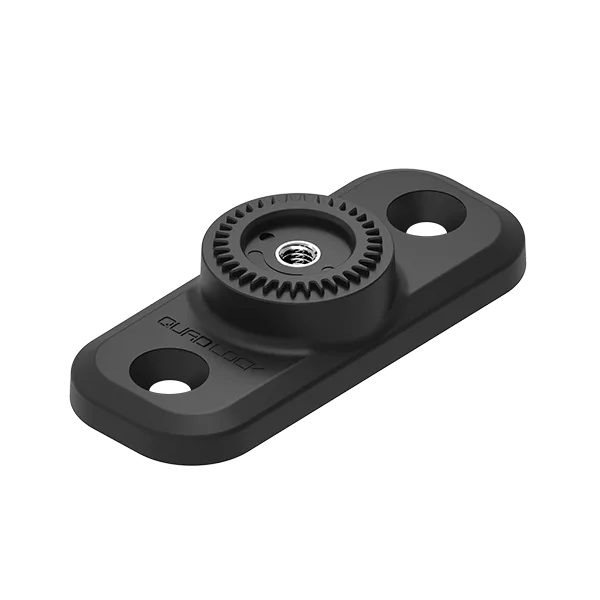
Quad Lock 360 Base - Flat Rectangle Bases
-
Quad Lock 360 Base - Flat Rectangle Bases: Available in 2-hole or 4-hole versions; 4-hole recommended with all four screws for strongest connection. Choose the 4-hole base for heavy action cameras or high-vibration environments to prevent loosening.