Quick answer
Pour fluorescent liquid watercolor paint into small cups at a tray-based station, not directly from the 8 oz bottles. Keep one cup per color, one dropper or brush per cup, and a damp rag within reach. That single habit prevents almost every spill and cross-contamination problem, and it makes cleanup a two-minute job instead of a twenty-minute one.
Why fluorescent paint needs a different setup than cake watercolors
Fluorescent liquid watercolor paint is already liquid, so it moves the moment a bottle tips. Cake pans and solid palettes stay put; a full 8 oz bottle does not. That is the whole reason this setup looks different from a typical watercolor table. You are managing volume and flow, not just color.
The payoff is worth the extra prep. Liquid color in droppers and pipettes gives children a level of control that cakes and pans cannot: one squeeze, one drop, one visible result. That immediate cause-and-effect is what makes this material useful for color mixing, sensory exploration, and fine-motor practice at the same time.
Choosing tools that match the paint, not fight it
Droppers, pipettes, and brushes all work with this paint, but they behave differently. Droppers and pipettes give precise drops and are the better choice for color-mixing experiments and counting activities. Brushes cover more paper faster and suit younger children who are still building grip strength. Offer both, but assign each child one tool per color so cups stay clean.
Paper matters too. Thin copy paper buckles under liquid watercolor. Heavier watercolor paper, cardstock, or absorbent paper towels handle the moisture and hold the fluorescent brightness instead of turning muddy. If you are working with a tight budget, paper towels make a surprisingly good first surface for free exploration.
Setting up the physical station
A low tray with a raised lip is the single most useful piece of equipment here. It contains drips, defines each child's workspace, and can be carried to the sink in one trip. Place cups in the tray, not loose on the table. If you are setting up for a group, one tray per two children keeps the shared colors within reach without crowding elbows.
Light and height matter more than most teachers expect. Fluorescent color reads best on a light or white surface, so a white tray or white paper underneath makes the brightness obvious. Table height should let children rest their forearms flat; if they have to reach up, they will tip cups.
Managing the 8 oz bottles between sessions
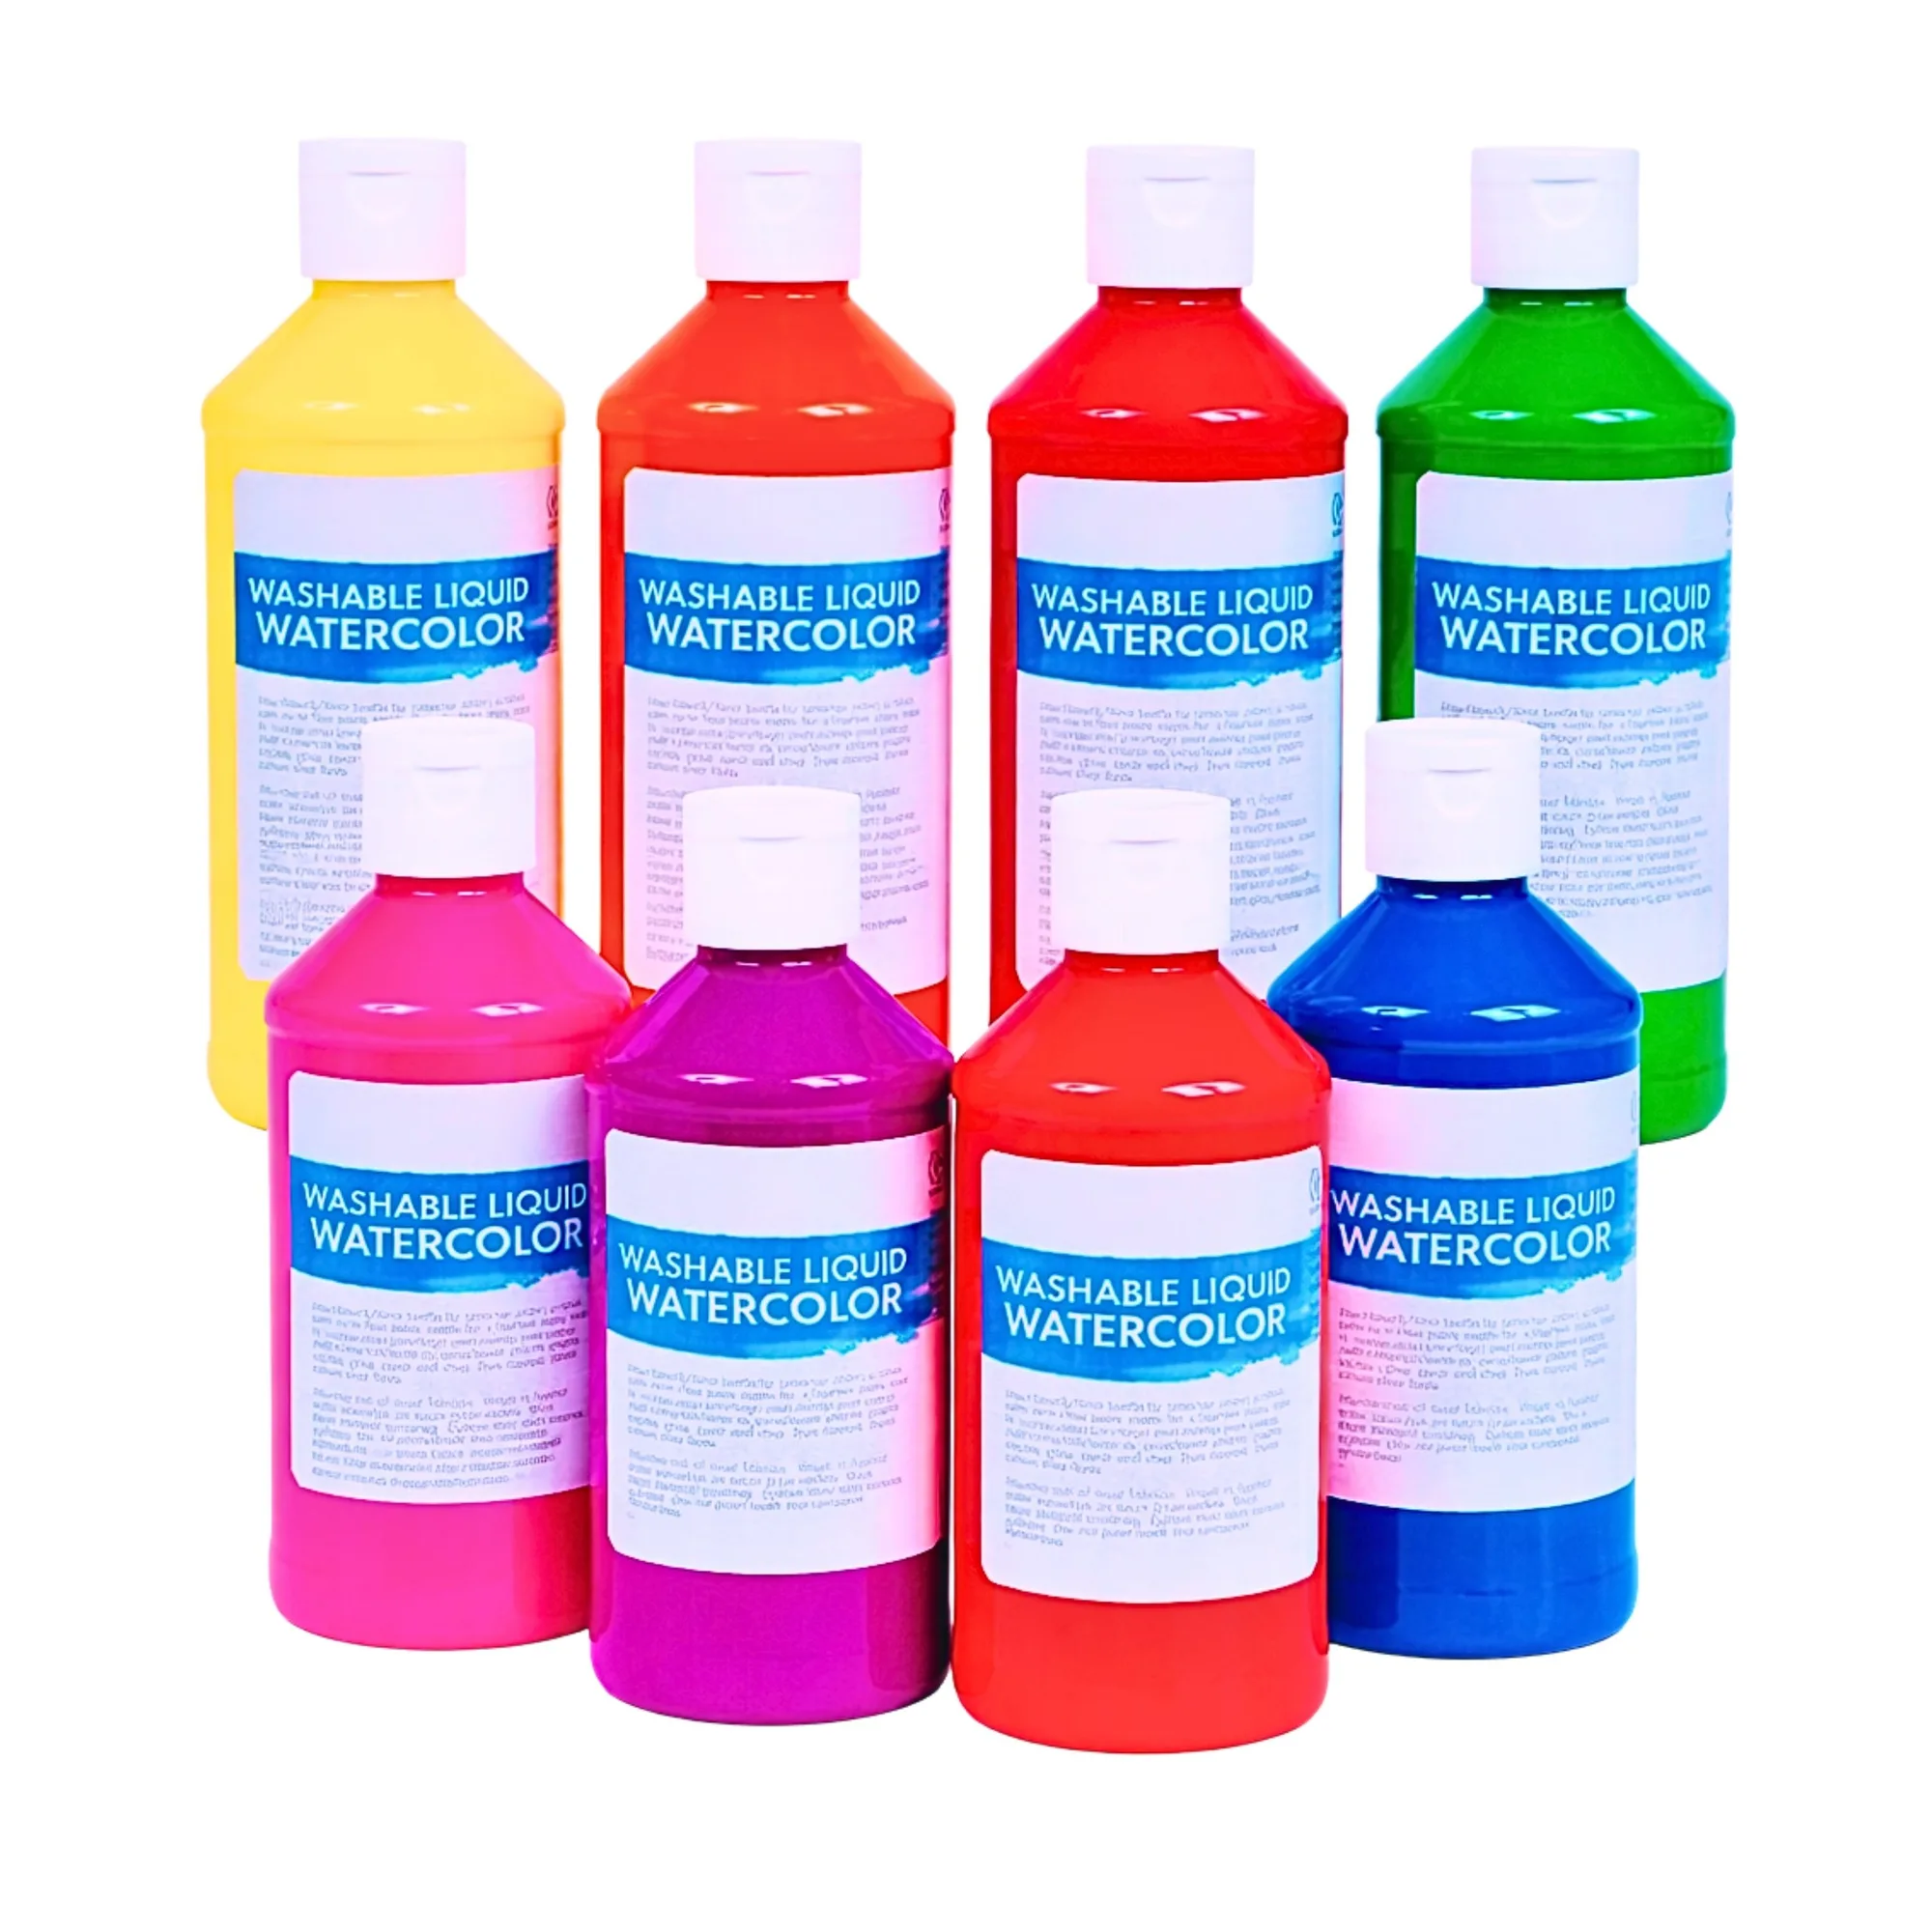
The 8 oz bottles are refill stock, not table stock. Decant what you need into small cups, then cap the bottles and put them away before children arrive. A bottle left on the table is the most common cause of a full-container spill, and it is also the fastest way to lose a whole color to contamination.
Label cups by color if you reuse them across sessions. Fluorescent colors are hard to tell apart once they are diluted or mixed, and a mislabeled cup teaches the wrong color name. Rinse cups thoroughly between colors; residue from one fluorescent shade will tint the next one.
Cleanup order that actually saves time
Cleanup goes faster if you work in a fixed order: tools first, then cups, then trays, then table, then hands. Tools rinsed first stop paint from drying in bristles and dropper tips, which is what shortens their usable life. Cups rinsed second prevent color from setting in the plastic. Trays and table come last because they catch the drips from everything else.
For stains on clothing, rinse in cold water before washing and avoid letting paint dry into fabric. Cold water keeps the pigment moving; hot water can set it. Keep a damp rag and a small bucket at the station so a spill gets handled in seconds rather than after it spreads.
Paint station setup and cleanup in eight steps
- 1. Cover and stage the surface: Lay a wipeable tablecloth or butcher paper under the work area, then set a low tray with a raised lip at each station. Put the 8 oz bottles on a shelf behind you, not on the table. Checkpoint: if a bottle is within a child's reach, it is in the wrong place.
- 2. Decant into small cups: Pour only what the session needs into small cups, one color per cup, and cap the bottles immediately. Refill mid-session from the shelf if a color runs low. Common mistake: filling cups to the brim. Half-full cups tip less and waste less.
- 3. Assign one tool per cup: Give each cup its own dropper, pipette, or brush and keep them paired. Do not let children move a wet tool from one color to another. Checkpoint: a clean cup of paint should never have a second color swirling in it.
- 4. Set the paper and a test corner: Use heavy watercolor paper, cardstock, or absorbent paper towels rather than thin copy paper. Have each child make one test drop in a corner before starting the real work. The test drop shows how far the paint spreads on that paper before it ruins a finished piece.
- 5. Place cleanup tools before the first drop: Put a damp rag, a small rinse bucket, and a trash container at the station before children start. Do not wait until the first spill to go find them. Checkpoint: if you have to leave the table to get a rag, you have already lost the spill.
- 6. Rinse tools first at cleanup: At the end of the session, rinse droppers, pipettes, and brushes before anything else. Paint left to dry in a dropper tip or brush ferrule is what ends a tool's useful life early. Common mistake: stacking dirty tools in a pile to wash later. Rinse them the moment they leave a hand.
- 7. Rinse cups and trays in cold water: Empty leftover paint, then rinse cups and trays in cold water. Cold water keeps fluorescent pigment moving; hot water can help it set into plastic and fabric. Checkpoint: cups should run clear before they go back on the shelf.
Product facts that shape your setup
- Fluorescent Liquid Watercolor Paint – Set of 8 (8 oz Bottles): Fluorescent liquid watercolor paint set of 8 (8 oz bottles), designed for use with droppers, brushes, and a variety of classroom tools. The 8 oz size is refill volume, not table volume. Decant into small cups so children handle a few ounces at a time instead of a full bottle.
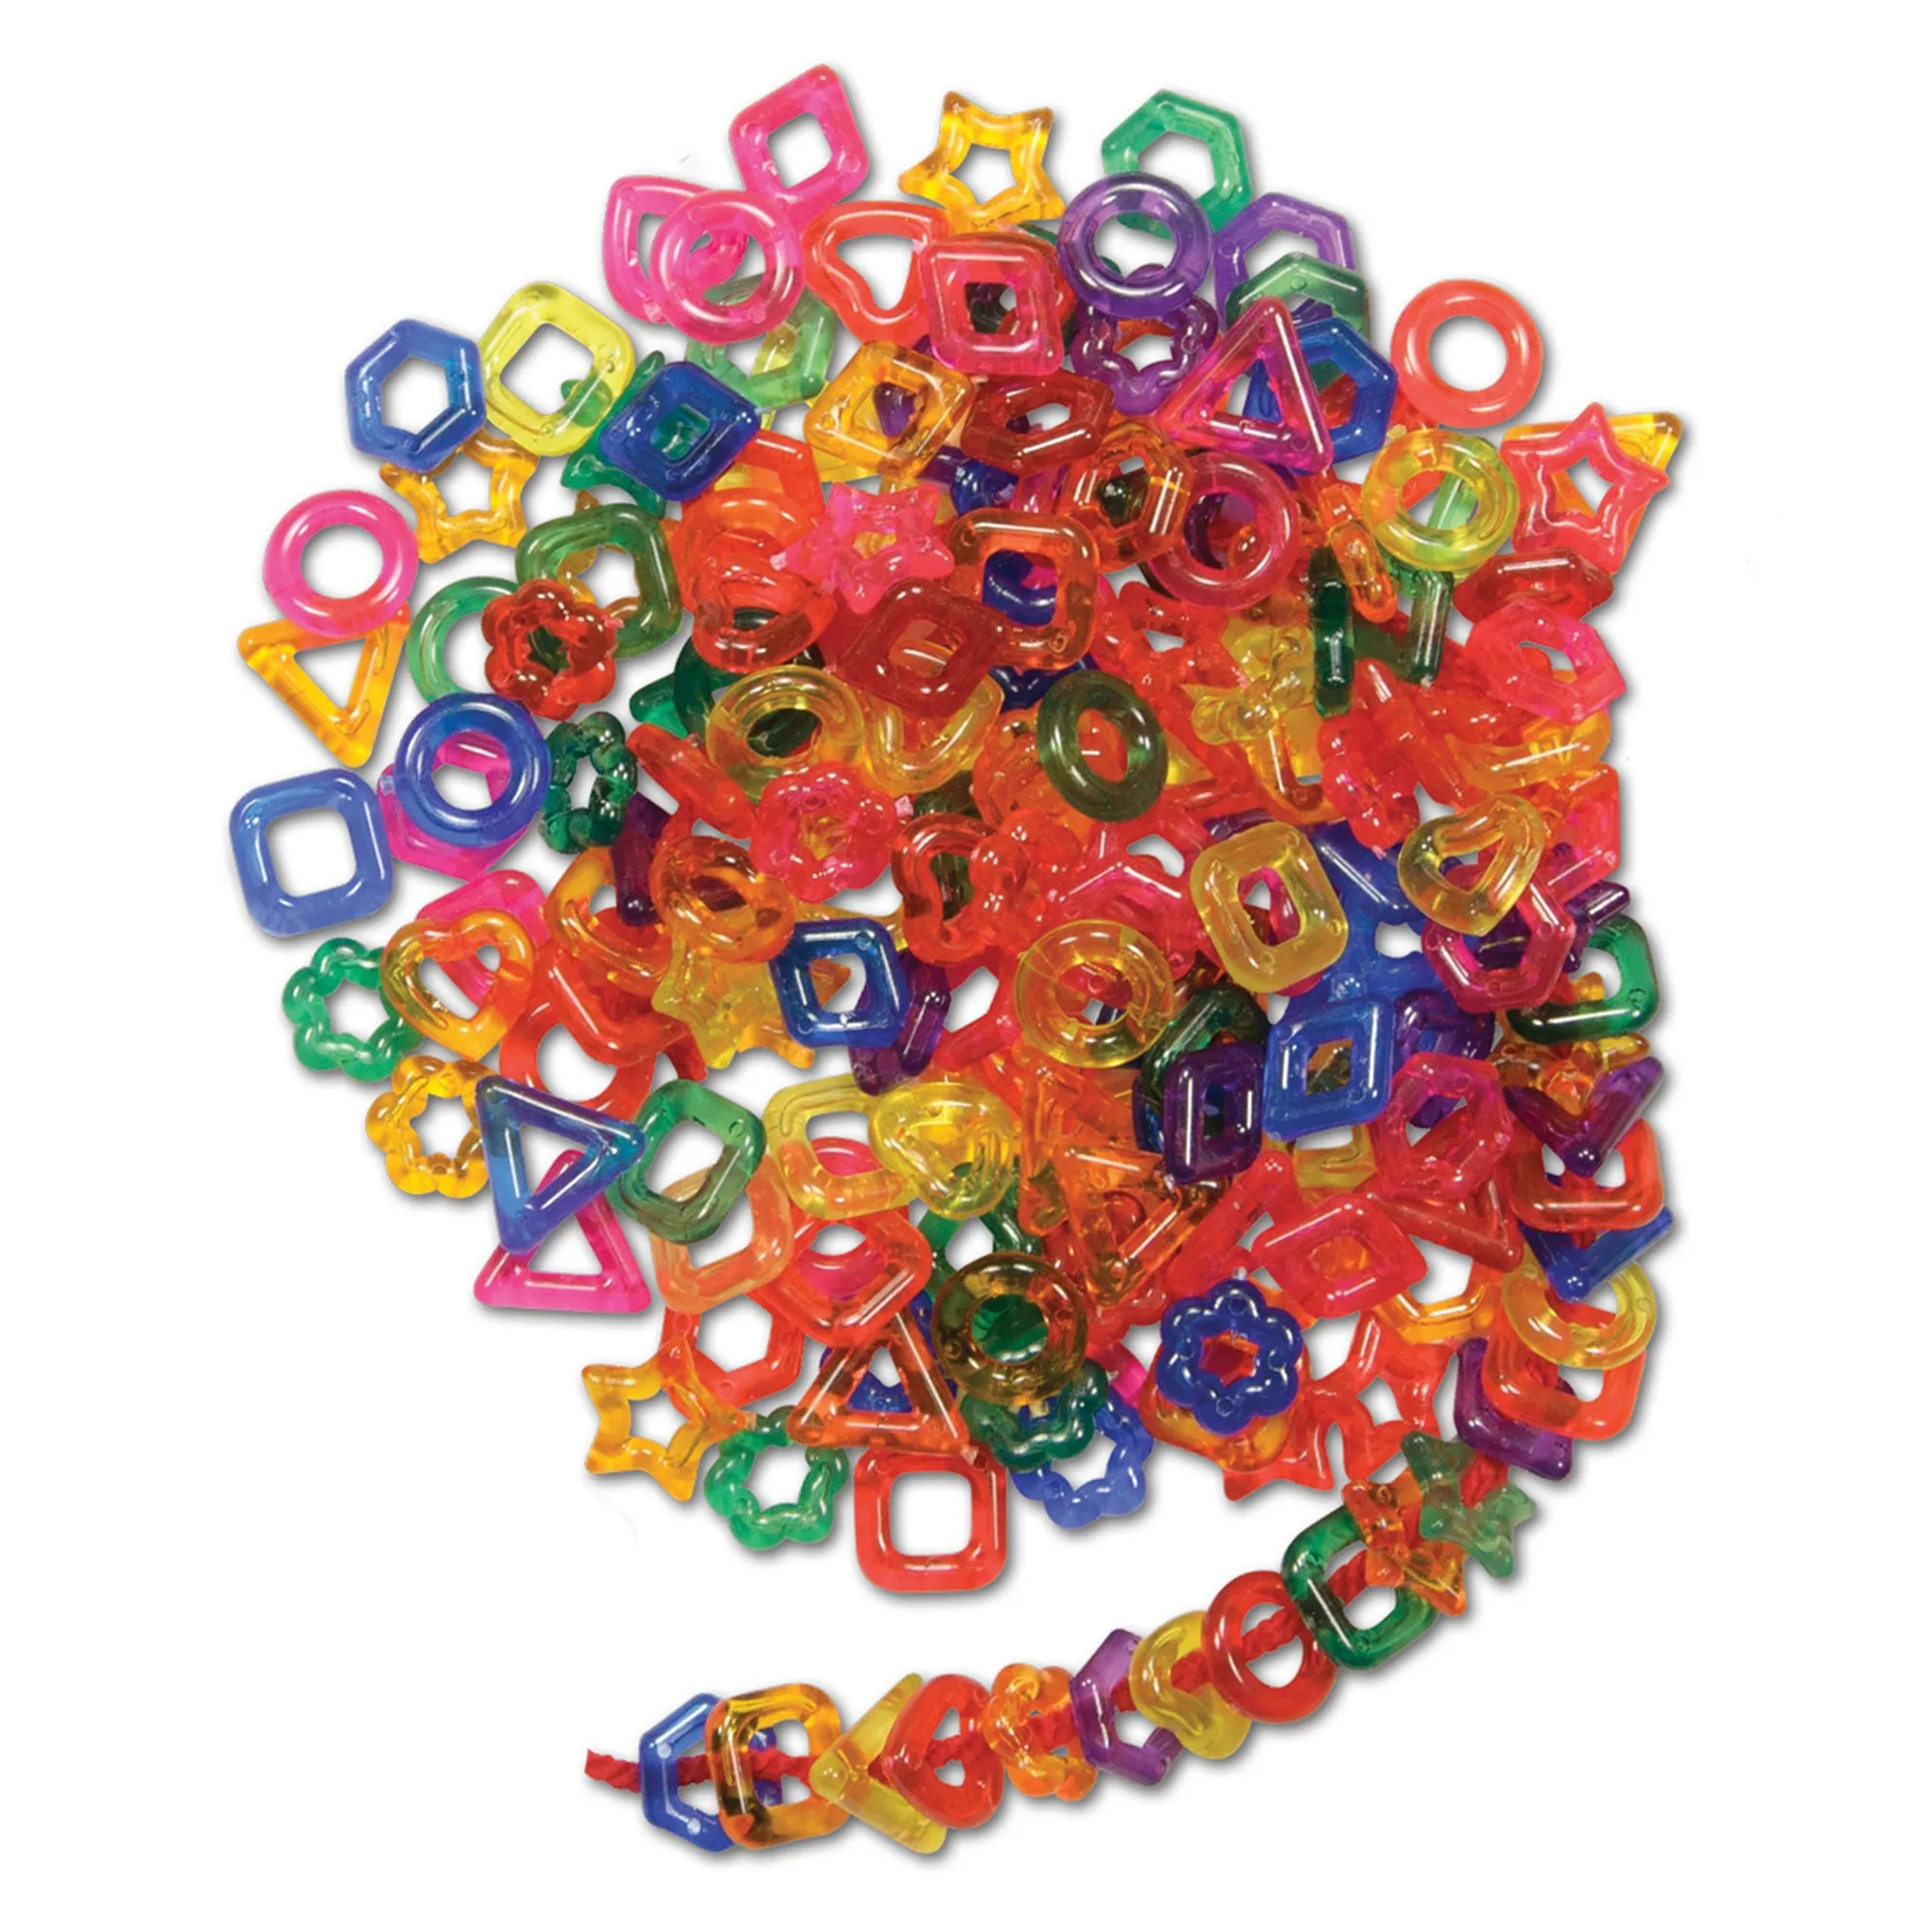
- Fancy Stringing Rings Creative Craft Set | Colorful Jewelry Making, Mosaic & Sensory Play Rings: Fancy Stringing Rings Creative Craft Set includes colorful rings for jewelry making, mosaic, and sensory play, for ages 4 years and up. A useful companion station for children who finish painting early. Rings need no drying time and no water, so they keep hands busy while painted work dries.