Quick answer
Reddish brown is a warm earth tone that sits between orange-9044978ab4e12cd8d7e14cab-1816325">orange-brown and deep maroon. Thin it with water or acrylic medium, apply it over a neutral or warm primer, and build it in two or three thin coats rather than one thick one. For most miniatures, a reddish brown base plus a darker wash and a lighter highlight gives the most natural result.
Reddish brown is one of those colors that looks simple until you try to use it. It can turn muddy, chalky, or far too orange depending on the primer, the thinning, and the layers underneath. This FAQ collects the questions painters ask most often and gives short, practical answers you can use at the table.
The guidance here applies to acrylic model paints, inks, and primers sold for miniatures and scale figures. Where a product detail is not supplied by the manufacturer, this article says so rather than guessing.
What exactly is reddish brown paint?
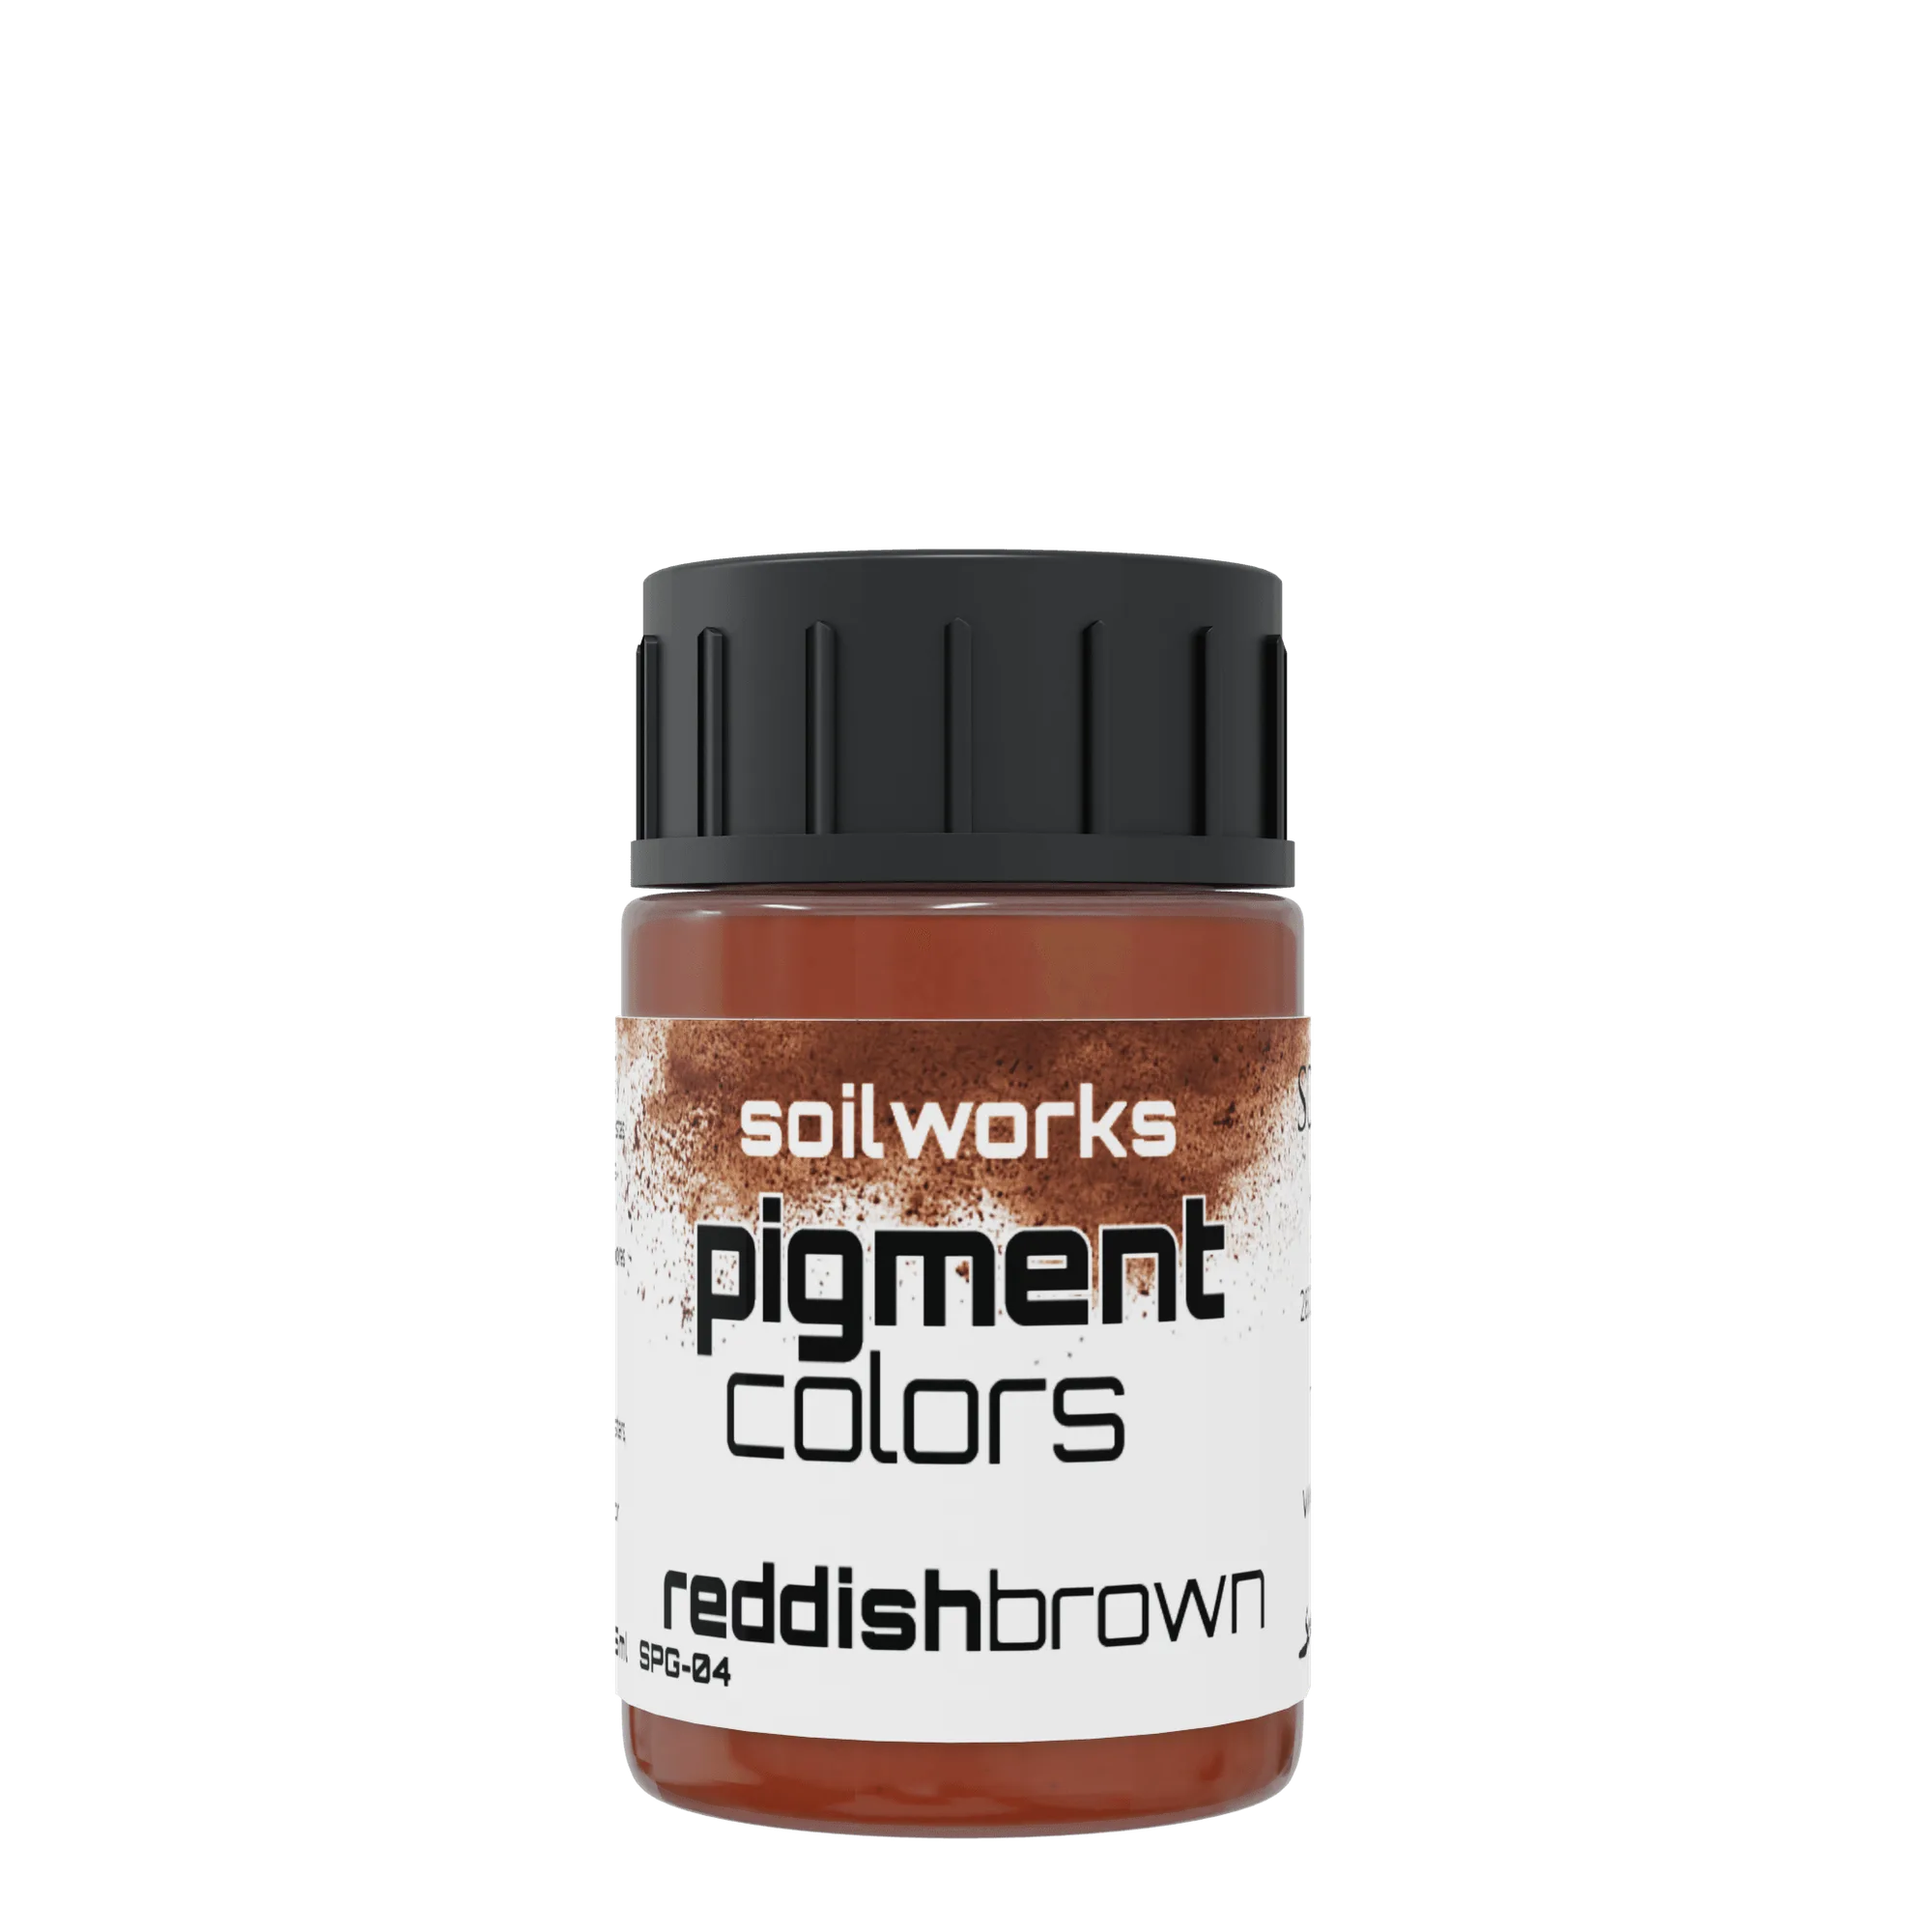
Reddish brown is a warm, earthy brown with a visible red or orange bias. It is not the same as a neutral brown, which leans gray or yellow, and it is not a red. On a miniature it reads as leather, rust, dried blood, aged wood, terracotta, or warm skin shadow depending on how light or dark the mix is.
Because the red bias is strong, the surrounding colors matter. Placed next to cool greens and blues, reddish brown looks warmer and more saturated. Placed next to orange or yellow, it can look almost neutral. That is why the same pot of paint can seem to change character from one project to the next.
- Test your reddish brown on a primed scrap before committing it to a whole model.
- Keep a note of the primer color you used, because it shifts the final tone.
How do I thin reddish brown paint without ruining the coverage?
Thin in small steps. Add water or acrylic medium a little at a time until the paint flows off the brush without running into the recesses. Two thin coats usually cover better than one heavy coat, and they preserve the surface detail that a thick layer would fill in.
If the paint starts to look chalky or separated, you have gone too far with water. Add a touch more paint or a drop of medium to bring the binder back. Reds and warm browns often contain pigments that need a little more medium than cooler colors, so expect to adjust rather than follow a fixed ratio.
- Use a dedicated acrylic medium for large areas to keep the finish even.
- For inks, thin less than you would for a standard acrylic paint.
Which primer should I use under reddish brown?
A warm or neutral primer keeps reddish brown looking rich. A bright white primer makes it lighter and more orange, which can be useful for skin or leather but wrong for rust or dark wood. A black primer darkens it considerably and can make the red bias disappear unless you build up several layers.
If you are unsure, prime a test piece with the same primer you plan to use on the model. The primer is doing as much work as the paint, and changing it later means stripping the figure.
- Warm gray or hull red primers suit reddish brown particularly well.
- Write the primer color on the base of the model so you can match it later.
Why does my reddish brown look muddy or flat?
Muddy results usually come from too many mid-tone layers and not enough contrast. If every layer is the same value, the eye reads a single flat mass. Fix it by pushing the shadows darker and the highlights lighter than feels comfortable at first, then blending the transition.
Another common cause is over-thinning on a textured surface. The pigment settles into the recesses and leaves a weak, grayish film on the raised areas. Let each layer dry fully before judging it, because acrylic paint darkens slightly as it cures.
- Add a dark wash first, then rebuild the mid-tone with thin layers.
- Keep a highlight color one or two steps lighter than you think you need.
Can I use reddish brown for skin, leather, and rust?
Yes, but the surrounding palette changes how it reads. For skin, keep the reddish brown light and pair it with a warm highlight and a cool shadow. For leather, use it as the base and add darker brown in the creases and a lighter brown on the edges. For rust, start with a darker reddish brown and stipple a brighter orange-brown over it.
The same paint can serve all three purposes if you control the value range. A single mid-tone reddish brown with no shadow or highlight will look like none of them, so plan the layers before you start.
- Skin: light reddish brown base, warm highlight, cool shadow.
- Leather: mid reddish brown base, dark creases, light edge wear.
- Rust: dark reddish brown base, stippled orange-brown, matte finish.
How do I keep reddish brown from looking too orange?
Orange creep happens when the red pigment dominates or when the paint is applied too thinly over a white or yellow base. Counter it by glazing a cool brown or a touch of green into the shadows, or by choosing a primer with a neutral or slightly cool tone.
If the model already looks too orange, a thin glaze of a desaturated brown or a very small amount of complementary color can pull it back. Work in thin layers and check under the light you will actually use for display, because warm indoor lighting exaggerates orange further.
- Cool the shadows rather than adding gray to the whole model.
- Check the figure under daylight before deciding it is finished.
What should I thin reddish brown with for airbrush use?
Use an acrylic airbrush thinner or flow improver rather than plain water for airbrush work. Water alone can cause tip dry and uneven coverage, especially with warm pigments. Thin to a skim-milk consistency and test on paper before spraying the model.
Apply in light passes and let each pass flash off. Building the color slowly keeps the red bias even and prevents the speckled, grainy finish that comes from spraying too dry or too far from the surface.
- Clean the airbrush promptly, as warm pigments can settle in the nozzle.
- Keep the pressure low and the passes light for smooth coverage.
How should I store and care for reddish brown paint?
Keep the pot tightly closed and store it out of direct sunlight. Warm pigments can separate over time, so shake or stir thoroughly before each use. If a skin forms on the surface, remove it rather than mixing it back into the paint.
For inks, store them upright and check the consistency before use. If they have thickened, a small amount of medium can restore flow, but avoid adding water repeatedly, as that weakens the binder over time.
- Stir from the bottom of the pot, not just the surface.
- Discard dried skins instead of blending them back in.
Reddish brown quick-reference FAQ
Best base coat approach
Start with a warm or neutral primer, then build two or three thin layers of reddish brown rather than one heavy coat. Thin layers keep detail and give a more even tone.
Fixing muddy results
Increase contrast by darkening the shadows and lightening the highlights, and let each layer dry before judging the color. Most muddy figures need more contrast, not more paint.
Airbrush thinning
Use acrylic airbrush thinner or flow improver instead of plain water, and spray in light passes. Light passes prevent speckling and keep the red bias even.
Products that pair well with reddish brown
- GREEN INK: Premium creamy acrylic ink with high coverage, valid for brush and airbrush, in a 20ml slightly satin format. A high-coverage ink is useful for glazing and for cooling the shadows of a reddish brown figure without adding texture.
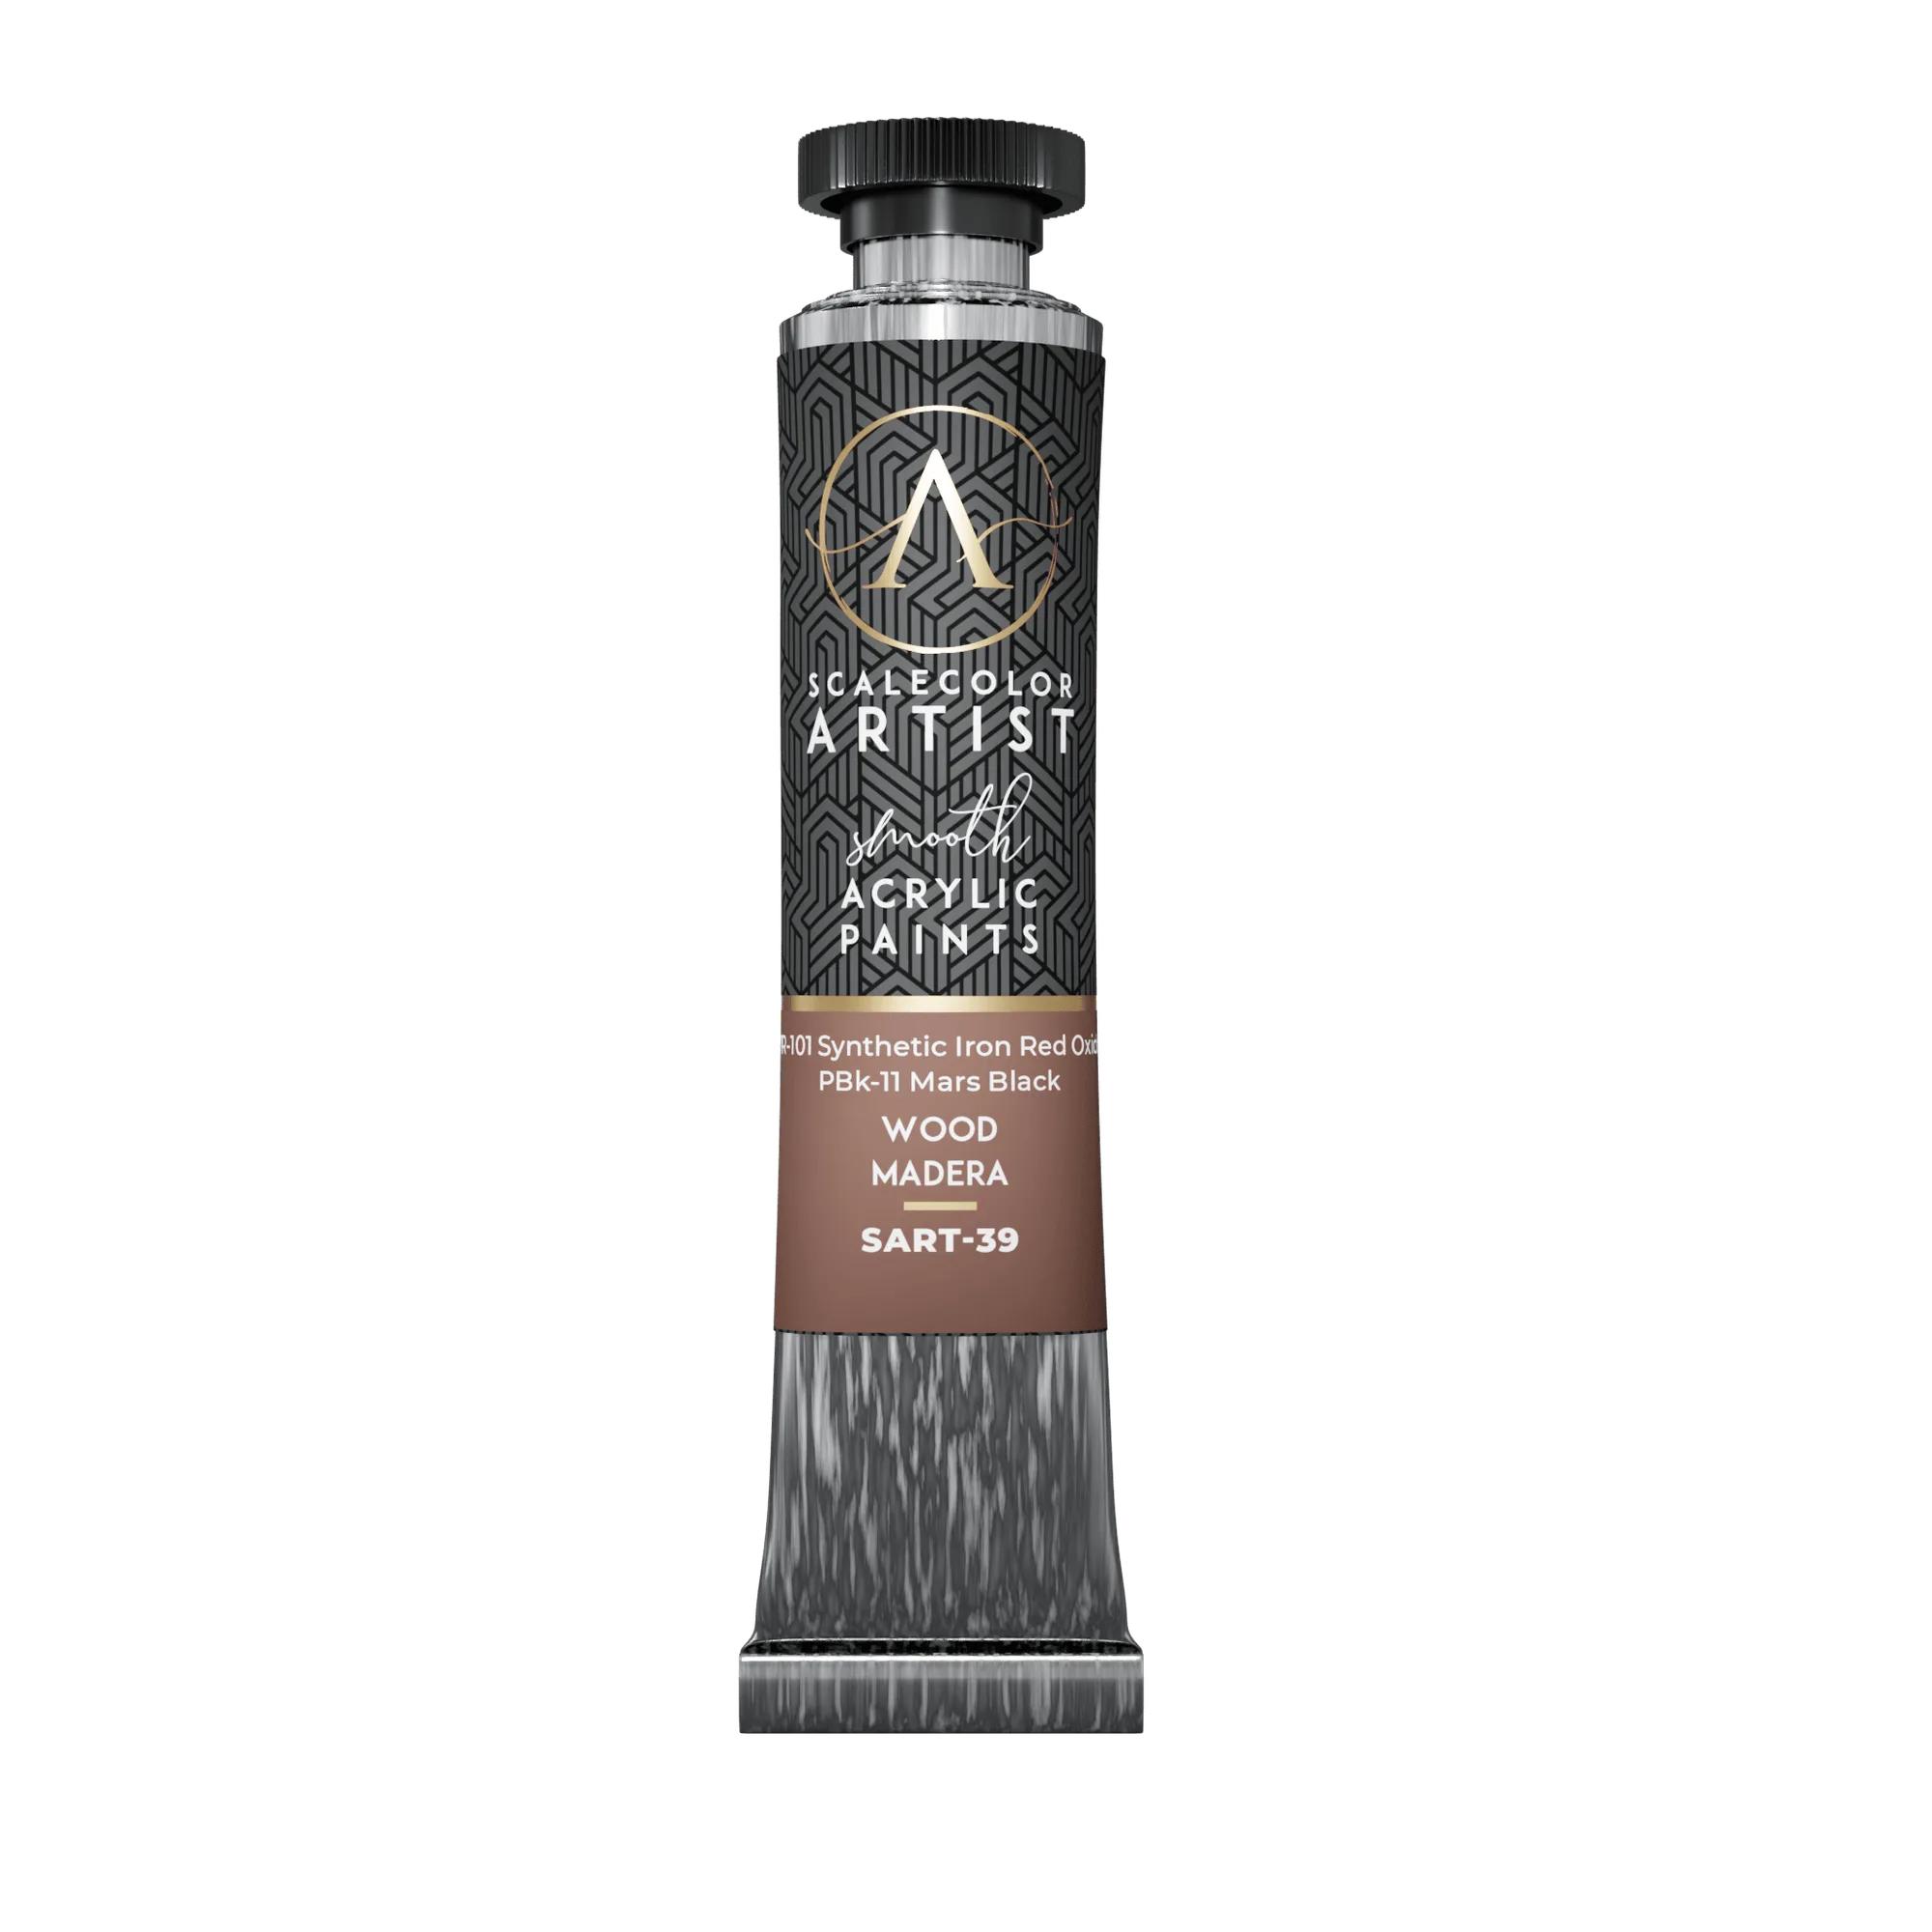
- WOOD: Premium creamy acrylic paint with high coverage, suitable for brush and airbrush, in a 20ml format. A creamy acrylic in a wood tone sits naturally next to reddish brown for leather, timber, and earth bases.
- SURFACE PRIMER HULL RED: A surface primer in a hull red tone. A warm red-toned primer supports reddish brown base coats and helps the color read consistently from the first layer.
- MINIPEDIA FOR GAMERS 02 - FANTASY: HUMANOIDS: A manual dedicated to fantasy humanoid figures that explains painting techniques for each specific case, including very different projects such as a horde of the undead or a heroic knight. Useful when you want guided technique for the skin, leather, and armor areas where reddish brown is most often applied.
Reddish brown rewards patience more than any special product. Prime warm, thin properly, build contrast in layers, and check the result under the light you will display it in. If you want guided technique for fantasy humanoids, the Minipedia for Gamers 02 manual covers the specific cases where this color does the most work.