Quick answer
If fusible interfacing is not sticking, the most likely causes are insufficient heat, not enough pressure, or the wrong side of the interfacing facing the fabric. Fix it by increasing your iron temperature to the wool/cotton setting, pressing firmly for 10–15 seconds per section, and using a pressing cloth. If the interfacing still lifts after reheating, switch to a sew-in interfacing.
You’ve cut your fabric, positioned the interfacing, and pressed—but it won’t stay put. Fusible interfacing problems are frustrating, but they’re almost always fixable. The key is to diagnose the symptom before you grab the iron again.
This guide walks you through the most common reasons fusible interfacing fails, how to correct each one, and when it’s smarter to abandon fusible altogether and use sew-in interfacing. We’ll also cover a few tools that make the process more reliable.
Symptom: Interfacing lifts at the edges after pressing
Edges that curl up or peel away usually mean the fusible adhesive didn’t reach its activation temperature. Most fusibles need a sustained 300°F (150°C) or higher—often the wool or cotton setting on a dry iron. If your iron is set to silk or synthetic, the glue stays solid. Another culprit: you may have pressed the wrong side. The bumpy, glue-dotted side must face the fabric’s wrong side.
To fix it, re-press with a dry iron on the wool/cotton setting. Use a pressing cloth to protect your iron and fabric, and hold the iron still for 10–15 seconds per area—don’t glide it around like you’re ironing a shirt. Let the piece cool completely before moving it; the bond strengthens as it cools.
- Test your iron’s actual temperature with a thermometer if you’re unsure.
- Always press on a firm, heat-safe surface—not a squishy ironing board cover.
Symptom: Interfacing bubbles or wrinkles after fusing
Bubbles happen when the interfacing shifts during pressing or when moisture is trapped between layers. Steam is the enemy of a smooth fuse. If you used steam, the fabric may have swollen and then shrunk unevenly as it dried, pulling the interfacing into ripples. Pre-washing your fabric can prevent this, but if you’re past that stage, you can sometimes salvage the piece.
Try reheating the bubbled area with a dry iron and a pressing cloth, then immediately roll a seam roller or brayer over it while it’s still warm. The pressure helps the adhesive re-bond evenly. If the bubbles persist, you may need to remove the interfacing (while warm, peel it away slowly) and start over with a fresh piece.
- Never use steam when fusing—use a dry iron only.
- A seam roller or brayer is a cheap, effective tool for flattening fused areas.
Symptom: Interfacing sticks to the iron, not the fabric
Adhesive transfer to your iron usually means the interfacing was placed glue-side up, or you pressed directly on the interfacing without a pressing cloth. Once glue is on your iron soleplate, it can smear onto future projects. Let the iron cool, then scrape off the residue with a plastic scraper or an iron cleaner stick.
To avoid this, always double-check that the bumpy side is down against the fabric. Use a pressing cloth (a piece of cotton muslin works) between the iron and the interfacing. If you’re working with a delicate fabric, lower the iron temperature and test on a scrap first.
- Keep a dedicated pressing cloth near your ironing station.
- If glue gets on fabric, try dabbing with a little rubbing alcohol on a cotton swab.
Symptom: Interfacing won’t stick no matter what you do
If you’ve tried heat, pressure, and the correct orientation, but the interfacing still won’t adhere, the adhesive may be too old or the interfacing may be incompatible with your fabric. Some fabrics, like those with a stain-repellent finish or heavy texture, resist fusibles. In that case, sew-in interfacing is the better choice—it won’t bubble, and it’s more forgiving on tricky fabrics.
Sew-in interfacing is also ideal for fabrics that can’t take high heat, like some synthetics or delicate silks. You’ll need to baste or pin it in place before sewing, but the result is a soft, natural drape without the risk of delamination. For structured areas like collars or cuffs, you can use a fusible that’s designed for that fabric type.
- Always test fusible on a scrap of your fashion fabric first.
- If you’re short on time, sew-in interfacing can be basted quickly with a long machine stitch.
Tools that make fusing easier
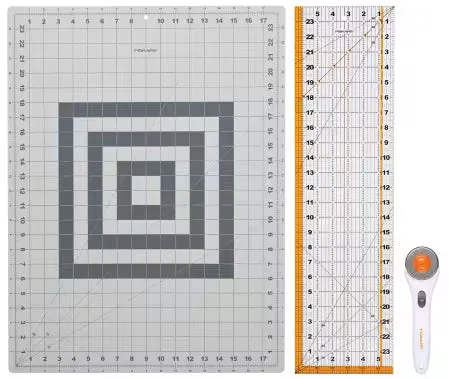
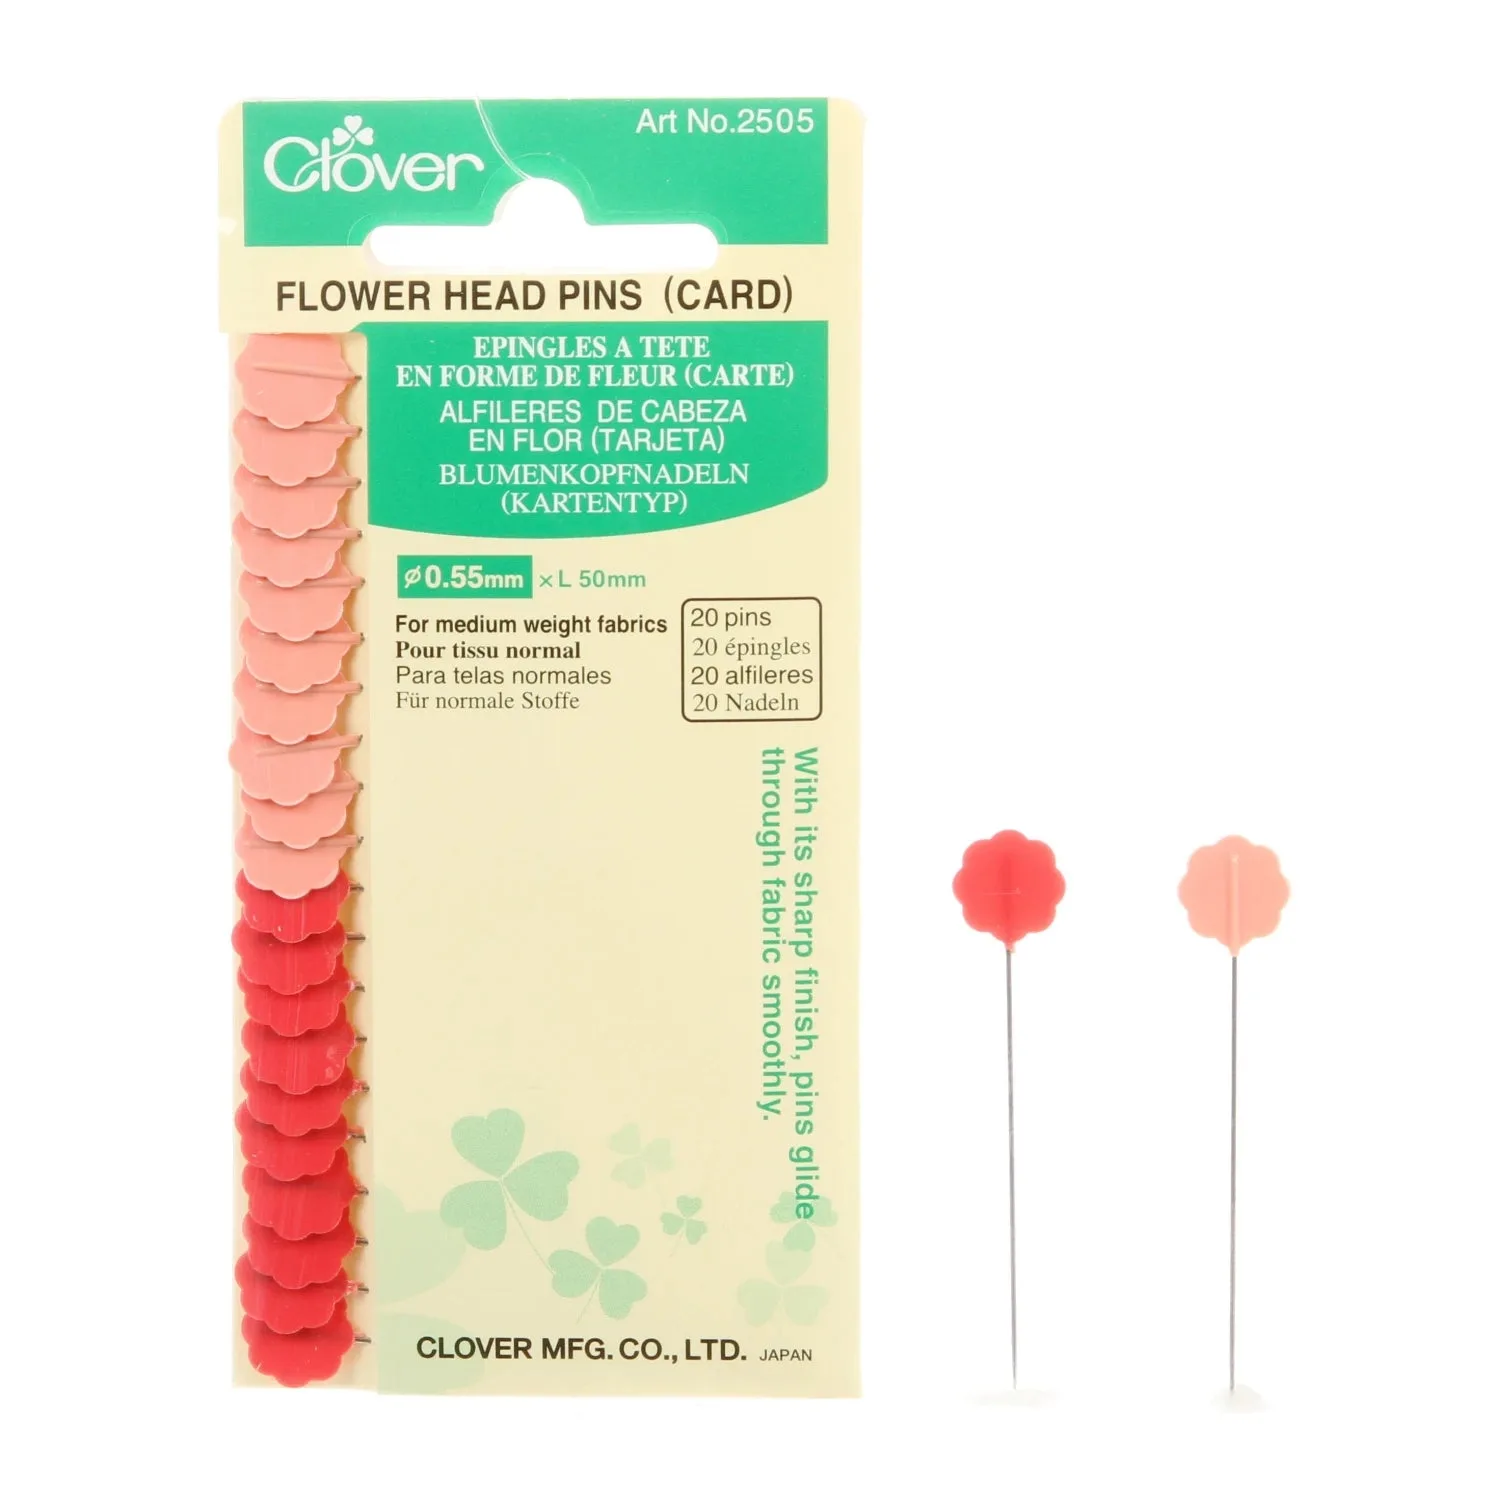
A few inexpensive notions can make the difference between a perfect fuse and a frustrating mess. A quality rotary cutting set helps you cut interfacing cleanly and accurately, so it fits your pattern pieces without trimming later. Flower head pins are useful for holding interfacing in place before fusing—especially on loosely woven fabrics where pins might otherwise slip.
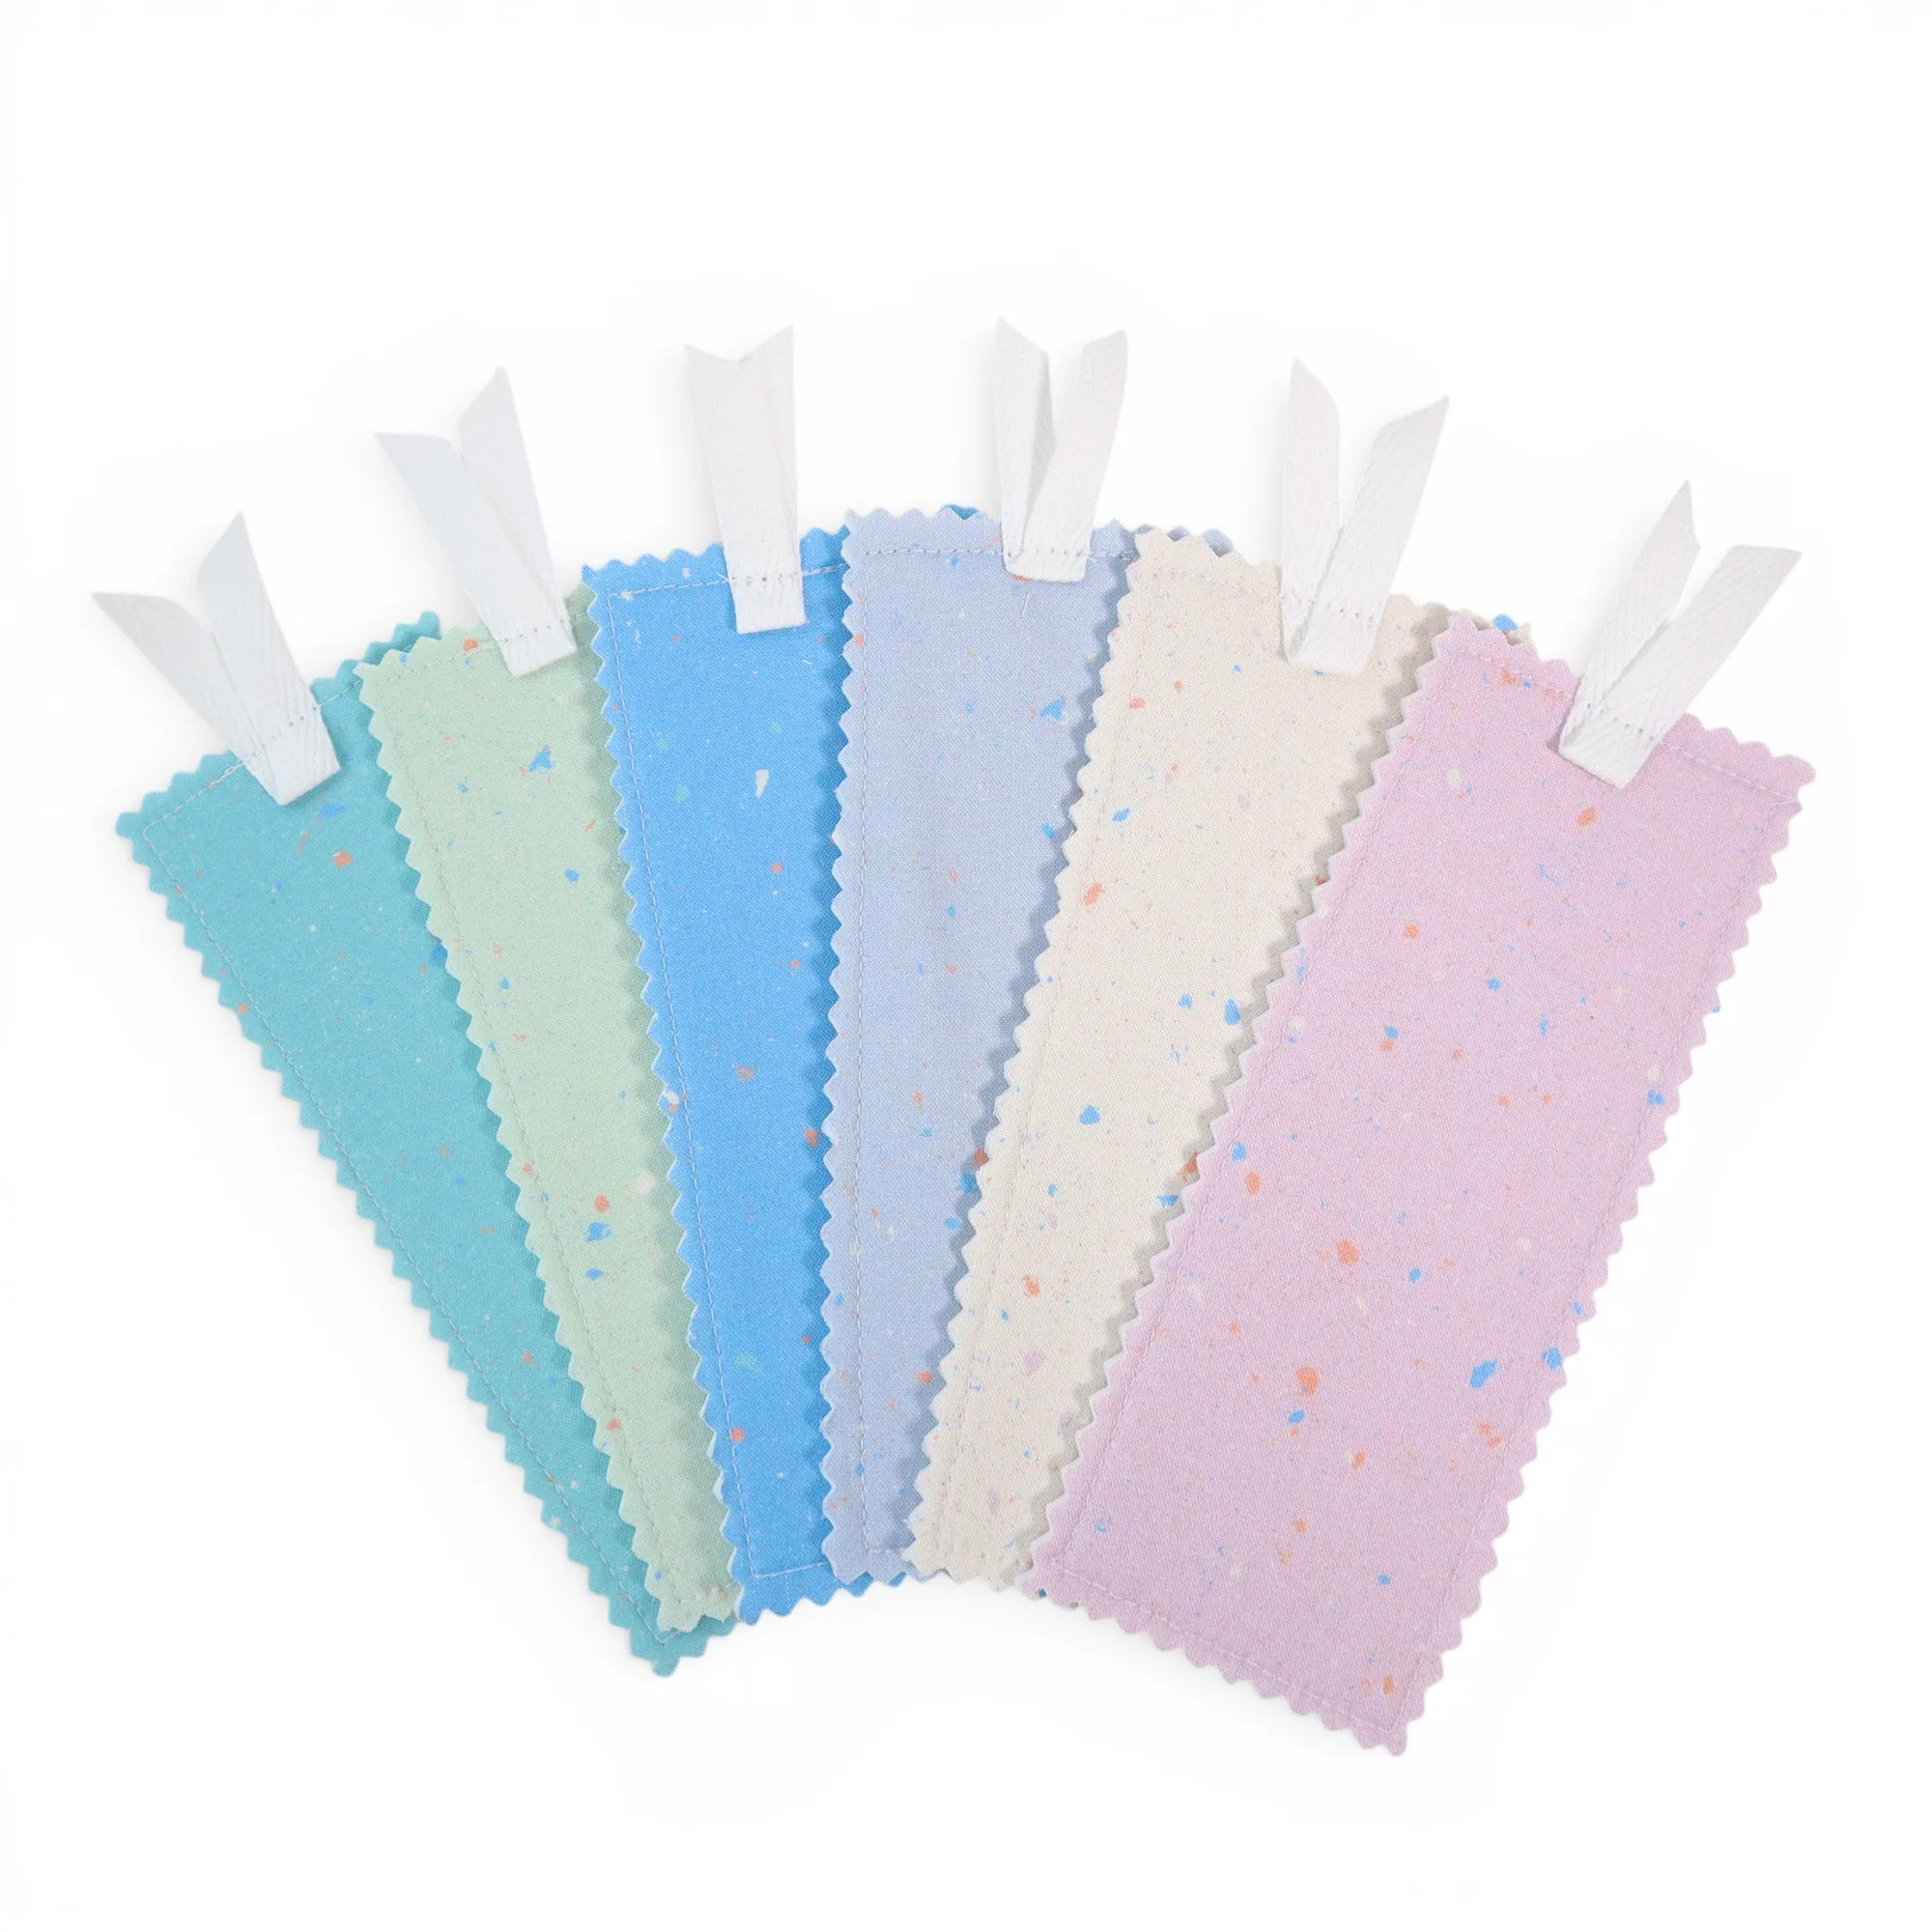
For marking and measuring, a clear acrylic ruler (often included in rotary cutting sets) lets you align interfacing edges precisely. And when you’re sewing with fused pieces, a fresh, sharp needle—like a universal or microtex—prevents skipped stitches and puckers. If you’re new to sewing, a beginner-friendly kit can help you practice these skills on small projects before tackling a full garment.
- Keep a dedicated pair of scissors for cutting interfacing—it dulls blades quickly.
- Store fusible interfacing rolled, not folded, to avoid creases that can cause bubbles.
Interfacing troubleshooting diagnosis
- Edges lift after pressing: Iron not hot enough or wrong side facing up. Re-press with dry iron on wool/cotton setting, hold 10–15 seconds per section, use pressing cloth. If edges still lift after reheating, switch to sew-in interfacing.
- Bubbles or wrinkles appear: Steam or shifting during pressing. Reheat with dry iron, roll with seam roller while warm. If bubbles persist, remove interfacing and re-fuse a fresh piece. Always use a dry iron and let the piece cool completely before moving.
- Interfacing sticks to iron: Glue side was facing up or no pressing cloth used. Clean iron with plastic scraper or iron cleaner. Always place bumpy side down and use a pressing cloth. Test on a scrap first to confirm orientation and temperature.
- Nothing works—still won’t stick: Adhesive may be old or fabric incompatible. Switch to sew-in interfacing, which is more forgiving on tricky fabrics and won’t bubble. Sew-in interfacing is the reliable choice for heat-sensitive or textured fabrics.
Products that help with interfacing projects
- Fiskars Rotary Cutting 3pc Set - Cutting Mat, Ruler and Rotary Cutter: Includes a 45mm rotary cutter, extra-large cutting mat, and acrylic ruler. Cuts interfacing cleanly and accurately, so pieces fit your pattern without trimming after fusing.
- Clover Flower Head Pin Size 32 - 2in 20ct 2 colors: Flat flower head pins are good for general pinning and hold together many layers of fabric. Useful for pinning interfacing to fabric before fusing, especially on loosely woven or slippery fabrics.
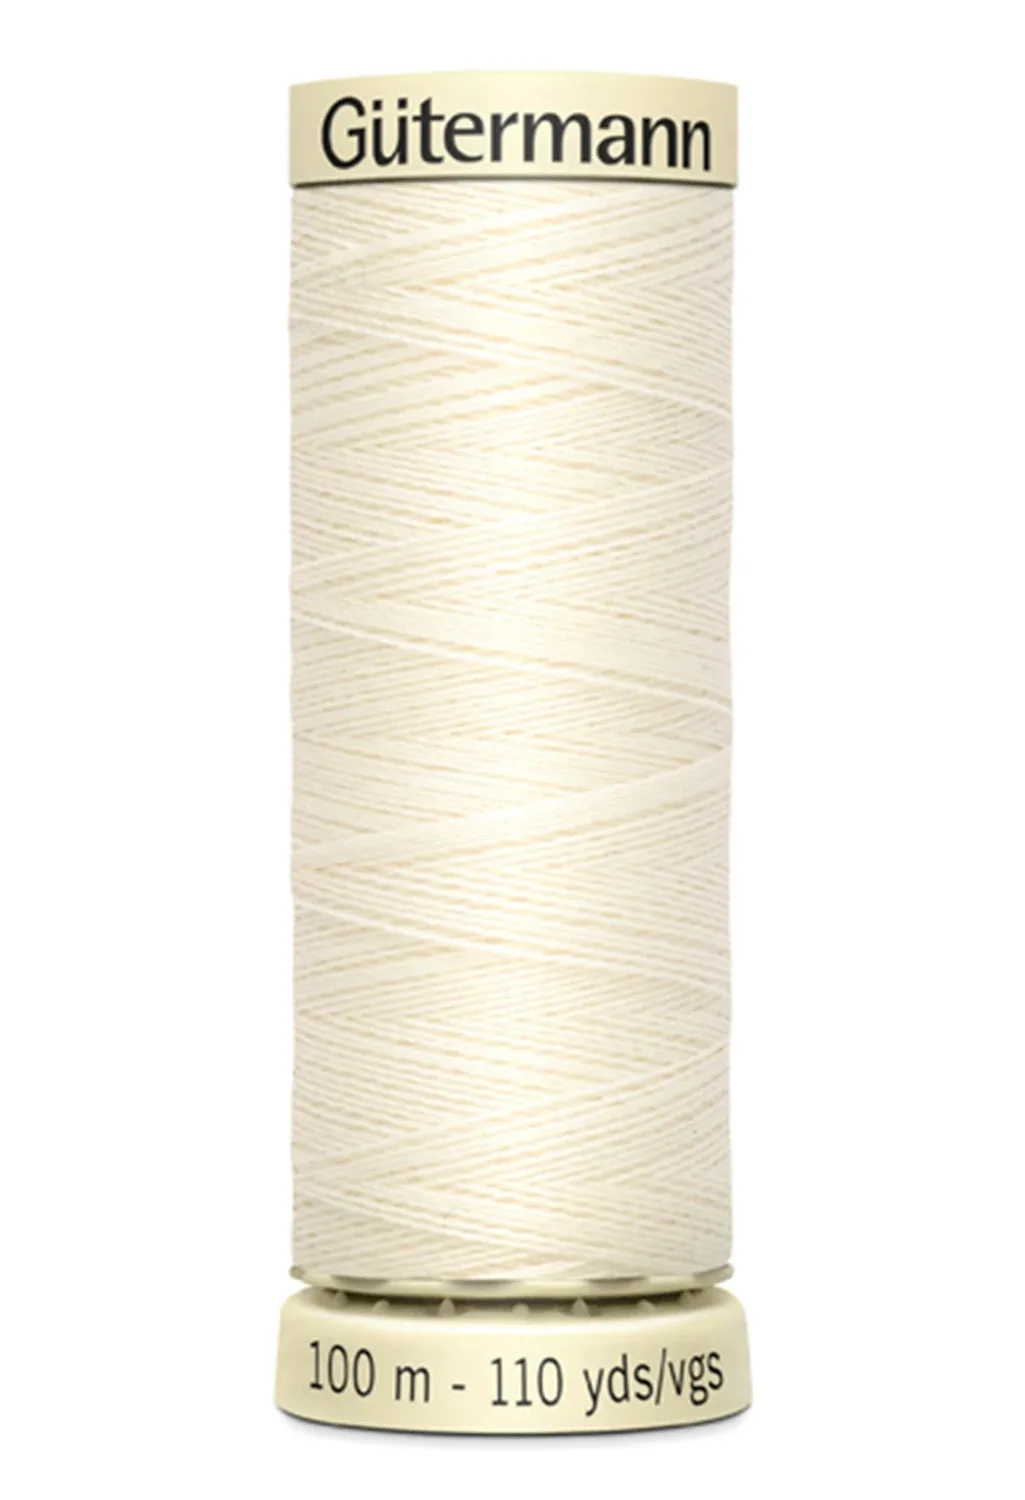
- Gütermann Sew-all Polyester All Purpose Thread 100m/110yds: Suitable for machine and hand sewing on all fabrics and seams; recommended needle size NM 70-90 / US 10-14. A reliable thread for sewing fused pieces, whether you’re basting sew-in interfacing or constructing the garment.
- Bookmark Sewing Kit: Beginner-friendly sewing kit with fabric and instructions; includes access to a video tutorial. A low-pressure way to practice fusing and sewing on a small project before moving to garments.
Fusible interfacing problems are almost always solved with the right heat, pressure, and orientation. Start with those basics, and if the bond still fails, sew-in interfacing is a dependable fallback. With a little practice and the right tools, you’ll get smooth, professional results every time.