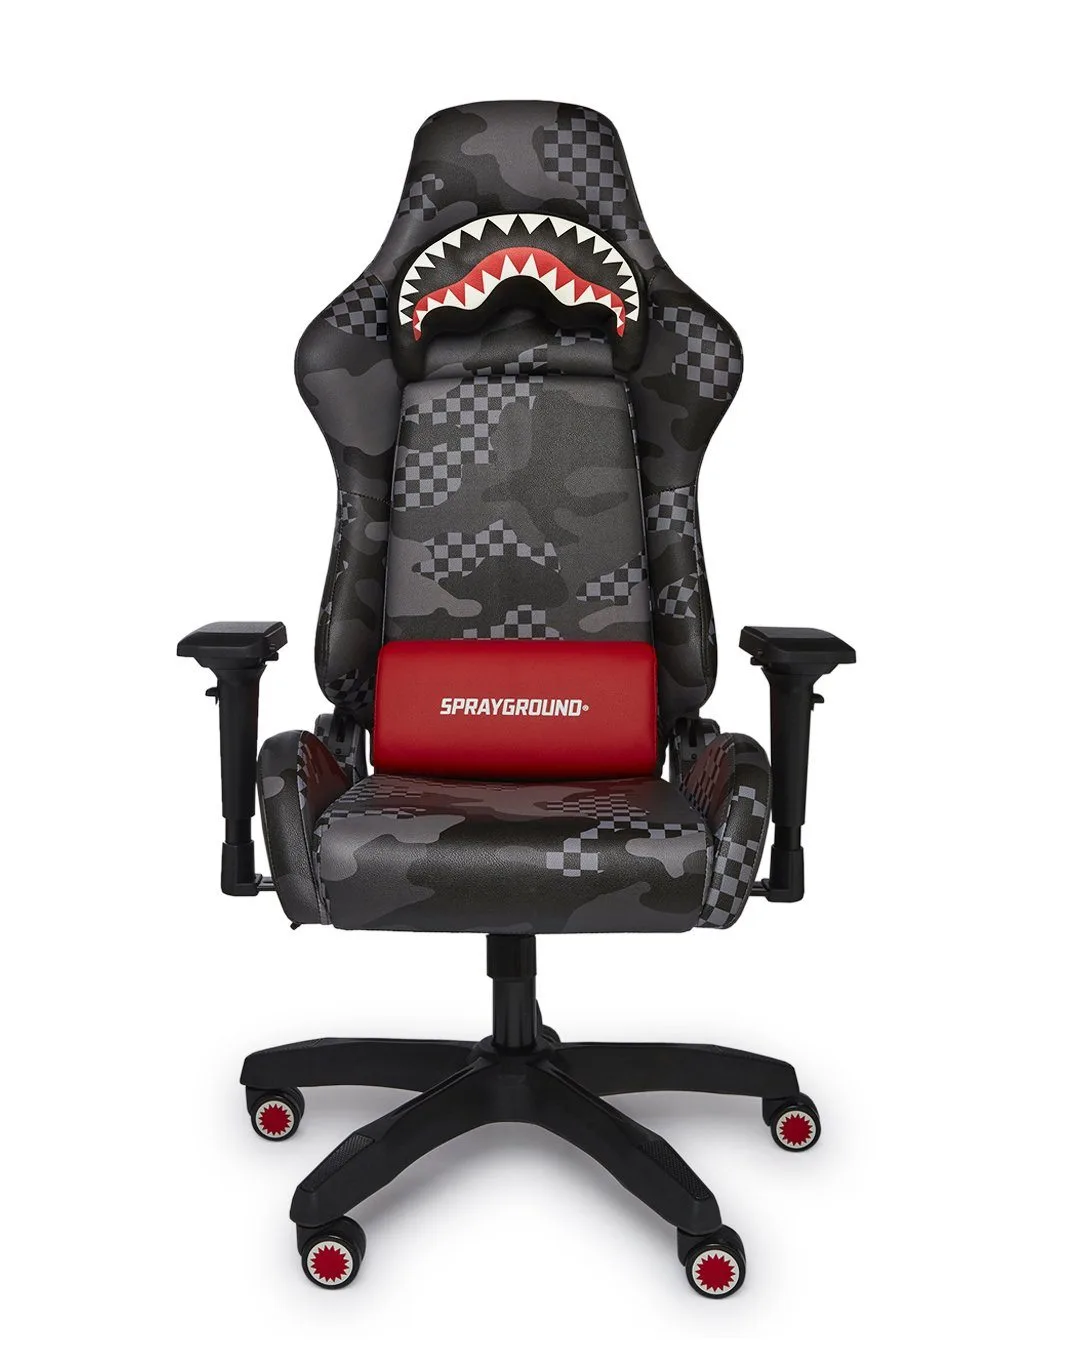
Building your own gaming chair can feel like a rite of passage for any serious gamer or remote worker. The excitement of unboxing a new chair is often tempered by the sight of dozens of screws, bolts, and unfamiliar parts. But don't worry—with the right guidance, assembly is straightforward and even satisfying. Whether you're setting up your first ergonomic throne or upgrading your battlestation, this step-by-step guide will walk you through the entire process, from unboxing to that final satisfying click.
We'll cover the essential tools you'll need, how to identify each component, and the correct order of assembly to avoid common pitfalls. By the end, you'll have a sturdy, comfortable chair ready for hours of gaming or work. And if you're looking to complete your setup, consider pairing your new chair with a durable backpack like the BACKSTAGE BACKPACK for carrying your gear to LAN parties or the office.

BACKSTAGE BACKPACK
What You Need Before Starting
Before diving into assembly, gather all the necessary tools and clear a spacious work area. Most gaming chairs come with an Allen wrench and a few screwdrivers, but having your own set of tools can make the process smoother. You'll typically need a Phillips-head screwdriver, a hex key set (often included), and optionally a power drill with a hex bit for faster tightening. Lay out all parts on a clean floor or table, and double-check the instruction manual for your specific model.
It's also wise to have a second person help with lifting heavy parts like the seat base or backrest. This reduces the risk of scratching the chair or injuring yourself. Keep the box nearby—you may need to reference part numbers. And don't forget to clear your schedule; assembly usually takes 30 to 60 minutes, depending on your experience level.
- Check that all parts are present: seat pan, backrest, armrests, gas lift cylinder, base, casters, and hardware bag.
Step 1: Attach the Casters and Gas Lift
Start by flipping the five-star base upside down. Insert each caster into the corresponding hole until you hear a click. For most chairs, the casters are universal, but some high-end models have locking casters for stability. Once all casters are in place, turn the base right-side up. Now, take the gas lift cylinder (the long metal tube) and insert it into the center hole of the base. Give it a firm push—it should sit snugly.
Some chairs include a plastic cover or bellows that slides over the gas lift. If yours does, place it on before attaching the seat. This cover protects the cylinder and adds a polished look. At this point, your base is ready to support the seat.
- If casters are tight, use a rubber mallet to tap them in gently.
Step 2: Assemble the Seat and Backrest
With the base ready, move on to the main body. Place the seat pan upside down on a soft surface to avoid scratches. Align the backrest with the seat's mounting brackets—usually at the rear. Insert the provided bolts through the brackets and into the backrest. Tighten them with the Allen wrench, but don't fully torque them yet; you'll adjust alignment later. Most chairs use four to six bolts for this connection.
Next, attach the armrests if they are separate pieces. Slide each armrest into its slot on the side of the seat pan and secure with screws. Ensure left and right are correctly oriented—armrests are often labeled 'L' and 'R'. For chairs with 3D or 4D adjustment, this is also a good time to test the movement mechanisms.
- Use a magnetic tray to keep screws from rolling away during assembly.
Step 3: Install the Seat onto the Gas Lift
Now comes the moment of truth. Carefully lift the assembled seat-and-backrest unit and align the center hole underneath the seat with the top of the gas lift cylinder. Lower the seat onto the cylinder—it should slide down smoothly. If it feels stuck, wiggle it gently. Once seated, you may hear a click or feel it lock into place. Some chairs require you to tighten a retaining bolt underneath the seat to secure it permanently.
At this stage, test the height adjustment by pulling the lever under the seat. The chair should rise and lower smoothly. If it doesn't, check that the gas lift is fully inserted into the base. You can also adjust the tilt tension using the knob usually located beneath the front of the seat.
- For extra stability, tighten all bolts from step 2 now that the chair is upright.
Step 4: Final Adjustments and Cable Management
With the chair fully assembled, it's time to fine-tune it for your body. Adjust the armrests to a height where your elbows rest at a 90-degree angle while typing. Set the seat height so your feet are flat on the floor. If your chair has a lumbar support pillow, attach it to the backrest at your lower back curve. Many chairs also include a headrest pillow—position it at the base of your skull for neck support.
For a clean gaming setup, manage cables from your PC or peripherals so they don't tangle with the chair's casters. Use cable ties or a sleeve to keep them organized. Finally, give all bolts a final check—tighten anything that feels loose. Your chair is now ready for action. To complete your gaming corner, consider adding a stylish backpack like the 3AM RED ALERT BACKPACK (DLXV) for storing your headset and controller.

3AM RED ALERT BACKPACK (DLXV)
- Re-tighten all screws after 24 hours of use, as initial settling can loosen them.
Common Mistakes to Avoid
One of the most frequent errors is over-tightening bolts, which can strip threads or crack plastic components. Tighten until snug, then stop. Another mistake is installing the seat on the gas lift before attaching the backrest—this makes it nearly impossible to reach the bolts. Always follow the manual's order. Also, don't skip the plastic cover on the gas lift; it prevents dust and debris from jamming the mechanism.
Finally, avoid sitting on the chair until all bolts are fully tightened and the base is secure. A partially assembled chair can tip over. If you're unsure about any step, many brands offer video tutorials online. Taking your time now will save you from wobbles and discomfort later.
- If a bolt feels cross-threaded, back it out and try again—forcing it can ruin the bracket.
Assembling your gaming chair doesn't have to be a headache. With patience, the right tools, and this guide, you'll be sitting pretty in no time. Once your chair is ready, elevate your entire gaming experience by exploring the full range of gear at SPRAYGROUND®. For a practical and stylish carry option, check out the BACKSTAGE BACKPACK—perfect for hauling your laptop, snacks, and accessories to your newly built throne.