Quick Answer
Most gel polish wrinkling and bubbling comes from one of three things: coats applied too thick, incomplete curing, or contamination on the nail plate. Fix the thickness first, then check your lamp and prep routine. If the same formula wrinkles no matter what you change, that product may not suit your lamp or application style, and it is time to try a different formula.
You finish a set, cure it, and then you see it: ripples across the surface or tiny pinprick bubbles trapped under the color. It is frustrating because the polish looked perfect before it went into the lamp. The good news is that wrinkling and bubbling are two different problems with different causes, and both are usually fixable without replacing your whole kit.
This guide walks through each symptom, the likely cause, and the corrective action. It also tells you when to stop troubleshooting and switch products, because sometimes the issue is not your technique.
Symptom 1: Wrinkled or Rippled Surface
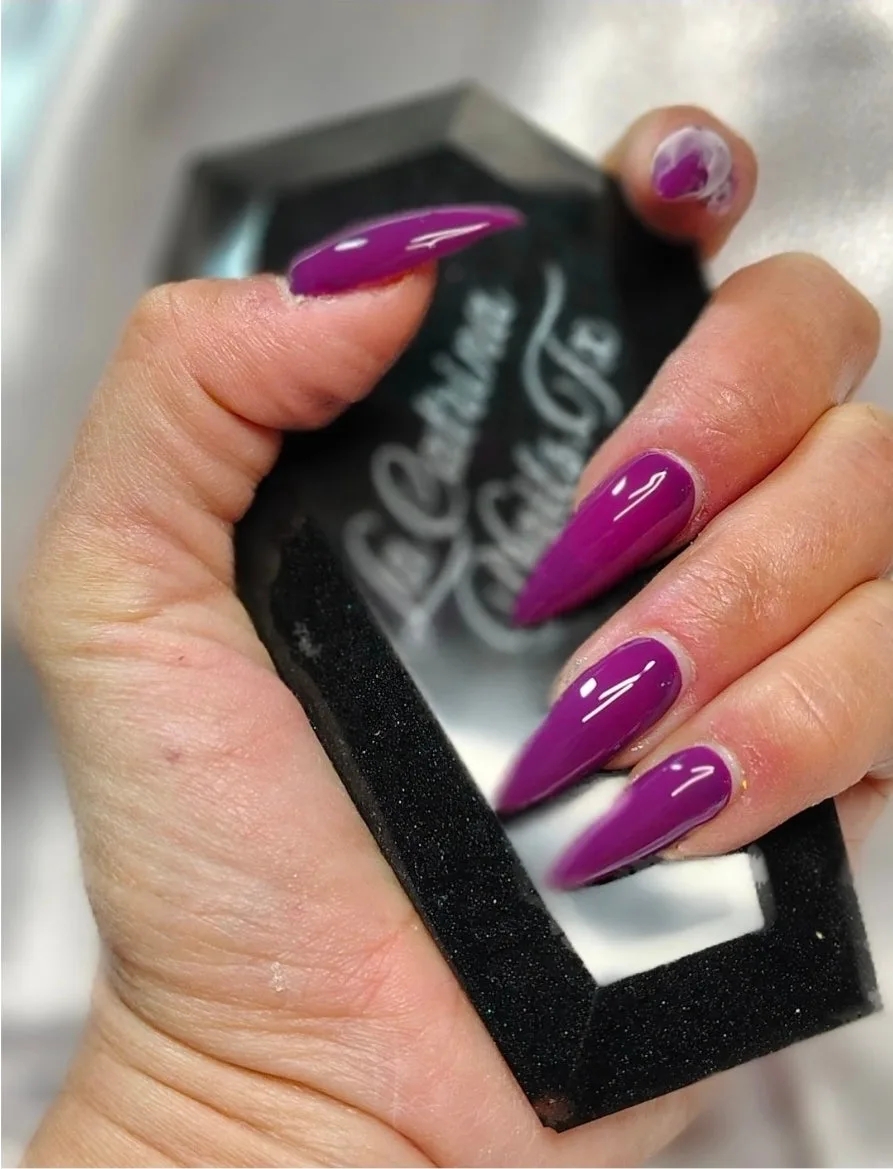
Wrinkling looks like a prune or a rippled surface, usually on the color coat or top coat. It happens when the surface cures before the layers underneath, trapping uncured gel below. The most common cause is applying color too thick. Gel polish is not like regular lacquer; it needs to go on in thin, almost translucent layers. If you can see a visible ridge of wet product when you float the brush, that coat is too thick.
The second common cause is a weak or aging lamp. If your lamp is not emitting enough power, the top layer may set while the bottom stays wet, and the wrinkling appears minutes later. Check your lamp's bulbs or LEDs and replace them if they are past their rated life. Also make sure you are curing for the full time the manufacturer specifies, not a shortened version.
- Apply color in two or three thin coats rather than one thick coat.
- Cure each coat fully before adding the next one.
- If wrinkling appears on the top coat only, try a thinner layer of top coat and cure it longer.
Symptom 2: Bubbles Under the Gel
Bubbles are small air pockets trapped in the gel, and they usually show up as tiny craters or a cloudy spot. They form when you shake the bottle vigorously before use, when you work the brush too fast, or when you apply gel over a surface that still has dust or moisture on it. Shaking introduces air into the formula; rolling the bottle between your palms is gentler and avoids most of it.
Another cause is skipping the dehydrator or primer step. If the natural nail has oil or leftover cuticle remover on it, the gel can lift slightly and create a pocket that looks like a bubble. Wipe each nail with a lint-free pad and a dehydrator before you start, and make sure your base coat is thin and fully cured.
- Roll the bottle, do not shake it.
- Use slow, deliberate brush strokes to avoid whipping air into the gel.
- Dehydrate the nail plate and let it dry completely before base coat.
Symptom 3: Wrinkling Only at the Free Edge or Cuticle
If the wrinkling is localized to the free edge or the cuticle area, the problem is usually flooding. When gel touches the cuticle or sidewalls, it can pool and cure unevenly. The same happens at the free edge if you wrap the tip with too much product. Keep a small margin between the gel and the cuticle, and wipe the brush before wrapping the tip so you are not leaving a thick bead.
This pattern can also mean your base coat is too thick at the edges. A thick base coat cures unevenly and can create a ridge that shows through every layer above it. Aim for a base coat that looks almost dry when you finish applying it.
- Leave a hairline gap between gel and cuticle.
- Wipe the brush before wrapping the free edge.
- Keep base coat thin and even across the whole nail.
Symptom 4: Bubbling or Wrinkling Across the Whole Nail
When the entire nail wrinkles or bubbles, the issue is usually the lamp or the product itself. If your lamp is old, underpowered, or not the correct wavelength for your gel, the product may never cure properly. Check the gel manufacturer's recommended curing time and wavelength, and compare it to your lamp's specs. If they do not match, that is your answer.
It can also be a sign that the gel is too old or has been stored in heat or sunlight. Gel polish has a shelf life, and once it starts to thicken or separate, it will not apply or cure evenly. If a bottle smells unusually strong or has a stringy texture, replace it.
- Verify your lamp's wavelength matches the gel's requirements.
- Replace lamps or bulbs that are past their rated hours.
- Store gel polish away from heat and direct sunlight.
When to Stop Troubleshooting and Switch Products
If you have tried thin coats, checked your lamp, prepped properly, and the same formula still wrinkles or bubbles, it is time to change products. Some formulas are more sensitive to application thickness or lamp type than others. A HEMA-free and TPO-free gel like La Hora Bruja or Primavera Collection ReRelease 2026HEMA-Free and TPO Free Gel polish may behave differently from a traditional gel, and that difference can matter if your lamp or technique is not a match.

Primavera Collection ReRelease 2026HEMA-Free and TPO Free Gel polish
Before you give up on a bottle, try it with a different lamp or on a practice tip. If it still fails, set it aside. Your time is better spent on a formula that works consistently with your setup.
- Test the problem gel on a practice tip with a different lamp.
- If it fails on the tip too, the product is not compatible with your system.
- Keep a backup formula that you know cures reliably.
Diagnosis: Match the Symptom to the Fix
- Wrinkled surface, all over: Coats too thick or lamp underpowered. Apply thinner layers and check lamp wattage and bulb age. If thinning coats does not fix it, try a different lamp.
- Tiny bubbles under color: Air introduced by shaking or fast brushing, or moisture on the nail plate. Roll the bottle, brush slowly, and dehydrate the nail. If bubbles persist, check your base coat for contamination.
- Wrinkling at cuticle or free edge: Flooding or thick base coat at the edges. Leave a margin and wipe the brush before wrapping tips. If edges still wrinkle, your base coat may be too thick.
- Whole nail wrinkles or bubbles with any technique: Likely a lamp mismatch or expired product. Verify wavelength and shelf life. If the product fails on a practice tip with a different lamp, switch formulas.
Product Details That Matter for Troubleshooting
- La Hora Bruja
Re ReleaseHEMA-Free and TPO Free Gel polish: HEMA-free and TPO-free formula from the Cuentos de Medianoche collection. If you are troubleshooting wrinkling with a HEMA-free formula, remember that these gels can have different curing characteristics than traditional gels. Check your lamp compatibility and cure times. - Primavera Collection Re
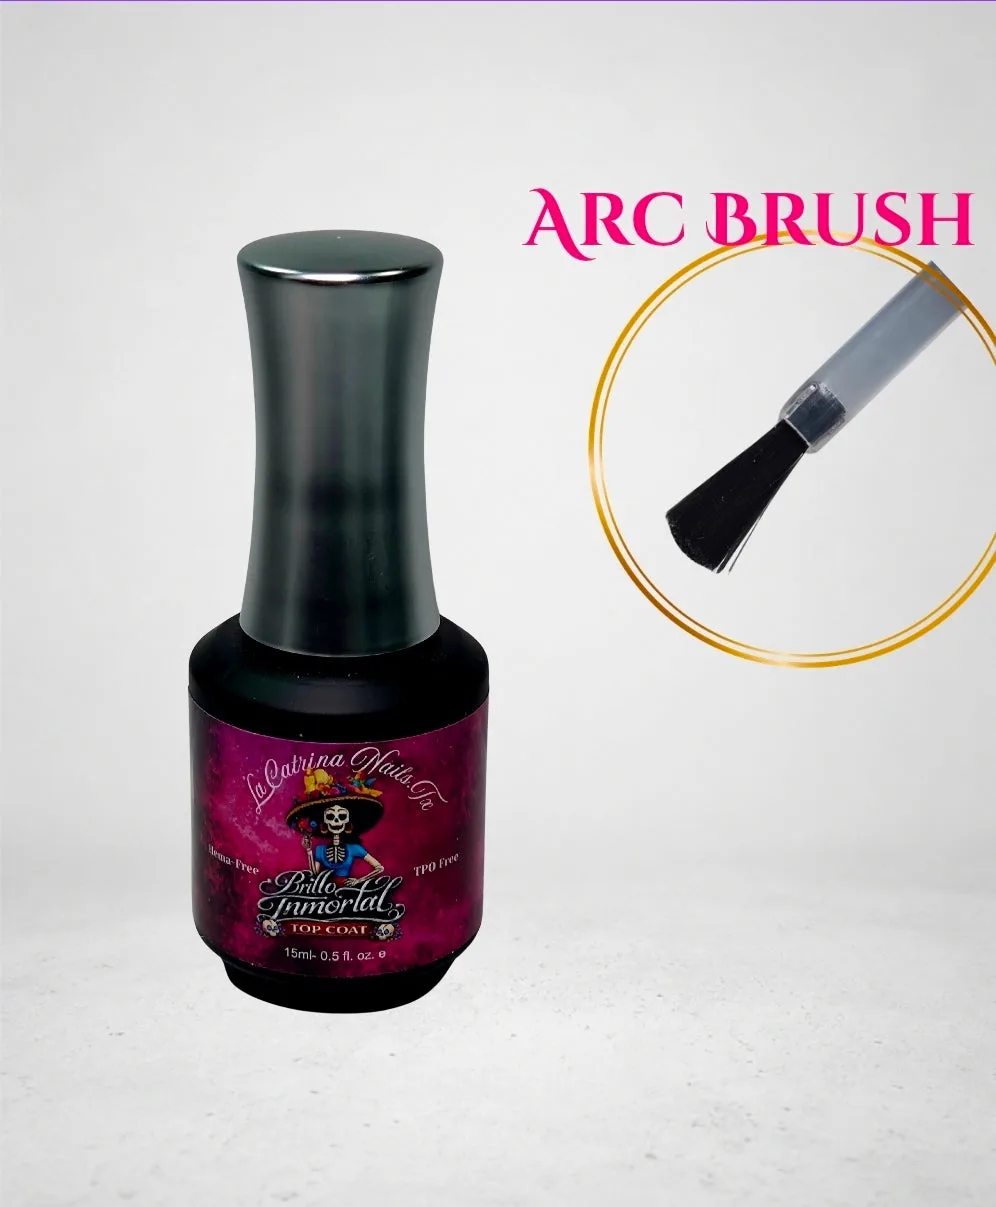
Release 2026HEMA-Free and TPO Free Gel polish: A collection of spring shades in a HEMA-free and TPO-free formula. When testing whether your lamp or technique is the problem, a collection gives you multiple colors to compare. If every shade wrinkles the same way, the issue is likely your lamp or application, not one bad bottle. - Brillo Inmortal Top Coat ~ Extreme Shine No Wipe Top Coat~ HEMA-Free and TPO Free Gel polish: A no-wipe top coat designed to seal color and resist scratches, chipping, and fading. Top coat wrinkling is often caused by applying it too thick. A no-wipe top coat still needs a thin, even layer and full curing to avoid ripples.
Wrinkling and bubbling are almost always a thickness, curing, or prep issue, and they are fixable once you know which symptom you are looking at. Work through the diagnosis above, change one variable at a time, and give yourself permission to move on from a formula that will not cooperate. Your next set can be smooth.