Quick answer
The Bandai Gundam Aerial High Grade model kit is a great choice for beginners, but careful assembly and attention to detail will help you avoid common pitfalls and achieve a clean, display-ready build.
Why the Gundam Aerial HG is a good starting kit
The Gundam Aerial from Mobile Suit Gundam: The Witch of Mercury is the protagonist mobile suit, and Bandai's High Grade (HG) version is designed for ease of assembly without sacrificing detail. The kit uses molded parts, double-sided seals, and clear parts to recreate the shell unit, which can be assembled in both light-emitting and non-light-emitting forms. This makes it a rewarding build for newcomers who want a good-looking model without painting or glue.
Trade-offs to consider
While the HG kit is simpler than a Master Grade, it still has small parts, especially the shield that separates into 11 pieces. Beginners should be patient when attaching those pieces to the Gundam's body. The clear parts for the shell unit require careful handling to avoid scratches. Also, the kit does not include a stand or decals beyond stickers, so you may want to buy those separately for a more polished look.
Step-by-step build tips
- Prepare your tools and workspace: Gather a side cutter (nippers), a hobby knife, tweezers, and a cutting mat. Work in a well-lit area with a clean surface. Do not twist parts off the runner—cut them cleanly to avoid stress marks. Invest in a good pair of nippers; dull blades can crush plastic.
- Sort and identify parts before assembly: Lay out all runners and compare the parts to the instruction manual. Group pieces by step number. A common mistake is to skip this step and lose small parts like the clear shell unit pieces. Use small containers or a tray to keep tiny parts from rolling away.
- Cut parts carefully and clean nubs: Cut each part from the runner about 1-2 mm away from the part, then trim the remaining nub flush with a hobby knife. Do not cut directly at the part surface—this can gouge the plastic. Sand nubs lightly with fine-grit sandpaper (1000+) for a smooth finish.
- Assemble the shell unit with care: The shell unit uses clear parts and double-sided seals. Align the clear parts precisely before pressing the seals. A common mistake is to misalign the clear parts, causing the seals to not stick evenly. Use tweezers to position the seals; avoid touching the adhesive with your fingers.
- Attach the shield parts securely: The shield separates into 11 parts that connect to the Gundam's body. Test-fit each piece before pushing them fully together. Do not force them—if a connection is tight, check for leftover nubs or misalignment. If a part feels loose, a tiny drop of plastic cement can secure it permanently.
- Apply stickers for detail, but take your time: The kit includes stickers for the eyes, sensors, and other markings. Use tweezers to place them and a cotton swab to burnish them down. A common mistake is to rush and end up with wrinkled or crooked stickers. Wash your hands before handling stickers to avoid oils that reduce adhesion.
Product facts
-
Bandai Gundam Aerial High Grade Model Kit: The shield can be separated into 11 parts, which can be connected to various parts of the Gundam. This gives you customization options but requires careful assembly to ensure the parts stay attached securely.
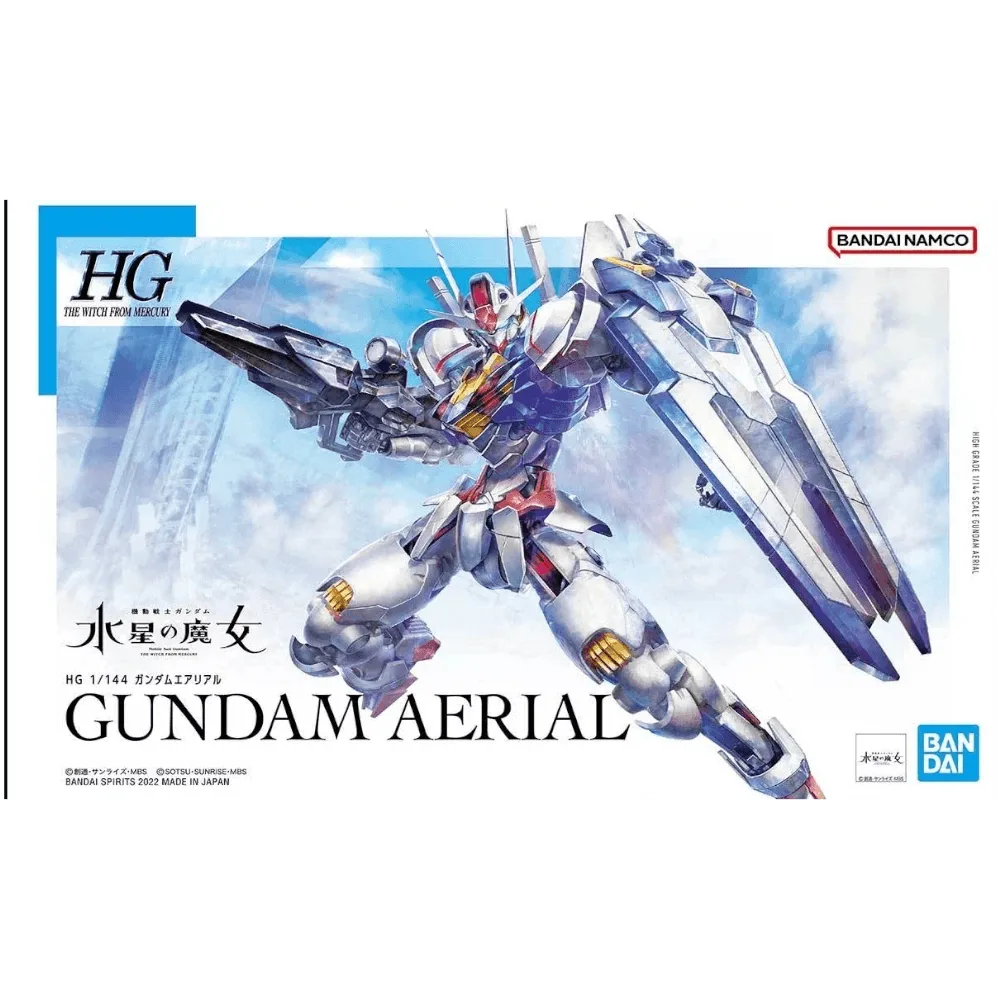
Bandai Gundam Aerial High Grade Model Kit
-
Bandai Gundam Aerial High Grade Model Kit: The shell unit is reproduced by combining molded parts, double-sided seals and clear parts, and it can be assembled in the light-emitting form and the non-light emitting form. You can choose between two looks without extra paint or LEDs, making it a flexible display piece straight out of the box.