Quick answer
Most loose GUNDAM joints come from repeated posing, stress cracks, or paint and topcoat buildup inside the joint, not from a defective kit. Start by cleaning the joint and testing the fit dry. If it still slips, add a thin layer of clear nail polish or a sliver of plastic to the peg, let it cure fully, and reassemble. Stop if the plastic is cracked, the peg is deformed, or the joint feels tight enough to resist movement.
Identify the symptom before you touch the joint
A loose joint is not one problem. A ball joint that droops under the weight of a backpack needs a different fix than a polycap that spins freely, and a hinge that clicks but will not hold a pose is different again. Before adding anything to the joint, move the limb slowly through its full range and note where the resistance disappears. That tells you whether the looseness is in the socket, the peg, or the surrounding plastic.
- Drooping under load: the joint holds when the limb is light but sags when a weapon or backpack is attached.
- Free spin: the joint rotates with almost no friction, often after repeated assembly and disassembly.
- Click then slip: the joint catches briefly but cannot hold a pose, usually a sign of worn teeth or a stretched polycap.
- White stress marks: the plastic around the joint has turned pale, which means it has been flexed beyond its elastic limit.
Common causes and the fixes that match them
Repeated posing is the most common cause of loose GUNDAM joints. Every time you rotate a limb, the peg and socket rub against each other, and over months the fit loosens. The fix is to add material back to the peg, not to force the joint tighter. A thin coat of clear nail polish on the peg, fully dried before reassembly, adds a removable layer that restores friction without changing the kit permanently.
Paint and topcoat are the second common cause, but in the opposite direction. Paint inside a socket can make a joint too tight, and forcing it can crack the surrounding plastic. If a joint became stiff after painting, do not sand blindly. Test the fit with the joint disassembled, and remove paint only from the contact surfaces with a fine abrasive or a cotton swab and mild thinner, working slowly.
Stress cracks and deformed pegs are the point where repair stops being maintenance. A cracked socket will not hold a pose no matter how much material you add, and a deformed peg will sit at an angle that puts pressure on the surrounding plastic. In those cases, the honest option is a replacement part or a different pose that does not load the damaged joint.
A safe sequence for tightening a joint
Work in this order and stop as soon as the joint holds. Disassemble the limb, clean the peg and socket with a dry cotton swab, and test the dry fit. If it is still loose, apply one thin coat of clear nail polish to the peg, let it cure for at least an hour, and reassemble. Test the pose under the actual load, including the backpack or weapon. If it still slips, add a second thin coat rather than one thick coat, because a thick layer can flake and jam the joint.
For polycaps that have stretched, a small strip of thin plastic or a sliver of tape wrapped around the peg can restore grip. Keep the strip narrow and smooth so it does not bind when the joint rotates. Never use glue inside a joint you want to move again, and never force a joint that feels tight; if it resists, disassemble and check for paint or debris before adding force.
Joint diagnosis: symptom, cause, action, stop point
- Joint droops under a backpack or weapon: The peg has worn thinner from repeated posing, or the socket has stretched. Clean the joint, add one thin coat of clear nail polish to the peg, cure fully, and retest with the load attached. If two thin coats do not hold the pose, stop adding material and consider a replacement joint or a lighter load.
- Joint is stiff or will not rotate after painting: Paint or topcoat has built up inside the socket. Disassemble and test the dry fit. Remove paint only from contact surfaces with a fine abrasive or a cotton swab and mild thinner, working slowly. If the plastic turns pale or feels soft, stop; the solvent is attacking the plastic.
- Joint clicks but will not hold a pose: The polycap or hinge teeth are worn. A narrow strip of thin plastic or tape around the peg can restore grip without glue. If the joint still slips after one strip, the part is worn out; replace it rather than adding more material.
- White stress marks or a visible crack around the joint: The plastic has been flexed beyond its limit. Do not add polish or force the joint. Set the kit in a neutral pose that does not load the damaged area. Stop repair here. A cracked socket will not hold a pose, and further handling risks breaking the part.
GUNDAM merch that supports your maintenance routine
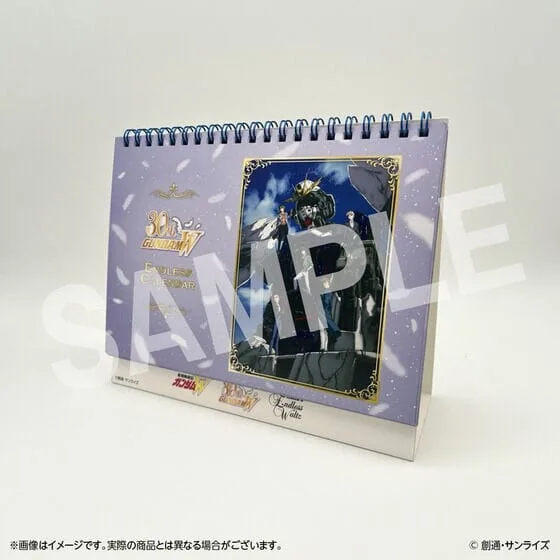
- Acrylic Art Panel Gundam W 30th Anniversary - Mobile Suit Gundam W&Endless Waltz: Authentic Acrylic Art Panel Gundam W 30th Anniversary from Bandai Namco in Japan, approx. A5 size (W210mm×H148mm). A flat display piece gives you a place to enjoy your GUNDAM collection without posing a kit, which reduces wear on joints you are trying to preserve.
- GUNDAM ASSEMBLE Expansion Pack 03 [EX03] - BANDAI TABLETOP GAMES: GUNDAM ASSEMBLE Expansion Pack 03 [EX03] from BANDAI TABLETOP GAMES, a miniature battle game using approximately 50mm Gunpla. Small-scale miniatures are handled more than display kits, so knowing how to tighten and maintain their joints keeps them stable during play.
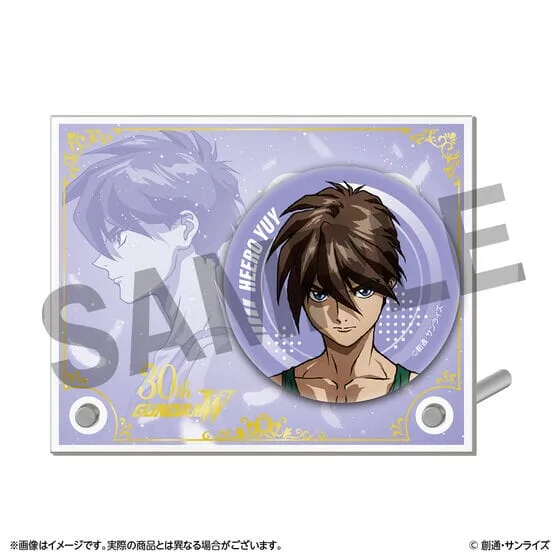
- Quatre Tin Badge Acrylic Stand - Mobile Suit Gundam W&Endless Waltz: Authentic Quatre Tin Badge Acrylic Stand from Bandai Namco in Japan; badge approx. 56mm diameter, stand approx. W100mm×H80mm. A small acrylic stand is an easy way to keep a favorite character on display while your model kit rests in a neutral pose.