What you are actually building
The Hands Craft Toy Store is a nostalgic, pint-sized toy shop you assemble from the ground up, stocked with tiny rocking horses, colorful gift boxes, and shelves that look overflowing once the pieces are in place. The catalog lists 81 pieces, an assembly time of about 1 hour, and an age range of 14+.
That combination makes it a compact project rather than a weekend commitment. The supplied product information does not describe wiring, lighting, or electrical components, so plan this as a straightforward assembly session rather than a lit miniature build. If you were searching for miniature house wiring tips, this particular kit is not the one to practice on.
Toy Store kit facts to check before you open the box
-
Hands Craft | Toy Store: Age Range: 14+ The kit is intended for builders 14 and older, so it suits a teen or adult project rather than a young child's craft session.
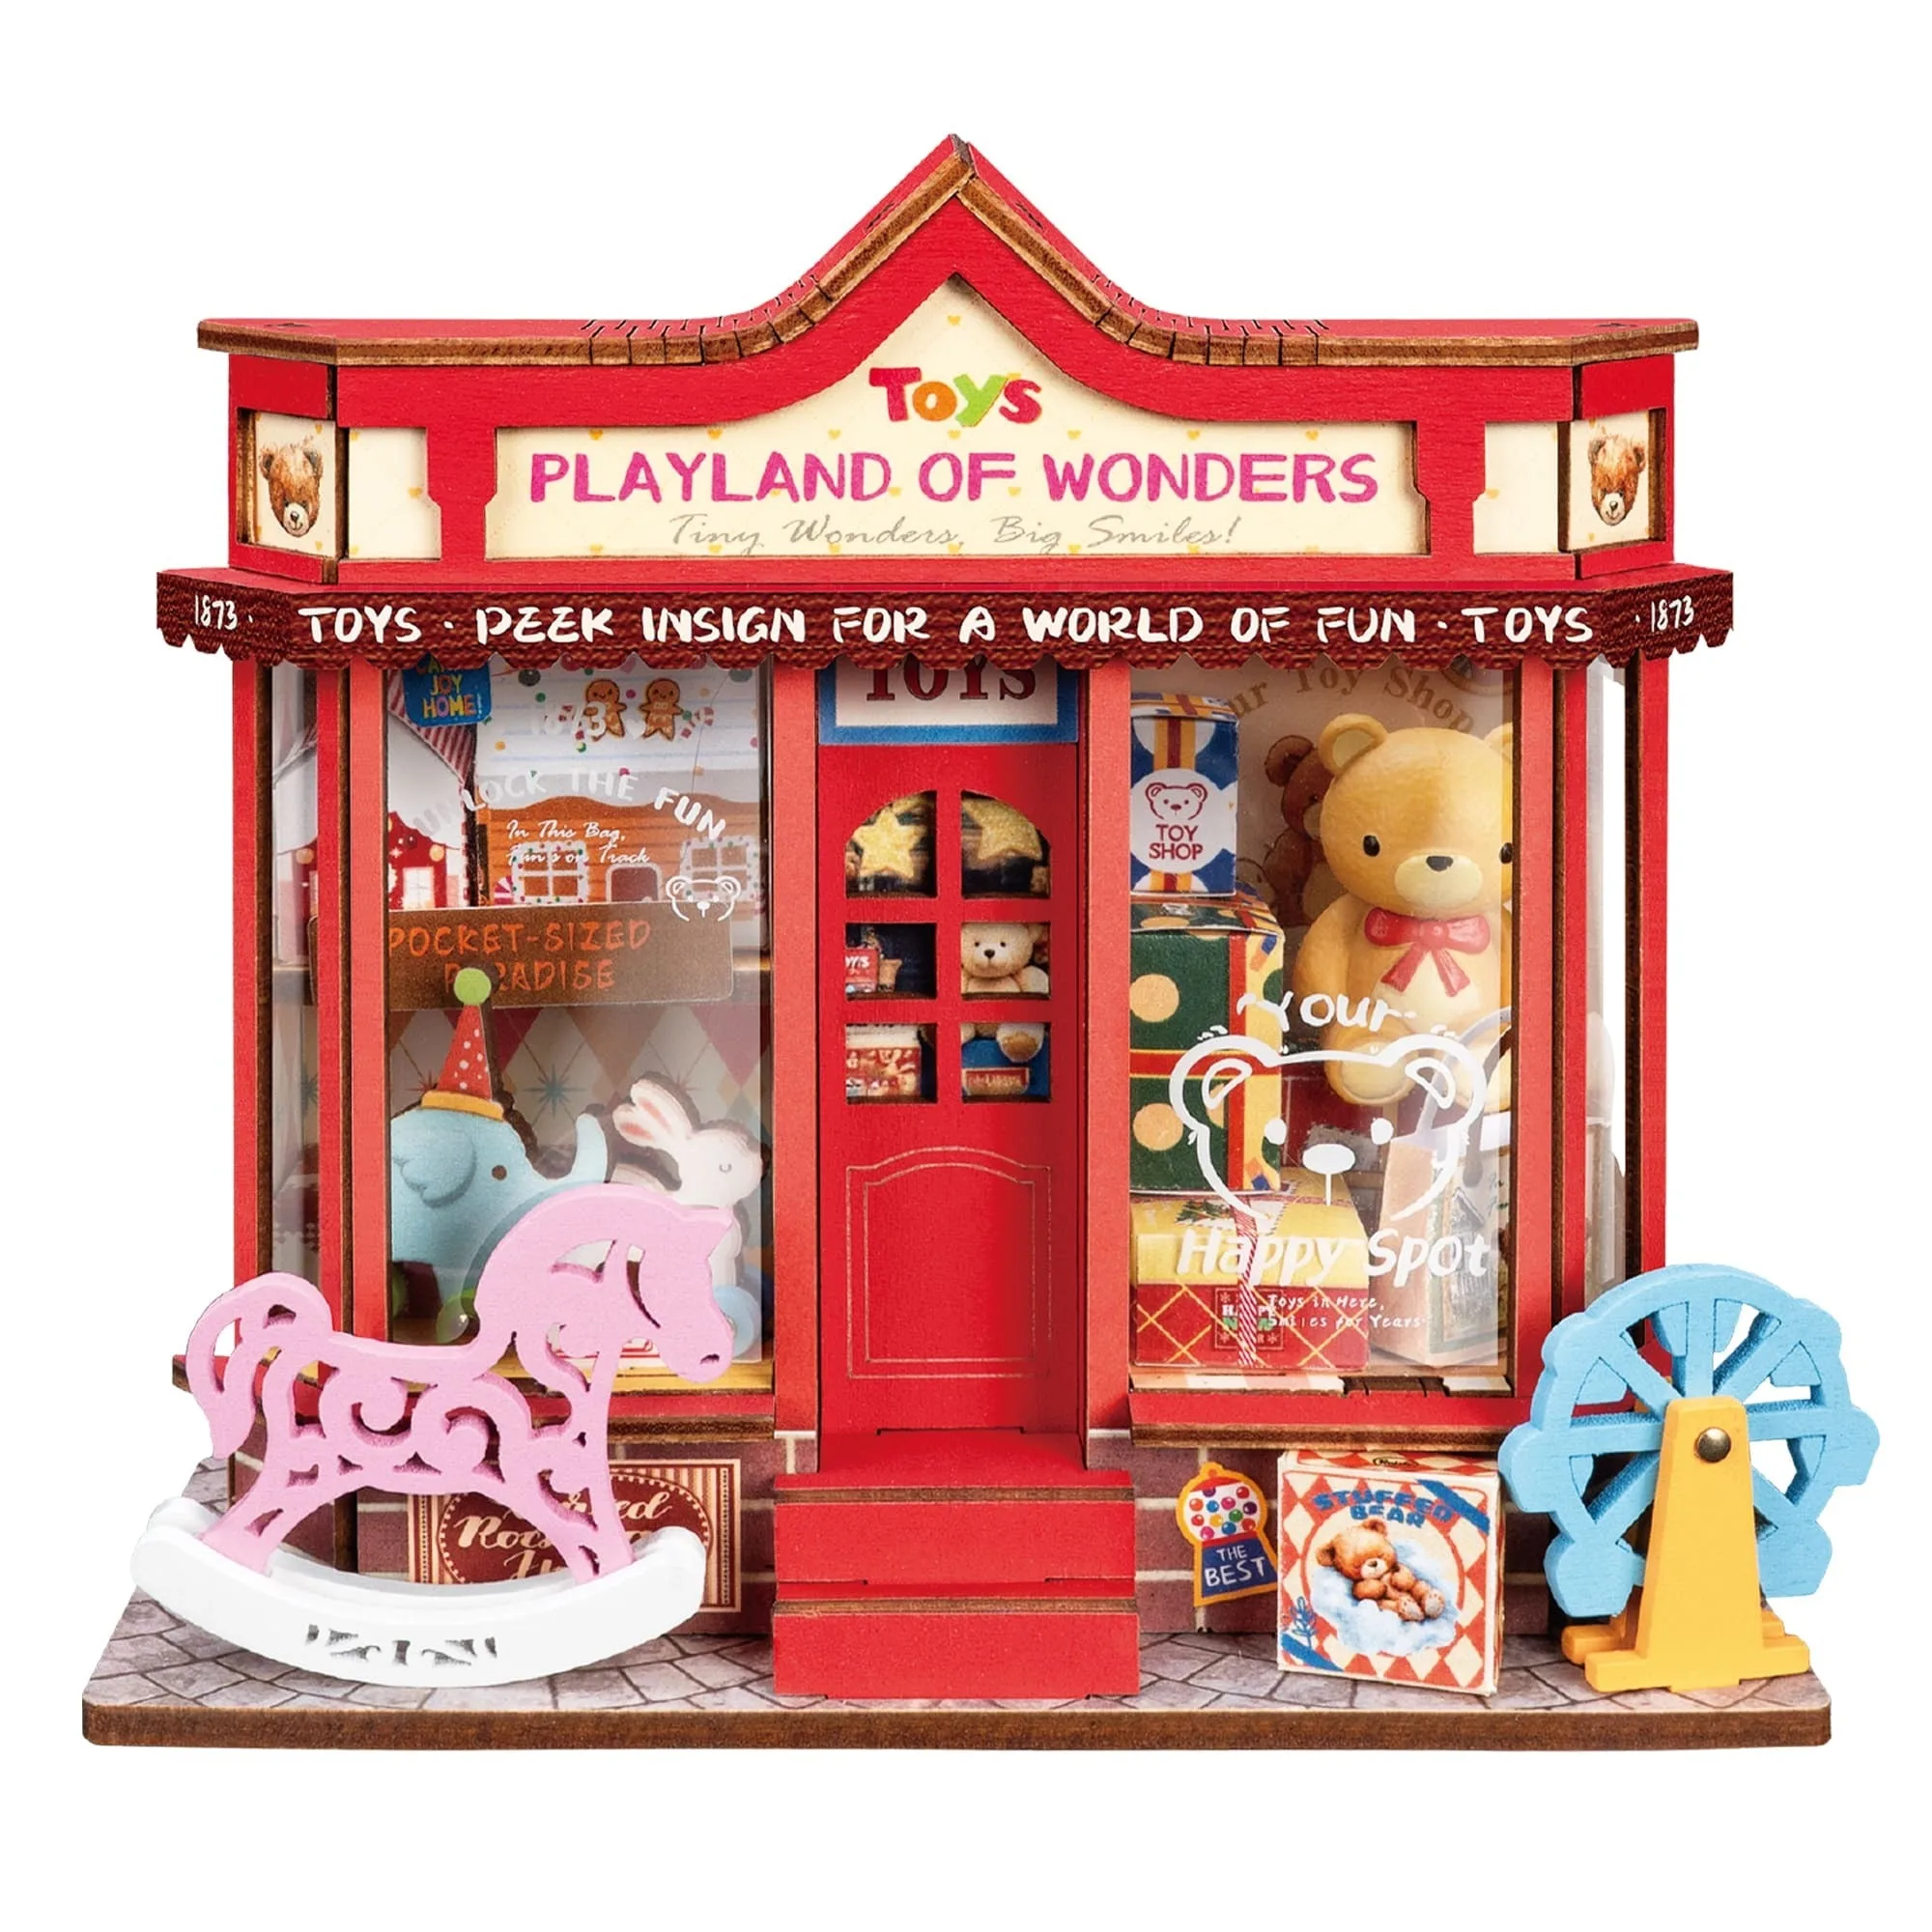
Hands Craft | Toy Store
-
Hands Craft | Toy Store: Piece Count: 81 A modest piece count means you can sort everything on a tray before starting and keep track of small shop details.
-
Hands Craft | Toy Store: Assembly Time: 1 hour Plan a single focused sitting and clear a table you can leave undisturbed if you run over.
-
Hands Craft | Toy Store: Assembled Dimensions: 4.65 x 1.8 x 4.25 inches The finished shop is small enough for a shelf or desk, so check your display spot before you begin.
Miniature kit tools needed for this build
The supplied product record does not list a required tool set, so treat the following as general workshop preparation rather than a manufacturer instruction. Gather these before you start so you are not hunting mid-build.
- A shallow tray or dish: Useful for holding the 81 pieces and keeping tiny gift boxes and shelf items from rolling off the table.
- Good task lighting: Small shop details are easier to place when the work surface is brightly and evenly lit.
- Tweezers or fine-tip craft tweezers: Helpful for positioning small decorative pieces without fumbling them.
- A clean, flat work surface: A dedicated table lets you leave a partially finished build in place if the one-hour estimate runs long.
- The kit instructions: Follow the supplied instructions for the actual order of assembly; the sequence below is planning advice, not a replacement.
Toy Store miniature build steps, planned around one hour
Because the supplied record gives a total assembly time but no step-by-step procedure, this is a sensible way to organize the session around the kit's own instructions.
- Sort and inventory first: Open the kit, lay out the 81 pieces, and check them against the instructions before assembling anything. Sorting small decorative items early saves time later.
- Build the shop structure: Assemble the main shell of the toy store first so you have a stable frame to work into, following the kit's stated order.
- Add shelves and larger fixtures: Place the shelving and larger interior elements before the loose decorations, since these define where the small items will sit.
- Finish with the tiny details: Add the rocking horses, gift boxes, and shelf stock last. These are the pieces most likely to be knocked loose while you are still handling the structure.
- Do a final placement check: Compare the finished shop against the reference images and confirm every piece is seated before you move it to its display spot.
Working within the one-hour estimate
The listed assembly time is about an hour, but that figure assumes the kit's own instructions and your own pace. If you are new to DIY miniature house assembly, expect to spend extra time on the smallest decorations, and set the build aside rather than rushing fragile details into place.
The catalog also notes that no two builds are exactly alike and that the unique journey of creation is part of what makes these kits rewarding. Treat small variations in how your shelves and gift boxes sit as normal, not as a mistake.
Where to put the finished toy store
At 4.65 x 1.8 x 4.25 inches, the completed shop fits on a bookshelf, desk, or display cabinet without taking over the space. Measure your intended spot before assembly so you know the finished piece has a home, and keep it away from damp or direct handling if you want the small decorative pieces to stay put.
Because the supplied information does not confirm lighting or electrical parts, there is no wiring to hide or route. Display it as a small themed vignette, and consider grouping it with other miniature shop kits if you build more than one.