Quick answer
Assemble the Hands Craft Windsor Flower House by organizing the laser-cut wood pieces, following the step-by-step instructions, and using the touch sensor to light your completed Victorian conservatory.
Why the Windsor Flower House is a rewarding build
The Windsor Flower House is a DIY miniature kit that captures the elegance of a classic Victorian-style conservatory. Its intricate laser-cut wood and delicate floral details make it a charming project, but they also mean patience and precision are key.
Because the kit includes many small pieces, taking time to sort and identify each part before you start will save you from confusion later. The finished piece becomes a peaceful retreat you can display in any nook, especially when you use the ambient light feature.
Trade-off: detail vs. simplicity
The Windsor Flower House offers a high level of detail, which is part of its appeal. However, this means the assembly is more intricate than simpler kits. If you prefer a quicker build, you might consider a less detailed option, but for those who enjoy a rewarding challenge, this kit is ideal.
Step-by-step assembly
- Sort and identify all pieces: Lay out all laser-cut wood pieces and group them by size and shape. Refer to the instruction manual to label each piece with a sticky note or pencil mark. Check that you have all pieces before starting; missing parts are easier to address before you begin.
- Prepare your workspace and tools: Use a clean, flat surface with good lighting. Keep a small container for tiny parts and have tweezers or a craft knife handy for removing pieces from the sheets. A well-organized workspace prevents losing small pieces and reduces assembly errors.
- Assemble the base and floor: Follow the instructions to connect the base pieces, ensuring they are aligned and fully seated. Use wood glue sparingly to avoid excess residue. Let the base dry completely before adding walls to avoid shifting.
- Build the walls and structure: Attach the wall panels one by one, checking that each joint is square. Use a small square tool to verify right angles. If a wall feels loose, apply a little more glue and hold it in place for a few seconds.
- Add the roof and decorative details: After the walls are set, attach the roof pieces and then add the floral and decorative elements. Be patient with delicate parts. Apply gentle pressure when inserting decorative pieces to avoid snapping them.
- Install the touch sensor light: Insert 2 AAA batteries (not included) into the battery compartment, then test the touch sensor. Place the light in the designated spot and secure it. Test the light before finalizing assembly to ensure it works and the wires are hidden.
- Final inspection and display: Once all parts are assembled and glue is dry, inspect for any loose pieces or excess glue. Clean gently and place in a dry, well-lit area away from direct sunlight. Your finished Windsor Flower House is now ready to illuminate your nook.
Product facts
-
Hands Craft | Windsor Flower House: The Windsor Flower House is a DIY miniature kit with intricate laser-cut wood and delicate floral details, designed to capture a classic Victorian-style conservatory. The laser-cut precision ensures pieces fit together neatly, but you'll need to handle them carefully to avoid breaking delicate parts.
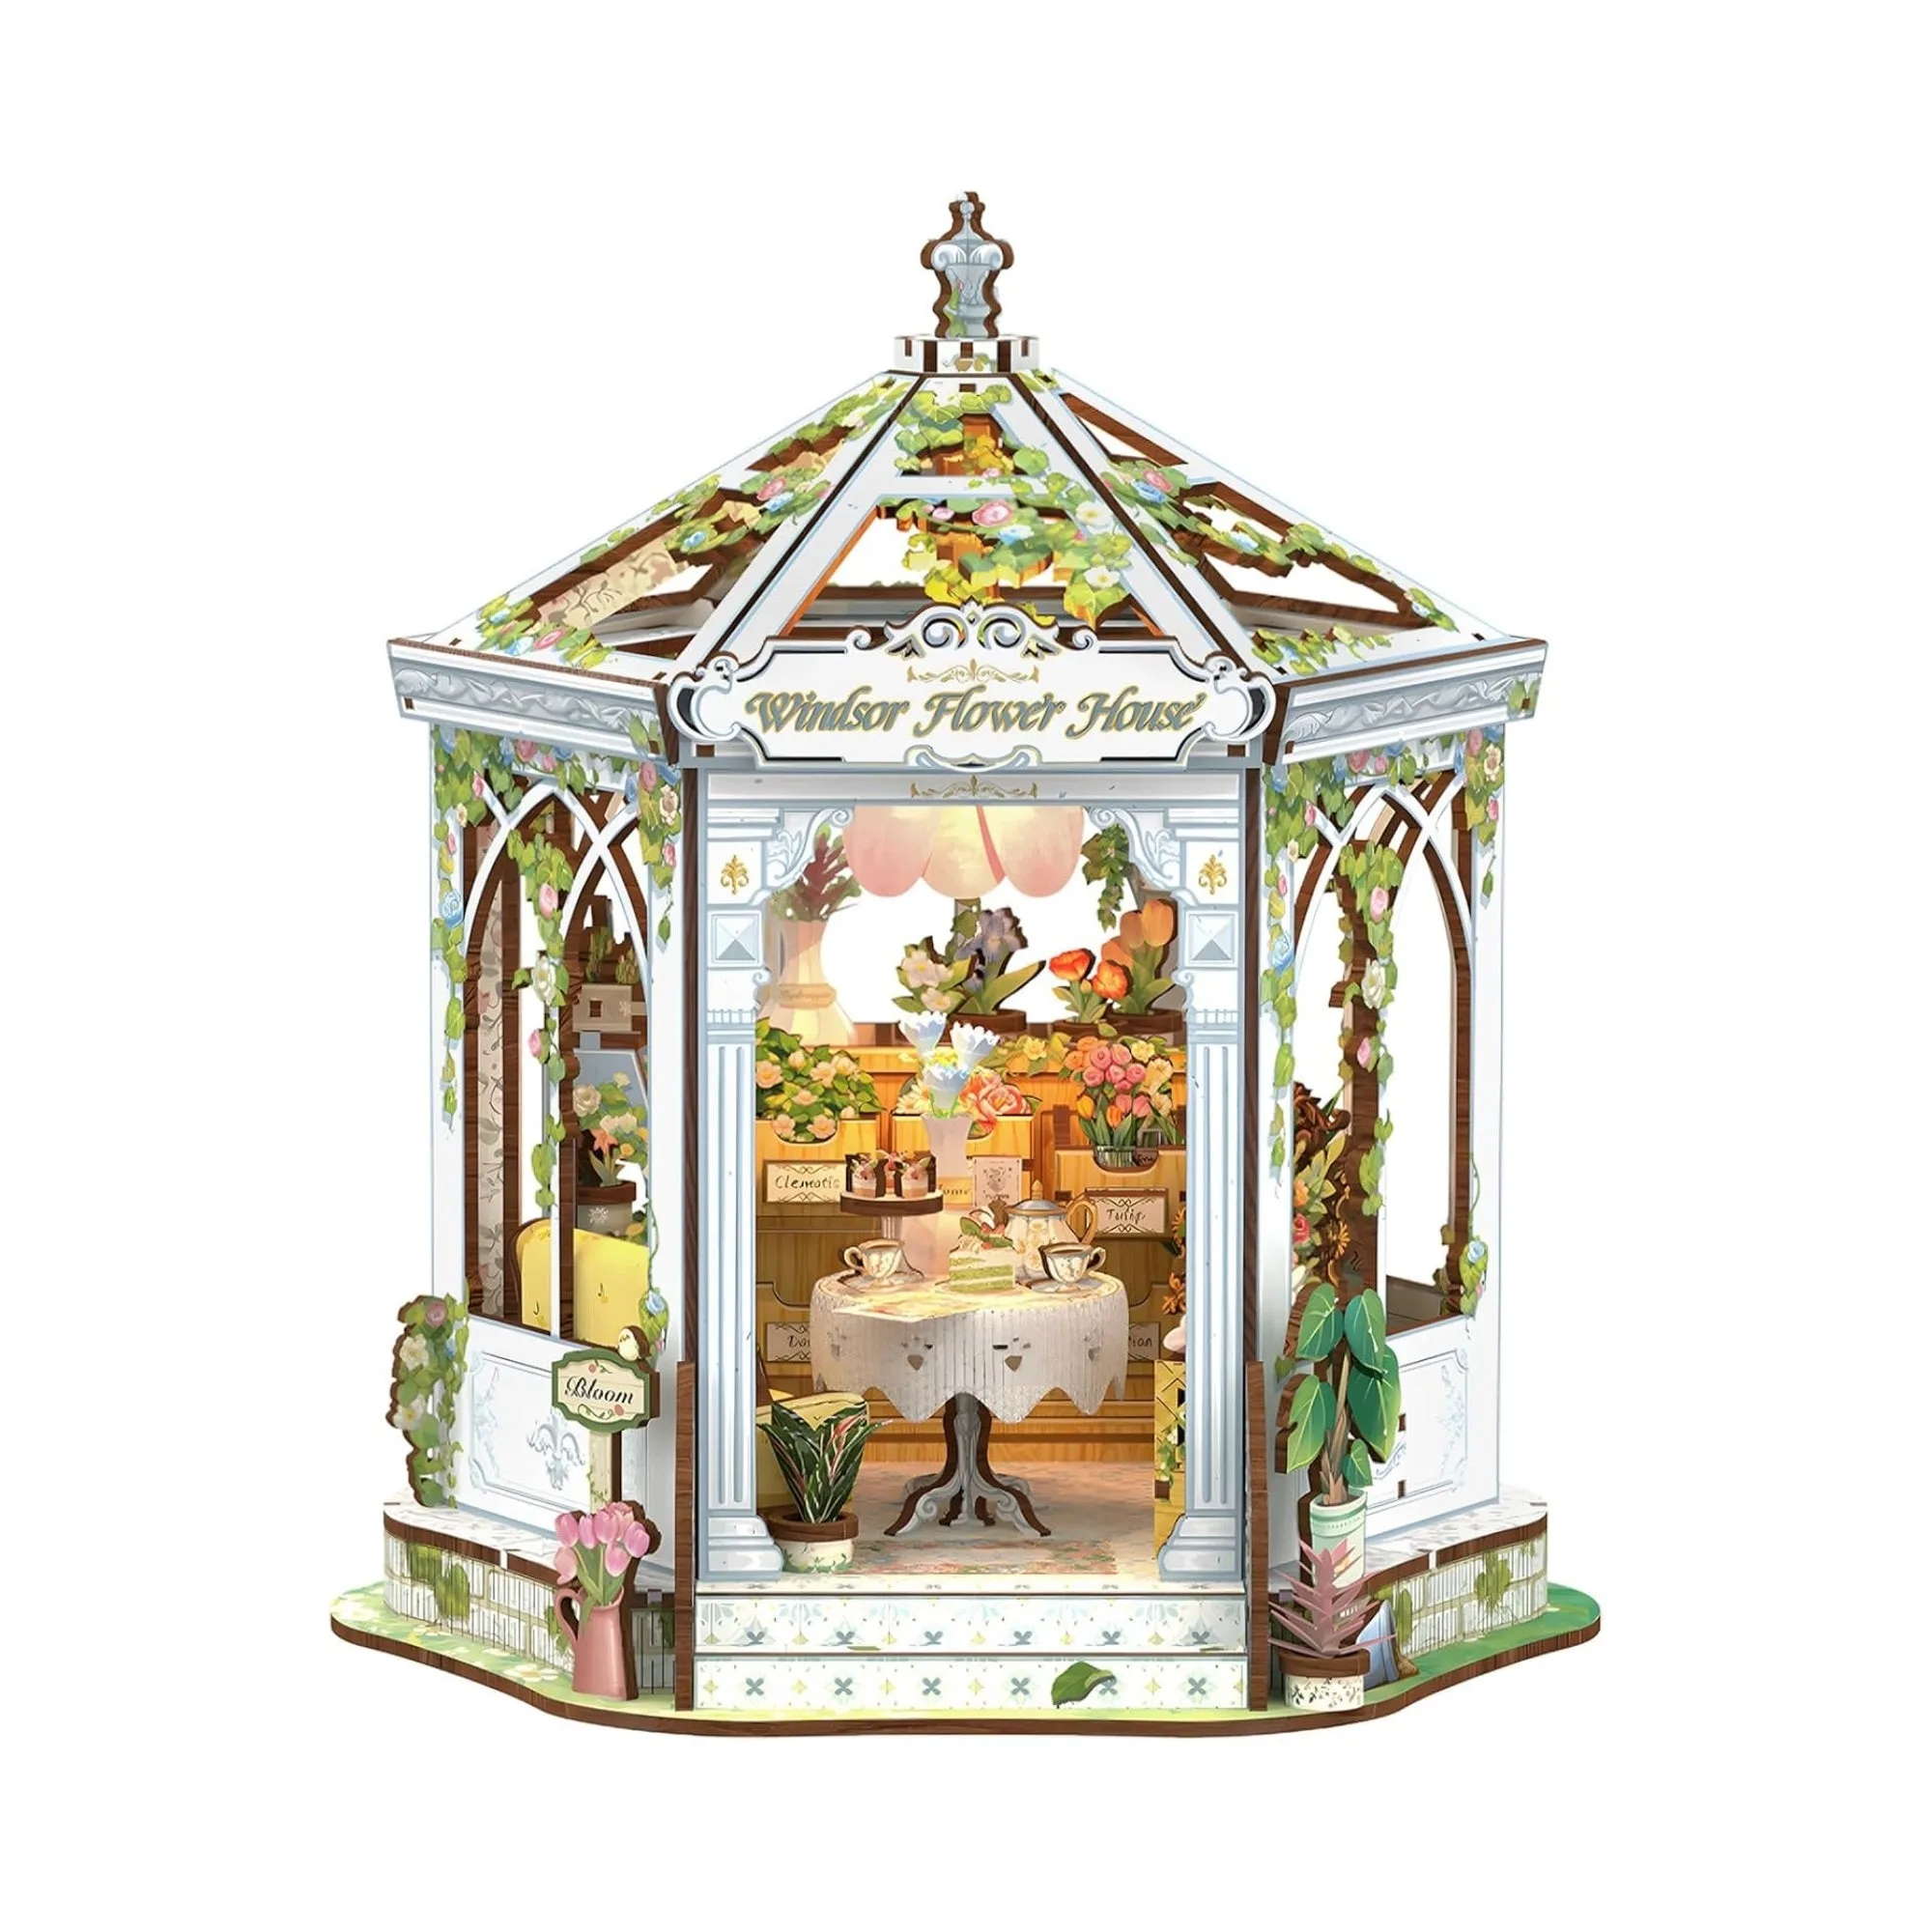
Hands Craft | Windsor Flower House
-
Hands Craft | Windsor Flower House: The kit includes an ambient light feature with a touch-sensor power button, requiring 2 AAA batteries (not included). Plan to have batteries on hand so you can illuminate your finished build immediately and enjoy the cozy glow.