Quick answer
Assemble each cup fully before you put it in your bra, center your nipple in the tunnel, and keep the cup snug but not compressed against your breast. After each session, rinse the cup parts right away and wash them daily. If output drops or you feel pinching, check alignment and fit first — that solves most hands-free pumping problems.
What you need before your first session
Set up on a clean counter with your pump, both collection cups, and the flange size you normally use. Wash your hands, then lay the parts out in the order you will assemble them so you are not hunting for a valve mid-letdown. If you are new to wearable cups, do a dry run with the cups empty and the pump off so you can feel how the pieces seat together before milk is involved.
- Collection cups and all small parts
- Your pump and tubing or motor connection
- A supportive bra that holds the cup without squashing it
- Flange inserts if your nipple size sits between standard sizes
Assemble the cups in the right order
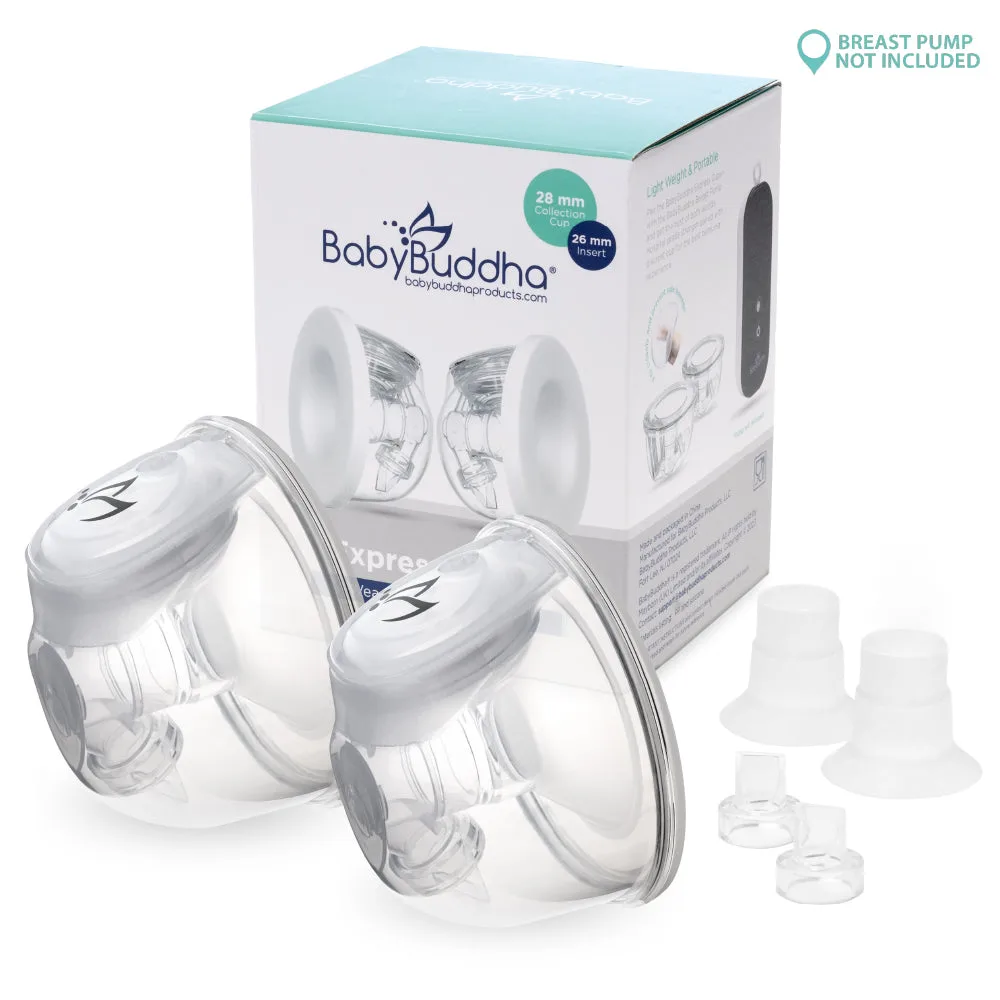
Every collection cup has a front shell, a back flange or tunnel piece, a valve, and a seal or diaphragm. Press the valve into its seat until it sits flat, then fit the seal around the rim of the shell. Snap or twist the back piece into place last so you do not knock the valve loose. A cup that leaks or loses suction almost always has a valve or seal that is slightly off its seat rather than a pump problem.
Position the cup so it actually drains the breast
Slide the assembled cup into your bra with the tunnel centered over your nipple. Your nipple should sit in the middle of the tunnel, not pressed against one side. Tighten the bra band just enough to hold the cup steady; if the bra compresses the cup, milk cannot flow freely into the shell. Many people get better drainage by leaning forward slightly for the first minute or two, then sitting back once letdown starts.
Run the session and watch for fit signals
Start on your usual suction level and increase only after letdown. You should feel a pulling sensation, not pinching or rubbing at the tunnel edge. If one side feels sharp, stop and re-center the cup before continuing. Sessions that feel uncomfortable from the first minute rarely improve by turning the pump up, so fix position first. When you finish, break the seal gently rather than yanking the cup out.
Clean the cups without wearing out the parts
Rinse the cup parts in cool water immediately after pumping so milk residue does not dry in the valve. Wash in warm soapy water with a dedicated brush, then air dry on a clean rack. Follow your pump manufacturer's guidance for how often to sanitize. Heat and frequent sanitizing shorten the life of soft parts, so replace valves and seals at the first sign of stretching, cloudiness, or a loose fit.
Your daily hands-free pumping routine, step by step
- 1. Wash hands and lay out parts: Put the shell, back piece, valve, and seal in front of you so assembly is quick and nothing gets dropped. Checkpoint: if a part is missing, stop and find it — do not substitute a part from another cup.
- 2. Seat the valve and seal first: Press the valve flat into its seat and work the seal evenly around the shell rim before attaching the back piece. Common mistake: snapping the back piece on first, which can dislodge the valve.
- 3. Assemble the cup fully: Twist or snap the back piece into place and give a gentle tug to confirm it is secure. Checkpoint: a cup that wobbles at the seam will leak or lose suction mid-session.
- 4. Center the cup in your bra: Slide the cup in with the tunnel centered over your nipple and adjust the band until the cup is held steady but not compressed. Common mistake: overtightening the bra, which flattens the tunnel and reduces milk flow.
- 5. Start low, then increase suction: Begin at your usual comfortable level, wait for letdown, then raise suction only if you need more. Checkpoint: pinching or rubbing means re-position, not more suction.
- 6. Remove gently and rinse immediately: Break the seal with a finger before pulling the cup away, then rinse all milk-contact parts in cool water. Next step: wash with warm soapy water and air dry before the next session.
Products that support a hands-free setup
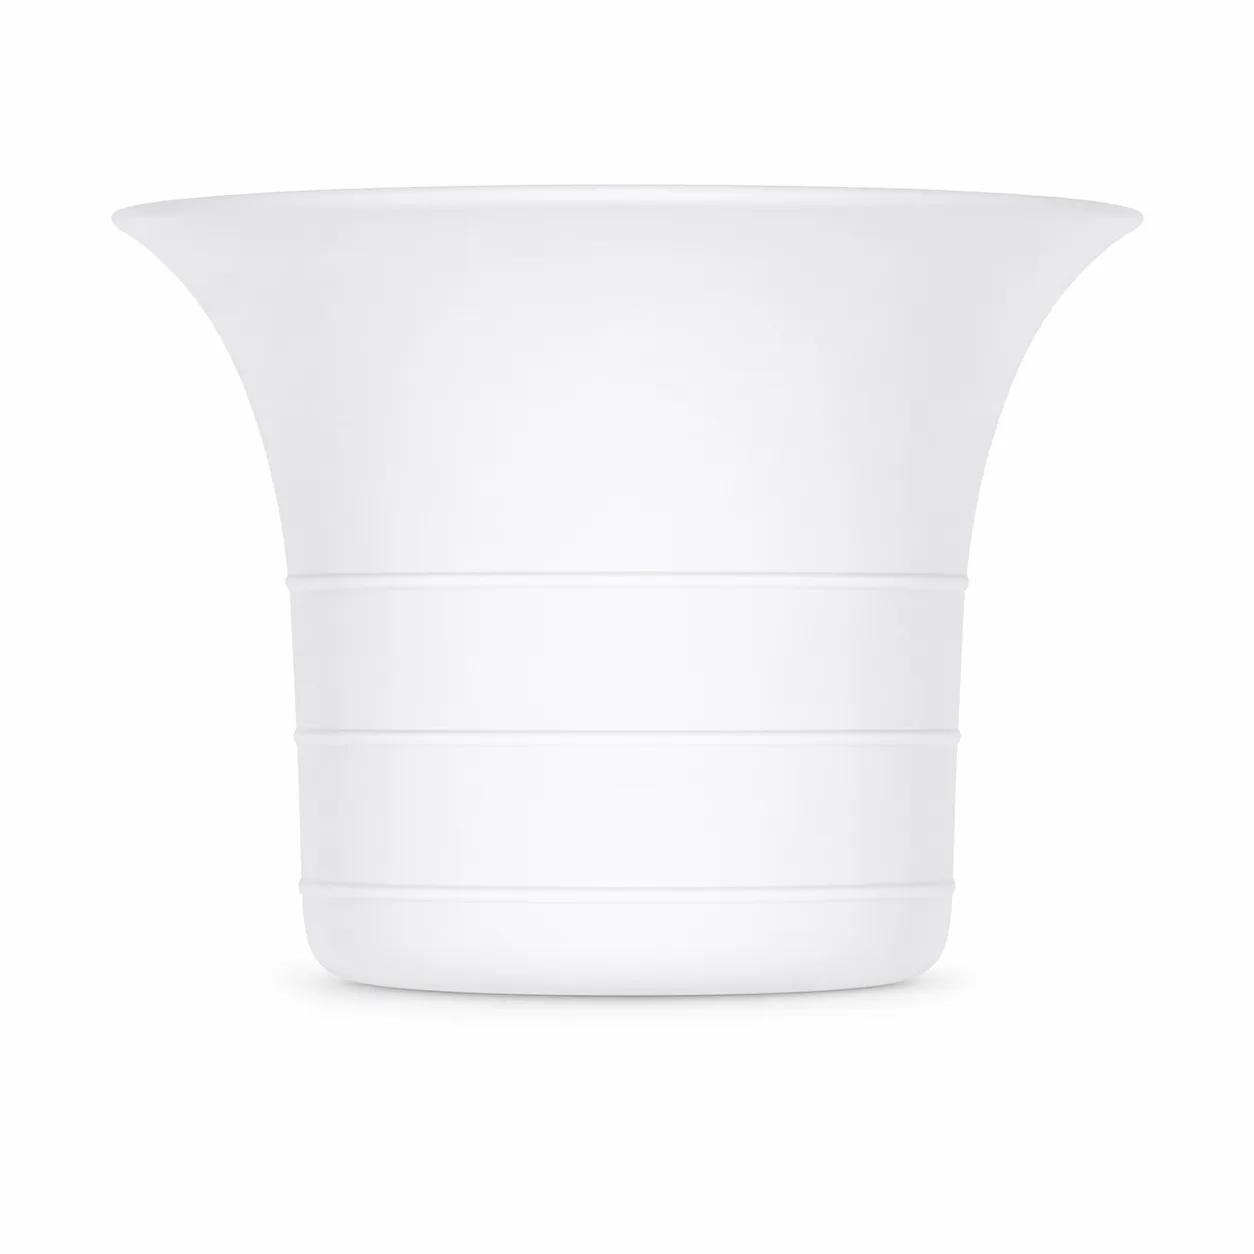
- Hands-Free Breast Pump Collection Cups: Wearable express cups designed to maintain the hospital-grade strength of the BabyBuddha double electric pump, with 8 oz capacity per cup. The breast pump is sold separately. If you already own the BabyBuddha pump, these cups let you keep its suction strength while going hands-free; the 8 oz capacity means fewer mid-session swaps for most pumping schedules.
- Flange Inserts – 21mm (2-pack) for Wearable Breast Pump and 24mm Flanges: 21mm flange inserts (2-pack) made for wearable breast pumps and 24mm flanges, designed to improve alignment, comfort, and milk expression. If your nipple sits between sizes or rubs against a 24mm tunnel, an insert is a cheaper fix than replacing the whole cup — and better alignment is the fastest way to protect output.
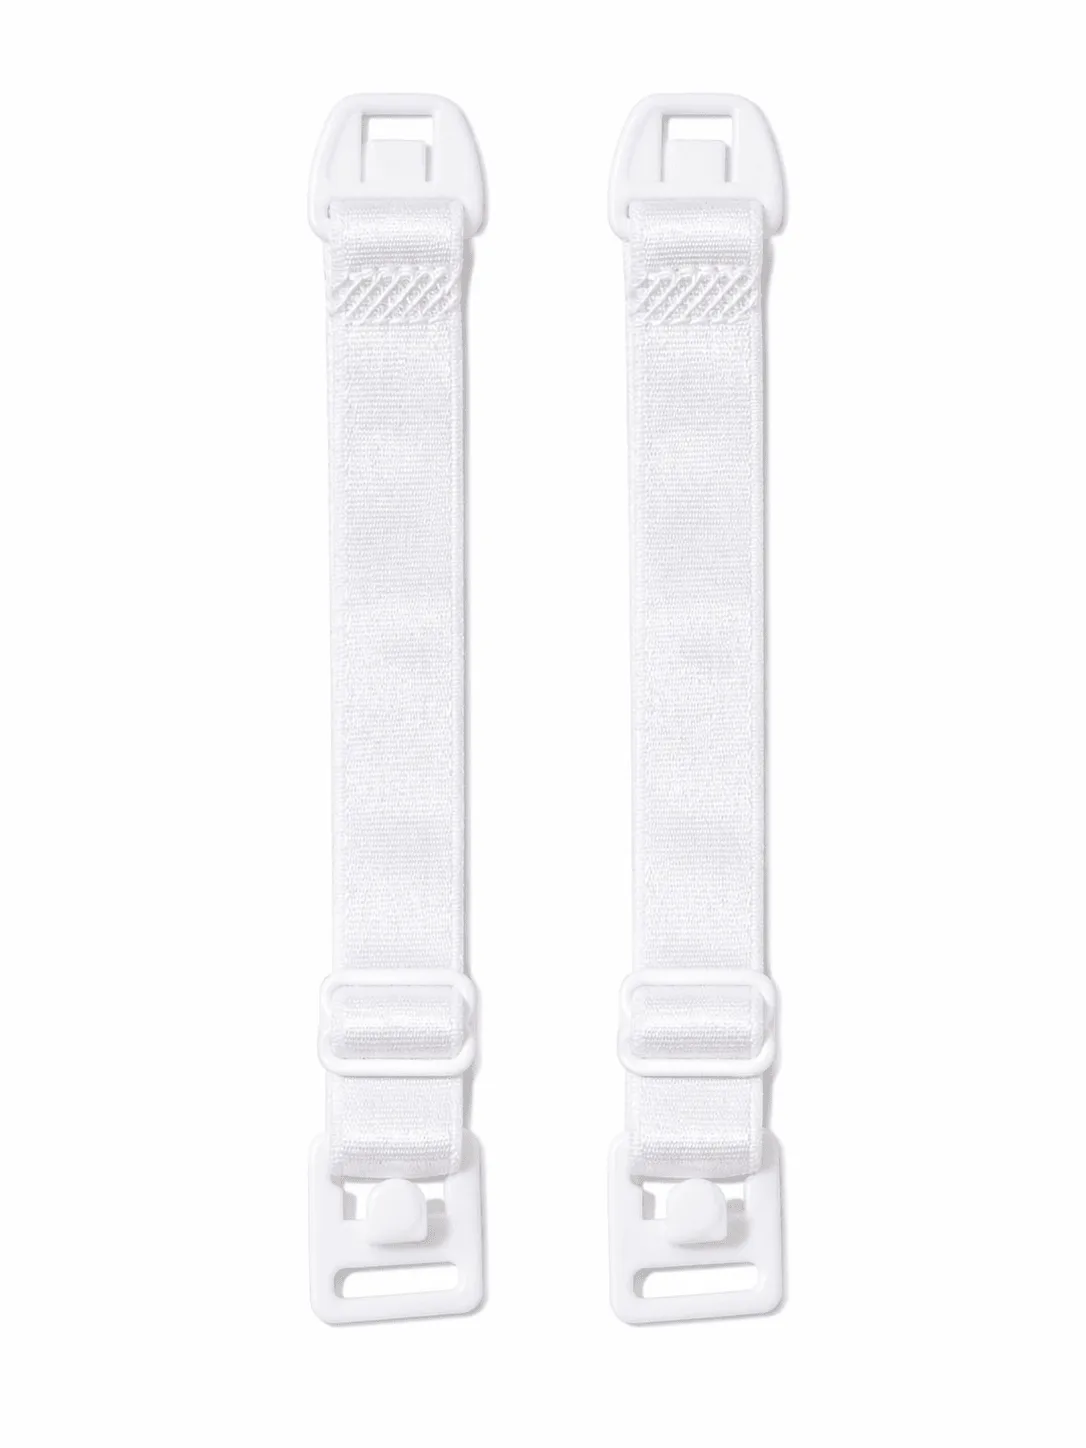
- Wearable Breast Pump Bra Adjustors (2-Pack): Wearable breast pump bra adjustors (2-pack) that help improve positioning and support of wearable cups. When a bra cannot hold a cup at the right height, adjustors let you fine-tune position without buying a new bra, which matters most for discreet pumping away from home.