Quick answer
Hang a large print so its center sits at roughly 57–60 inches from the floor. In a small room, use one oversized piece on the room's largest empty wall instead of several small ones, and keep at least 6–10 inches of breathing room between the print and nearby furniture or corners.
Measure the wall before you commit to a spot
Start by measuring the wall's width and height, then subtract the space taken by doors, windows, and furniture. A large print needs a clear zone; if the wall is broken up by a doorway or a radiator, the usable area may be much smaller than it looks. Mark the intended width and height on the wall with painter's tape so you can see the footprint before you drill.
Choose a print with the right proportions
A large print in a small room works when its proportions match the wall, not when it simply fills every inch. A wide, horizontal composition can make a narrow wall feel wider, while a tall vertical print can emphasize ceiling height. If you are unsure, a single statement piece often reads more calmly than a cluster of smaller frames.
Test the height and scale with tape
Before hanging, tape a paper template or painter's tape to the wall at your planned center height. Stand back and check how the size feels from the room's main seating or standing position. This low-cost step prevents the most common mistake: hanging the print too high because it looked right from the floor.
Step-by-step hanging plan
- Measure the wall and furniture: Record the wall's width and height, then note the height of any furniture below it. Leave 6–10 inches of clear space above a sofa or console so the print does not feel cramped. Checkpoint: the clear zone should be at least as wide as the print plus a few inches on each side.
- Pick the center height: Mark a horizontal line 57–60 inches from the floor. This is the standard gallery height and keeps the print at a comfortable viewing level in most rooms. Mistake to avoid: hanging higher than 60 inches, which forces the viewer to look up.
- Tape the footprint: Use painter's tape to outline the print's exact width and height on the wall. Step back and view it from the doorway and from the main seat in the room. Checkpoint: if the tape outline feels too tight against a corner or ceiling, choose a smaller size or a different wall.
- Mark the hanging points: Measure the distance from the top edge of the print to its hanging wire or bracket, then transfer that measurement to the wall. Use a level to keep the marks even. Mistake to avoid: guessing the wire drop, which leads to a crooked or too-high hang.
- Install the hardware and hang: Use wall anchors rated for the print's weight, and have a helper support the frame as you set it on the hooks. Check the level once it is resting on the wall. Checkpoint: the print should sit flat against the wall without tipping forward.
- Adjust lighting and spacing: If the room is small, avoid placing the print opposite a bright window that creates glare. Leave at least 6 inches between the print and any adjacent wall or tall furniture. Next step: live with the placement for a day before adding more art to the same wall.
Print options that suit small rooms
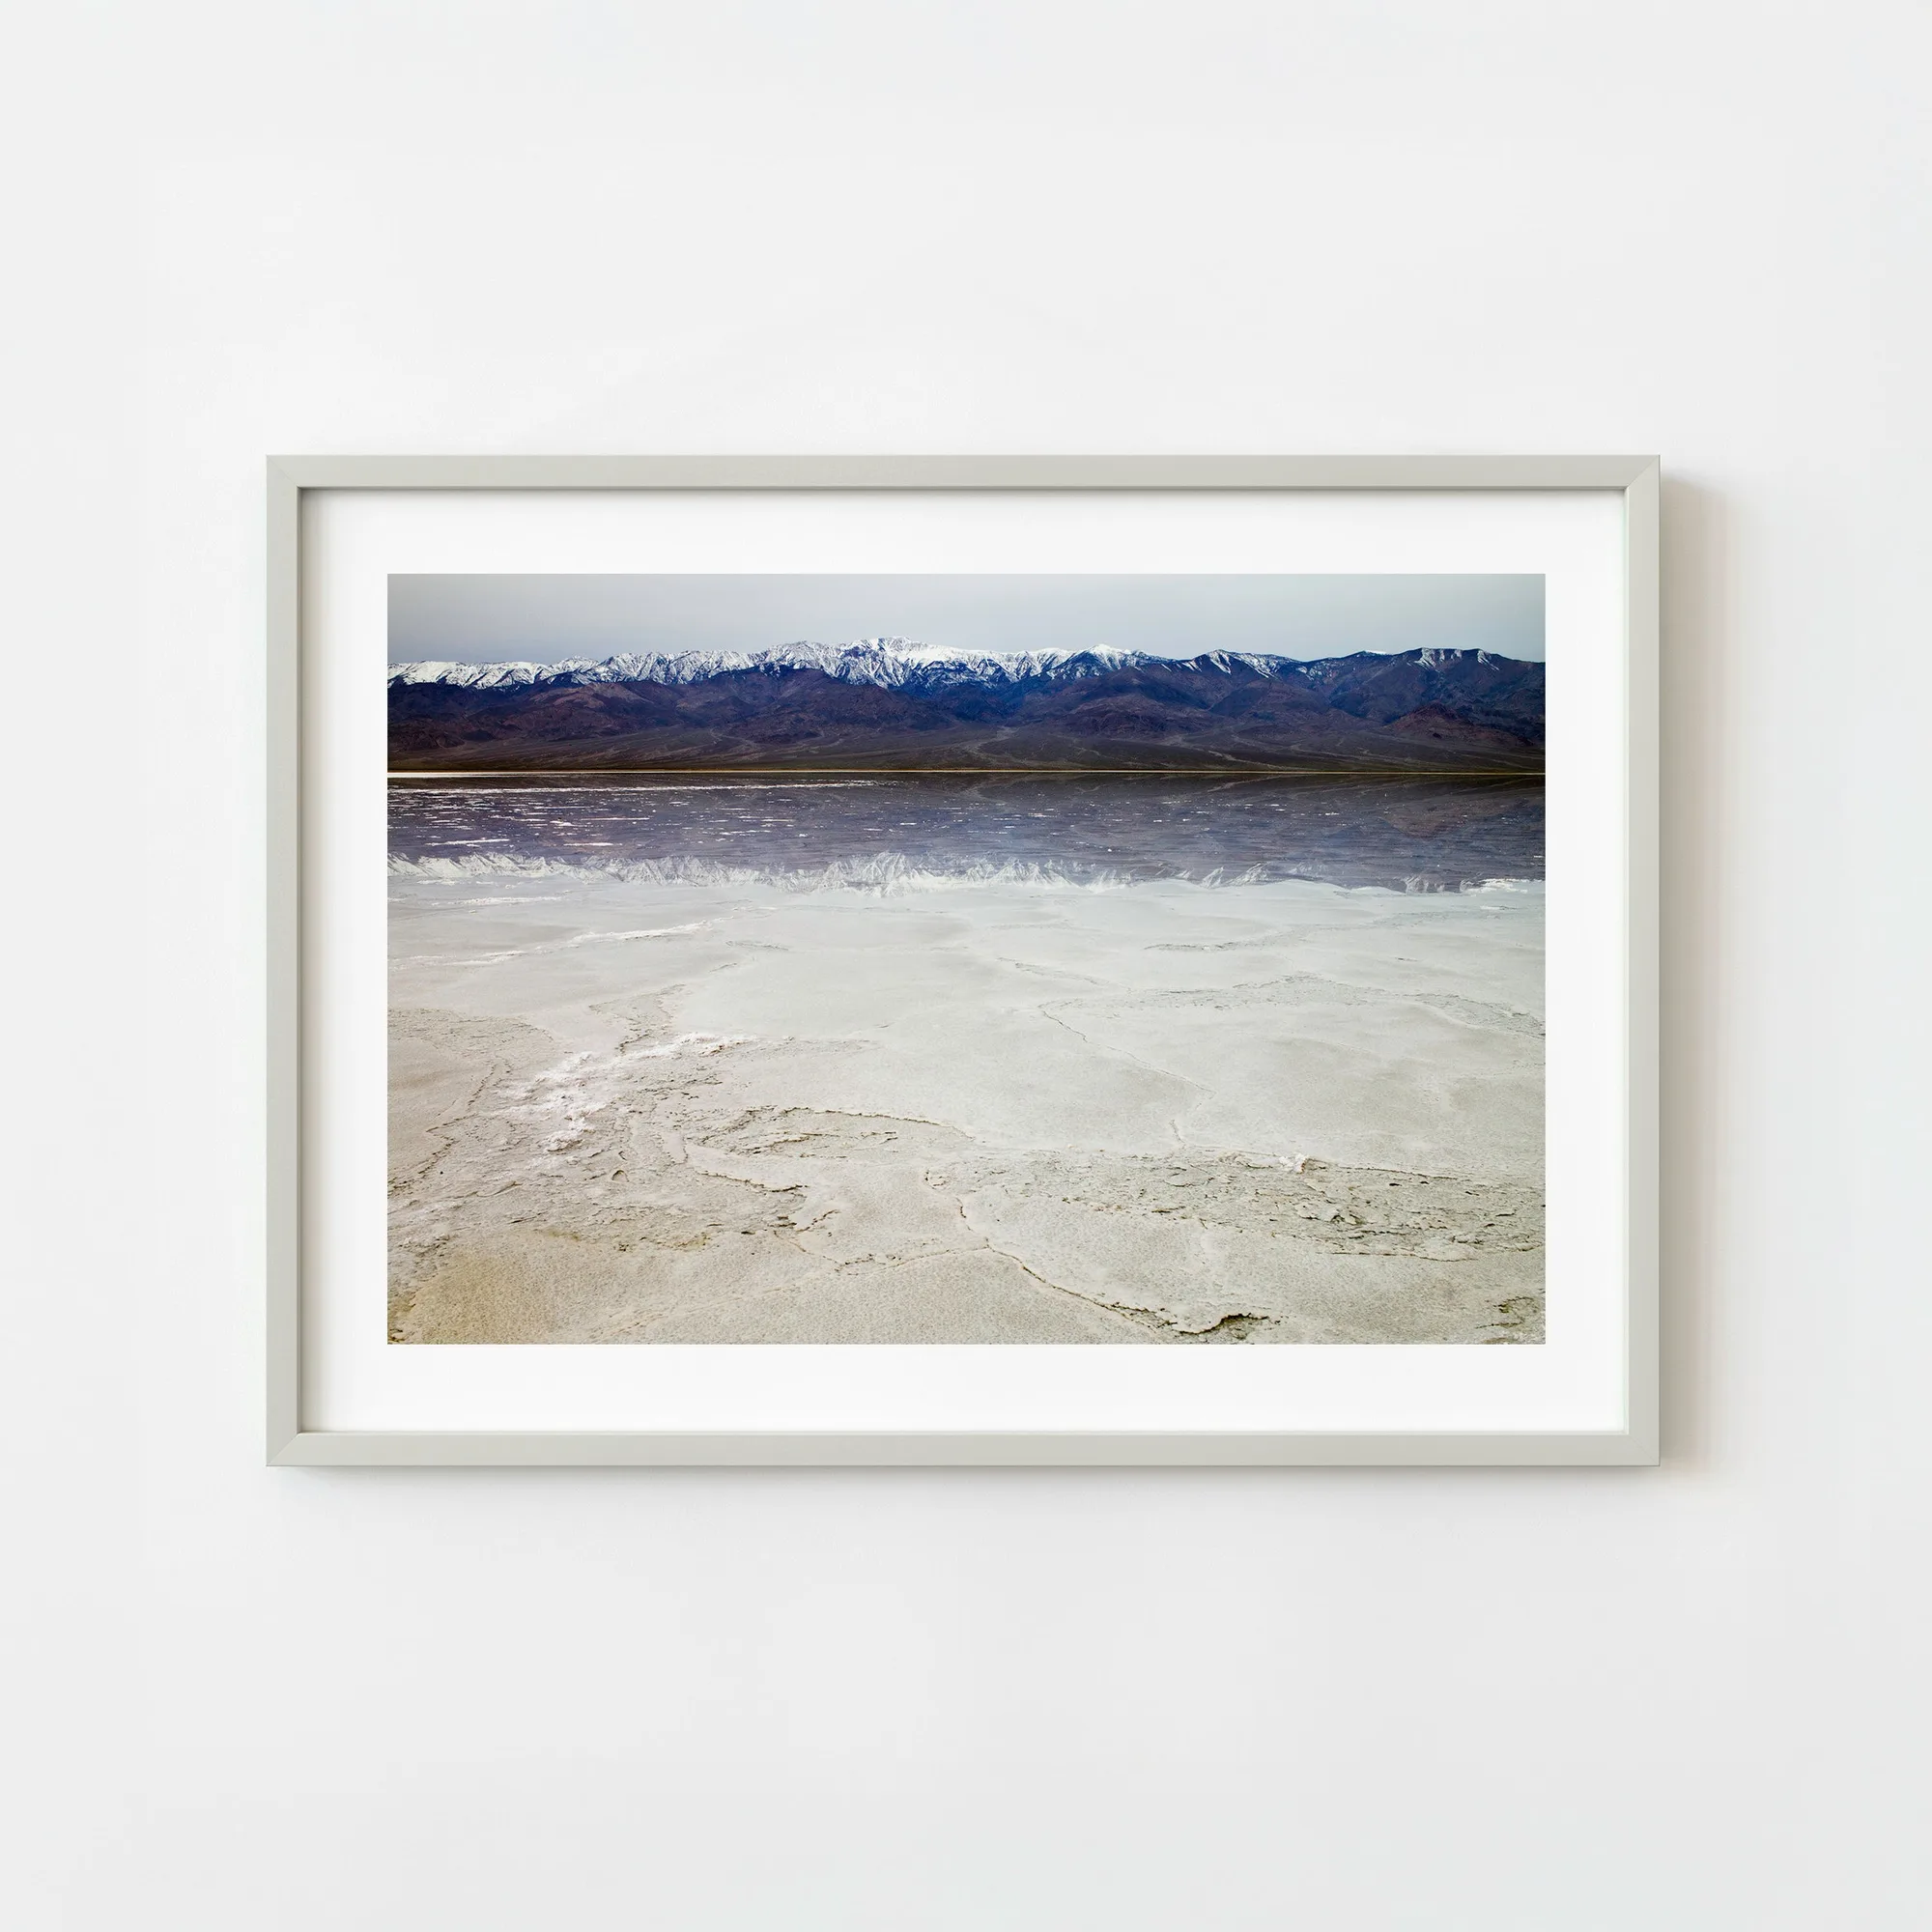
- United States California Death Valley Salt Flats Reflection Mountain Landscape Morning Calm Color Wall Art | Limited Edition of 10: This photograph was created in Death Valley, where the salt flats stretch out like a natural mirror, flattening distance and quieting everything they touch. A calm, symmetrical landscape can make a small room feel more open without adding visual clutter.
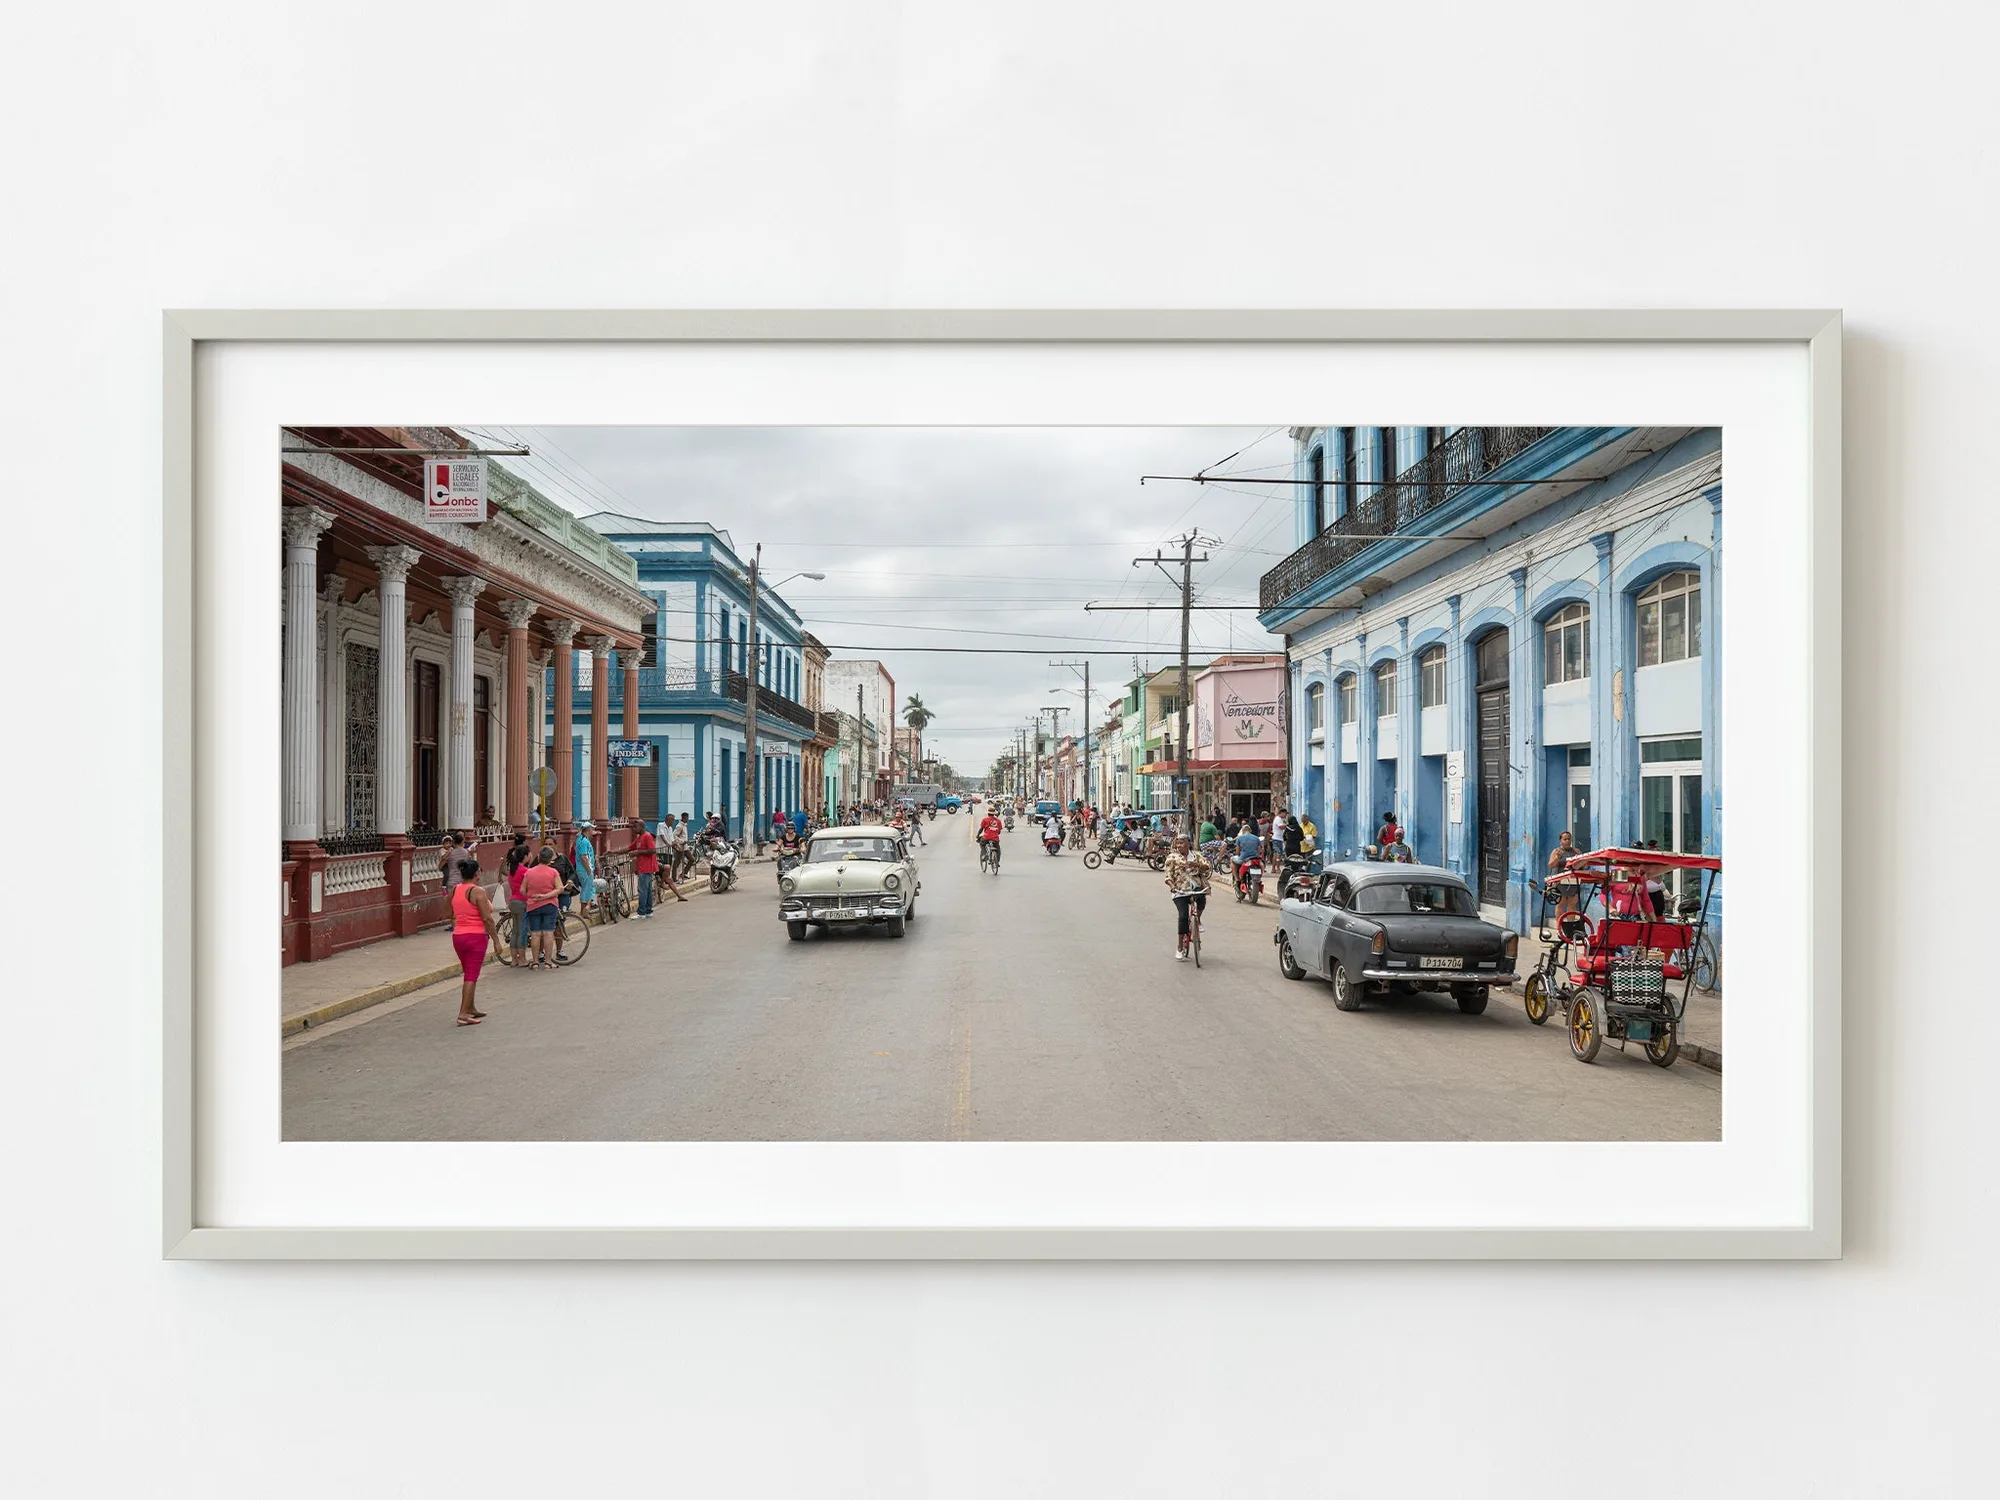
- Life in the streets of Cardenas Matanzas Cuba | Limited Edition of 10: The streets are a vibrant tableau of life, humming with the movement of people, cars, bicycles, and horse-drawn carriages. A busy street scene adds energy, so it works best on a wall that is not already crowded with other objects.