Quick answer
To set up an HD infant car seat camera for a rear-facing seat, mount the camera on the headrest behind the seat, route the cable safely along the seat track, and test the night vision before your first drive.
Why rear-facing setup differs from forward-facing
Rear-facing seats sit at an angle, so the camera's field of view must be adjusted to capture the child's face rather than the back of the seat. A wide-angle lens helps, but correct tilt is what makes the difference.
Cable routing is trickier in rear-facing setups because the seat base and harness anchors can pinch or trap wires. Always run the cable along the seat track and use clips to avoid interference with the seat belt or LATCH system.
Trade-off: camera position vs. visibility
Placing the camera too high on the headrest gives a broader view but may cut off the child's face if the seat reclines. Too low, and the headrest itself blocks the lens. A middle position on the headrest, angled downward, usually works best for rear-facing seats.
If you drive at night frequently, check that the camera's night vision activates automatically. Some models require a manual switch, so test it in a dark garage before relying on it.
Step-by-step installation guide
- Mount the camera on the headrest: Attach the camera to the headrest of the rear seat, positioning it so the lens points toward the rear-facing seat. Adjust the tilt so the child's face is centered in the view. Check that the camera strap is tight and the camera doesn't move when you shake the headrest.
- Route the cable safely: Run the cable along the seat track, using clips or ties to secure it away from the seat belt and LATCH anchors. Avoid letting the cable hang loose where it could be stepped on or pinched. Ensure the cable doesn't interfere with the seat belt buckle or the car seat's harness.
- Connect the monitor and power: Plug the camera into the car's power outlet and pair it with the monitor. Place the monitor on the dashboard or windshield where you can see it without turning your head too far. Confirm the monitor's mount is stable and doesn't obstruct your view of the road.
- Test night vision: Drive into a dark garage or wait until dusk, then check that the camera switches to night vision automatically. Adjust the camera angle if the image is too dark or the child's face is not visible. If night vision doesn't activate, check the manual for a manual switch or ensure the sensor isn't blocked.
- Verify the view before each trip: Before starting the engine, glance at the monitor to confirm the camera is still aimed correctly. Readjust after any car seat recline changes or when moving the seat forward. Make it a habit to check the camera view whenever you adjust the car seat or headrest.
Camera features that matter for setup
-
HD Infant Car Seat Camera with Night Vision: The HD Infant Car Seat Camera with Night Vision automatically activates in low-light conditions and offers a 120° wide viewing angle. This means you can monitor two children in the backseat even during nighttime drives without adjusting the camera manually.
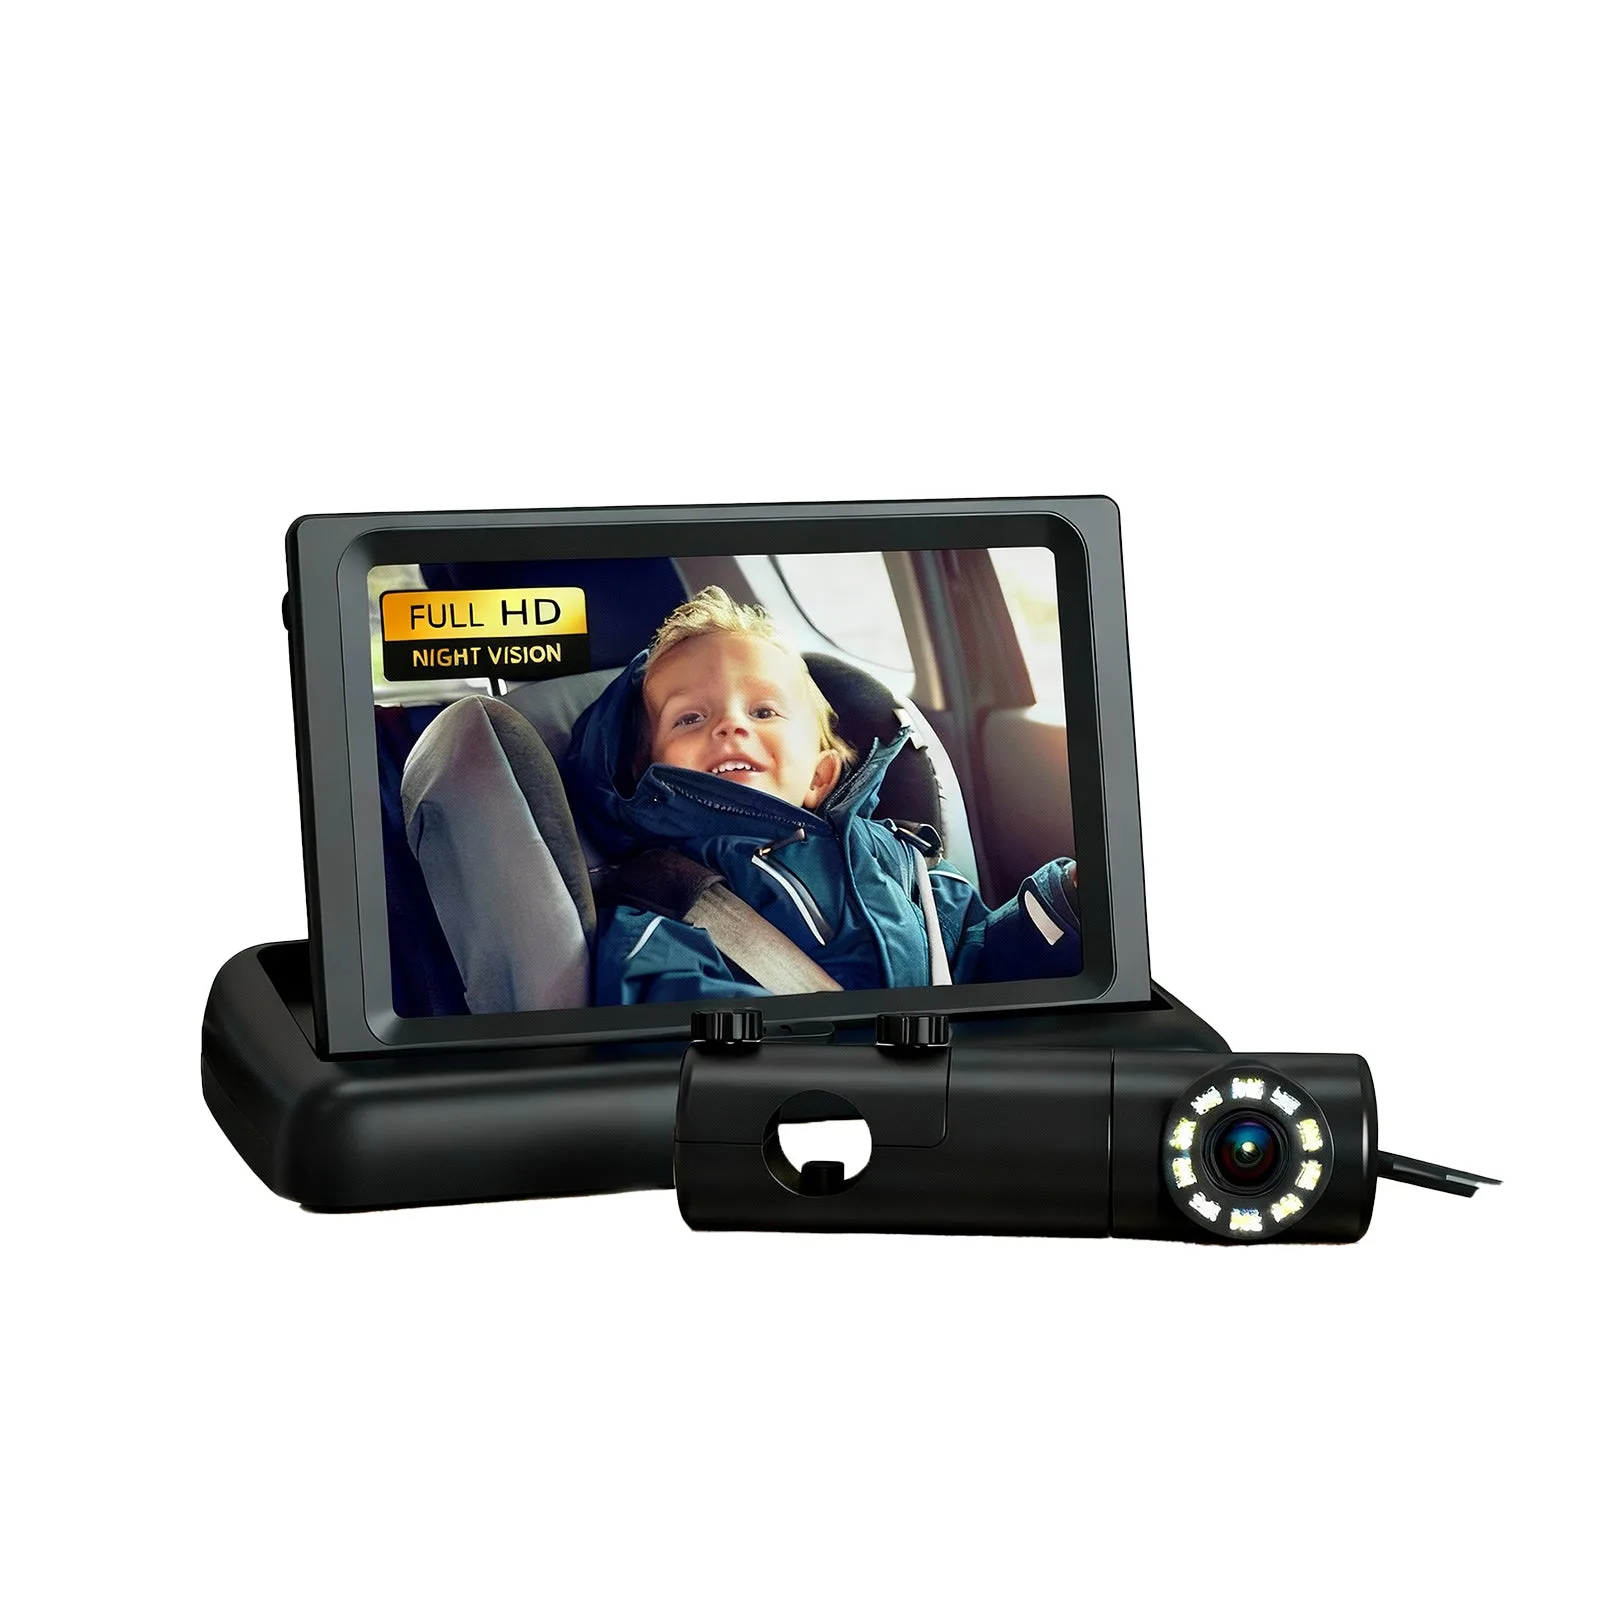
HD Infant Car Seat Camera with Night Vision