Quick answer
Start with fit, then material, then hardware. A headcollar should sit high on the nose and behind the cheekbones with two fingers of clearance under the noseband; a leadrope should be 2–2.5 m for general handling and 3–3.5 m for groundwork. Choose leather or webbing for daily use, and avoid rope halters unless you have been taught to use one.
Fit first: the two-finger and cheekbone rules
A headcollar that fits well stays in place without pressing on the cheekbones or the delicate nasal bones. Adjust the noseband so it sits about two fingers below the cheekbone, not down over the soft end of the nose. You should be able to slide two fingers under the noseband and the headpiece. If the headcollar twists or slides when your horse shakes its head, it is too loose; if you cannot fit two fingers underneath, it is too tight.
Check the fit with the leadrope attached and your horse standing square. The headcollar should not pull forward over the ears when you apply light pressure. If your horse is between sizes, size up and use the adjustment holes rather than forcing a smaller size. Foals and youngstock need separate headcollars because adult sizes will not adjust small enough and can slip over the head.
Material trade-offs: leather, webbing, and rope
Leather is the traditional choice for handling and showing. It is strong, comfortable against the skin, and it will break under extreme load if a horse pulls back, which reduces the risk of a catastrophic accident. The trade-off is cost and maintenance: leather needs cleaning and conditioning to stop it cracking. Webbing is cheaper, lighter, and easy to wash, but it is less likely to break under pressure and can rub if it gets gritty. Rope halters are designed for groundwork and pressure-release training; they are not a good choice for tying or for inexperienced handlers because they do not give the same release and can cause severe pressure injuries.
Hardware: buckles, clips, and rings
Look for hardware that is smooth, rounded, and rated for the job. A throat-lash buckle makes the headcollar easier to adjust and remove; a quick-release clip is convenient but can be heavier and may catch on fencing. Brass or stainless steel resists rust better than painted metal, which flakes over time. Check that the noseband ring is welded closed, not just bent, because an open ring can straighten under load. Avoid decorative studs or sharp edges on the inside of the headcollar where they can rub the face.
Leadrope length and material: what to choose
For everyday leading, a leadrope of 2–2.5 m gives you enough slack to move around your horse without loops of rope near your feet. For groundwork or loading practice, a 3–3.5 m rope gives you more room to send your horse forward or sideways. Cotton is soft on the hands and has a bit of stretch; polyester is stronger and more weather-resistant but can be slippery when wet. A leadrope with a panic snap or a quick-release clip is safer for tying than a simple bolt snap, because you can release it under pressure. If your horse pulls back when tied, use a quick-release knot or a tie ring rather than relying on the leadrope alone.
Sizing and adjustment: how to measure
To measure for a headcollar, use a soft tape measure. Measure around the nose, about two fingers below the cheekbone, and around the head behind the ears. Compare those measurements with the manufacturer's size chart. If you are between sizes, choose the larger size and take up the slack on the noseband and headpiece. Some brands use pony, cob, full, and extra-full; others use small, medium, and large. Do not assume a cob in one brand fits like a cob in another. For young or growing horses, check the fit every few weeks.
Decision rules for buying a headcollar and leadrope
- If your horse is turned out in a headcollar: Choose a leather or field-safe headcollar with a breakaway point or a quick-release clip, and remove it if the field has fencing or branches that can catch. Never turn out in a rope halter.
- If you handle a strong or young horse: Use a 2.5 m cotton or polyester leadrope with a panic snap, and wear gloves. A longer rope gives you more control without pulling. Avoid chains over the nose unless advised by a professional.
- If you do groundwork or loading practice: Choose a 3–3.5 m leadrope and a well-fitted headcollar that will not twist under pressure. Check the noseband and cheekpiece fit before every session. A rope halter is a training tool, not a daily halter.
- If you show or travel: Leather headcollars with brass hardware look smart and are easy to clean. For travel, add a poll guard or fleece covers if your horse rubs. Match hardware to your routine, not the other way around.
Product facts
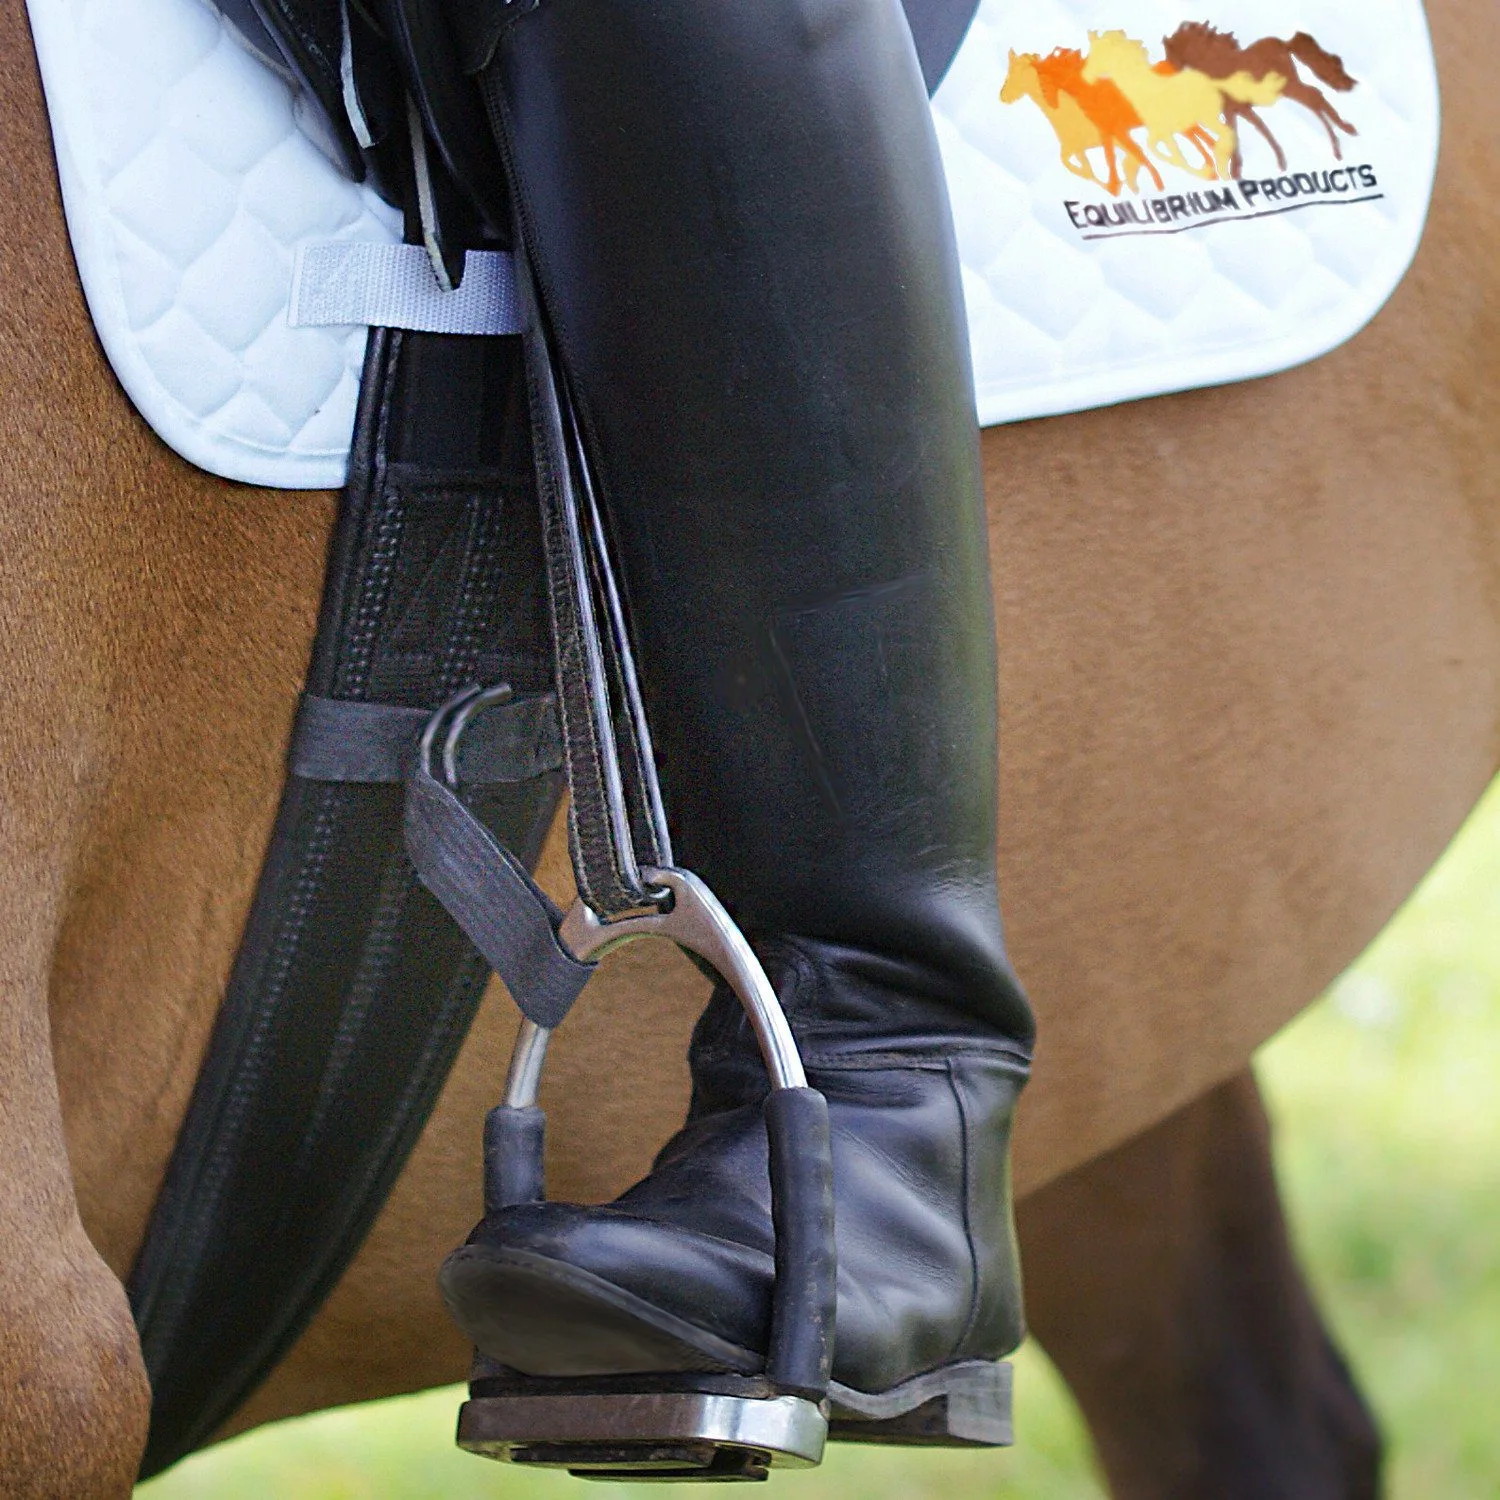
- Symmetry Straps: The Equilibrium Symmetry Straps are a special training aid which works by fixing your stirrups to the girth but in a safe and subtle way using hook and loop (sometimes referred to as Velcro). If you are working on lower-leg stability and feel, these straps give you immediate feedback without changing your headcollar or leadrope setup.
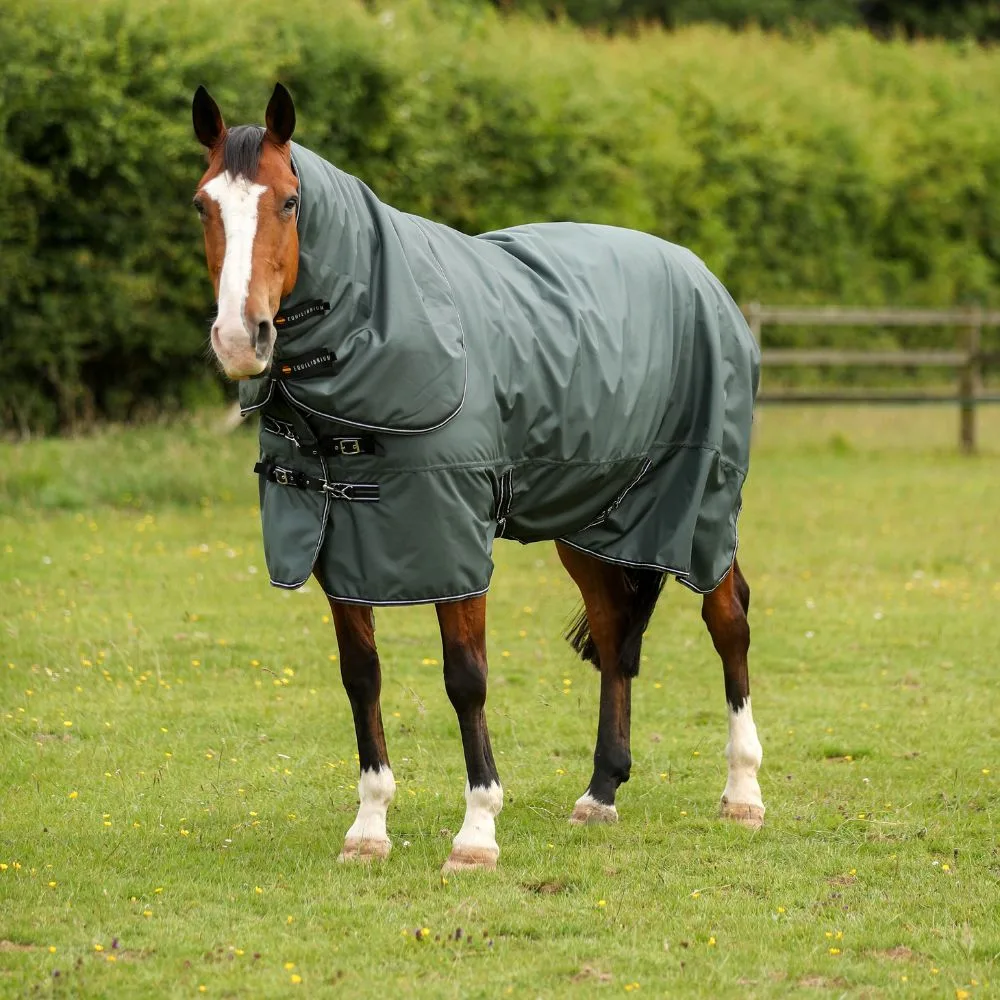
- Endure Turnout Rug: The Equilibrium Endure Turnout Rug is built to keep them protected and comfortable - no matter the weather, no matter the antics. Heavy-duty 1680D waterproof outer for lasting durability. Exceptionally waterproof to 8,000mm – tested to withstand heavy rain and wet conditions. Breathable and tested by Intertek for all-weather performance. If your horse lives out, a turnout rug that stays waterproof and breathable matters more than a fashion headcollar. Match your headcollar and leadrope to the same practical standard.
Who this guide is for
Best for
- Owners buying a first or replacement headcollar and leadrope for daily handling
- Riders who need a safe, well-fitted setup for turnout, travel, or groundwork
Not for
- Handlers looking for a rope halter for advanced pressure-release training
- Anyone who needs a bit and bridle instead of a headcollar