Quick Answer
Set up your Hiisi 4 sauna tent by choosing a level, wind-sheltered spot, laying out the tent, securing the corners, and then assembling the stove and benches in the correct order.
Why Setup Order Matters
The order in which you set up the Hiisi 4 affects both safety and comfort. Anchoring the tent before adding the stove prevents the structure from shifting when you move the heavy stove inside. Placing the benches last ensures you have clear access to the stove for assembly and fueling.
Wind is your biggest enemy during setup. Even a moderate gust can catch the tent fabric and make it hard to control. By staking down the windward corners first, you keep the tent stable while you finish the job.
Choosing the Right Spot
A level area with good drainage is ideal, but you can compensate for uneven ground by adjusting the stake positions. Avoid low spots where water collects after rain. Also, keep a safe distance from flammable materials like dry grass or overhanging branches, especially near the stove chimney.
Step-by-Step Setup
- Choose and clear your site: Find a level area with good drainage, clear away sharp objects, and ensure at least 2 meters of clearance around the stove chimney. Orient the entrance away from the prevailing wind. Check that the ground is free of rocks and roots that could damage the floor.
- Lay out the tent: Remove the tent from its bag and lay it flat on the ground, with the entrance where you want it. Unfold the fabric and locate the corner loops. Make sure the tent is fully untwisted before you start staking.
- Anchor the windward corners: Insert stakes through the corner loops on the side facing the wind, and drive them in at a 45-degree angle away from the tent. This gives the strongest hold. Use extra stakes if the ground is soft or sandy.
- Erect the poles and raise the tent: Assemble the poles and insert them into the designated sleeves or clips. Raise the tent by lifting the poles one at a time, then secure the remaining corners. Don't over-tighten the poles; you want the fabric taut but not stressed.
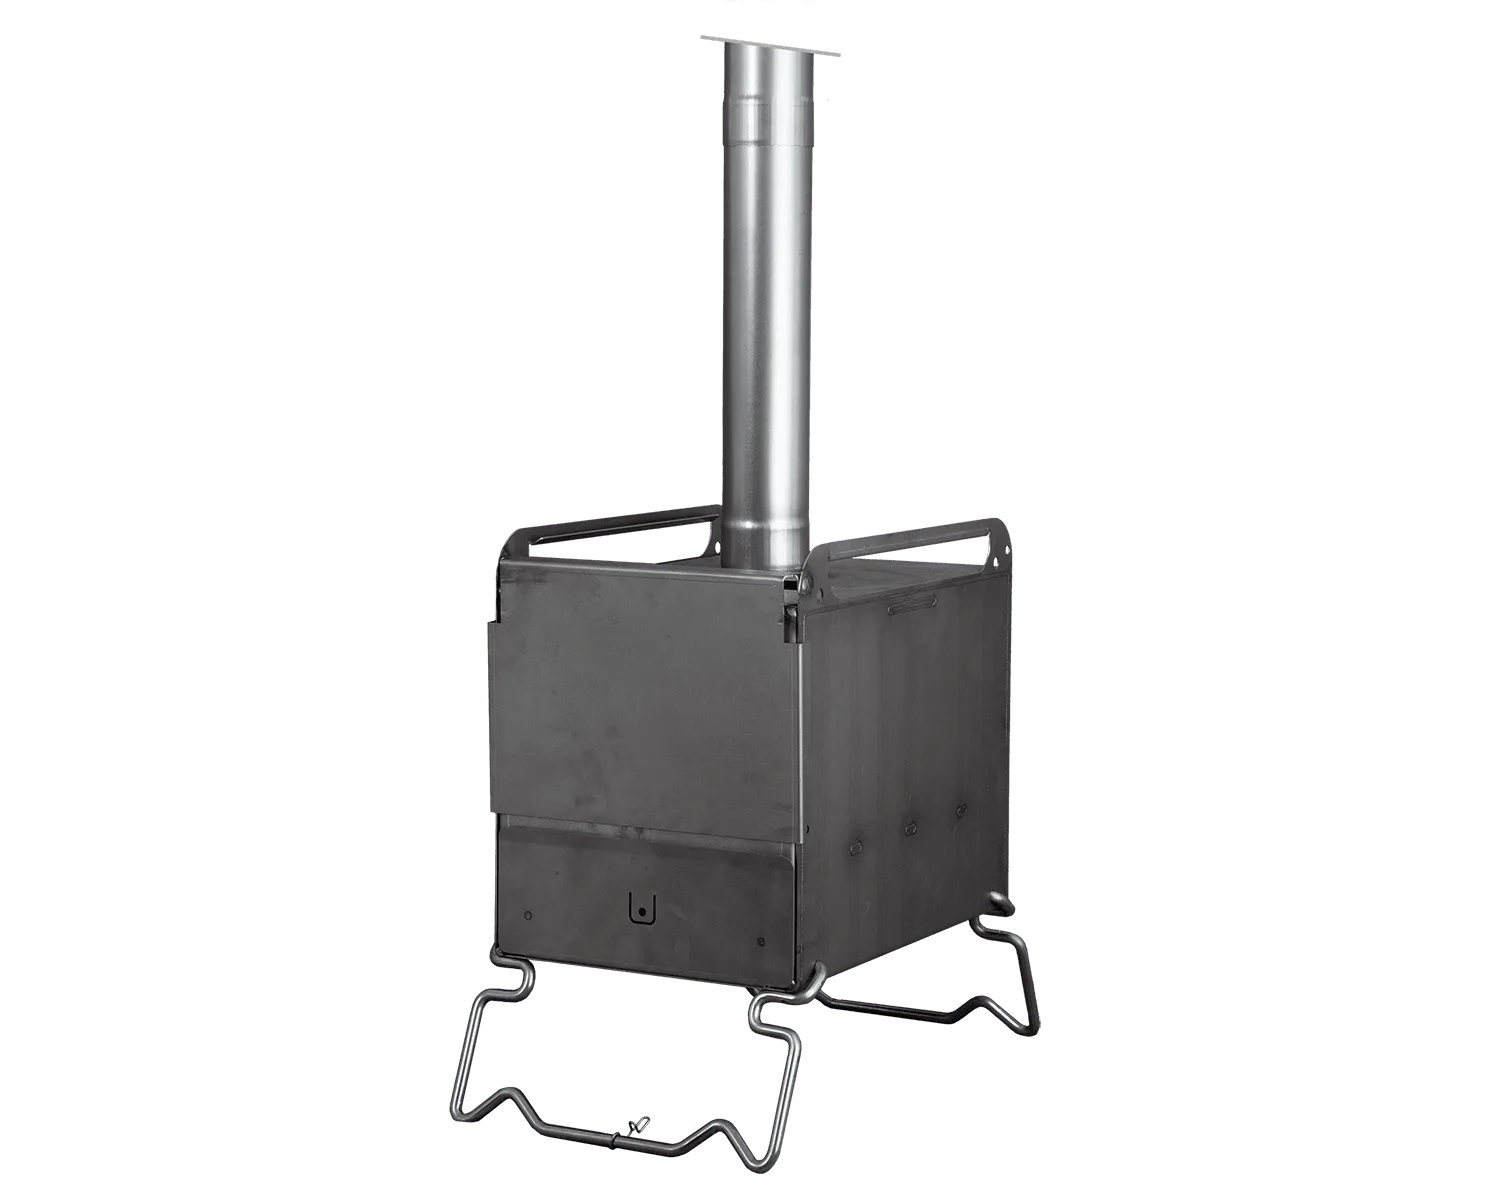
- Place and assemble the stove: Position the stove on a non-flammable surface (if not already included) and assemble the chimney sections. Ensure the chimney exits through the designated opening and is properly secured. Double-check that the chimney is clear of any fabric before lighting.
- Set up the benches: Place the two Hiisi sauna benches inside, positioning them at a comfortable distance from the stove, usually on either side or opposite the stove, leaving enough room to move around. Leave at least 60 cm between the benches and the stove to avoid burns.
- Final safety check: Walk around the tent, check that all stakes are secure, the chimney is clear, and the stove is stable. Open the ventilation openings before lighting the stove. Never leave a lit stove unattended while the tent is occupied.
Product Facts
-
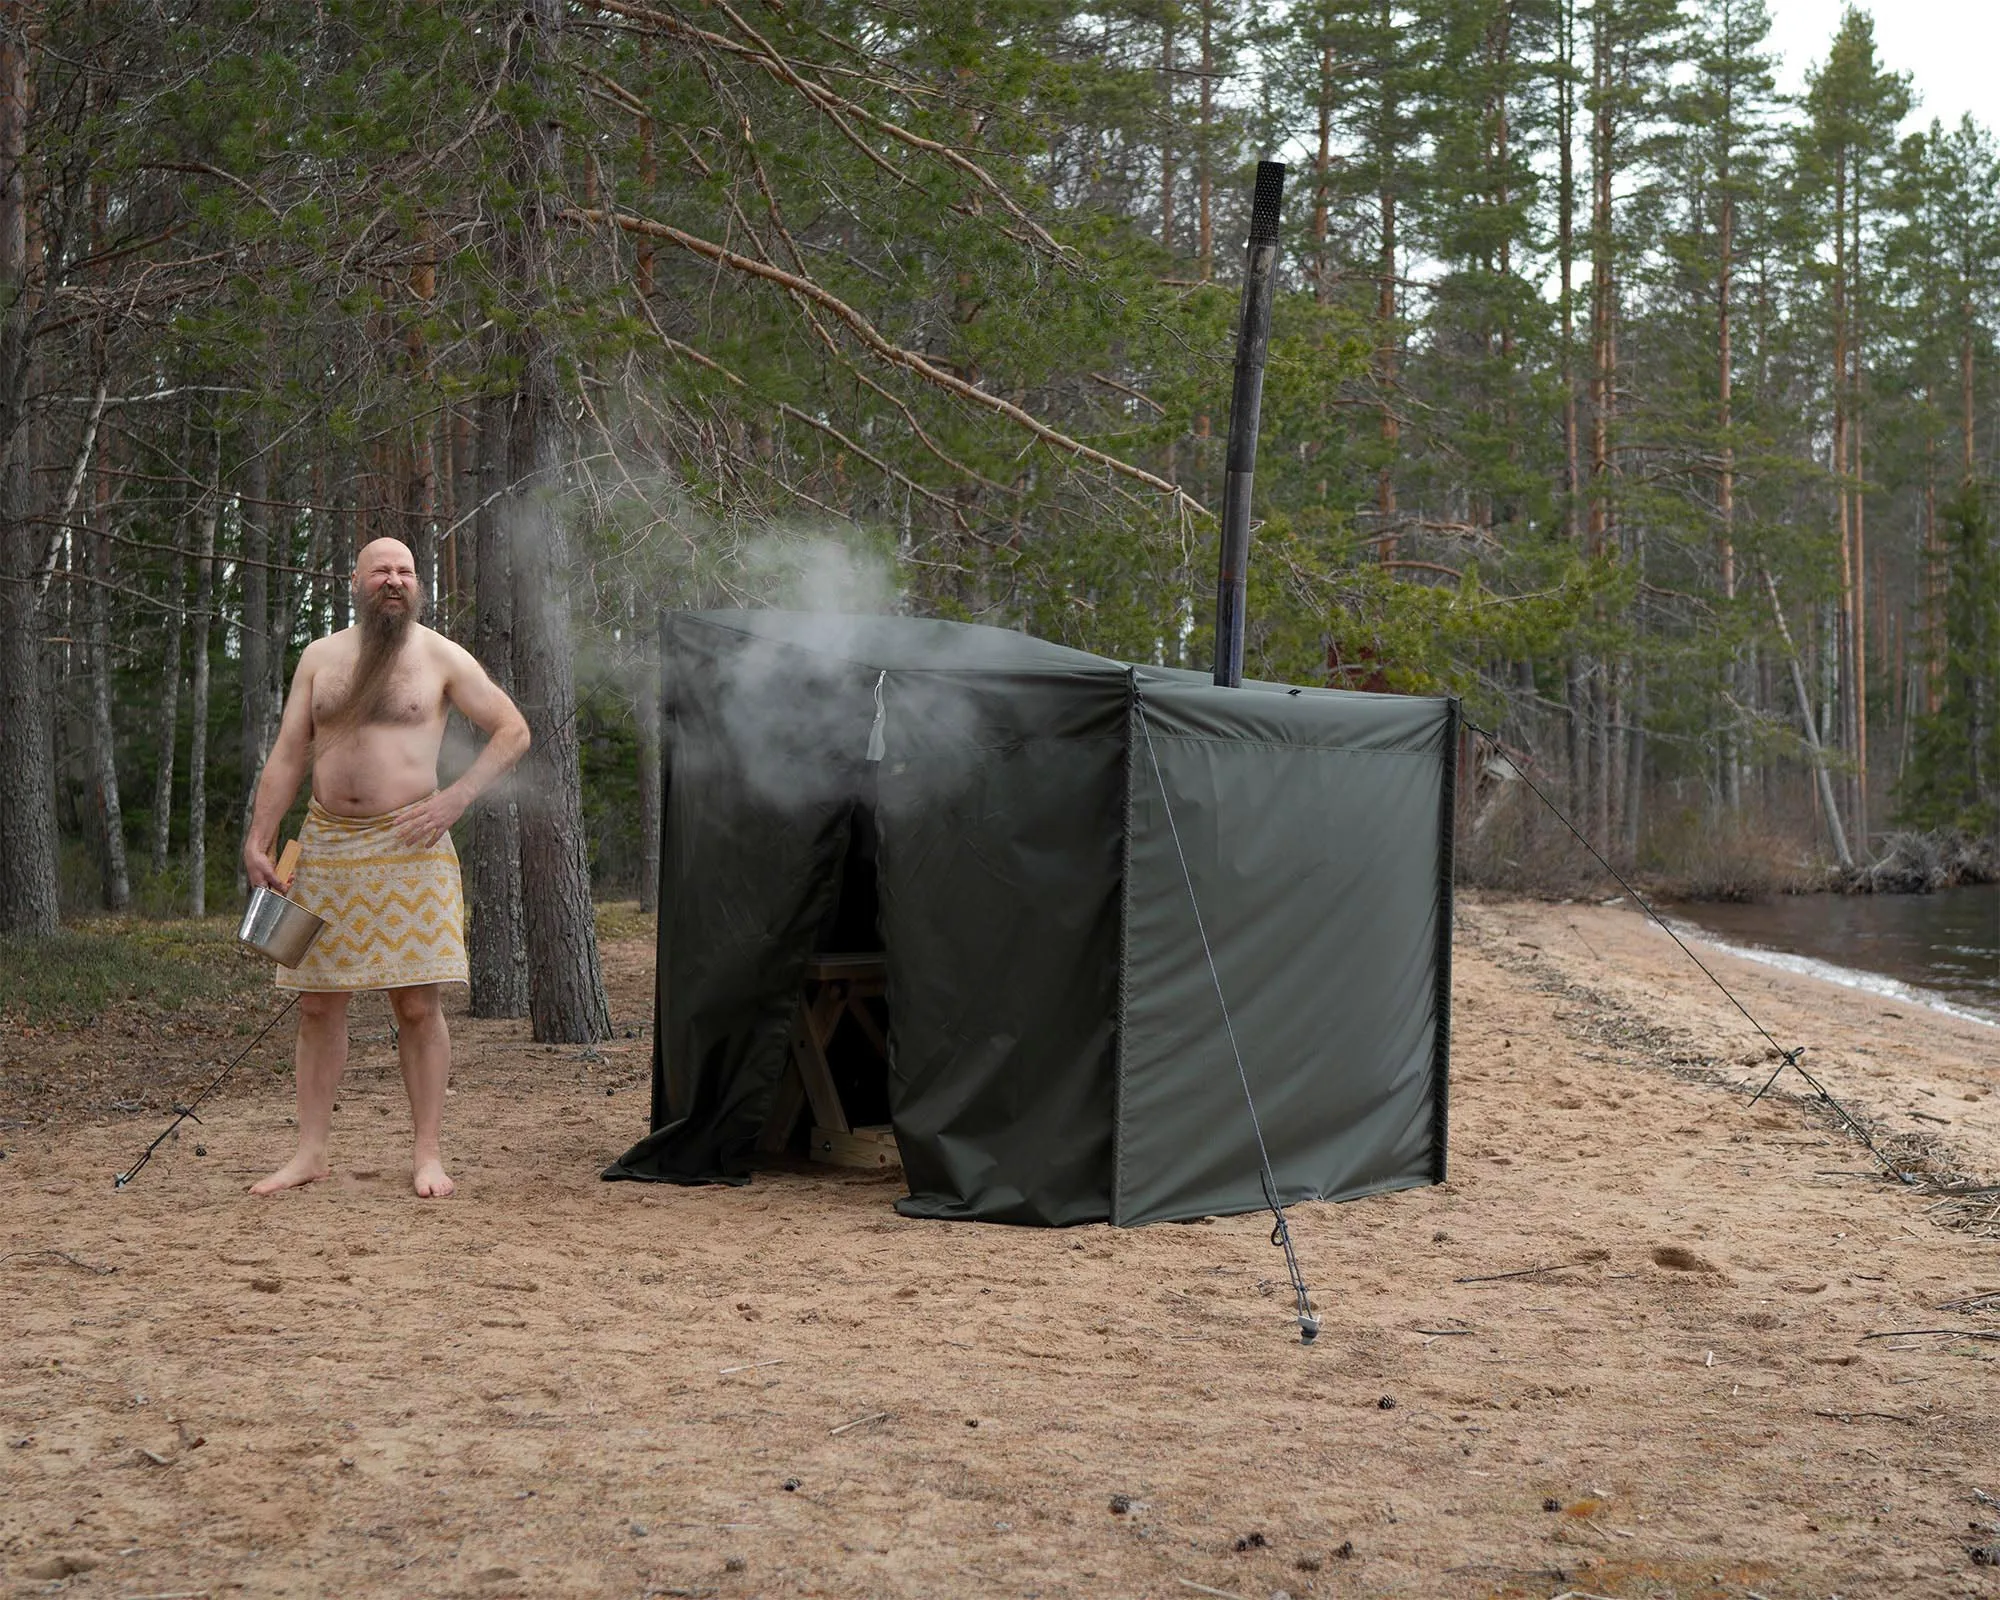
Hiisi 4 sauna tent bundle: The Savotta Hiisi 4 sauna tent bundle includes the Hiisi 4 sauna tent, a dedicated sauna tent stove, and two Hiisi sauna benches. Having all components in one bundle simplifies setup because the stove and benches are designed to fit the tent perfectly, reducing guesswork.
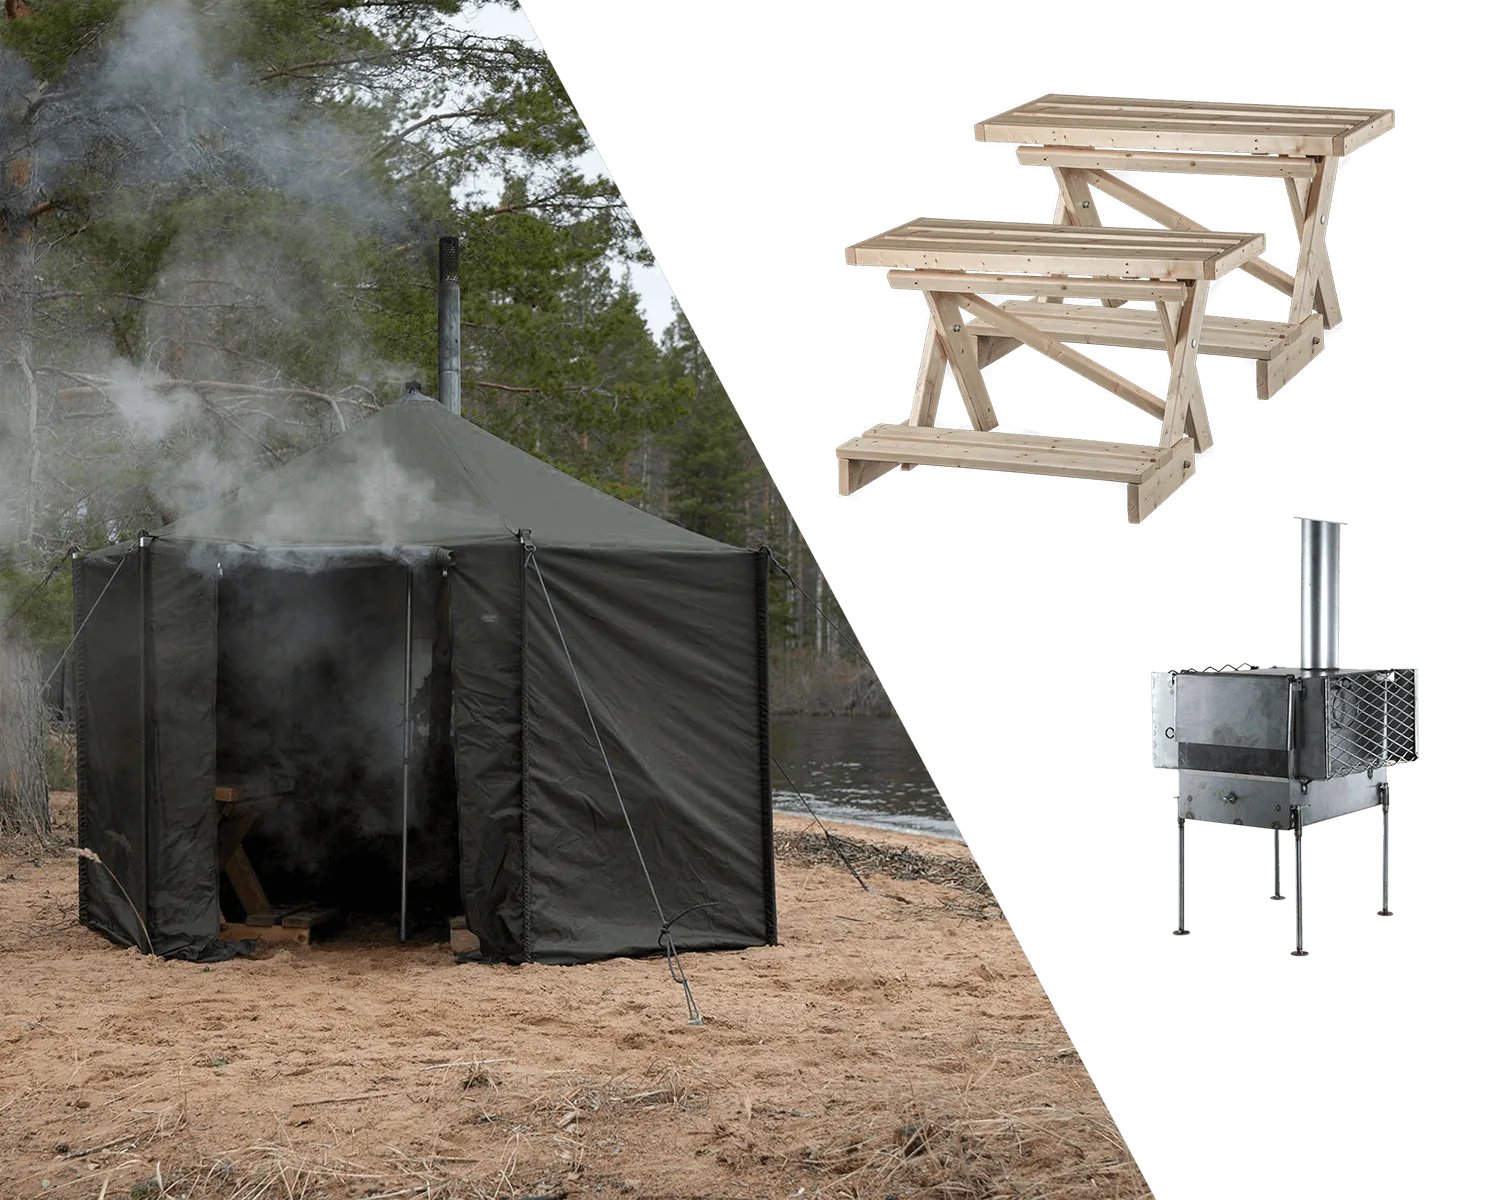
Hiisi 4 sauna tent bundle