Quick answer
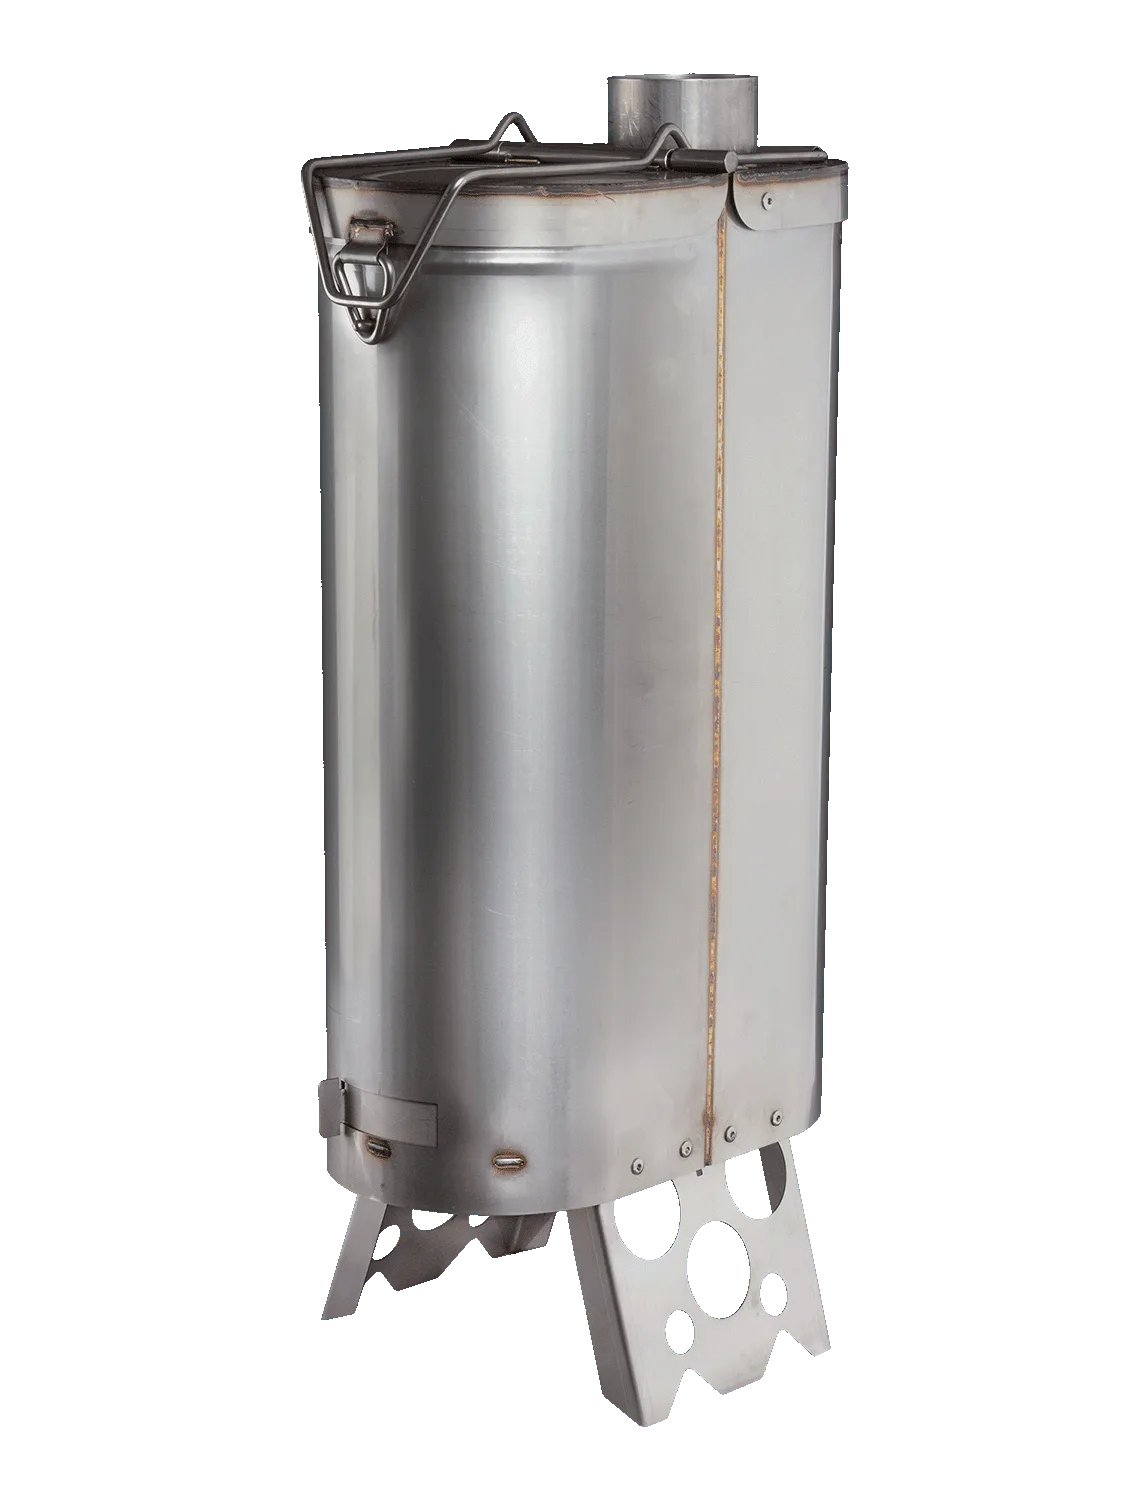
Pitch the sauna tent on level, cleared ground, anchor every guy line before you unpack the stove, and keep the stove's chimney port and spark arrestor clear. Heat it in stages, add sauna stones only on the rack, and treat the ash pan as your only air-intake control. Set up takes most people 15-30 minutes once the routine is familiar.
sauna tent
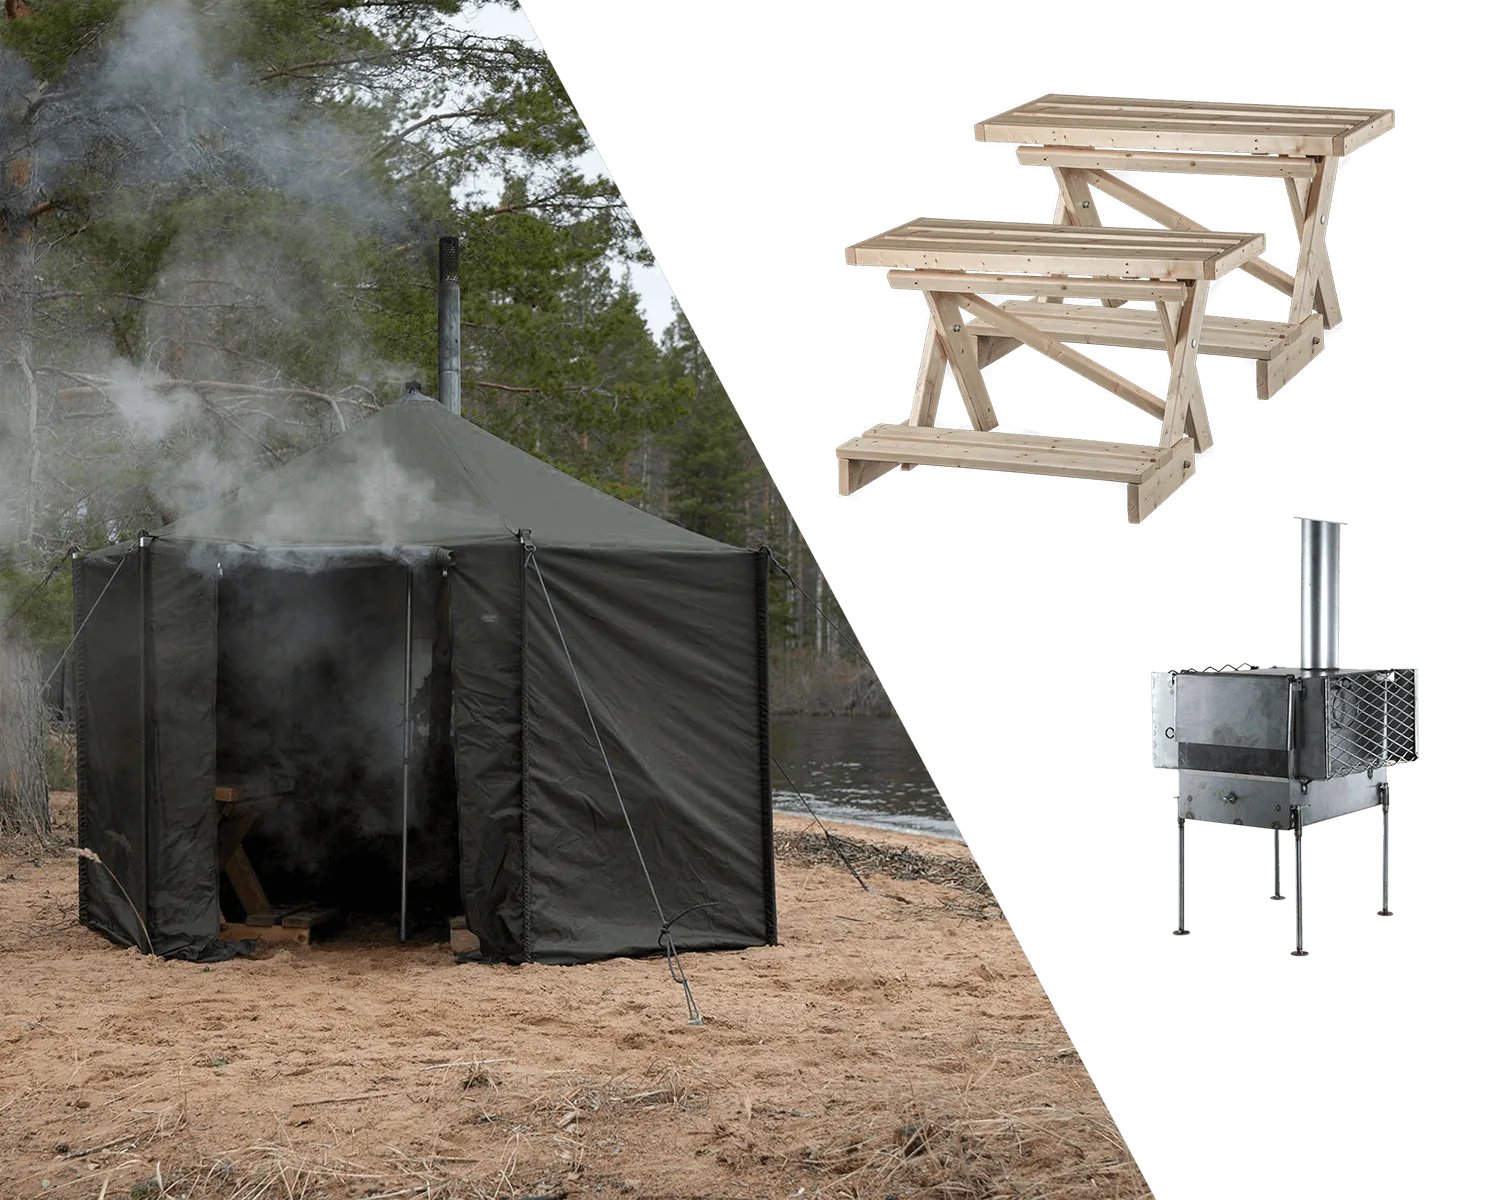
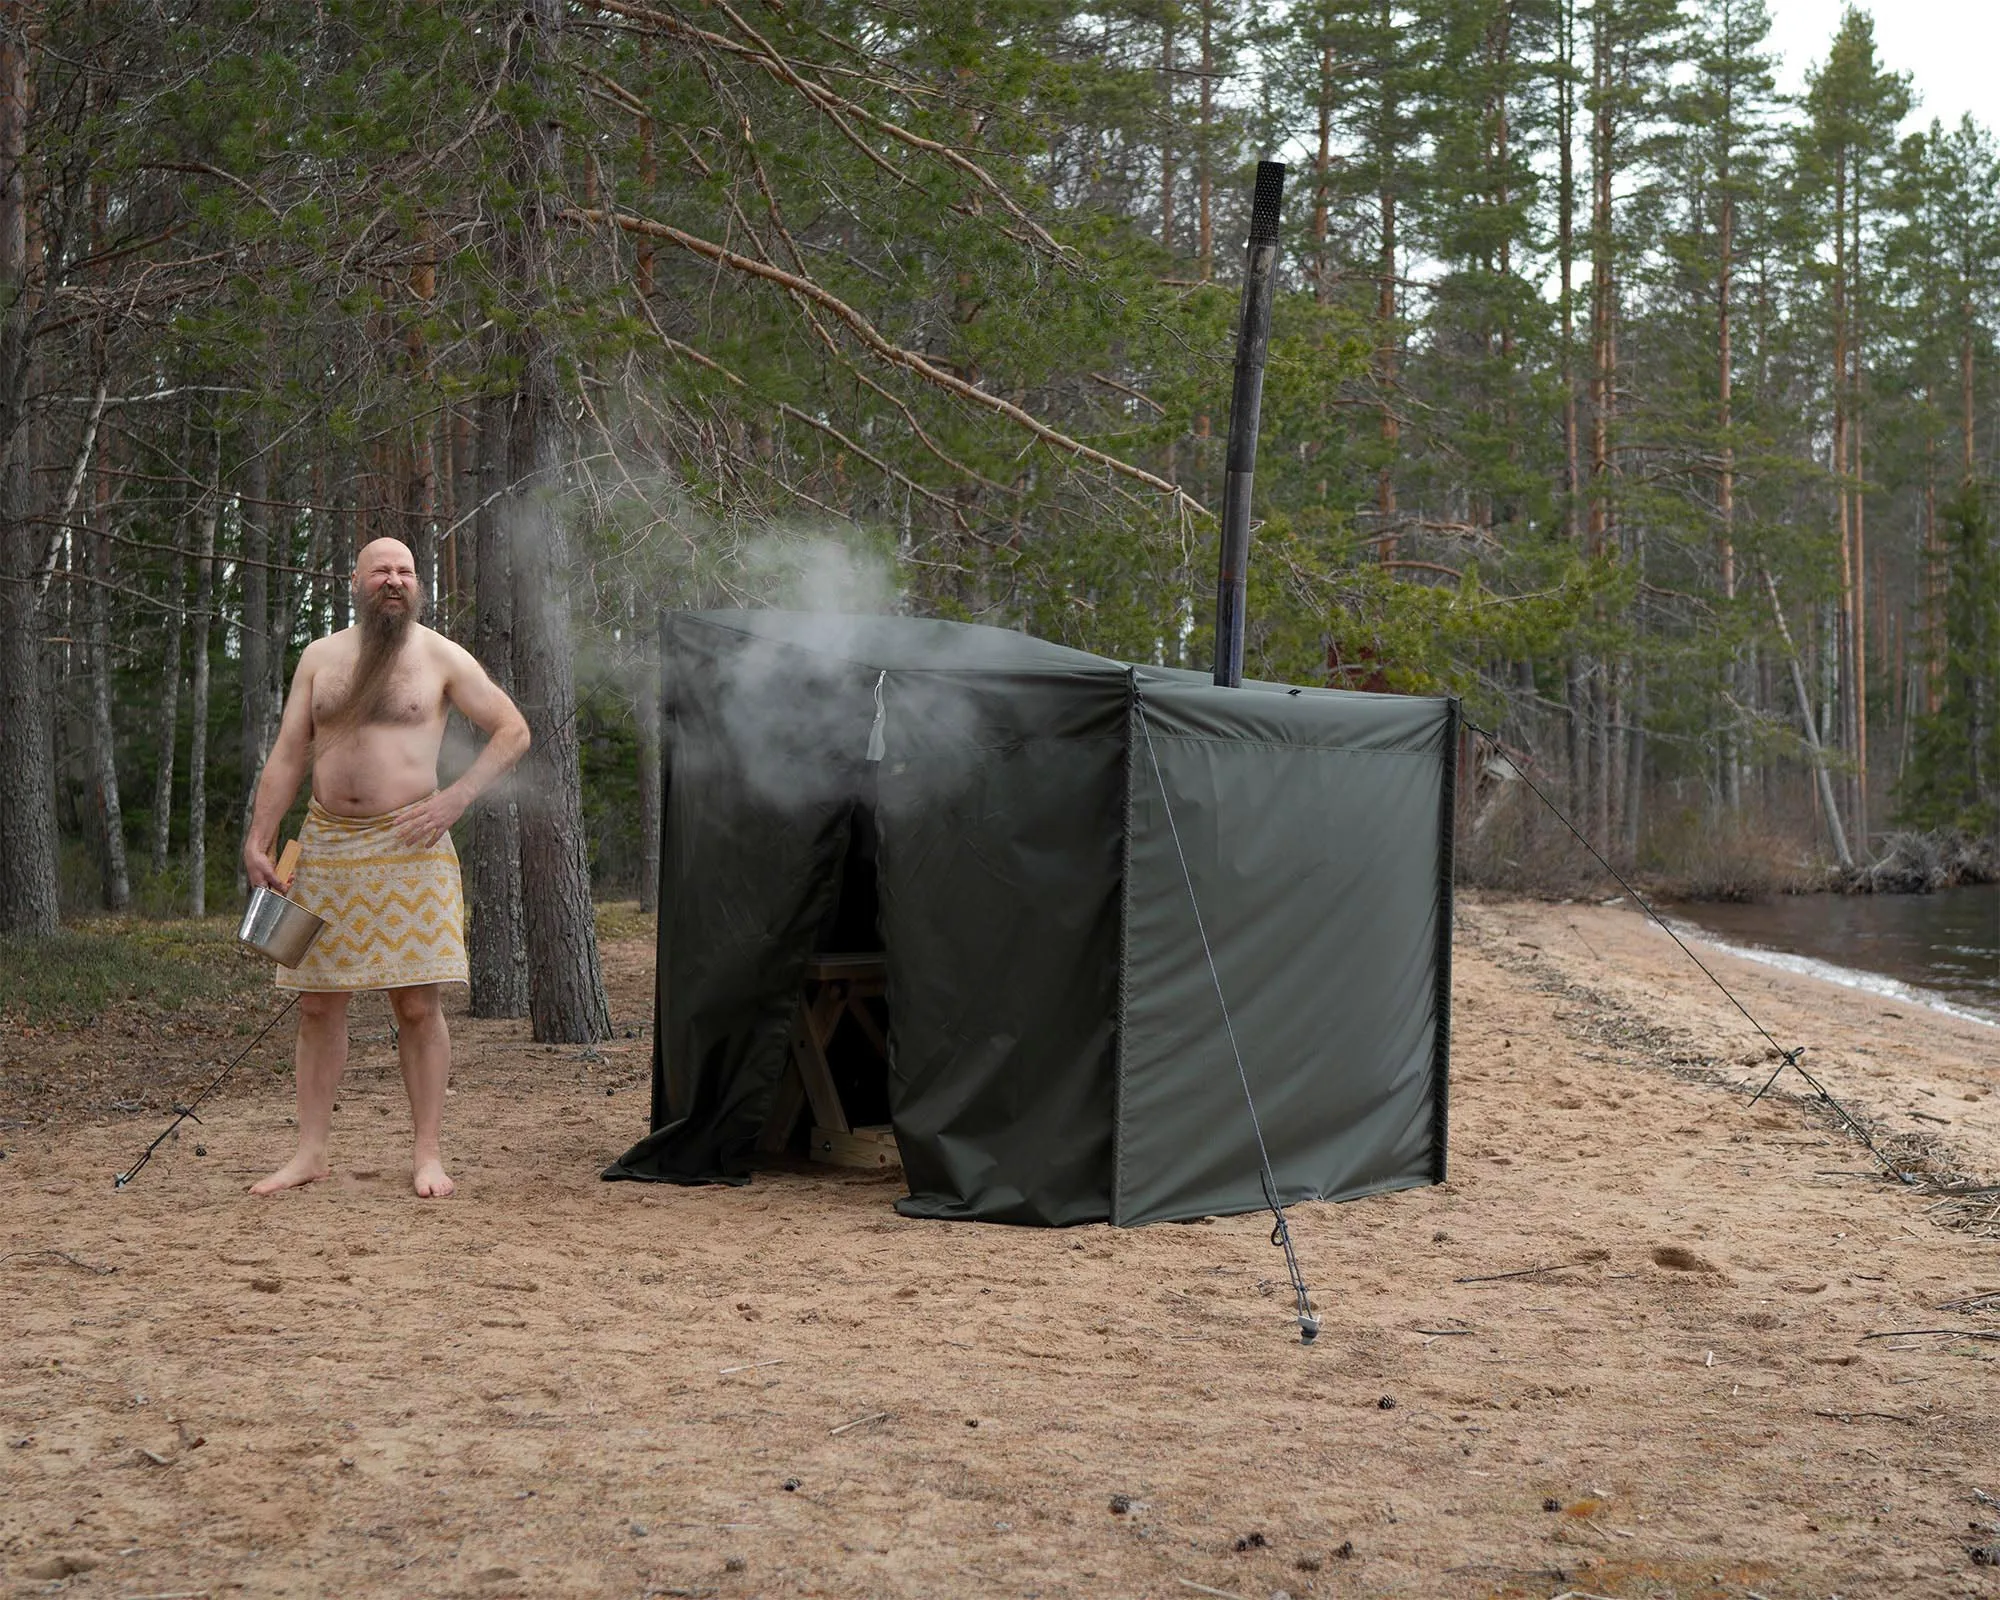
A portable sauna tent turns a cold camp evening into something you actually look forward to. The Savotta sauna tent is built for that job, and it pairs directly with the sauna tent stove so you are not improvising a heat source.
sauna tent stove
This guide walks through the real order of operations: site selection, pitching, stove assembly, heating, and the accessories that solve problems you will hit on the second or third trip. It also covers the mistakes that cost the most time and the checks worth doing before you light anything.
Pick and prepare the site before you unpack anything
Choose ground that is level, free of roots and dry grass, and far enough from overhanging branches that sparks cannot reach them. The stove gets hot enough that a soft, uneven floor makes everything harder: the tent will not sit cleanly, and you will fight the stove legs all evening. Clear a circle wider than the tent footprint and keep your fuel pile outside that circle.
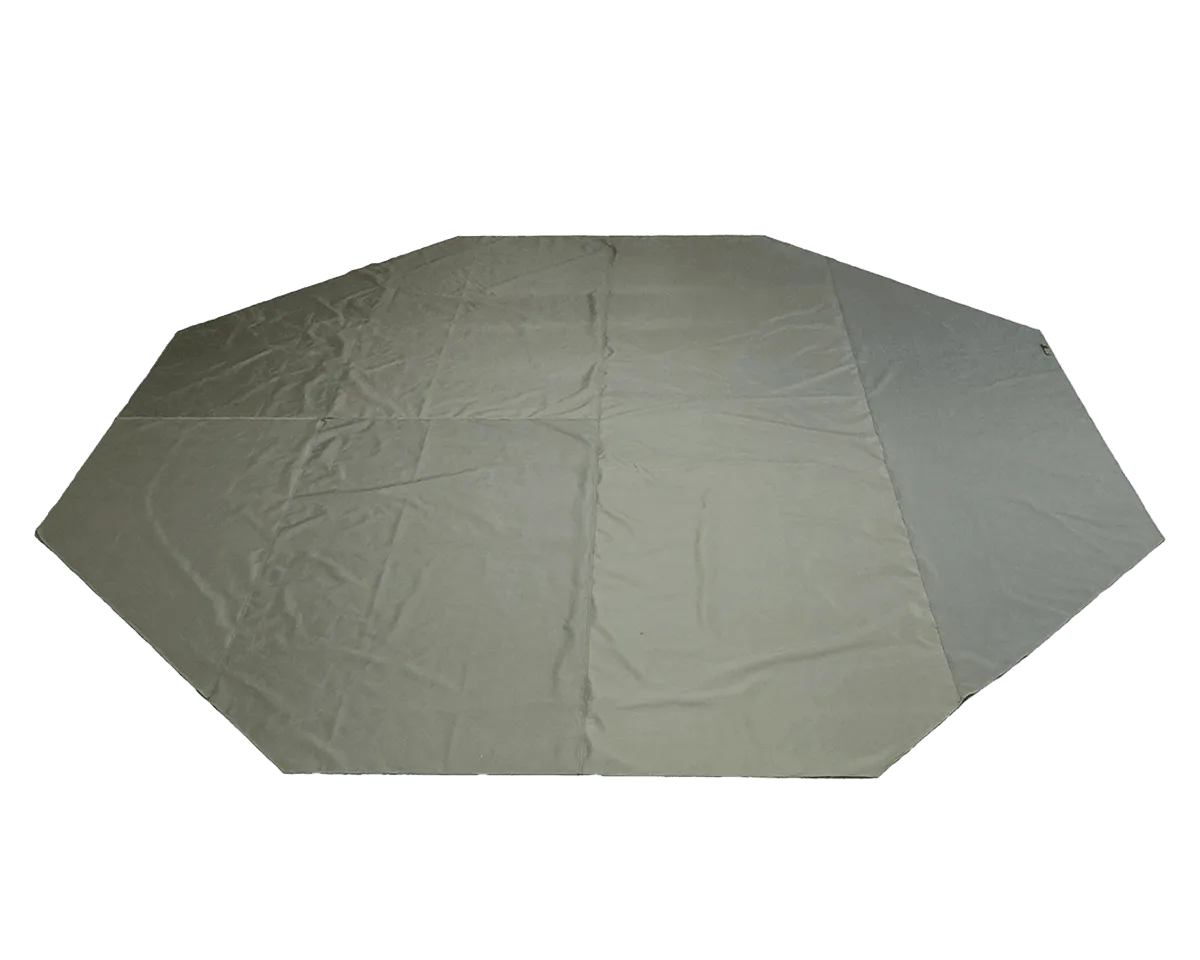
Check the wind direction and think about where smoke and heat will drift. You want the door facing away from the prevailing wind so you can enter and exit without dumping heat, and you want a clear path to the stove for feeding wood. If the ground is wet or frozen, a groundsheet under the tent floor area keeps your sitting and sleeping surfaces dry.
- Avoid pitching directly under trees; falling debris and sparks are the two problems you cannot fix later.
- Mark the stove zone with something visible so nobody walks into a hot stove in the dark.
Pitch the tent and tension it properly
Lay the tent out, insert or attach the frame as your model requires, and raise it before staking. Get the corners anchored first, then work around the perimeter, then tension the guy lines. A sauna tent that looks fine in calm air will flap and shift once the stove is running, and flapping fabric near a hot chimney is the last thing you want.
Re-check every stake and guy line after the tent is fully up. Tension is what keeps the shape stable and keeps the fabric away from the stove, so treat this as a safety step rather than a comfort step. If the forecast calls for wind, add extra anchoring and consider a more sheltered spot.
- Walk the full perimeter once and push down any stake that moved while you were tensioning the opposite side.
- Leave the door and any vents operable from inside; you will want them during heat-up.
Assemble the sauna tent stove correctly
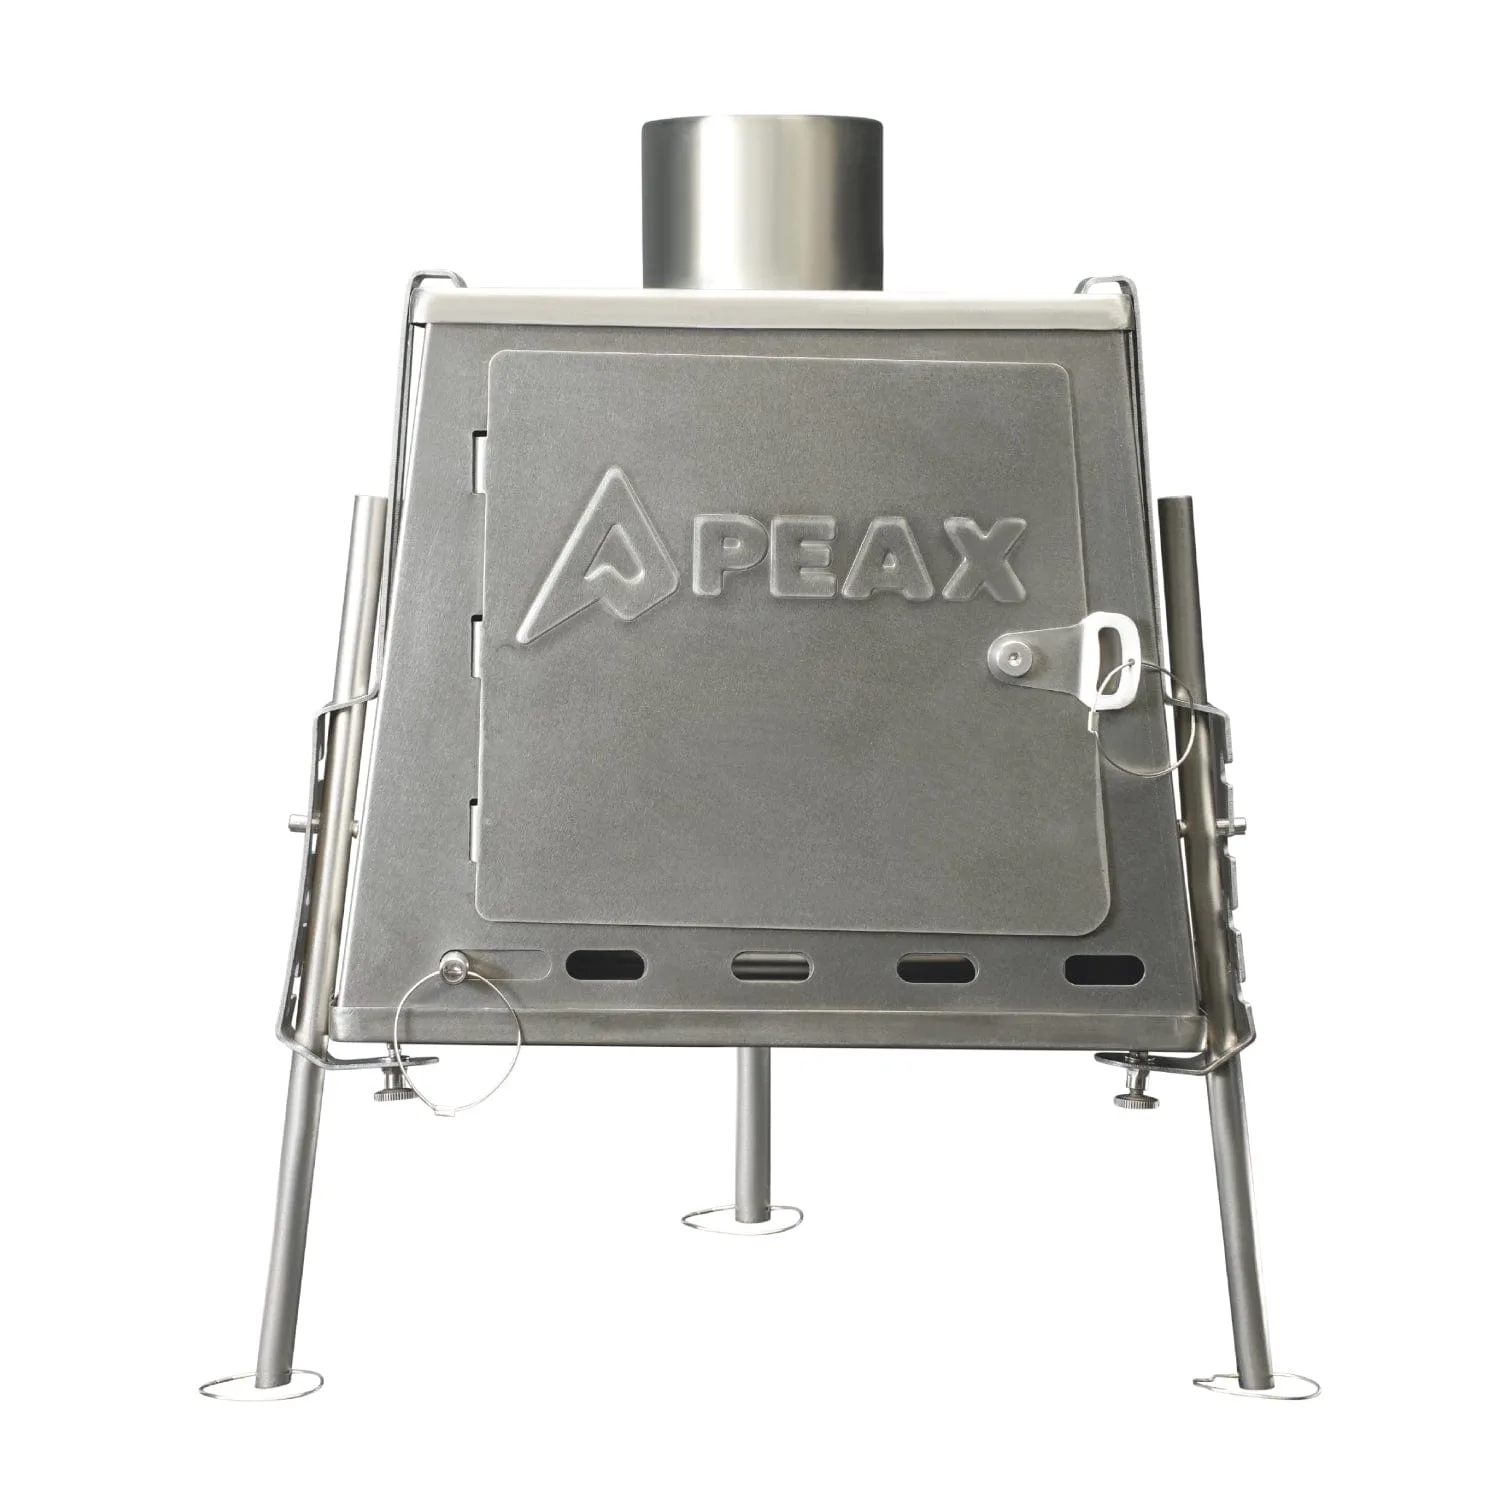
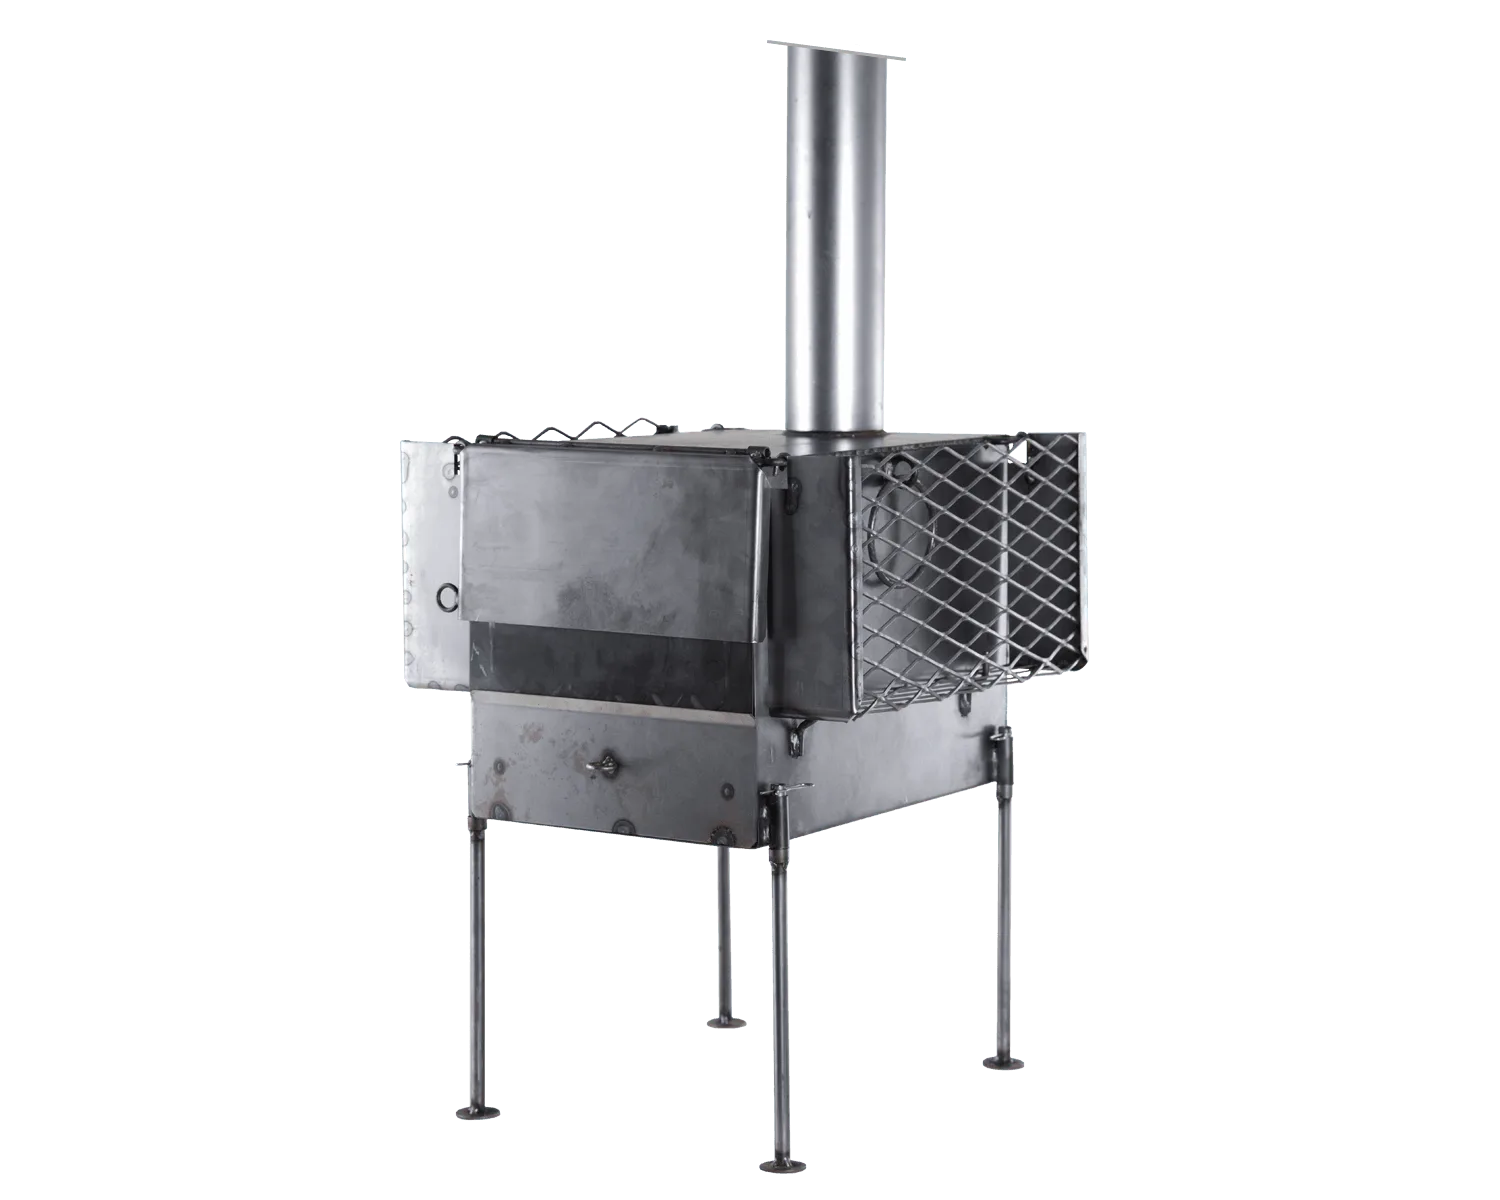
The sauna tent stove is a simple box design, and its legs attach with pins. Those pins are small and easy to lose, so fit the legs before you move the stove into the tent and put the pins somewhere you will find them again. The firebox hatch and ash pan are on the front, and the chimney port extends 5 cm up from the top of the stove.
Each side has a large carrying handle ring and sauna stone rack attachment hooks. Use the handles to move the stove rather than grabbing the body, and confirm the stone rack is seated on the hooks before you add anything to it. Air intake is regulated using the ash pan, so the ash pan is not just for cleanup; it is your heat control.
- Do not misplace the leg pins; without them the stove will not stand safely.
- Keep the chimney port clear and route the chimney so it cannot contact the tent fabric.
Heat in stages and control it with the ash pan
Start with a small fire and let the stove and chimney warm gradually. A fast, roaring fire in a cold stove is harder to control and sends more sparks up the chimney. Once the draw is established, add fuel in small amounts and adjust the ash pan to regulate air intake. Small, frequent additions give you far more control than one large load.
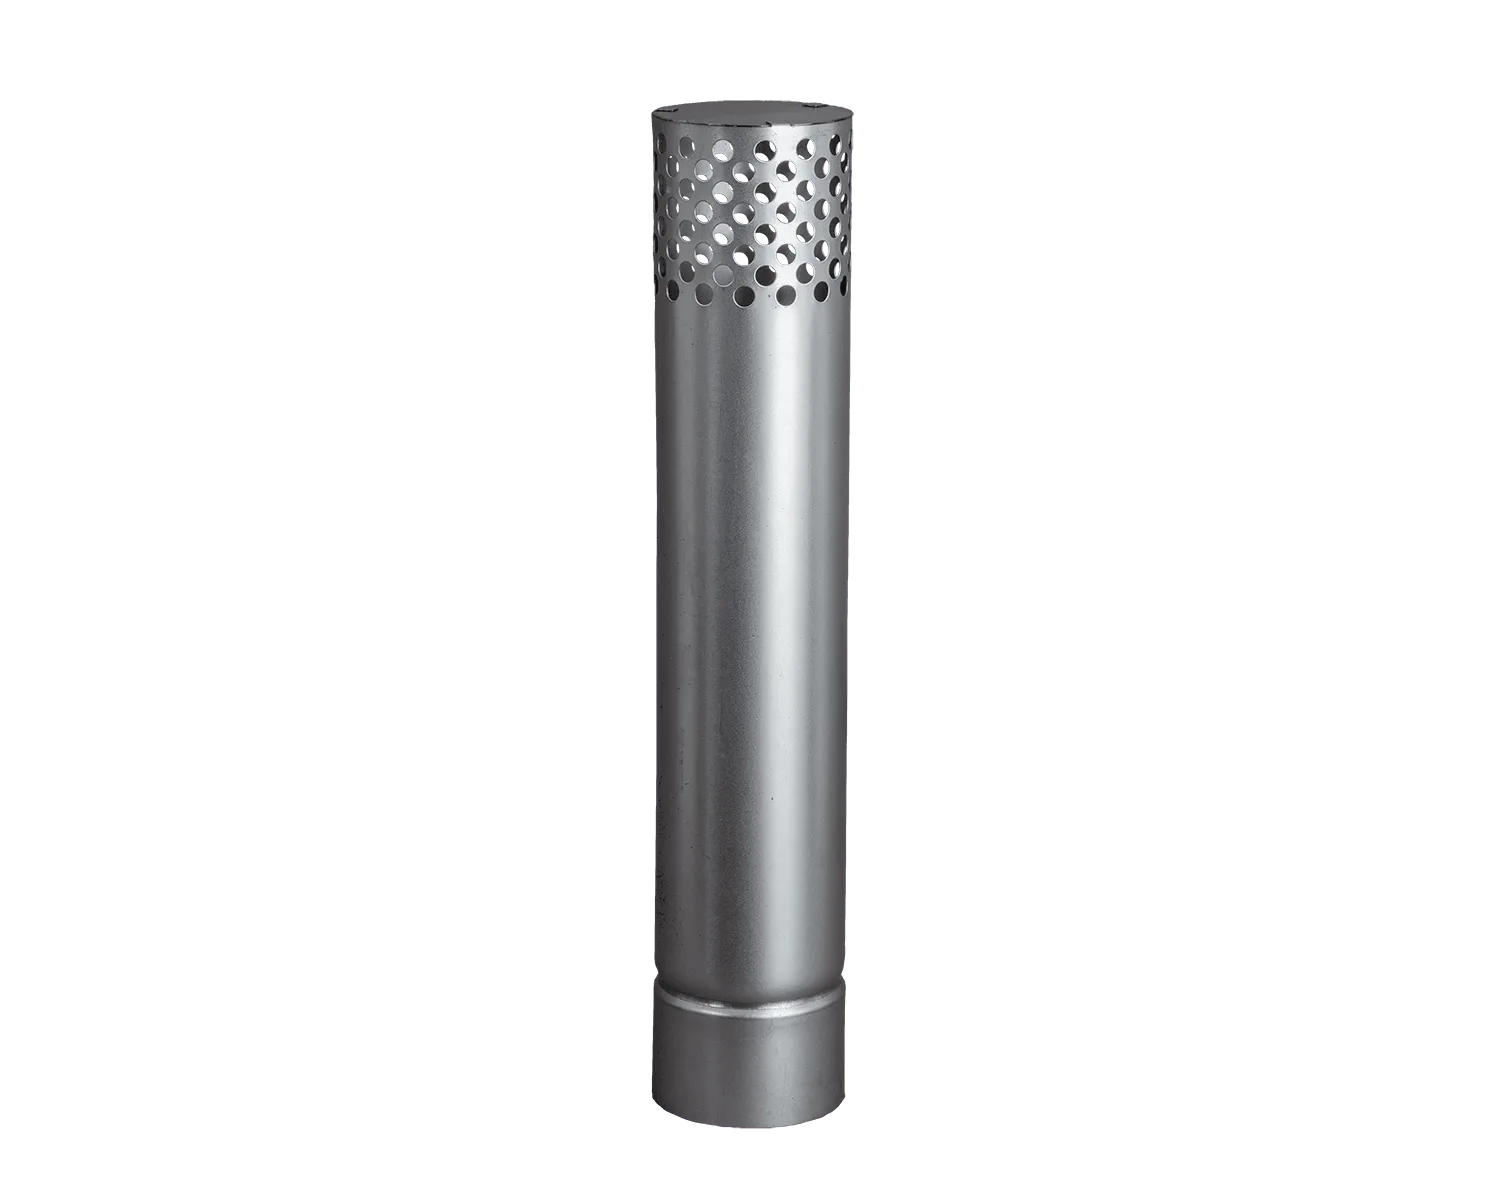
Add sauna stones only on the rack attachment hooks, never loose in the firebox. Stones take time to heat through, so add them once the fire is steady and give them time before you expect a proper sauna. If you are using the TK24 tent stove spark arrestor, check that it is fitted and clear before each session.
- If the stove will not draw, check the chimney and spark arrestor for blockage before adding more fuel.
- Keep a water container and a clear exit path inside the tent at all times.
Accessories and organization that earn their place
You do not need much, but a few items remove real friction. A groundsheet keeps your sitting area dry, a sitting pad keeps you off cold ground while the tent heats, and a rolltop stuffsack keeps spare clothes and towels organized and separate from damp gear. The mesh version is not waterproof, which makes it a poor choice for wet items but a good choice for ventilation and quick identification of contents.
Small items disappear in a sauna tent faster than anywhere else. A patch on your pack or organizer makes your kit identifiable when several people's gear is piled outside, and the Savotta retkeilyväline patch and Savotta logo 1990's patch are simple ways to do that. The Savotta sotaväline Ukraine patch is another option if you want your kit to carry that message.
- Keep a dedicated dry bag for towels and a separate one for fuel or fire tools.
- Store small stove parts, especially leg pins, in one labeled pouch so they never go missing.
Cool down, clean up, and store it right
Let the fire burn down and the stove cool completely before you touch it. Empty the ash pan once it is cold, check the chimney and spark arrestor for soot, and wipe down anything that got damp. Fabric should be dry before it goes into storage; packing a damp tent is how you get mildew and a ruined trip later.
Inspect the stove legs, pins, and stone rack hooks each time you pack up. These are the parts that wear or go missing, and catching a bent pin or a loose hook at home is much easier than discovering it at camp. Store the tent loosely folded rather than compressed so the fabric and coatings last longer.
- Never pack the stove until it is cold to the touch.
- Note anything that needs replacing before the next trip so you can order it in advance.
Sauna tent setup steps
- 1. Clear and level the site: Remove debris, pick level ground, and keep the stove area clear of overhanging branches and dry grass. Checkpoint: if you cannot stand comfortably and safely around the stove, pick another spot.
- 2. Pitch and tension the tent: Raise the tent, anchor the corners, then work around the perimeter and tension the guy lines. Checkpoint: re-check every stake after full tension; flapping fabric near a hot chimney is a real risk.
- 3. Fit the stove legs and pins: Attach the legs with their pins before moving the stove inside, and confirm the stone rack is seated on its hooks. Common mistake: losing a leg pin during assembly; keep them in one pouch.
- 4. Route the chimney and clear the port: Keep the chimney port unobstructed and route the chimney so it cannot touch the tent fabric. Checkpoint: confirm the spark arrestor is fitted and clear before lighting.
- 5. Light small and heat in stages: Start a small fire, let the stove and chimney warm, then add fuel in small amounts and regulate with the ash pan. Common mistake: overloading the firebox early, which makes heat control harder.
- 6. Add stones on the rack only: Place sauna stones on the rack attachment hooks once the fire is steady and give them time to heat. Checkpoint: never place stones loose in the firebox.
- 7. Cool, clean, and pack dry: Let the fire burn down, wait for the stove to cool completely, empty the ash pan, and dry all fabric before storage. Next step: inspect legs, pins, and hooks and replace anything worn before the next trip.
Product facts that matter for this setup
- Sauna tent stove: The stove is a simple box design with the firebox hatch and ash pan on the front, a chimney port extending 5 cm up from the top, large carrying handle rings on each side, and sauna stone rack attachment hooks. The legs attach with pins and can be removed or collapsed for transport, and air intake is regulated using the ash pan. The ash pan is your heat control, not just a cleanup tray, and the pinned legs mean you should keep track of small parts during setup and pack-down.
- TK24 tent stove spark arrestor: A spare spark arrestor for the TK24 tent stove. A spare lets you replace a clogged or damaged arrestor without cancelling a sauna session, and it is worth checking before every use.
- Rolltop Stuffsack, mesh: Made from a strong mesh fabric, these sacks are somewhat transparent and totally non-waterproof. They are designed to store, transport, and organize gear. Use mesh for dry, ventilated items you want to identify quickly; choose a waterproof option for towels or anything wet.
A Savotta sauna tent works best when setup is boring and repeatable: level ground, tensioned fabric, a correctly assembled stove, and heat added in stages. Get that order right and the sauna becomes the easy part of the evening.