Quick answer
Pick a flat, clean, dry surface and match sticker size to the space before you peel anything. Start with one focal sticker per item, then layer smaller ones around it. Hiyo merch runs small and graphic, so a trucker hat, tee, or keychain makes an easier canvas than a curved bottle, and you can always test placement before committing.
A sticker sheet is easy to buy and easy to waste. Peel one sticker, stick it crooked, and the rest sit in a drawer for a year. The fix is not more stickers, it is a short process: choose a surface, clean it, plan the layout, then apply. That order prevents the two most common failures, peeling edges and a cluttered look you want to undo.
These ten ideas work with any hiyo sticker sheet, and each one comes with the mistake that ruins it. You do not need special tools, just a clean cloth, a few minutes, and a surface that is not going to flex or get oily. If you are decorating hiyo gear, the same rules apply whether you are dressing up a hat or a water bottle.
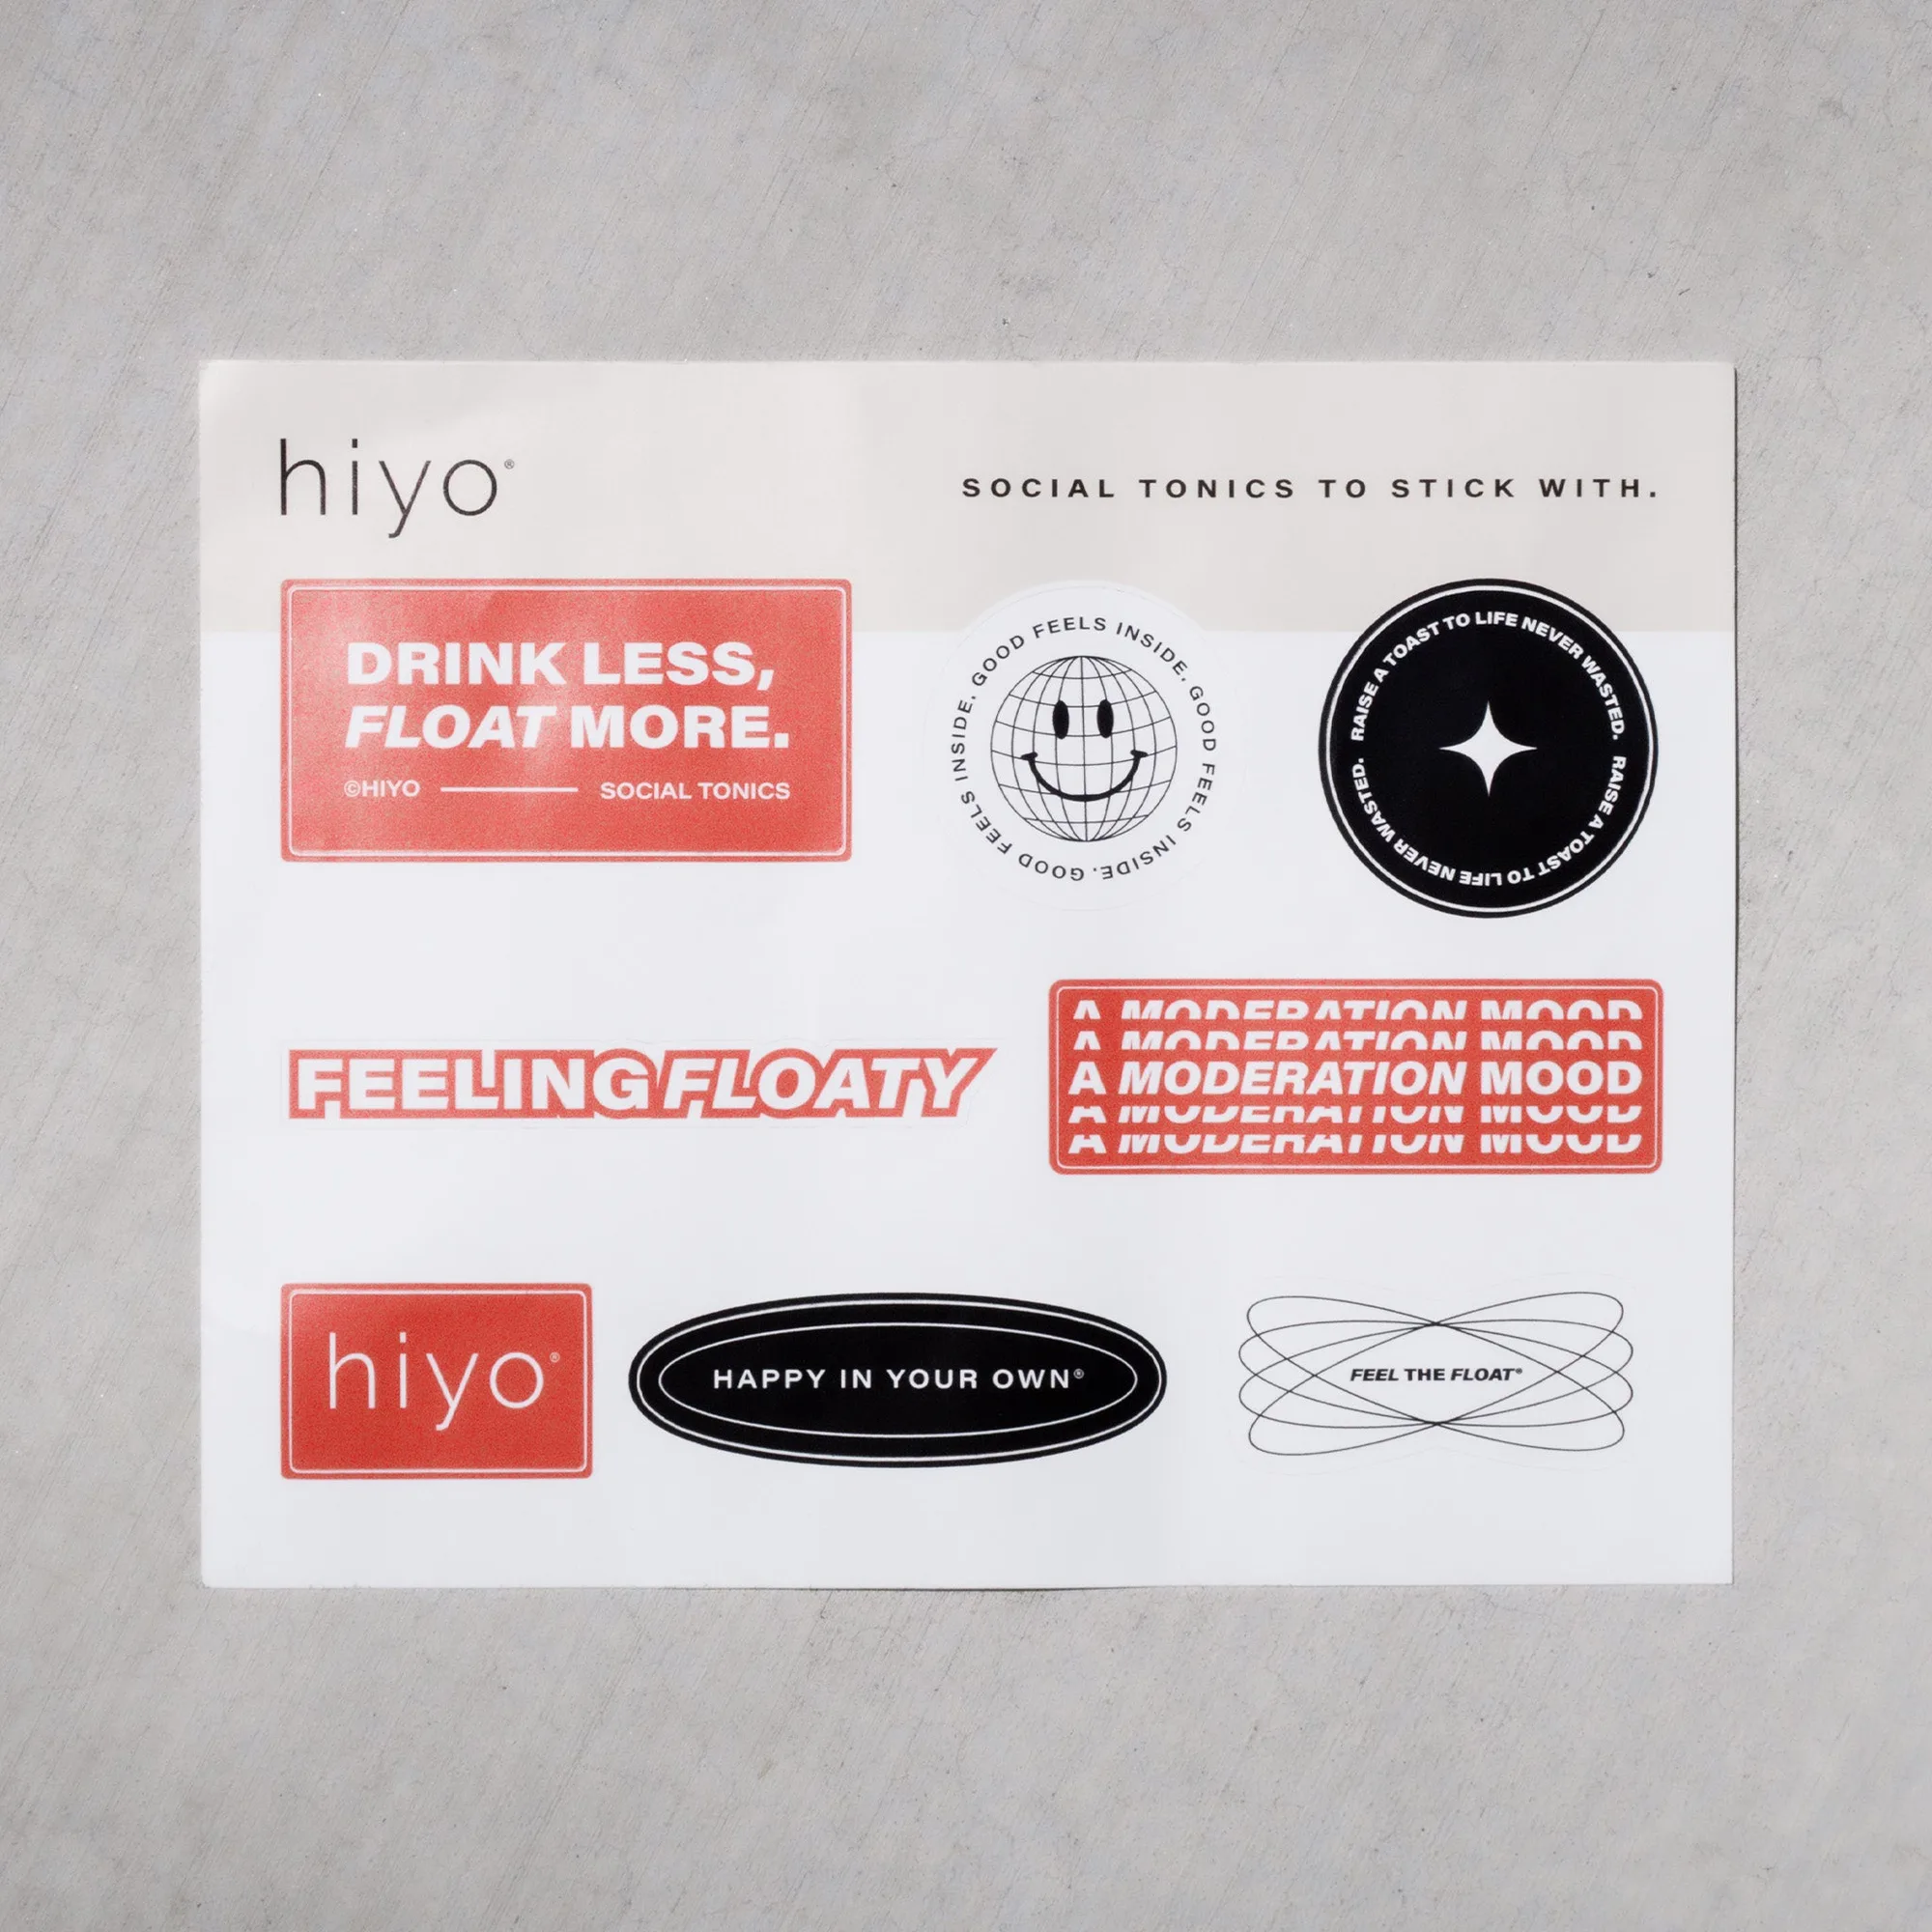
hiyo sticker sheet
Before you peel: prep the surface
Stickers fail for one reason more than any other: the surface was not clean. Oils from your hands, sunscreen, or a kitchen counter stop the adhesive from bonding. Wipe the area with a lint-free cloth and a little isopropyl alcohol, then let it dry completely. Do not use a paper towel, because the fibers leave residue that shows through clear sticker edges.
Temperature matters too. Adhesive needs a few minutes at room temperature to grip. If you are applying a sticker to something cold, like a bottle straight from the fridge, let it warm up first. Press from the center outward to push air out, and give the sticker a firm rub for about ten seconds. That pressure is what activates the bond, not just the initial stick.
- Checkpoint: run a fingernail along the edge. If it lifts, the surface was not clean enough.
Match the sticker to the surface
Flat surfaces hold stickers best. A laptop lid, a notebook cover, a phone case, or a hard-shell suitcase all give the adhesive full contact. Curved surfaces, like a tapered water bottle or a bike frame, force the sticker to fight the shape, and the edges will lift over time. If you want to decorate a curved item, choose a small sticker and place it on the flattest section you can find.
Textured surfaces are a separate problem. A knit hat or a soft cotton tee has a weave that stops most paper and vinyl stickers from bonding. For fabric, use a sticker designed for textiles or skip stickers entirely and use the graphic as a reference for embroidery, patches, or a printed design. The hiyo trucker hat already has a firm, structured front panel, so it holds a patch or pin better than a sticker.
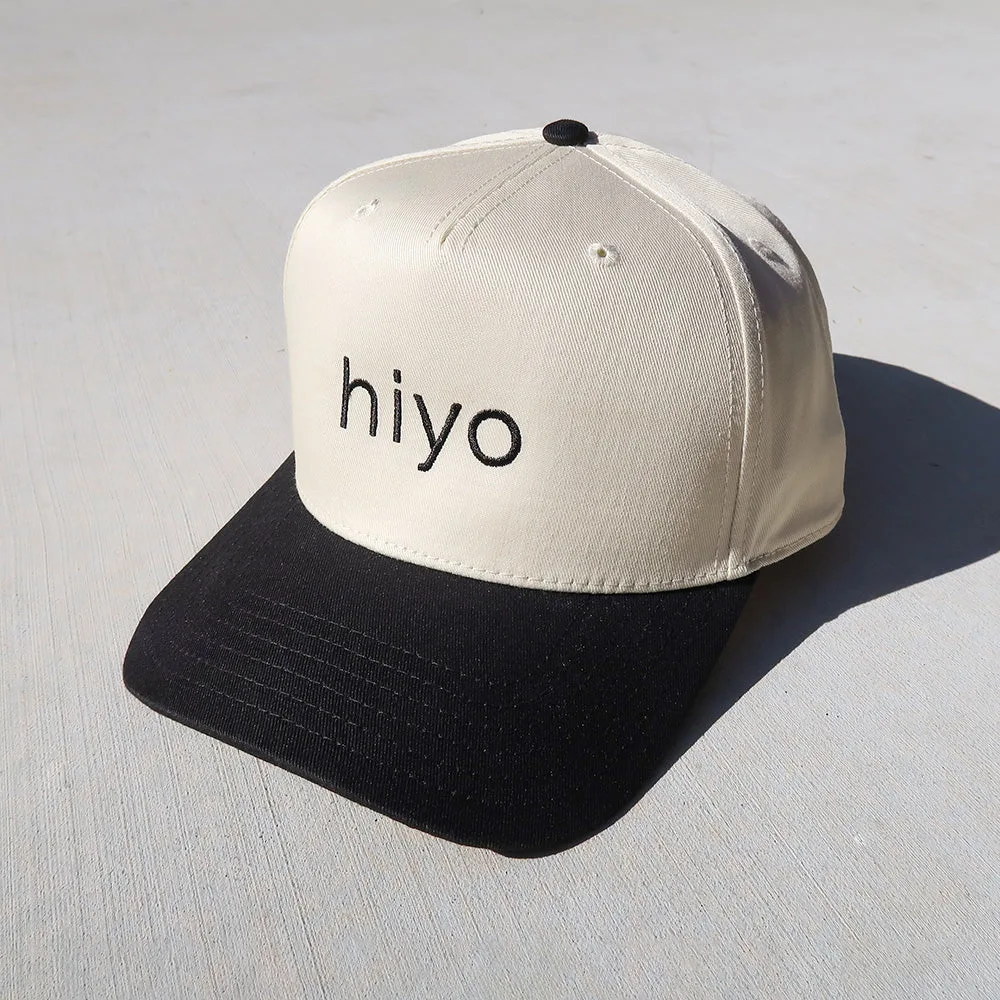
hiyo trucker hat
- Mistake to avoid: forcing a large sticker onto a curved bottle. It will wrinkle within a day.
Plan the layout before you commit
Lay the stickers out on the surface without peeling them. Step back and look at the whole composition. A common mistake is crowding the center and leaving the edges empty, which makes the item look unfinished. Instead, pick one larger sticker as the focal point, then place two or three smaller ones around it at different angles. Leave at least a finger-width of space between stickers so each one reads clearly.
If you are decorating a laptop or a planner, remember that the item will be handled. Put the most important sticker where your hand does not rest, because friction wears down edges. On a water bottle, keep stickers below the cap and above the base, where they are less likely to scrape against a bag or a table.
- Checkpoint: photograph the dry layout with your phone. The camera flattens the surface and shows gaps you miss in person.
Ten creative ways to use a hiyo sticker sheet
These ten projects range from five-minute fixes to weekend crafts. Each one uses the same prep steps, so once you have a clean surface and a plan, the rest is placement. Start with the easiest project, a water bottle, to practice your technique before you move to something you care about more.
For a water bottle, place one large sticker on the flattest side and two small ones near the base. For a laptop lid, use a cluster of three stickers in one corner rather than spreading them across the whole surface. For a planner or journal, put a sticker on the cover and use the rest as page markers. For a phone case, choose a single sticker and center it, because a busy case looks messy in a pocket.
- More ideas: decorate a hard-shell suitcase, a bike helmet, a desk organizer, a gift box, a scrapbook page, or a plain notebook cover.
- For a gift, add a sticker to the tag or the wrapping paper instead of the gift itself, so the recipient can reuse it.
Make stickers last longer
Once a sticker is down, protect the edges. A clear coat of nail polish or a piece of clear packing tape over the sticker can stop peeling on high-wear items like water bottles and phone cases. Do not use tape on fabric, because it will not survive a wash. For items that get wet, avoid the dishwasher and hand-wash instead, keeping the sticker out of direct soak.
If a sticker starts to lift, do not press it back down immediately. Lift the edge gently, clean away any grit, and press again from the center. If the adhesive is gone, a small piece of double-sided tape can rescue it. The hiyo trucker hat is a good example of an item that lasts because it is structured and adjustable, and the same logic applies to stickers: the more stable the surface, the longer the sticker stays put.
- Mistake to avoid: putting a sticker on a surface you clean with harsh chemicals. The adhesive will break down.
Step-by-step sticker application
- Clean the surface: Wipe with a lint-free cloth and isopropyl alcohol, then let it dry fully. Checkpoint: the surface should feel squeaky, not slick.
- Plan the layout: Place stickers without peeling, choose one focal point, and leave space between each. Checkpoint: photograph the layout before you commit.
- Peel and place: Peel from a corner, align the sticker, and press from the center outward for ten seconds. Checkpoint: run a fingernail along the edge to test the bond.
- Protect the edges: Add a clear coat or tape on high-wear items, and hand-wash instead of dishwashing. Checkpoint: if an edge lifts, clean and re-press rather than adding more pressure.
Hiyo gear that pairs well with stickers
- hiyo trucker hat: Crafted from a firm and structured cotton/poly blend with a seamless front panel and adjustable plastic snaps in the back. The structured front panel gives you a flat, stable area for a patch or pin, while the snap clasp lets you adjust the fit. It is a better canvas than a soft knit hat because the surface does not flex.
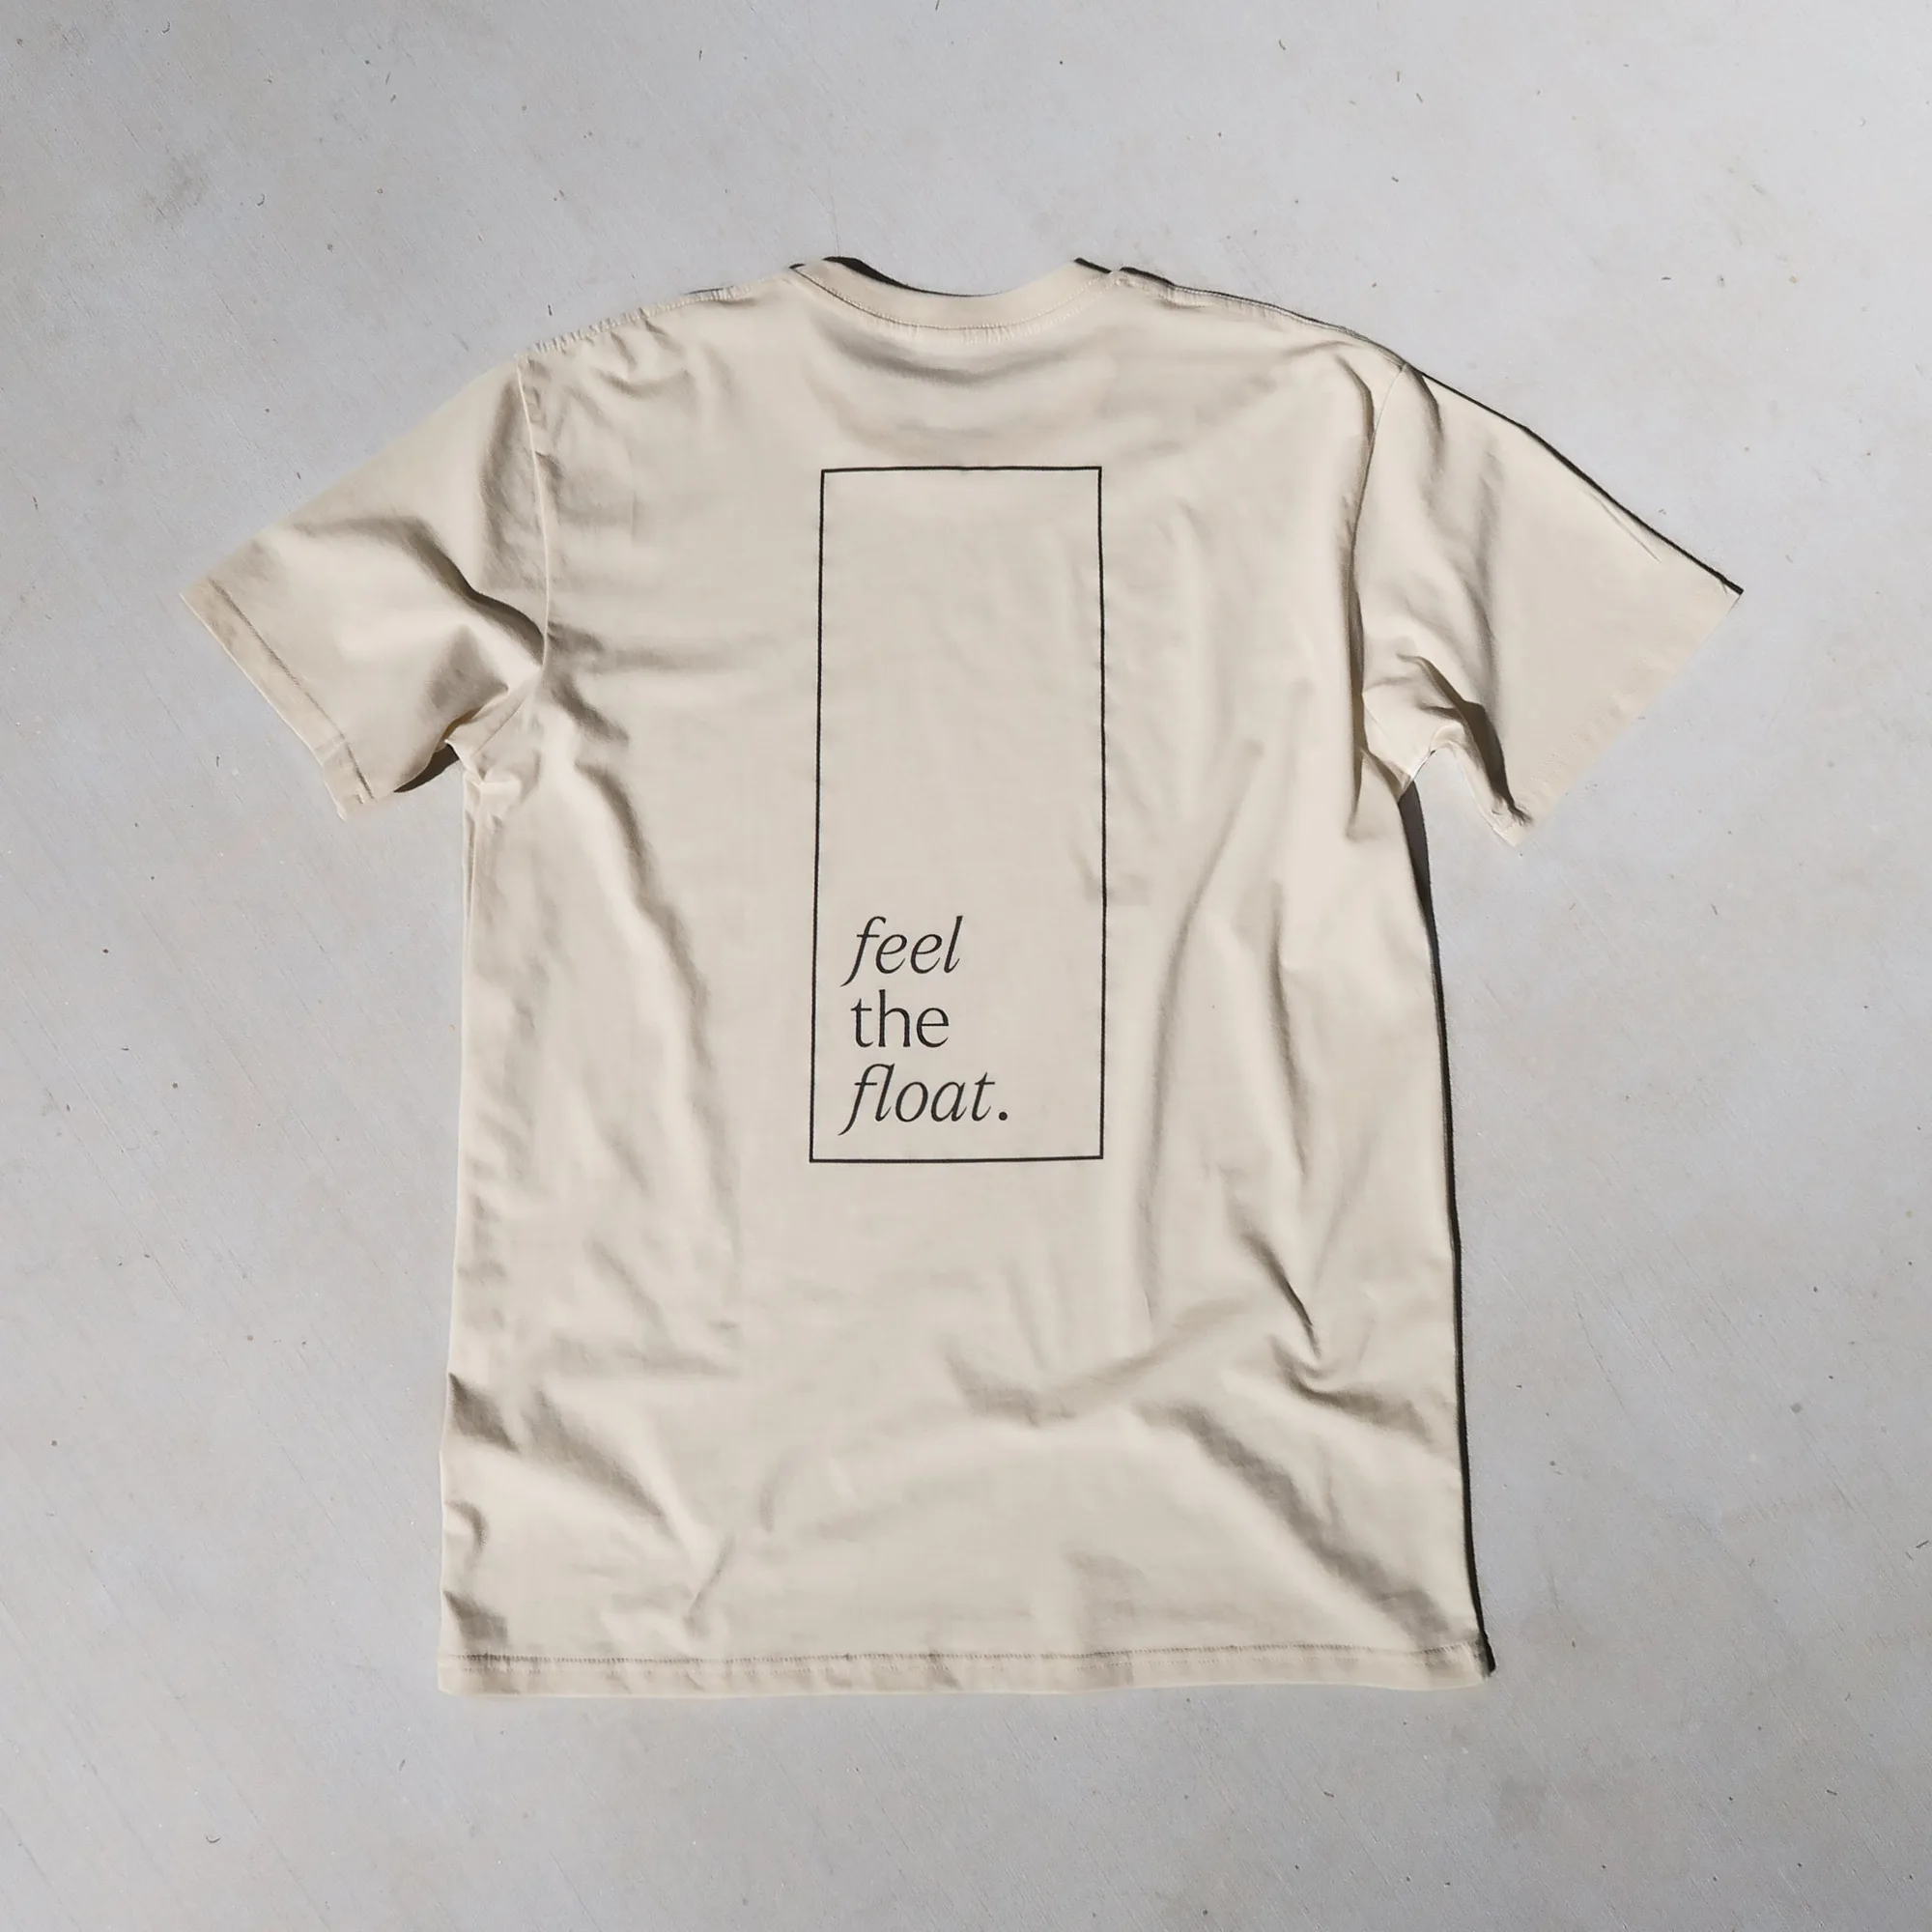
- window staple tee: Made from 100% combed cotton with double-stitched hems, side seaming, and pre-shrunk fabric. The pre-shrunk cotton and durable hems mean the tee holds its shape, so any decoration you add stays aligned. It is a good base for a patch or a printed design rather than a paper sticker.
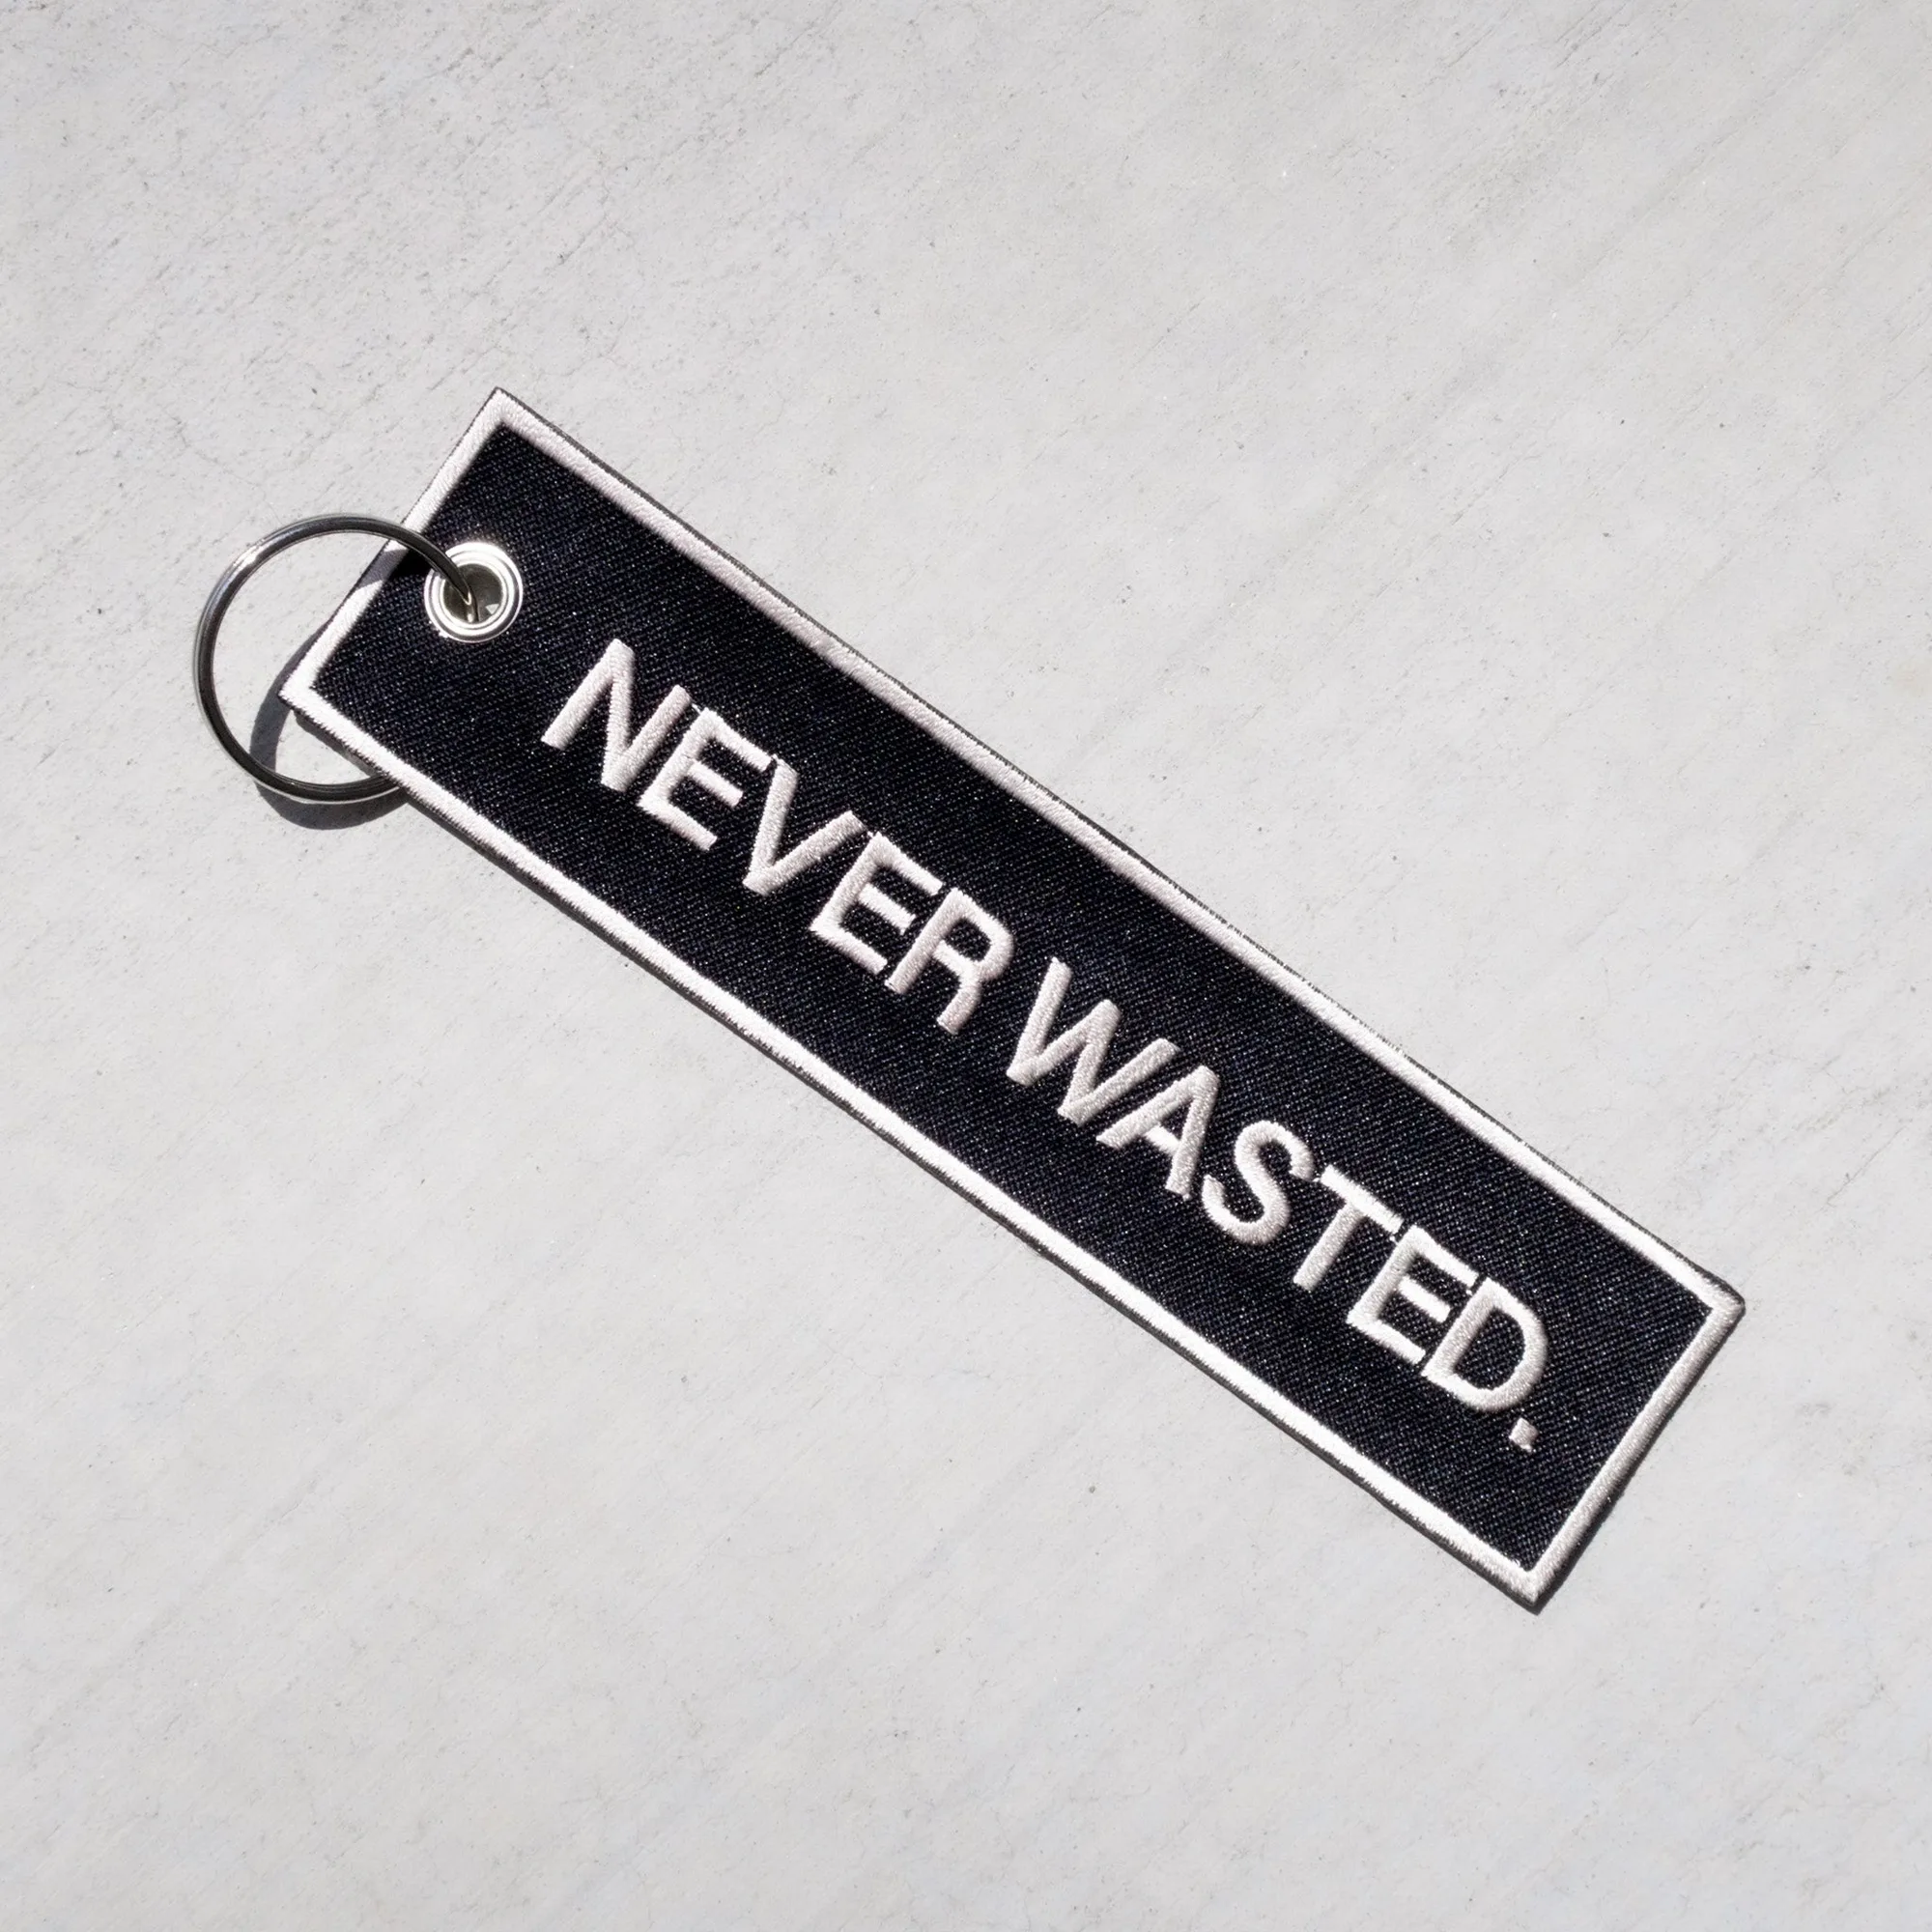
- never wasted keychain: A 4.5" x 1.5" patch with a 1" keyring and double side stitching. The embroidered patch and sturdy keyring make this a long-wear item, so it is a practical place to clip a small sticker or tag without worrying about it falling apart.
A hiyo sticker sheet goes further when you treat placement like a small project. Clean the surface, plan the layout, press firmly, and protect the edges. Start with a water bottle or a notebook, then move to hiyo gear like the trucker hat or the window staple tee once you are confident. The stickers will last longer, and the result will look intentional rather than accidental.