Quick answer
Adding custom embroidery to sleepwear is straightforward when you choose the right fabric, placement, and thread. Start with a clean, pre-washed garment and use a stabiliser to prevent puckering.
Why fabric choice matters for embroidery
Delicate sleepwear fabrics like silk, satin, and bamboo rayon require special handling. They can pucker or tear if the embroidery tension is too tight. Always test a small, hidden area first, and use a lightweight tear-away stabiliser to support the fabric without adding bulk.
Choosing the right thread and needle
Polyester embroidery thread works well on most sleepwear because it has a slight stretch that matches the fabric's movement. Use a sharp, fine needle (size 75/11) to avoid visible holes. Metallic or thick threads can snag on delicate knits, so save those for cotton or flannel pyjamas.
Step-by-step guide to adding custom embroidery to sleepwear
- Prepare the garment: Wash and dry the sleepwear to pre-shrink the fabric. Iron it flat, then mark the embroidery placement with a water-soluble pen or tailor's chalk. Common mistake: skipping the pre-wash can cause the design to distort after the first laundry.
- Choose and apply a stabiliser: Select a tear-away or cut-away stabiliser based on fabric stretch. For silk or satin, use a lightweight tear-away. Hoop the stabiliser tightly, then gently place the fabric on top. Common mistake: using too heavy a stabiliser can leave visible residue or stiffness. Always test the stabiliser on a scrap piece of the same fabric first.
- Secure the fabric in the hoop: Place the hooped stabiliser under the fabric so the marked area is centred. Smooth the fabric without stretching it, then tighten the hoop. Common mistake: over-tightening can distort the fabric and cause uneven stitches.
- Set up the embroidery machine or hand stitch: Thread the machine with polyester embroidery thread and a fine needle (size 75/11). For hand embroidery, use a hoop and a sharp embroidery needle. Start stitching slowly. Common mistake: using a dull needle can snag delicate sleepwear fibres. If the fabric puckers, reduce the machine tension slightly.
- Remove stabiliser and finish: Gently tear away the stabiliser, being careful not to pull the stitches. If using cut-away, trim close to the design. Press the embroidery from the wrong side with a low-heat iron. Common mistake: pulling the stabiliser too aggressively can distort the stitches. For a professional finish, add a small piece of fusible interfacing behind the embroidery on the inside of the garment.
Products that help with custom embroidery
-
Additional Embroidery Placement: Make your homebodii sleepwear even more special with additional custom embroidery placement. Perfect for creating truly personalized robes, pajamas, and sleepwear gifts with custom monogramming. Adding extra embroidery placement lets you personalise both the chest and back of a robe or pyjama set, giving you a cohesive, custom look without ordering a separate garment.
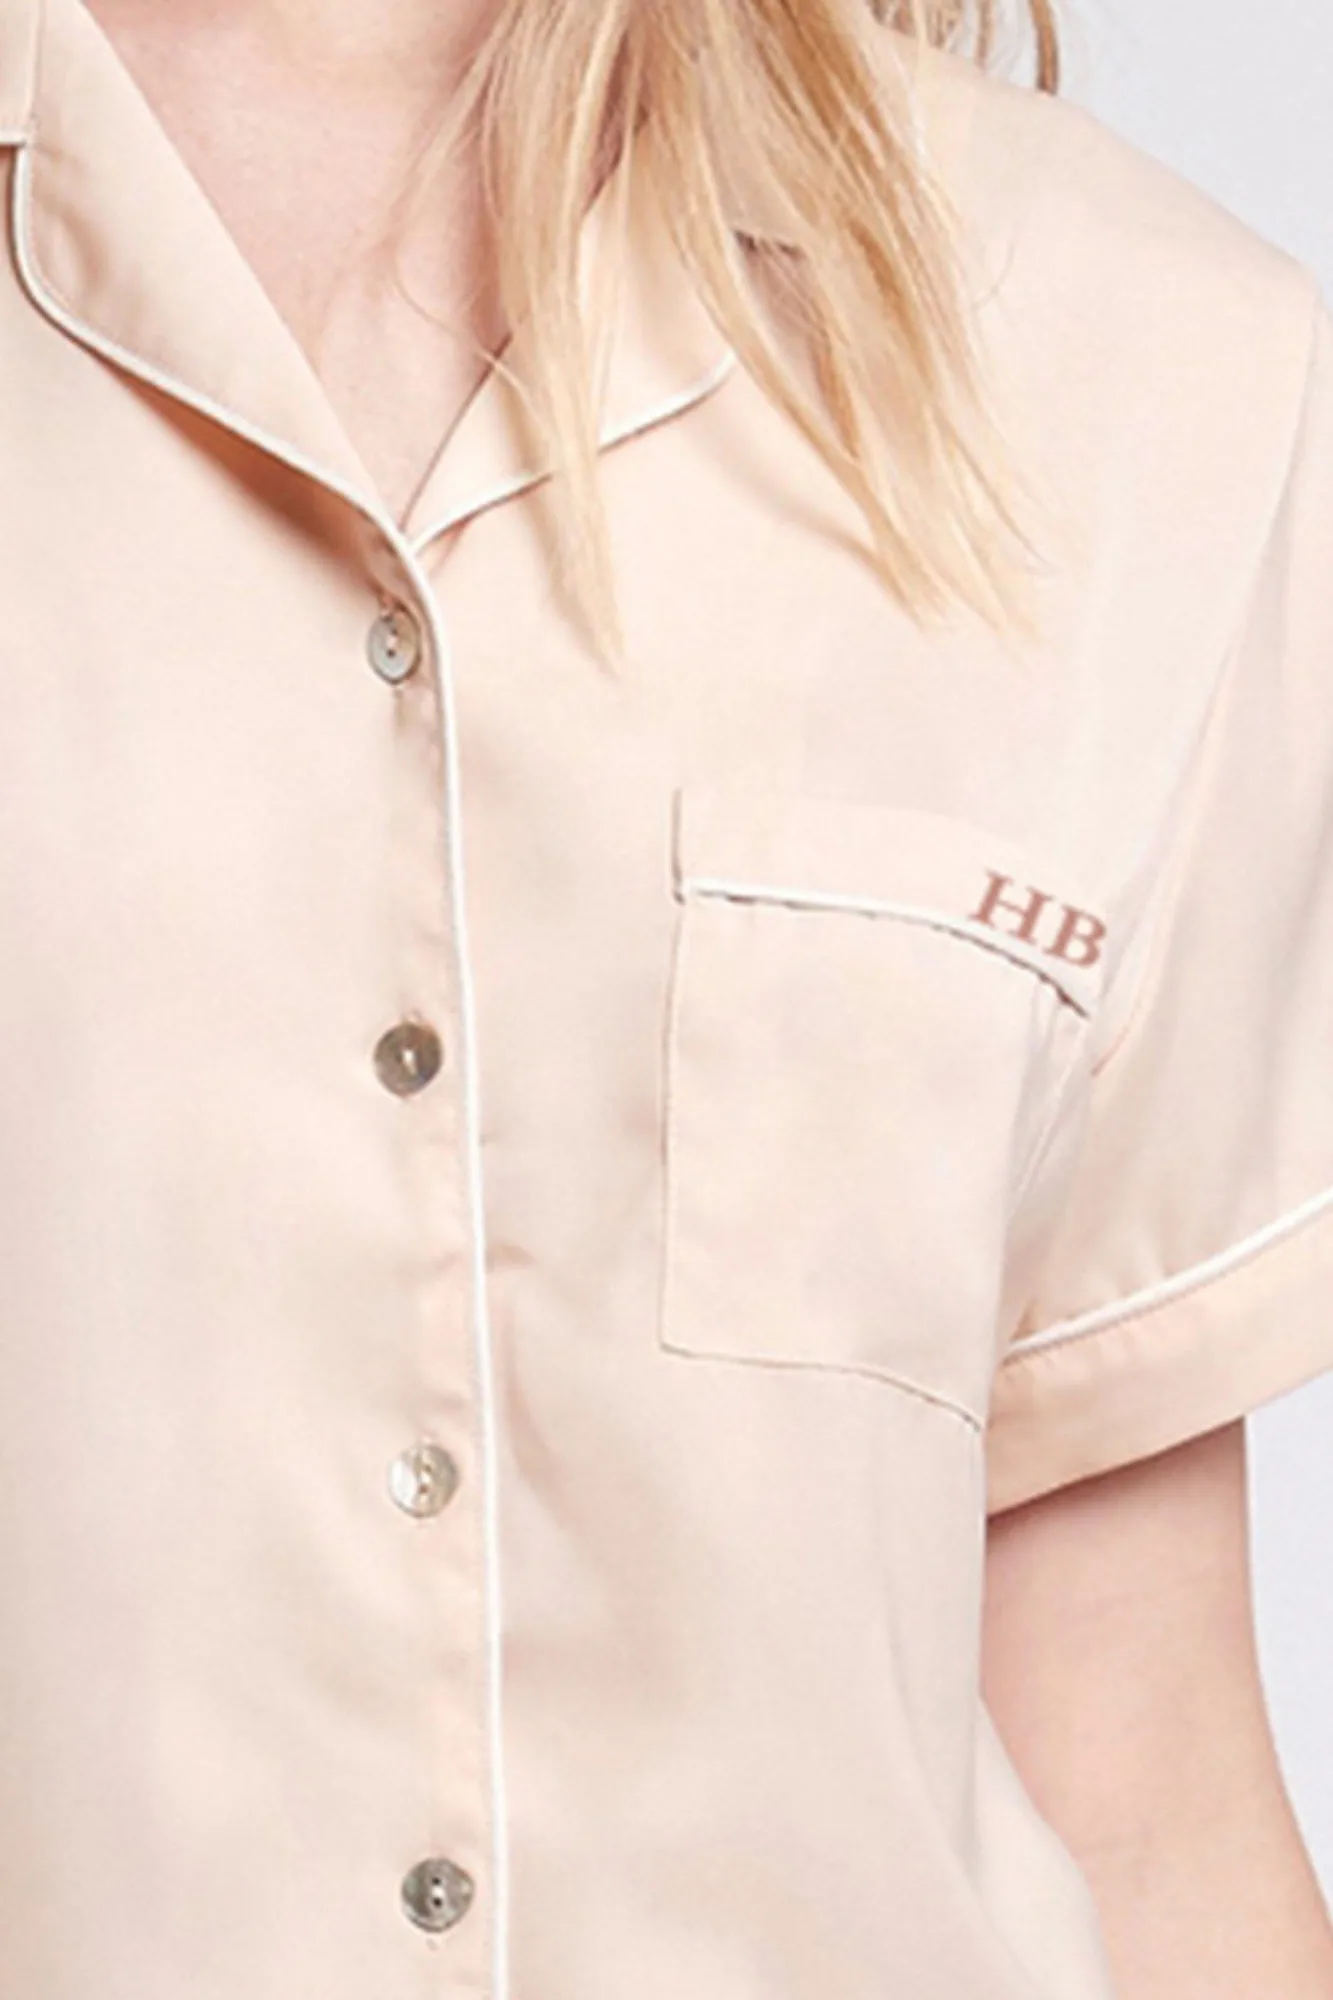
Additional Embroidery Placement