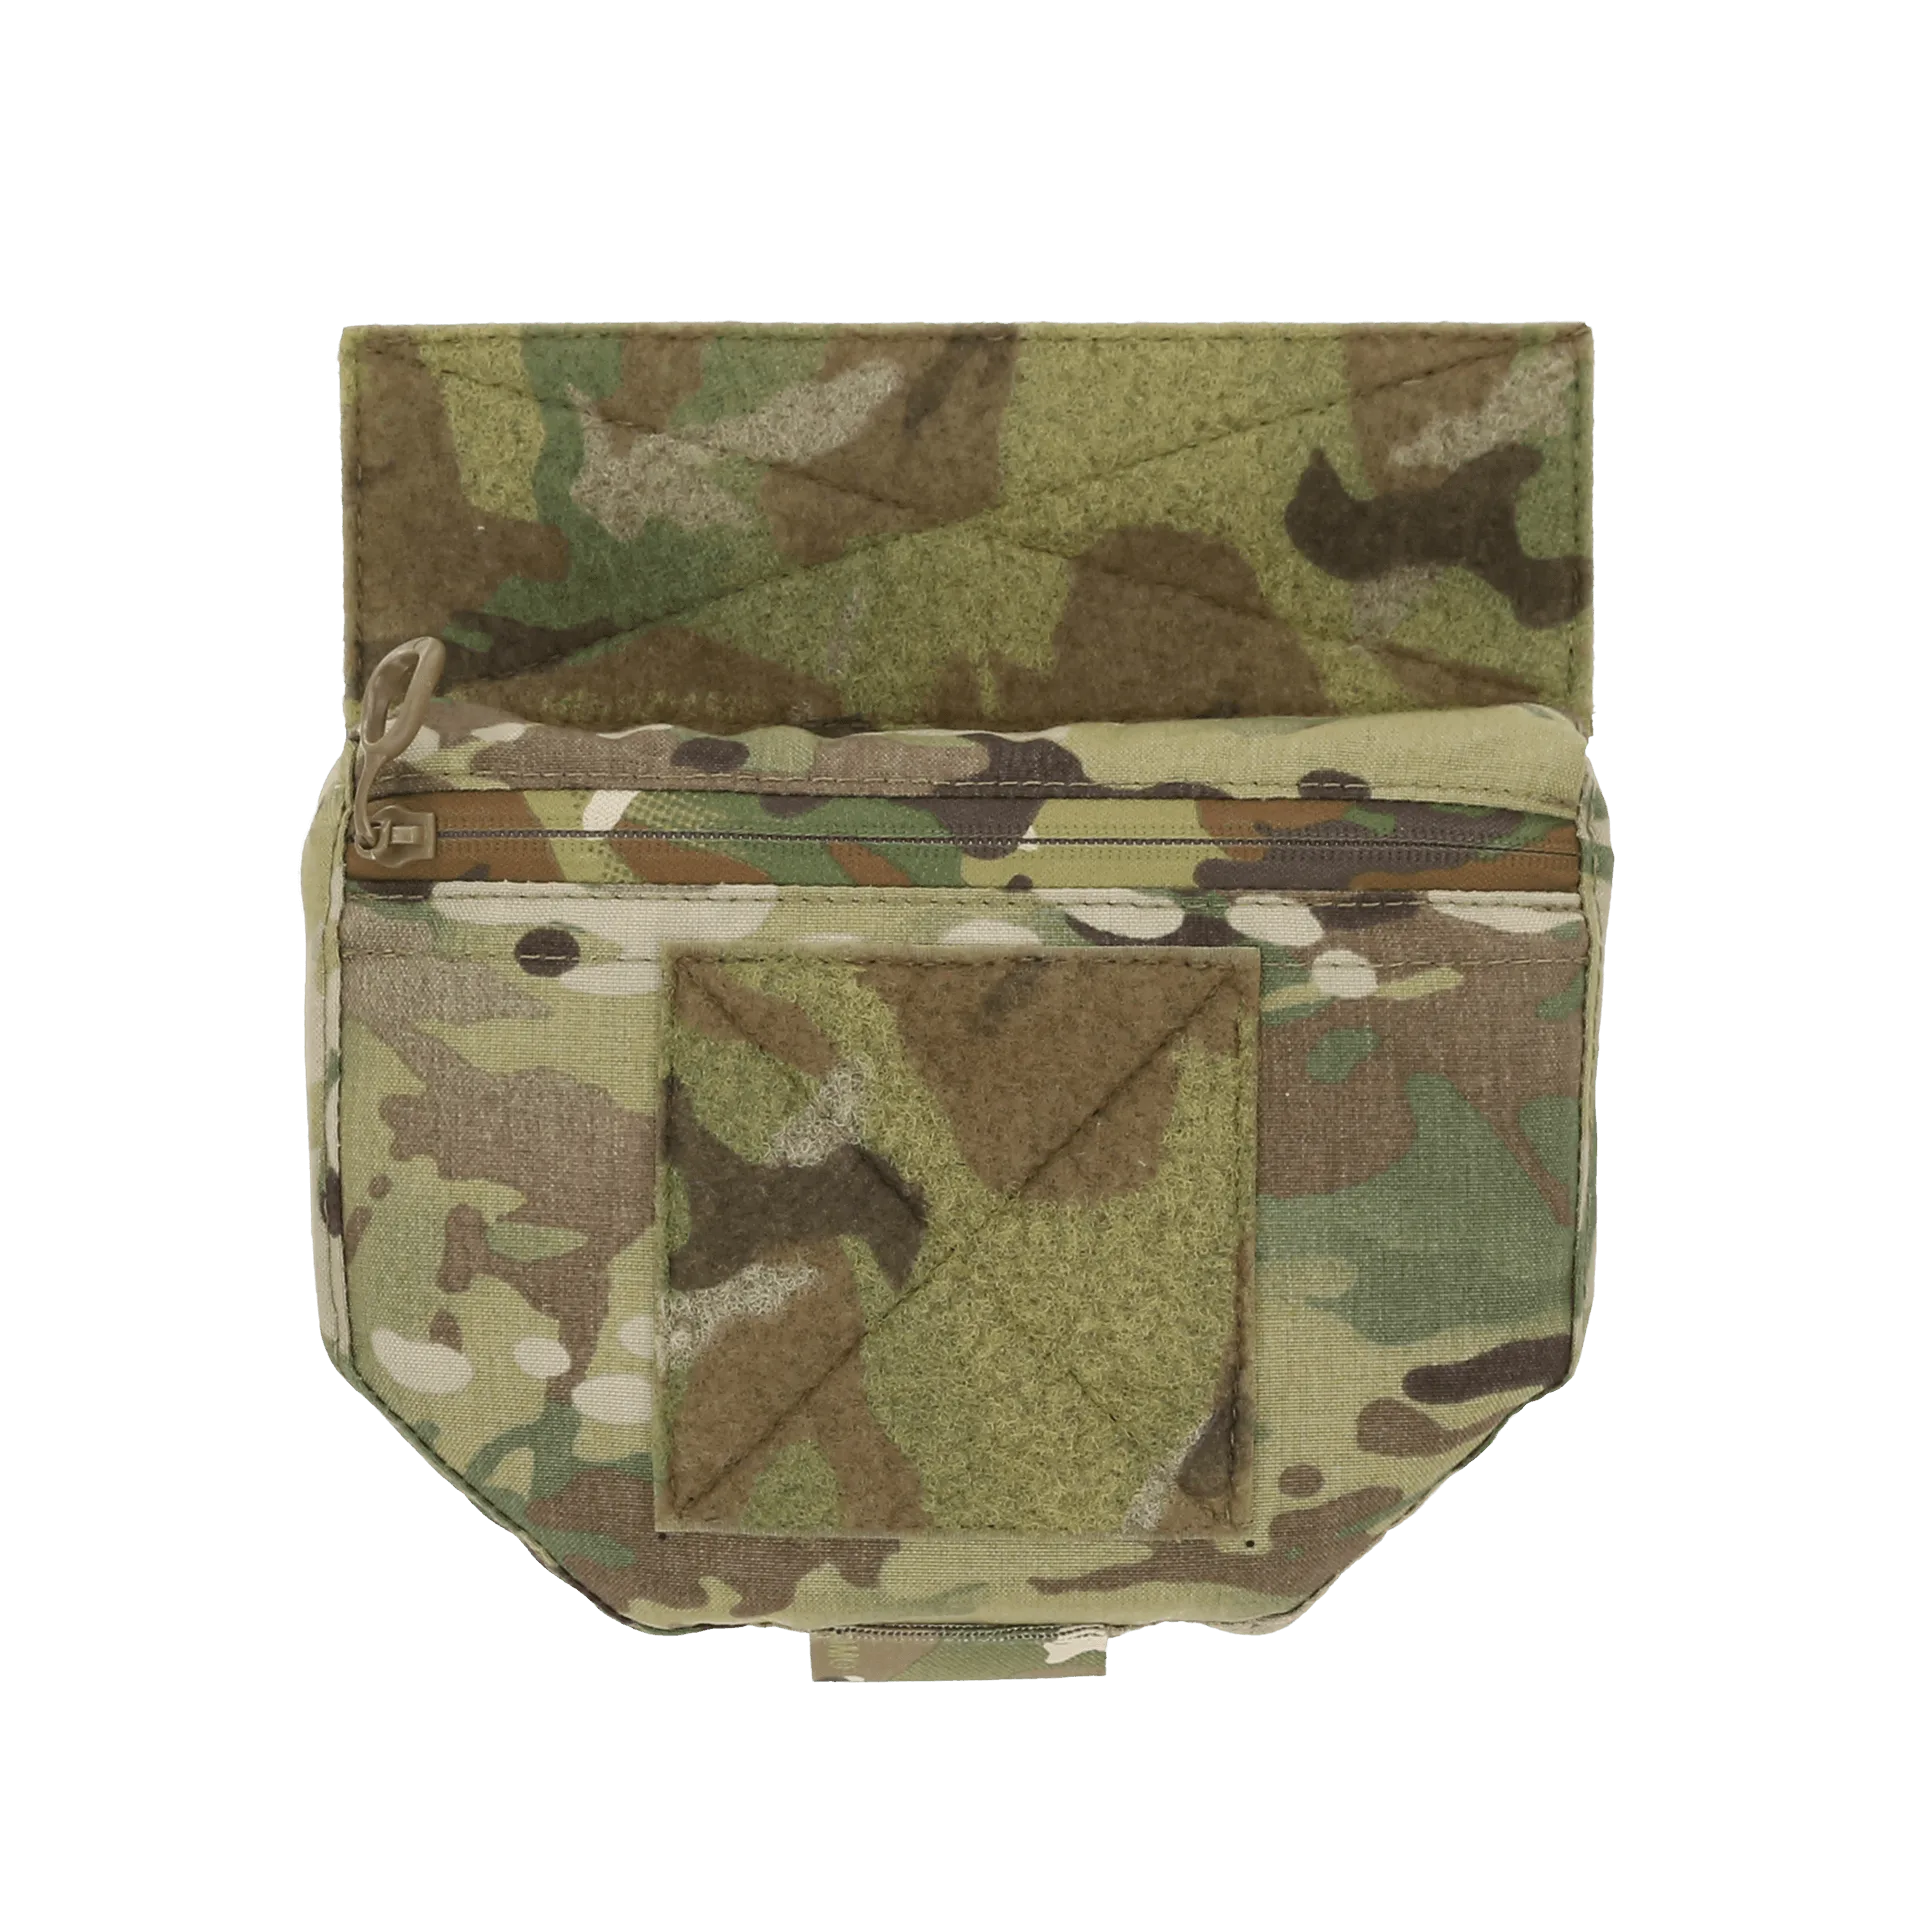
Staying hydrated during long missions or training sessions is critical, and integrating a hydration system into your plate carrier is one of the smartest upgrades you can make. Ferro Concepts plate carriers, like the Slickster and FCPC, are designed with modularity in mind, making it easy to add a water bladder without sacrificing comfort or mobility. In this guide, we'll walk you through the process of adding a hydration system to your Ferro Concepts plate carrier, from choosing the right reservoir to routing the tube for quick access.
Whether you're running a Slickster for a low-profile setup or a full FCPC with the ADAPT system, the principles are the same. We'll cover the tools you need, step-by-step installation, and tips for securing the bladder and tube so they don't interfere with your gear. By the end, you'll have a hydration setup that's reliable, comfortable, and ready for the field.
Choosing the Right Hydration Reservoir
The first step is selecting a hydration reservoir that fits your carrier and your needs. Most plate carriers have a built-in hydration pouch or a MOLLE panel where you can attach a compatible bladder. Ferro Concepts carriers, such as the Slickster, often feature a dedicated hydration compartment or a MOLLE backing that can hold a bladder securely. When choosing a reservoir, consider the capacity—typically 1.5 to 3 liters—and the material. A sturdy, BPA-free bladder with a wide opening for easy filling and cleaning is ideal.
A popular choice among tactical users is the Hydrapak reservoir, known for its durability and reliable bite valve. The Ferro x Hydrapak 1.8L Reservoir, for example, is designed to integrate seamlessly with Ferro Concepts gear, offering a low-profile fit that doesn't add bulk. If you're using a carrier without a built-in hydration sleeve, you can attach a hydration pouch to the MOLLE webbing. For instance, the The SlicksterTM MOLLE Base provides a versatile platform for attaching such pouches.
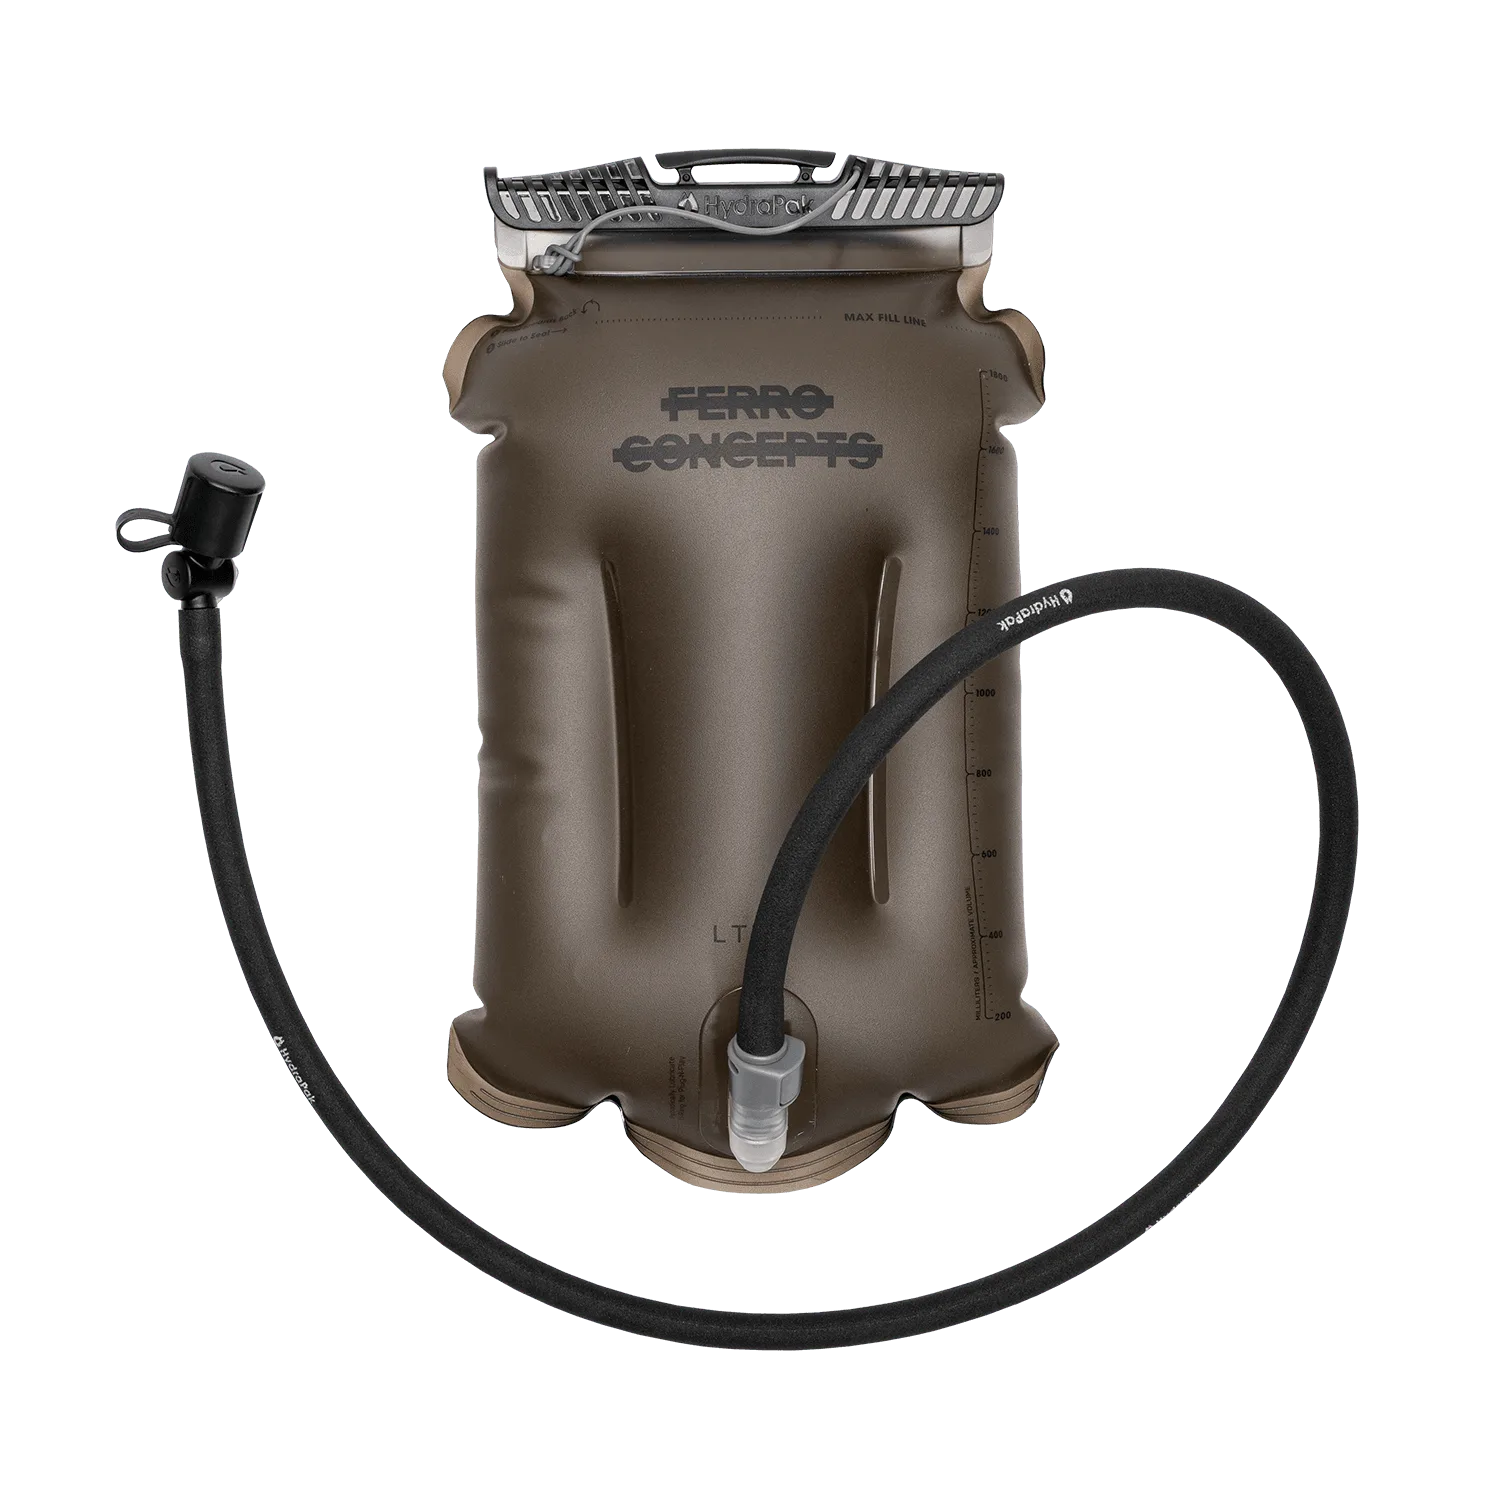
Ferro x Hydrapak 1.8L Reservoir
- Consider the capacity: 1.5-3 liters is typical for tactical use.
- Check for a wide opening for easy cleaning and filling.
- Look for a bite valve that can be operated with one hand.
Installing the Bladder in Your Plate Carrier
Once you have your reservoir, it's time to install it. Start by identifying the hydration compartment on your Ferro Concepts carrier. On the Slickster, this is often a sleeve on the back panel, accessible via a zipper or hook-and-loop closure. If your carrier doesn't have a dedicated compartment, you can use a hydration pouch attached to the MOLLE webbing. For the FCPC, the ADAPT system allows you to attach a hydration panel directly to the back, providing a secure fit.
Insert the bladder into the compartment, ensuring the hose exits through the designated port or between the shoulder straps. Make sure the bladder is flat against your back to distribute weight evenly. If you're using a MOLLE-attached pouch, thread the pouch onto the webbing and secure it with the included straps. For added security, you can use a Back Panel MOLLE to create a custom hydration setup that keeps the bladder close to your body without shifting.
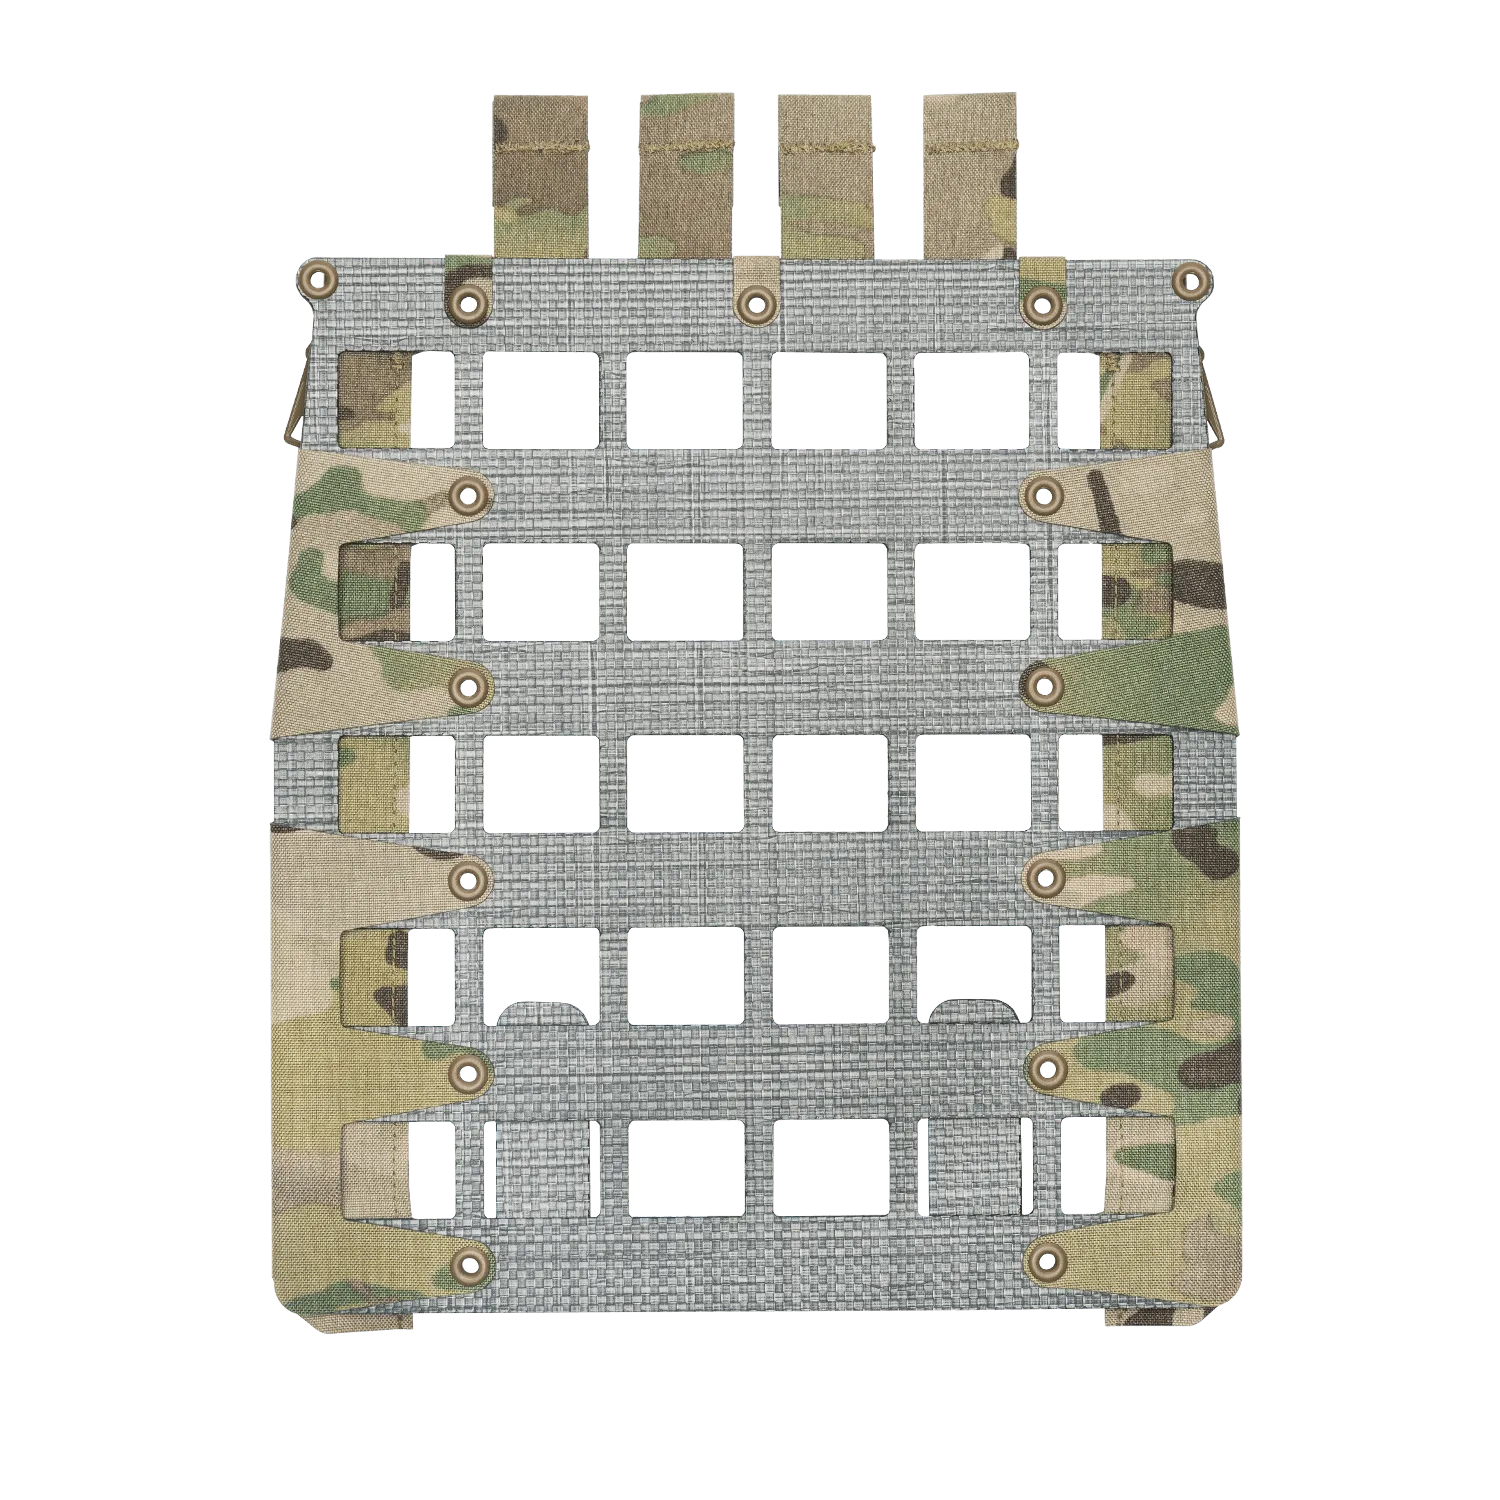
Back Panel MOLLE
- Ensure the bladder is flat to prevent bulging.
- Route the hose through the shoulder port for easy access.
- Test the fit by wearing the carrier and adjusting the straps.
Routing the Hydration Tube
Proper tube routing is essential for quick access and to prevent snagging. The tube should run over your shoulder and be secured with a tube keeper or routed through the webbing on your carrier. Many Ferro Concepts carriers have built-in tube guides or loops near the shoulders. If not, you can use a small retention clip or a piece of shock cord to keep the tube in place.
When routing, avoid pinching the tube under straps or pouches, as this can restrict water flow. Also, ensure the bite valve is positioned within easy reach of your mouth without having to turn your head too far. Some users prefer to route the tube under their arm, but over the shoulder is most common. For a clean setup, you can attach a small accessory like The Dangler® to manage the tube and keep it off your chest, though this is optional.
- Use tube keepers or shock cord to secure the tube.
- Avoid pinching the tube under gear.
- Position the bite valve for easy access.
Securing the Bladder and Preventing Movement
A loose bladder can shift during movement, causing discomfort and imbalance. To prevent this, ensure the bladder is snugly fitted in its compartment. If using a MOLLE pouch, tighten the straps and consider adding a hook-and-loop strip to secure the bladder inside. Some users also use a hydration sleeve with a cinch cord to keep the bladder in place.
For carriers with a hydration compartment, check that the zipper or closure is fully sealed to prevent the bladder from slipping out. If you're using a back panel, the Back Panel MOLLE allows you to attach a hydration pouch that integrates with the carrier's structure, reducing movement. Additionally, you can use the The SlicksterTM MOLLE Base to create a stable platform for your hydration setup, especially if you're adding other pouches.
- Tighten all straps securing the bladder.
- Use hook-and-loop to prevent sliding.
- Check the setup during movement to ensure stability.
Maintaining Your Hydration System
Regular maintenance keeps your hydration system clean and functional. After each use, empty the bladder and rinse it with warm water. Avoid using harsh detergents, as they can leave residue. Periodically, use a cleaning kit with a brush to remove buildup. Dry the bladder thoroughly before storing to prevent mold.
Inspect the tube and bite valve for wear and tear. Replace any cracked or leaking parts immediately. If you use a Hydrapak reservoir, their components are easy to replace. Also, check the connections to ensure a tight seal. By keeping your system clean, you'll ensure it's ready when you need it.
- Clean the bladder after every use.
- Dry thoroughly before storage.
- Replace worn parts promptly.
Adding a hydration system to your Ferro Concepts plate carrier is a straightforward upgrade that significantly enhances your endurance and comfort. By choosing the right reservoir, installing it correctly, and maintaining it, you'll be ready for any mission. For a seamless integration, consider the The SlicksterTM MOLLE Base to build a custom hydration setup that fits your needs.