Quick Answer
To get a perfect fit, adjust the seat width, waist belt height, and shoulder straps in that order, checking for proper leg support and snugness at each step.
Why Proper Fit Matters for Comfort and Safety
A well-adjusted carrier distributes your baby's weight evenly, preventing discomfort for you and ensuring your baby's hips and spine are supported correctly. Common mistakes—like a too-narrow seat or loose straps—can lead to slumping, pinching, or poor weight distribution.
The Free-to-Grow design adjusts as your baby grows, but only if you revisit the settings every few weeks. What worked for a newborn won't work for a 6-month-old.
Tools You'll Need
No special tools required. Just your carrier and your baby (or a weighted doll for practice). A mirror can help you check the back straps.
Step-by-Step Adjustment Guide
- Step 1: Set the Seat Width for Your Baby's Size: Lay the carrier flat and adjust the seat snaps so the panel forms a 'bucket' that reaches from knee pit to knee pit. For a newborn, use the narrowest setting (snaps closest together). For a toddler, widen the seat to the outermost snaps. The baby's knees should be higher than their bottom, forming an M-shape. Checkpoint: If your baby's legs dangle straight down or the fabric presses into their calves, the seat is too narrow or too wide.
- Step 2: Position the Waist Belt at the Right Height: Fasten the waist belt snugly at your natural waist or just above your hips—not on your hip bones. For front carries, the belt should sit high enough that the carrier's top edge is at your armpit level. For back carries, lower the belt slightly to shift the baby's weight. Common mistake: Wearing the belt too low forces you to lean backward, straining your lower back.
- Step 3: Adjust the Shoulder Straps for Snugness and No Gap: Pull the shoulder strap adjusters evenly until the carrier is snug against your baby's back. There should be no gap between the carrier's top hem and your baby's neck. The straps should lie flat across your shoulders without digging in. If you feel pressure points, loosen slightly and re-tighten. Checkpoint: After adjusting, your baby's chin should be well above the carrier fabric, and you should be able to fit two fingers between your baby's chin and chest.
- Step 4: Check the Back Panel Height (Newborn vs Older Baby): For a newborn, the back panel should come up to the nape of their neck—not over their head. For an older baby, the panel can reach the back of their head but must not cover their face. If the panel is too high, fold down the headrest tab (if available) or adjust the seat width to lower the panel. Common mistake: Leaving the headrest up for a small baby can block their airway or cause overheating.
- Step 5: Perform a Final Safety Check: Walk around, bend forward slightly, and squat. Your baby should stay securely in the carrier without shifting. The carrier should feel like a supportive hug—not loose or restrictive. Check that all buckles are clicked and straps are not twisted. Checkpoint: If your baby slumps or the carrier sags, repeat steps 1–3. A proper fit feels stable before you even tighten the straps.
Product Spotlight
-
Dolly - Mesh Free-to-Grow Baby Carrier: Dolly - Mesh Free-to-Grow Baby Carrier is bursting with warm orange and pink tones, and all the playful charm. The mesh fabric keeps your baby cool during adjustments and long wears, making it a great choice for warmer climates or active parents.
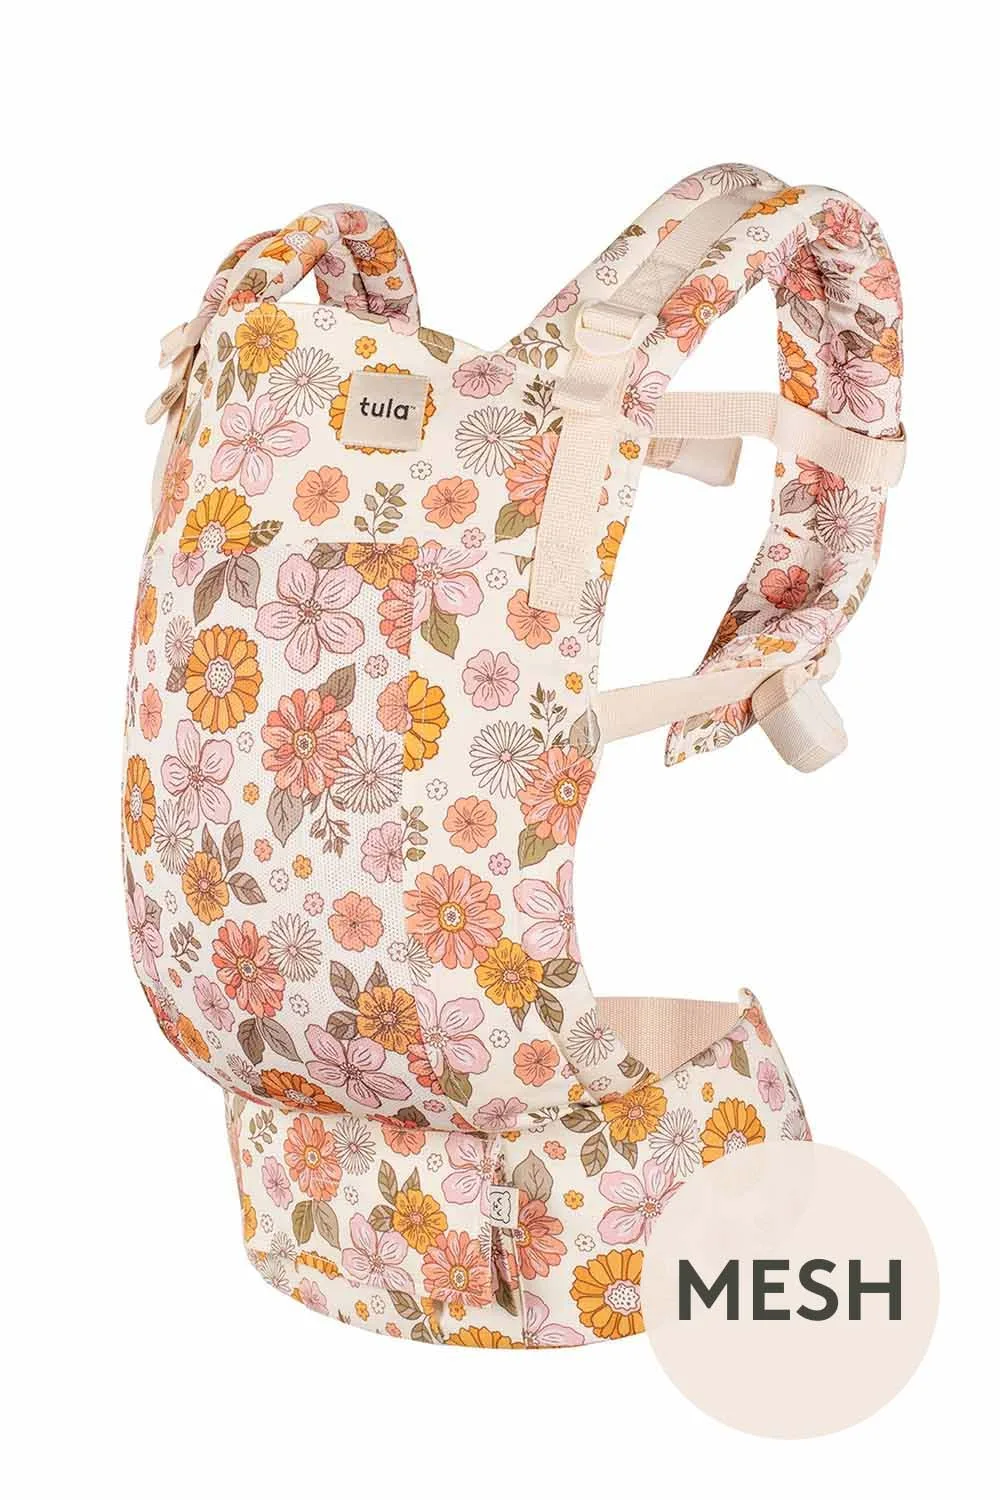
Dolly - Mesh Free-to-Grow Baby Carrier