Quick answer
To adjust a baby gate, first confirm the gate type: pressure-mounted gates are for doorways and room openings, while hardware-mounted gates are required at the top of stairs. Measure your opening, adjust the gate width to match, then mount and test the latch and stability. Always follow the manufacturer's instructions for your specific model.
Know your gate type before you adjust anything
Baby gates fall into two main mounting categories: pressure-mounted and hardware-mounted. Pressure-mounted gates wedge between two walls or doorframes using tension, so they are quick to install and easy to move. Hardware-mounted gates screw into wall studs or a banister, making them the only safe choice for the top of stairs, where a pressure gate could give way under a child's weight or a fall.
Check your gate's manual or packaging to confirm its mounting type and where it is rated for use. Some gates are convertible, but the hardware-mount configuration is the one you need for stair-top safety. If you are unsure, treat the gate as pressure-mounted only until you verify otherwise.
Measure the opening and adjust the gate width
Use a tape measure to record the width of your doorway or stair opening at the point where the gate will sit. Measure at the narrowest point, because baseboards, doorframes, and uneven walls can change the width from floor to waist height. Write the number down so you can compare it to the gate's stated range.
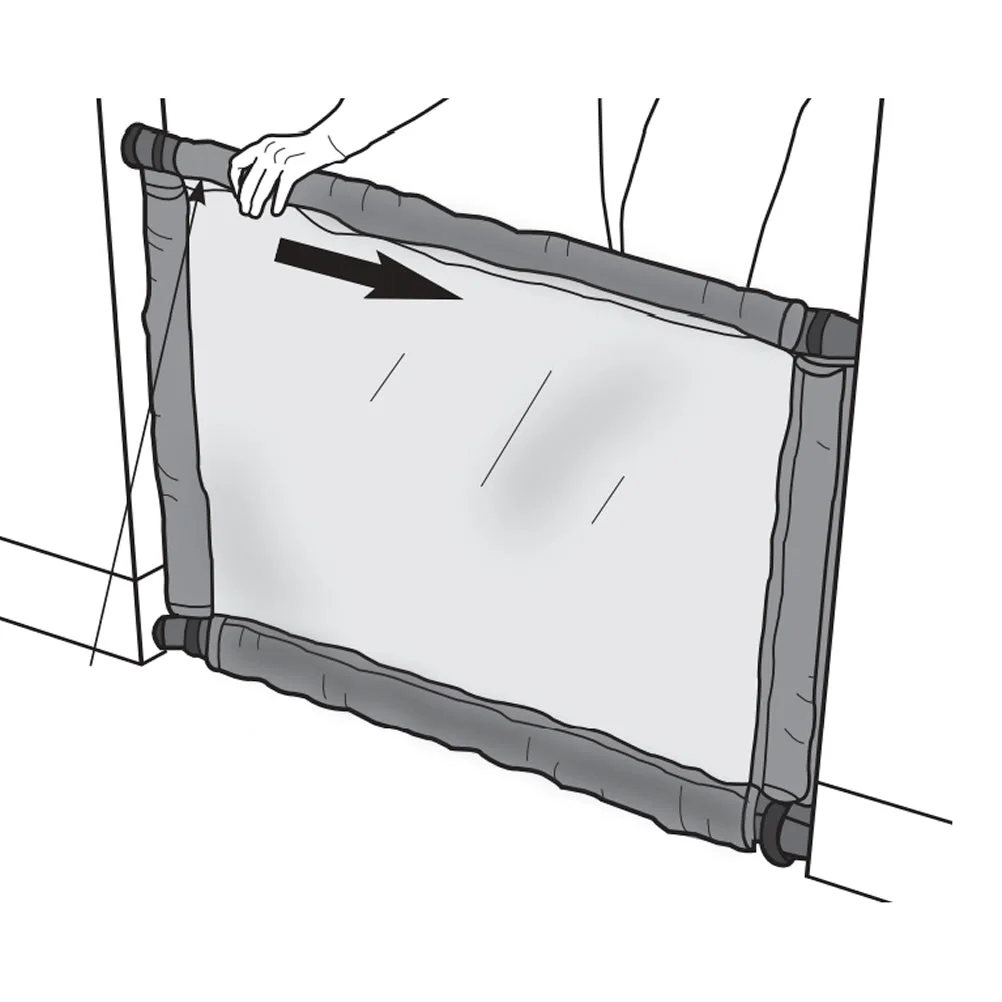
Most adjustable gates slide or telescope to fit a range of openings. Extend or retract the gate to match your measurement, then lock the adjustment mechanism according to the manual. For pressure-mounted gates, the tension spindles or knobs are what hold the gate in place; for hardware-mounted gates, the gate sections slide to the correct width before you mark and drill the mounting cups.
Install and test the gate at the correct height
Position the gate so the bottom edge sits close to the floor or stair tread, with no gap large enough for a child to slip under. For stair-top gates, the gate should be mounted on the landing side or directly at the top of the stairs, never on a stair tread where it could be stepped over or become a tripping hazard.
Once mounted, test the gate by pushing and pulling firmly on the frame. A properly installed gate should not move more than a tiny amount. Open and close the latch several times to confirm it engages smoothly and that a young child cannot operate it. If the gate shifts, re-tighten the pressure knobs or check that the hardware is anchored into solid wood or studs, not drywall alone.
Step-by-step: adjust and install your baby gate
- Identify the mounting type: Check the manual or packaging to see whether your gate is pressure-mounted or hardware-mounted. Pressure gates are for doorways; hardware gates are required at the top of stairs. If you cannot confirm the type, do not use the gate at the top of stairs.
- Measure the opening at its narrowest point: Run a tape measure across the doorway or stair opening at the floor, mid-height, and near the top. Use the smallest measurement to choose your gate width setting. Measuring only at the floor is a common mistake that leads to a gate that will not fit or feels loose.
- Adjust the gate width to match: Slide or telescope the gate sections until they match your measurement, then lock the adjustment. For pressure gates, tighten the tension knobs evenly; for hardware gates, set the width before marking drill holes. Over-extending a gate beyond its stated range weakens the hold and can damage the frame.
- Mount the gate at the right spot: For stair tops, install the gate on the landing or at the very top of the stairs, not on a tread. For doorways, center the gate and ensure the bottom edge is close to the floor. A gate mounted on a stair tread can become a tripping hazard and may not secure properly.
- Test stability and the latch: Push and pull the gate firmly. It should barely move. Open and close the latch several times to confirm it works smoothly and that a child cannot easily operate it. If the gate shifts, re-tighten or re-anchor before letting your child near it.
- Recheck the fit regularly: Temperature changes, humidity, and normal use can loosen pressure-mounted gates over time. Check the tension and hardware monthly, and after any adjustment to the gate or the wall. A gate that passed the test last month may need a quick re-tighten today.
Evenflo gates that fit these steps
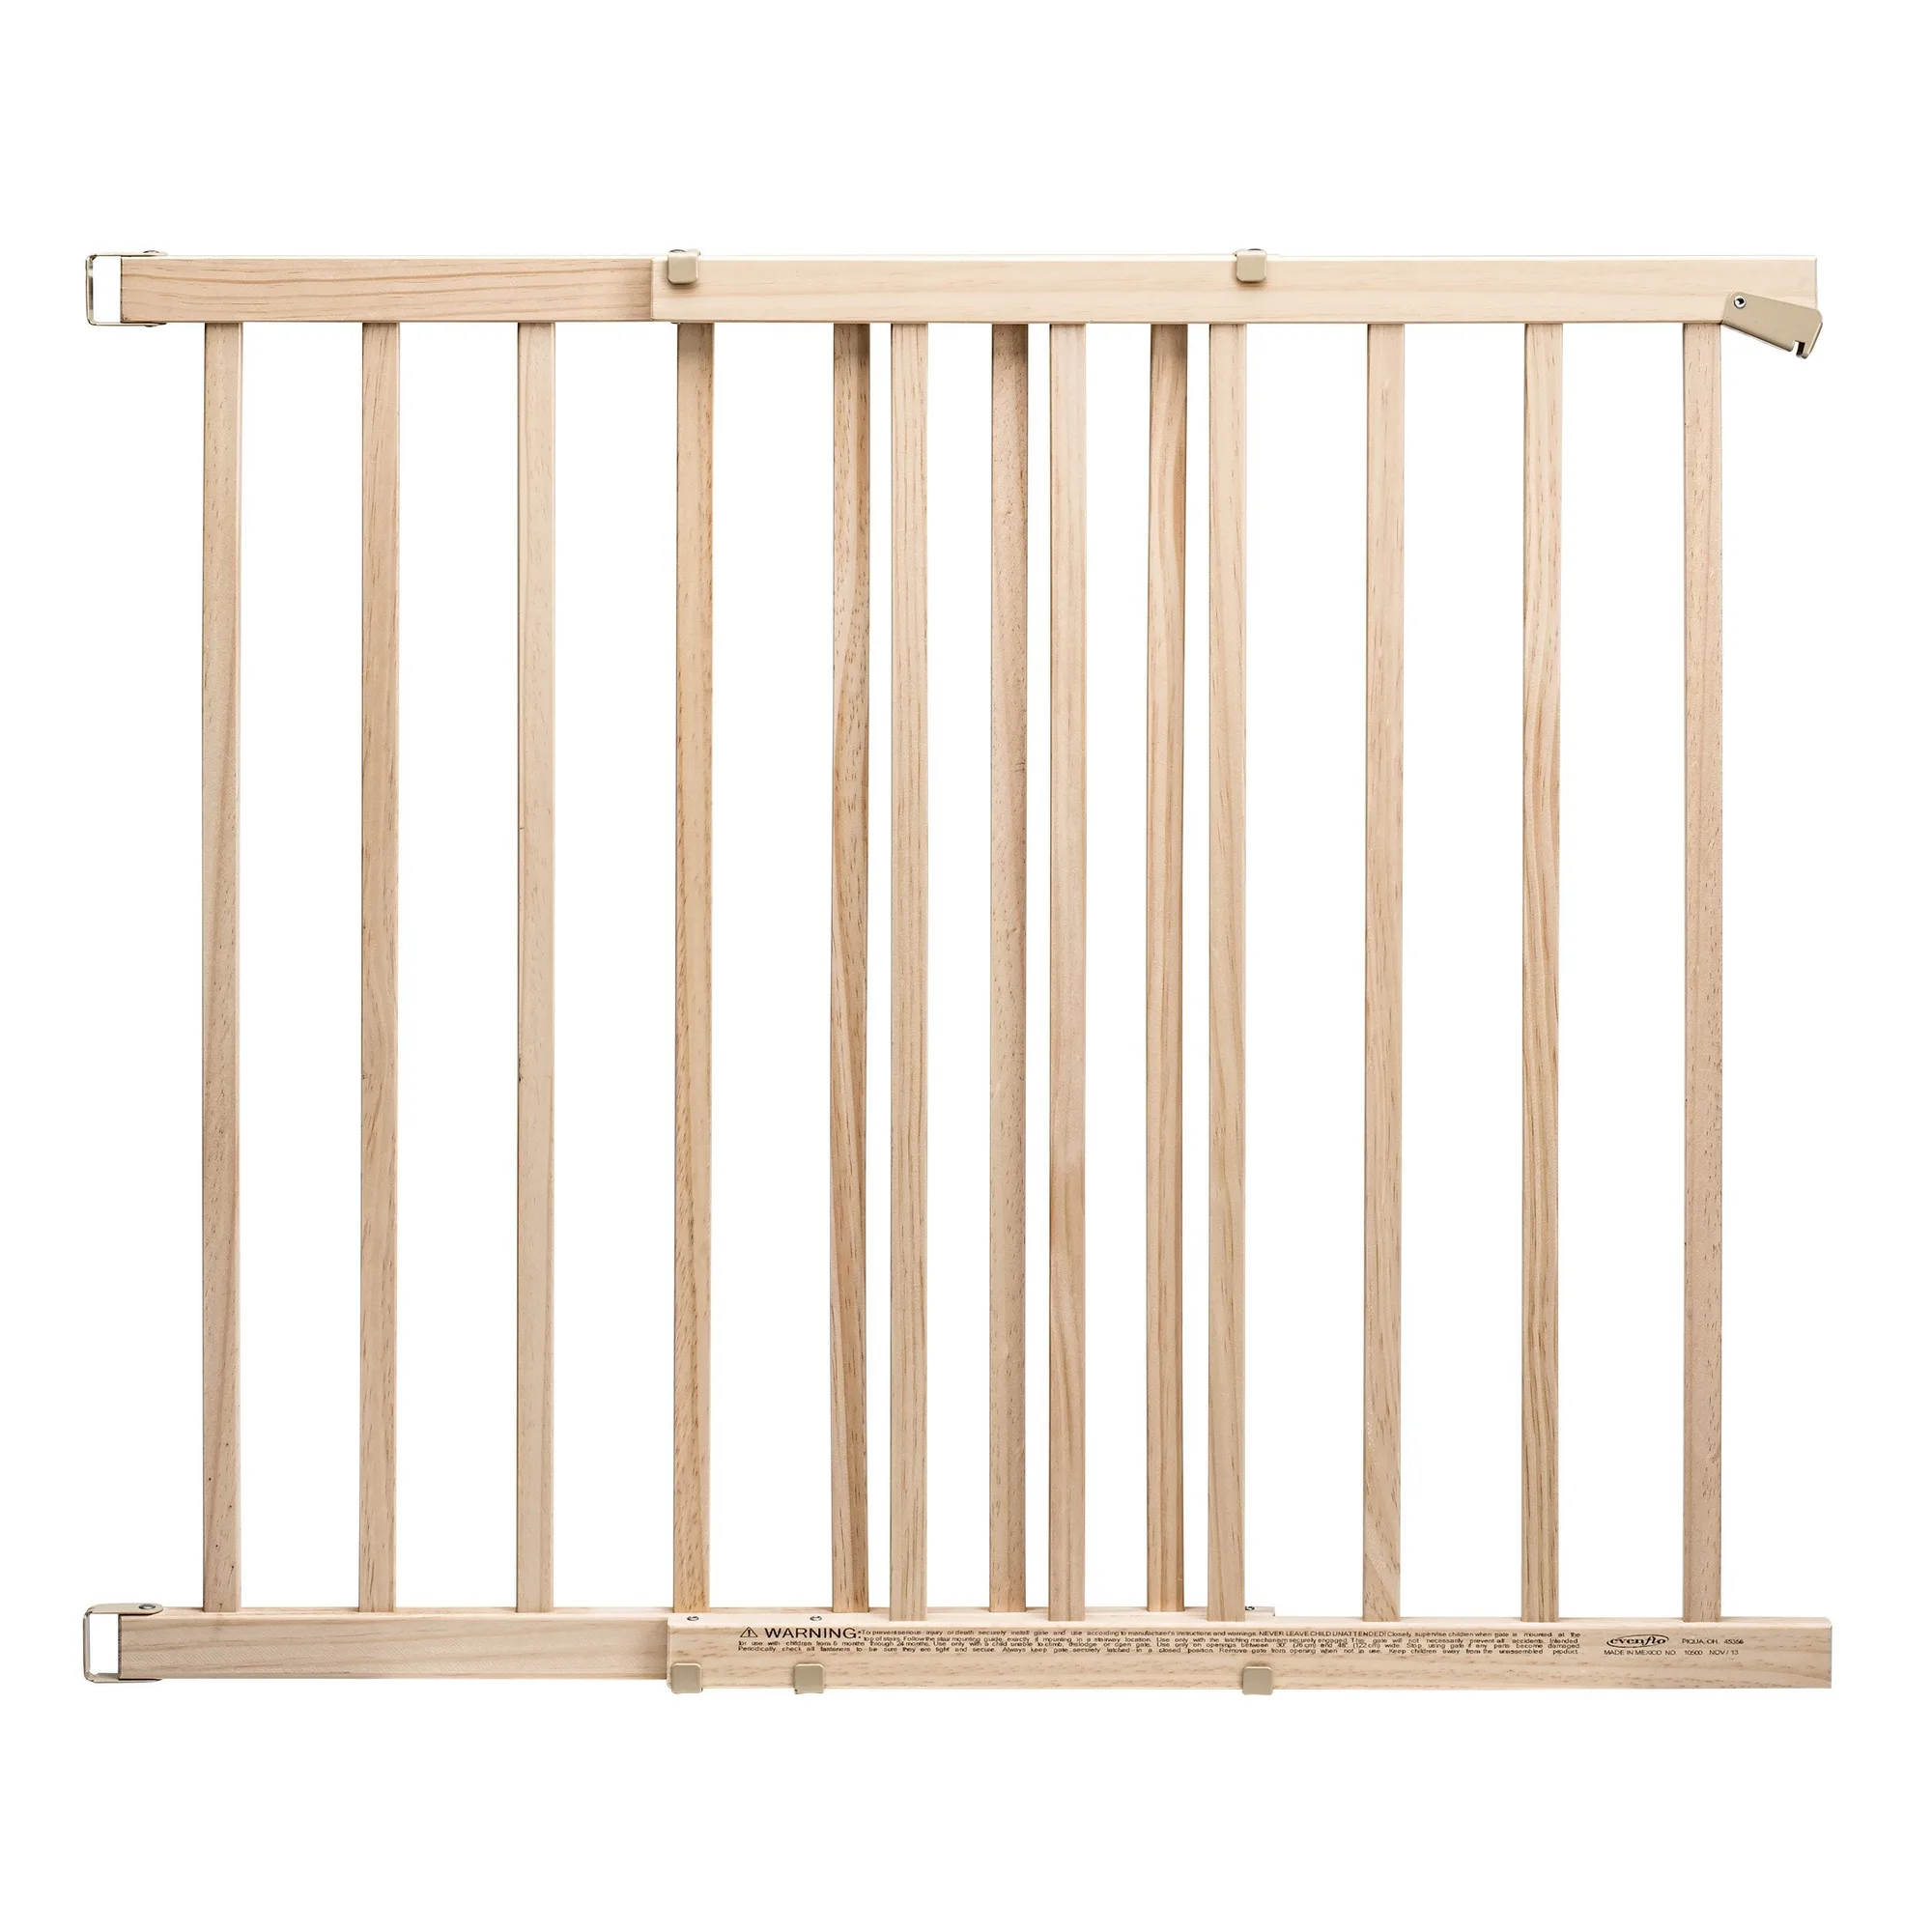
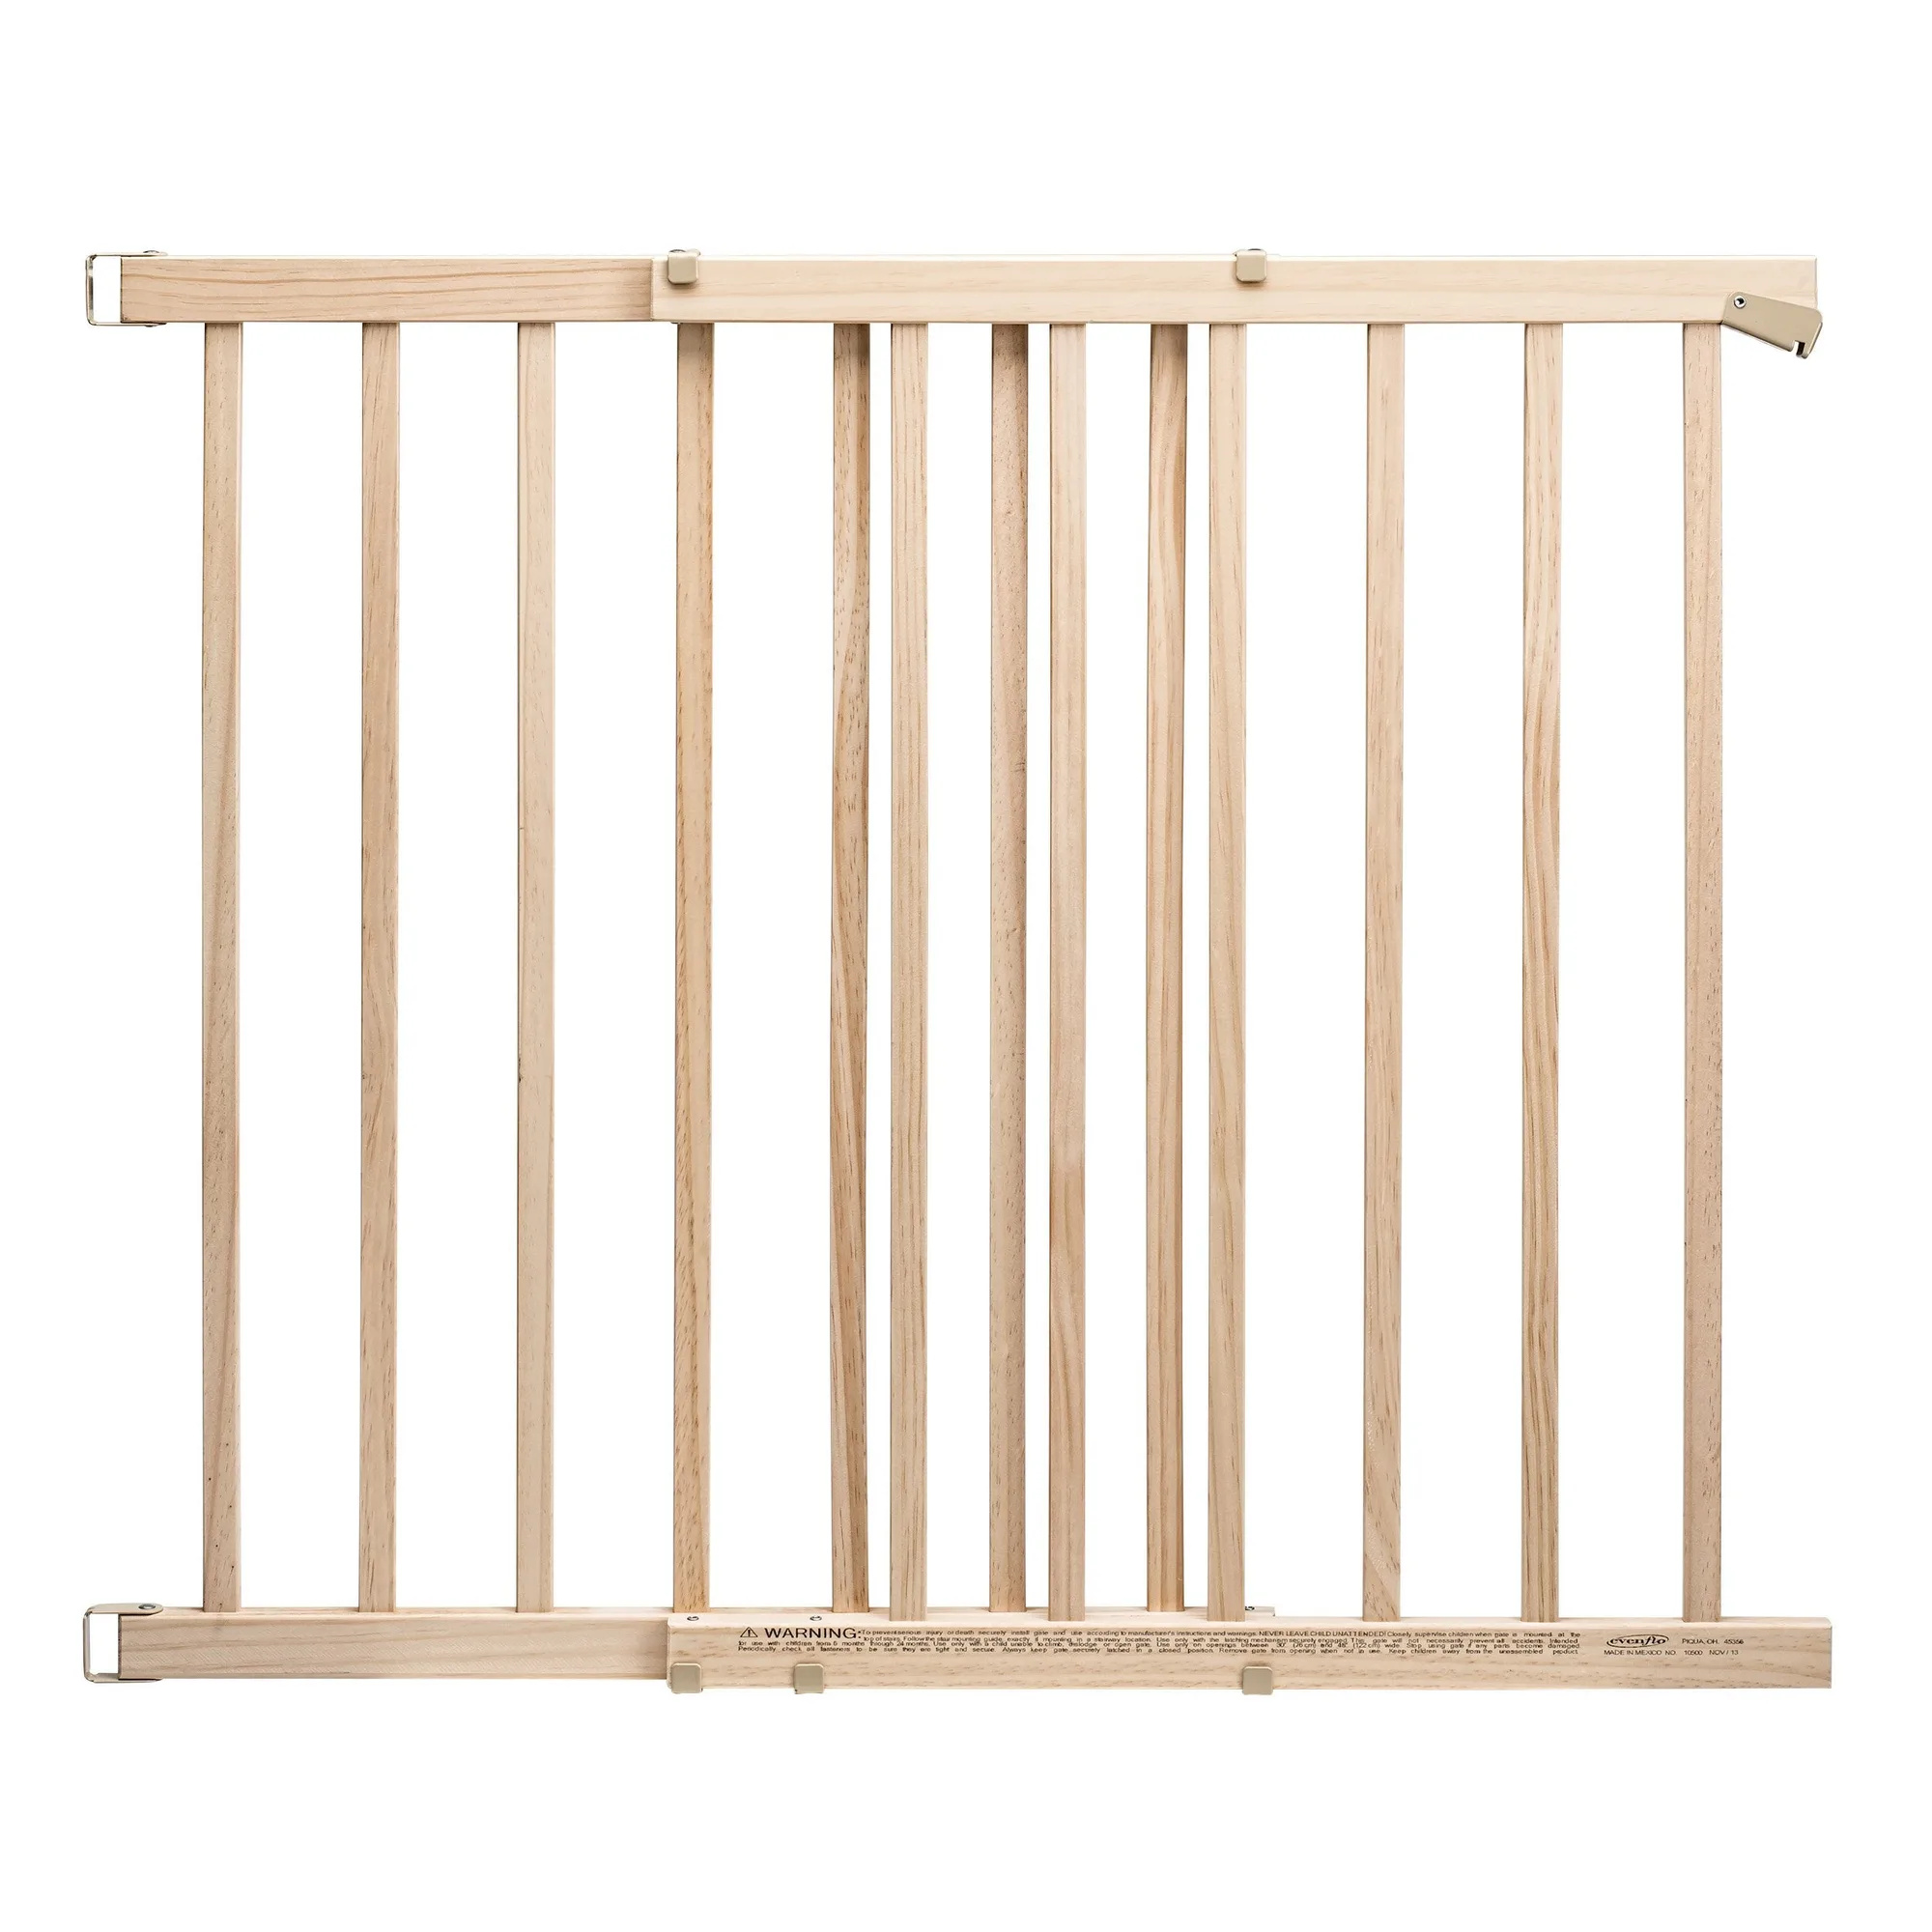
- Walk-Thru Top Of Stairs Baby Gate Support: Engineered specifically for security at the top of your stairs, this gate easily slides to expand and accommodates openings 30" - 48". The safety hardware mount attachment installs in minutes, and a unique one-hand latch is simple for adults to use while helping prevent unsupervised child use. Hardware mounting is the correct choice for stair-top safety, and the one-hand latch lets you pass through while carrying a child or laundry.
- Position & Lock Tall and Wide Value Adjustable Baby Gate: The affordable Evenflo Position & Lock Tall and Wide Value Adjustable Baby Gate is a lightweight, larger-sized gate that accommodates openings from 31 in to 50 in wide and is 31 in tall. It is a pressure-mounted baby gate. This gate suits wider doorways and room openings where a pressure mount is appropriate, but it is not intended for the top of stairs.