Quick answer
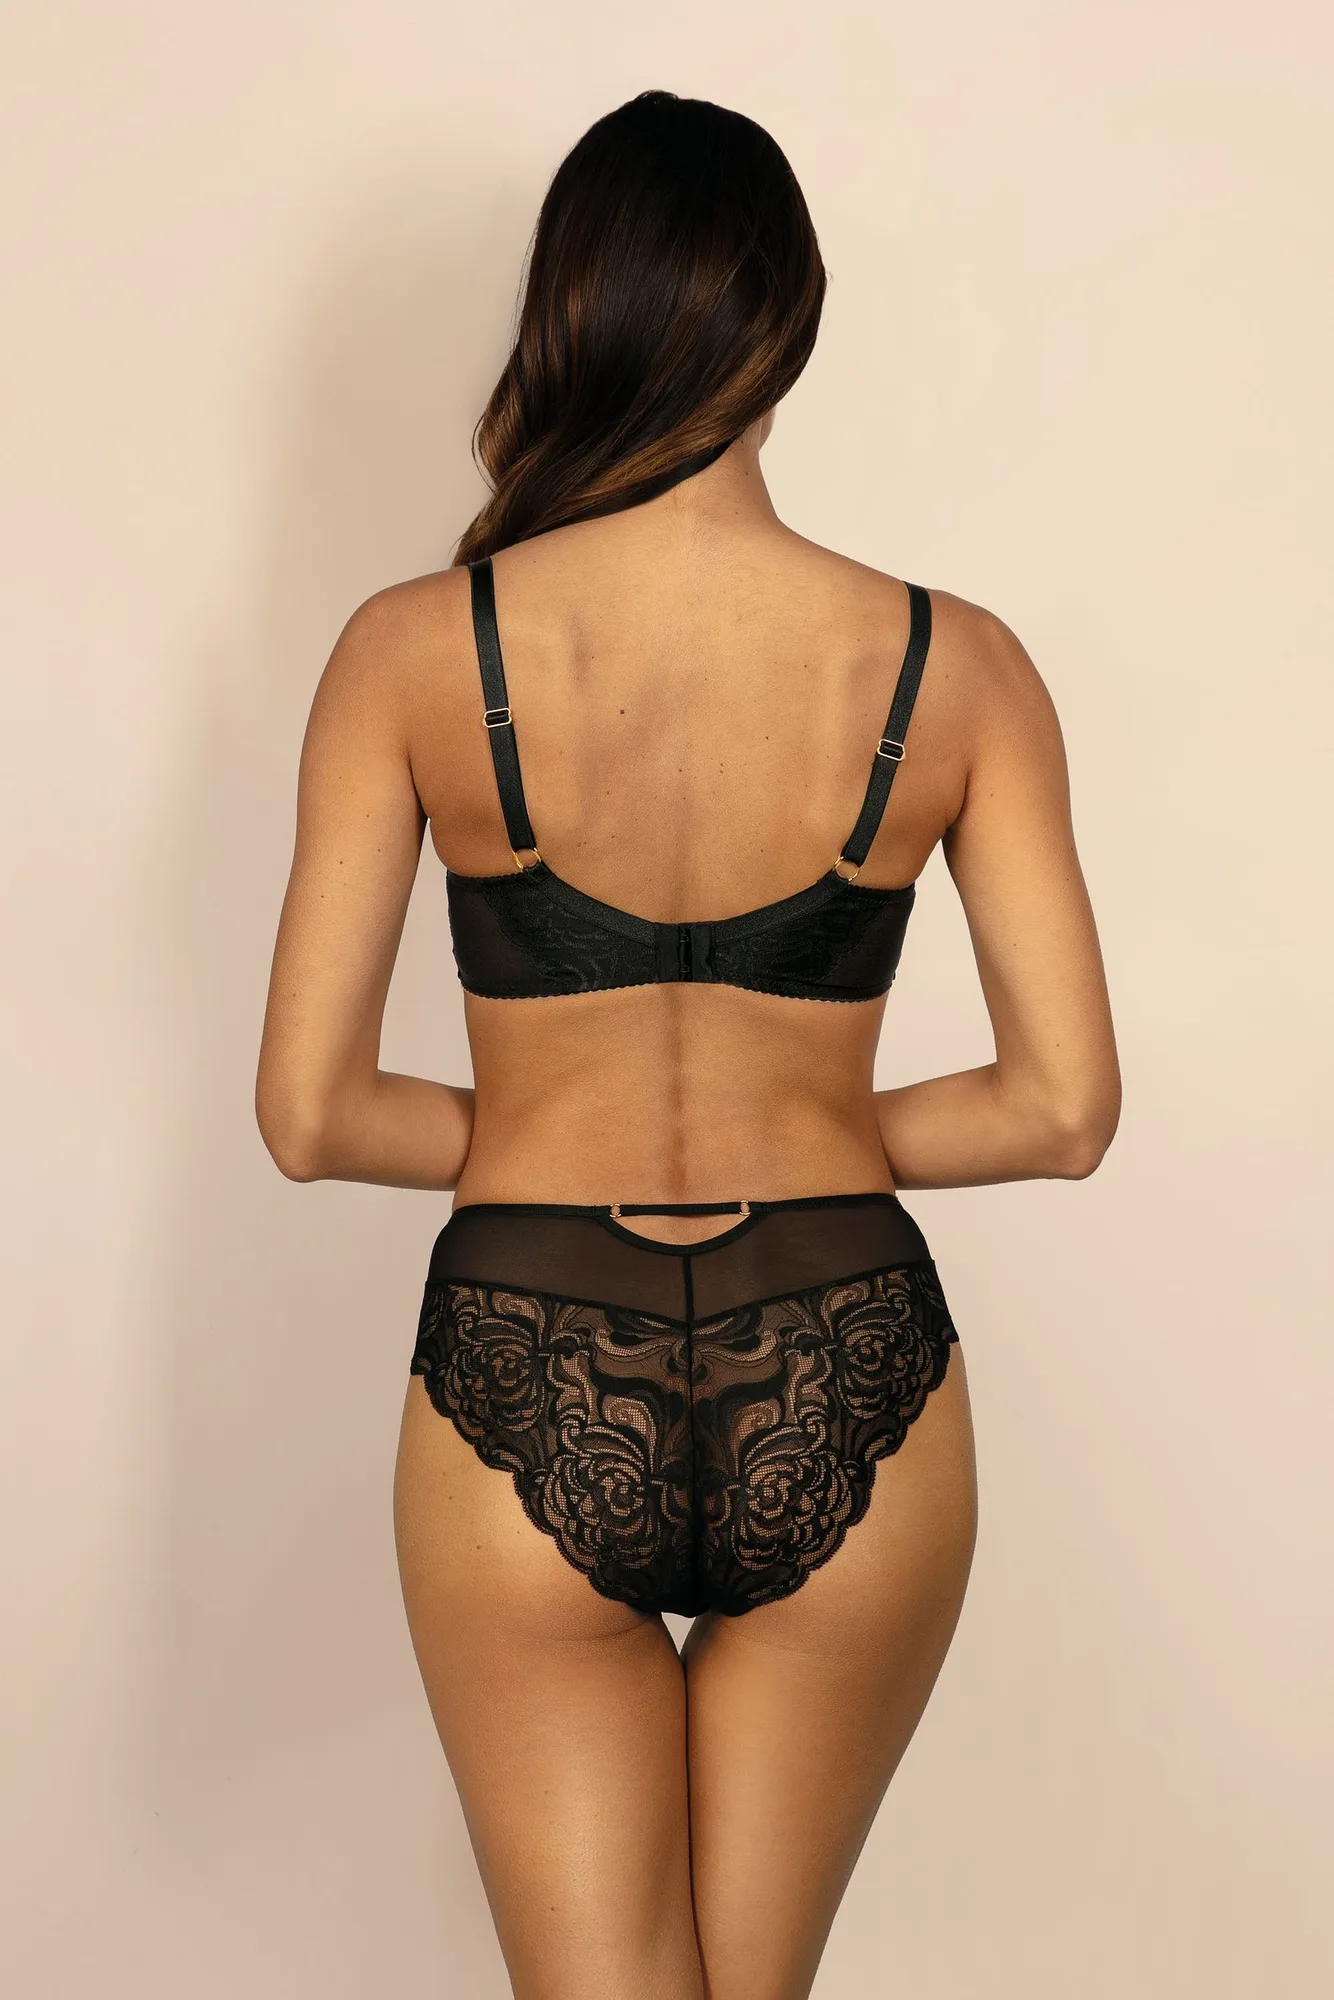
Adjust your balcony bra straps from the back, not the front, to keep the cups in place; then check that each strap allows only one finger to slide underneath for a secure yet comfortable fit.
Why strap adjustment matters for balcony bras
Balcony bras have a lower, wider neckline that shifts more support to the straps than a full-coverage bra would. When the straps are too loose, the cups gap and the band rides up. When they are too tight, the straps dig in and may slip off your shoulders. Getting the tension right keeps the fit supportive and the silhouette clean.
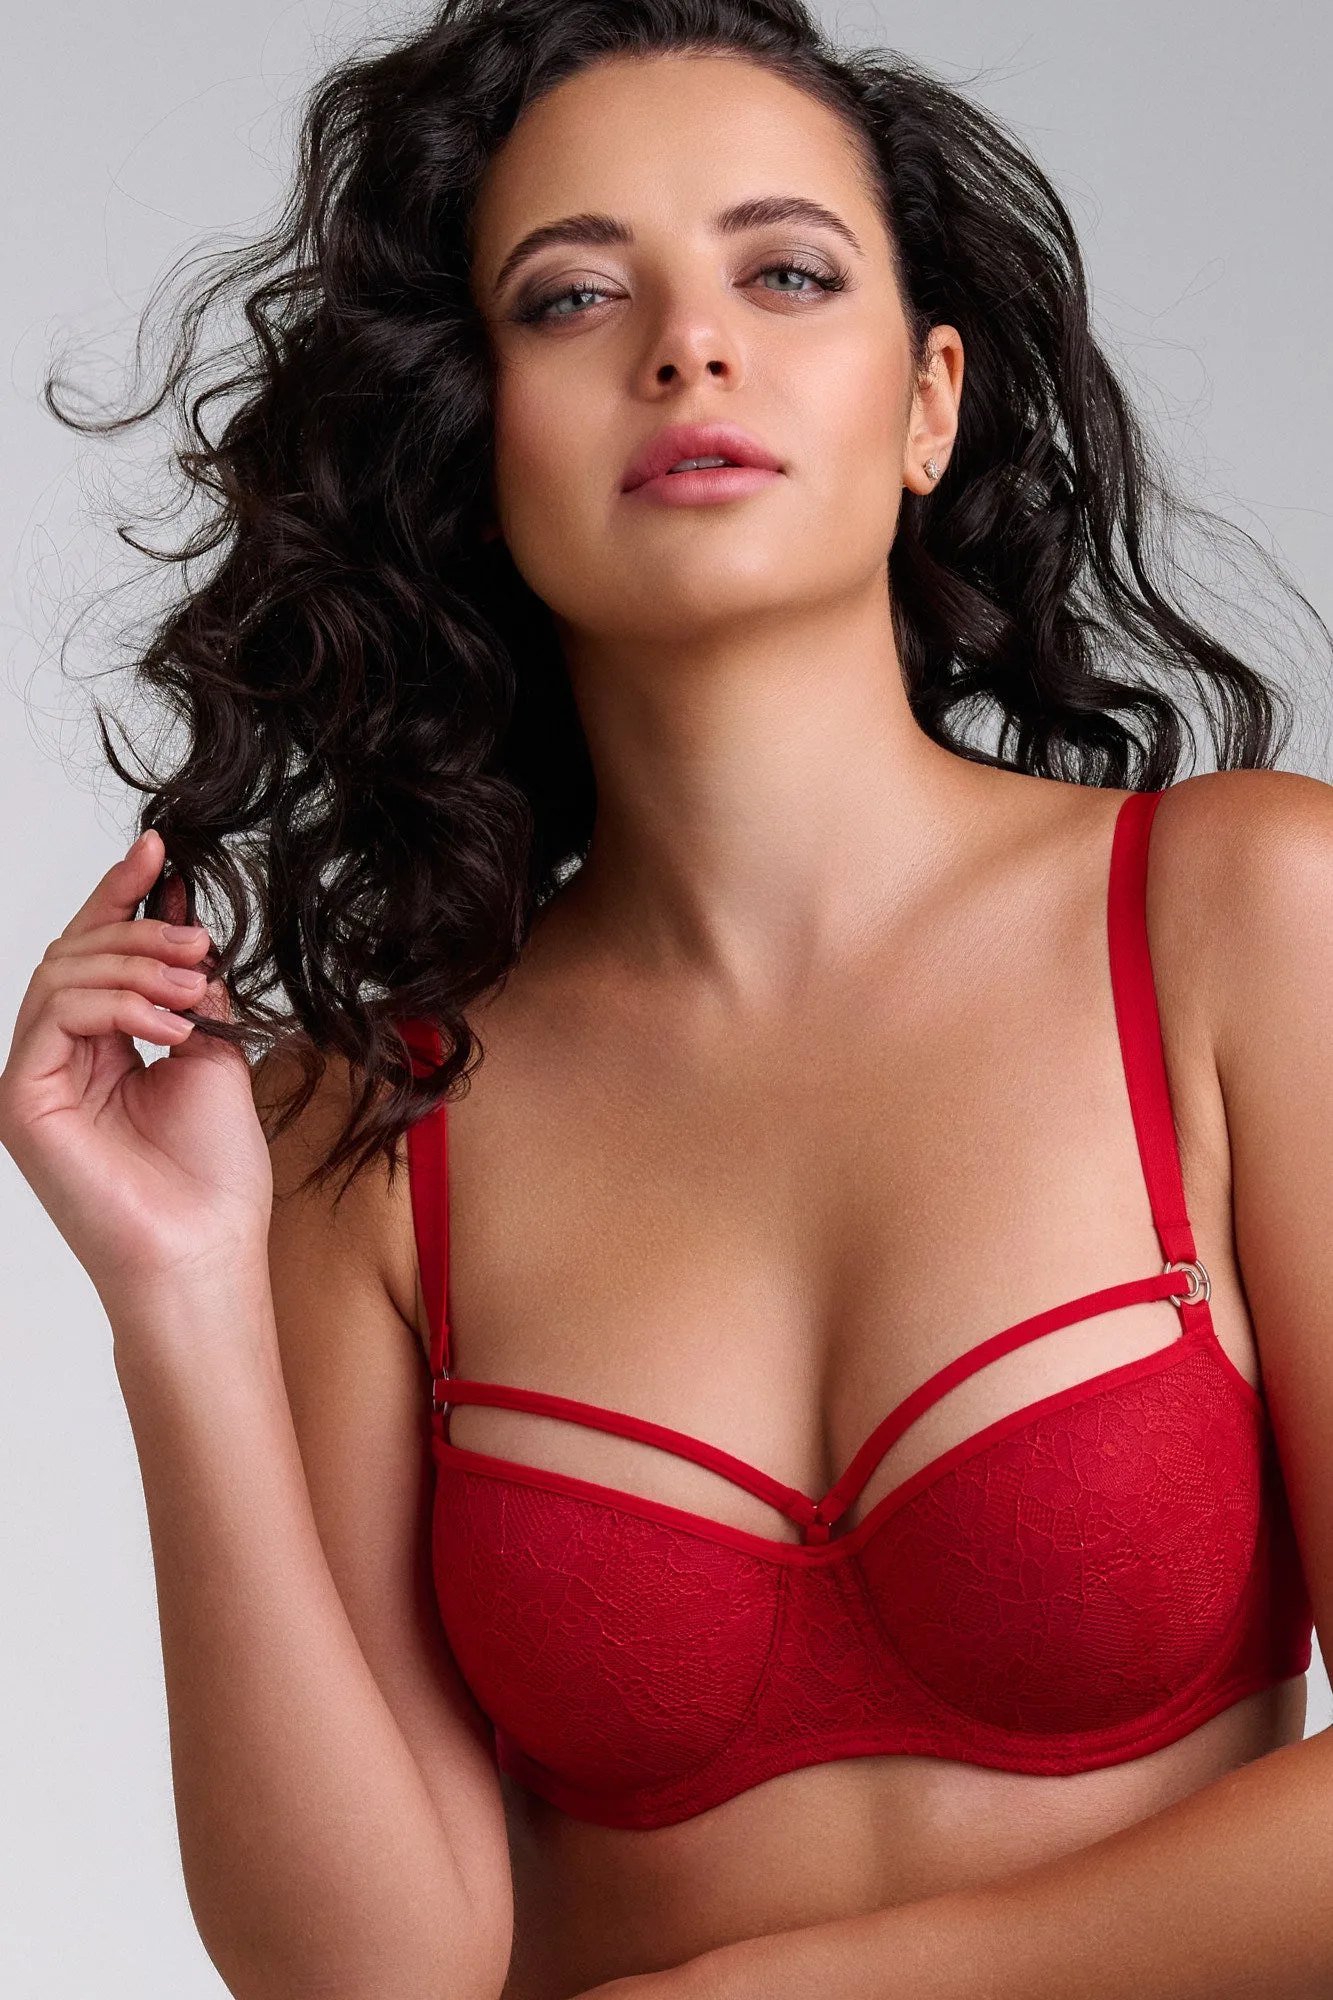
A bra like the Space Odyssey balcony bra from Marlies Dekkers uses graphic straps with decorative hardware. These details mean you need to be extra careful not to twist or over-tighten the straps, which could damage the ornament or cause irritation.
Tools you need
You only need yourself and a mirror. A full-length mirror is ideal because you can see the back of the straps and the band at the same time. If you are adjusting a new bra, first fasten it on the loosest hook – you can tighten later after the elastic has settled.
Step-by-step strap adjustment
- 1. Fasten and center the cups: Put on the bra and fasten it on the loosest hook. Lean forward slightly and scoop all breast tissue into the cups, then stand upright. Center the underwire so it lies flat against your ribcage, not on breast tissue. Common mistake: skipping the scoop-and-swoop. Without it, the cups seem to fit but the straps will feel too loose.
- 2. Adjust each strap from the back slider: Reach behind your shoulder to the slider on the strap (not the front clip, if present). Shorten the strap by pulling the slider upward; lengthen it by pulling the slider downward. Adjust one strap at a time. Checkpoint: the strap should lie flat and not twist between the slider and the cup.
- 3. Test the one-finger rule: Slide one finger under the strap at the top of your shoulder. If the finger fits snugly but can still move, the tension is correct. If you cannot fit a finger, the strap is too tight. If you can fit two fingers, it is too loose. Common mistake: adjusting both straps to the same length without checking each shoulder individually. One shoulder may be higher, so each strap may need a different length.
- 4. Check the band level: Look in the mirror from the side. The back of the band should sit parallel to the floor, not riding up. If the band rides up despite proper strap adjustment, the band itself is too loose – move to a tighter hook or consider a smaller band size. Checkpoint: a lifted band forces the straps to bear too much weight, causing slipping and shoulder pain.
- 5. Wear for 10 minutes and re-evaluate: Move your arms overhead, bend side to side, and sit in a chair. If the straps dig into your shoulders or slip off, repeat steps 2–3 with slight adjustments. Foam pads or silicone grippers on the straps can help if they still slip on narrow shoulders. Common mistake: expecting perfect adjustment on the first try. Elastic relaxes after a few hours of wear, so a re-check after a full day is normal.
Product note
-
balcony bra: This red balconette bra features graphic straps decorated with eye-catching spaceship inspired ornament. The decorative hardware means you should avoid pulling the straps from the front ornament; adjust from the back slider to keep the design intact and prevent discomfort.
balcony bra