Quick answer
To adjust bike brakes, start by checking pad wear and alignment, then set cable tension so the lever engages firmly before the halfway point. For kids bike brake adjustment, make sure small hands can reach and squeeze the lever without over-stretching. Test the brakes at walking speed before letting your child ride.
Brakes are the one system on a kids bike that should never feel vague. If the lever pulls all the way to the grip, the pads rub the rim, or stopping takes more than a few feet, it is time to tune them. You do not need a shop visit for most adjustments.
This guide walks through the same order a mechanic uses: inspect first, set pad position, adjust cable tension, fine-tune lever reach, then test. It applies to common rim brakes and mechanical disc brakes found on kids bikes, including Prevelo models. Work on one brake at a time and keep your child nearby so you can check lever reach against their hands.
Inspect pads and braking surface before you turn any barrel adjuster
Most brake problems are not caused by cable stretch alone. Worn pads, a contaminated rim, or a bent brake arm will make any adjustment feel wrong. Squeeze the lever and look at how much pad material remains. If the pad is thinner than about 2 mm or the wear line is gone, replace the pads before adjusting anything.
Check the braking surface too. Rim brake tracks should be clean and free of deep grooves. Disc rotors should be straight and free of oil. If you see black residue on a rim or a shiny, greasy rotor, clean it with isopropyl alcohol and a clean rag, then re-test. Adjusting dirty brakes just hides the real problem.
- Common mistake: adjusting cable tension to compensate for worn pads. That pulls the lever feel tight but leaves less material for actual stopping.
Set pad alignment so the brake contacts the rim or rotor squarely
For rim brakes, loosen the pad mounting bolt just enough to move the pad by hand. Set it so the pad hits the rim flat, with a slight forward angle called toe-in. The front edge should contact a hair before the rear edge. That reduces squeal and gives smoother modulation, which matters on small wheels.
For mechanical disc brakes, loosen the caliper mounting bolts and squeeze the lever firmly while re-tightening. This centers the caliper over the rotor. Then check that the pads are parallel to the rotor and that the wheel spins without rubbing. If the rotor is bent, straighten it with a rotor tool or replace it rather than forcing the caliper to compensate.
- Checkpoint: spin the wheel. It should turn freely with no metallic ping or constant rub. A pad that touches the rim or rotor when the lever is released will drag and wear out fast.
Adjust cable tension for a firm lever that engages early
Turn the barrel adjuster at the lever or caliper clockwise to increase tension if the lever feels loose. You want the brake to start engaging after about one-third of the lever travel, not at the grip. If the lever still bottoms out after a few turns, the cable may be stretched or the pads may be too worn to adjust out.
When you have the feel right, lock the barrel adjuster and check that the cable end is capped. A frayed cable can snag clothing or skin. If the brake has a quick-release, make sure it is fully closed. On kids bikes, a loose quick-release is a common cause of sudden brake failure.
- Common mistake: over-tightening the cable so the pads rub constantly. That creates drag, heat, and premature wear. Aim for a small gap between pad and rim or rotor when the lever is released.
Fine-tune lever reach for small hands
Kids bike brake adjustment is not just about stopping power; it is about reach. Many kids bikes have a reach adjustment screw on the lever. Turn it so the lever sits closer to the grip, letting your child wrap their fingers around it comfortably. They should be able to pull the lever to a firm stop without their knuckles hitting the bar.
Have your child squeeze the lever while you watch. If their hand slips or they cannot reach the lever from their normal riding position, move the lever inward on the handlebar or adjust reach. A brake they cannot comfortably reach is a brake they will not use in an emergency.
- Checkpoint: with the bike stationary, your child should be able to apply full braking force with two fingers while keeping the other fingers on the grip.
Test the brakes at walking speed before every ride
After any adjustment, lift the wheel and spin it to confirm no rub. Then take the bike to a safe, flat area and walk beside it while squeezing the brake. The bike should stop smoothly without grabbing or pulling to one side. Repeat a few times, then have your child ride slowly and brake in a straight line.
Brake safety depends on routine checks, not one perfect tune. Before each ride, squeeze both levers and look at the pads. If the lever feels spongy, the pads look thin, or you hear grinding, stop and fix it. A two-minute check prevents most brake surprises on the trail or in the driveway.
- Common mistake: test-riding without checking that the wheel is properly seated and the quick-release is tight. A loose wheel can feel like a brake problem and cause a crash.
Brake adjustment steps at a glance
- Inspect pads and surfaces: Check pad thickness, wear lines, and rim or rotor condition. Clean contaminated surfaces with isopropyl alcohol. Replace pads thinner than 2 mm before adjusting cable tension.
- Align pads to the braking surface: Set rim pads flat with slight toe-in, or center the disc caliper by squeezing the lever while tightening the mounting bolts. Spin the wheel: it should turn freely with no rub.
- Set cable tension: Turn the barrel adjuster so the brake engages after about one-third of lever travel. Cap any frayed cable ends. The lever should not reach the grip even under hard squeezing.
- Adjust lever reach for small hands: Use the reach screw or reposition the lever so your child can apply full braking force with two fingers. If they cannot reach it comfortably, they cannot use it in an emergency.
- Test at walking speed: Walk beside the bike and brake repeatedly. Then have your child ride slowly and brake in a straight line. A spongy lever or grinding sound means stop and re-check before riding.
Parts and tools that help with brake maintenance
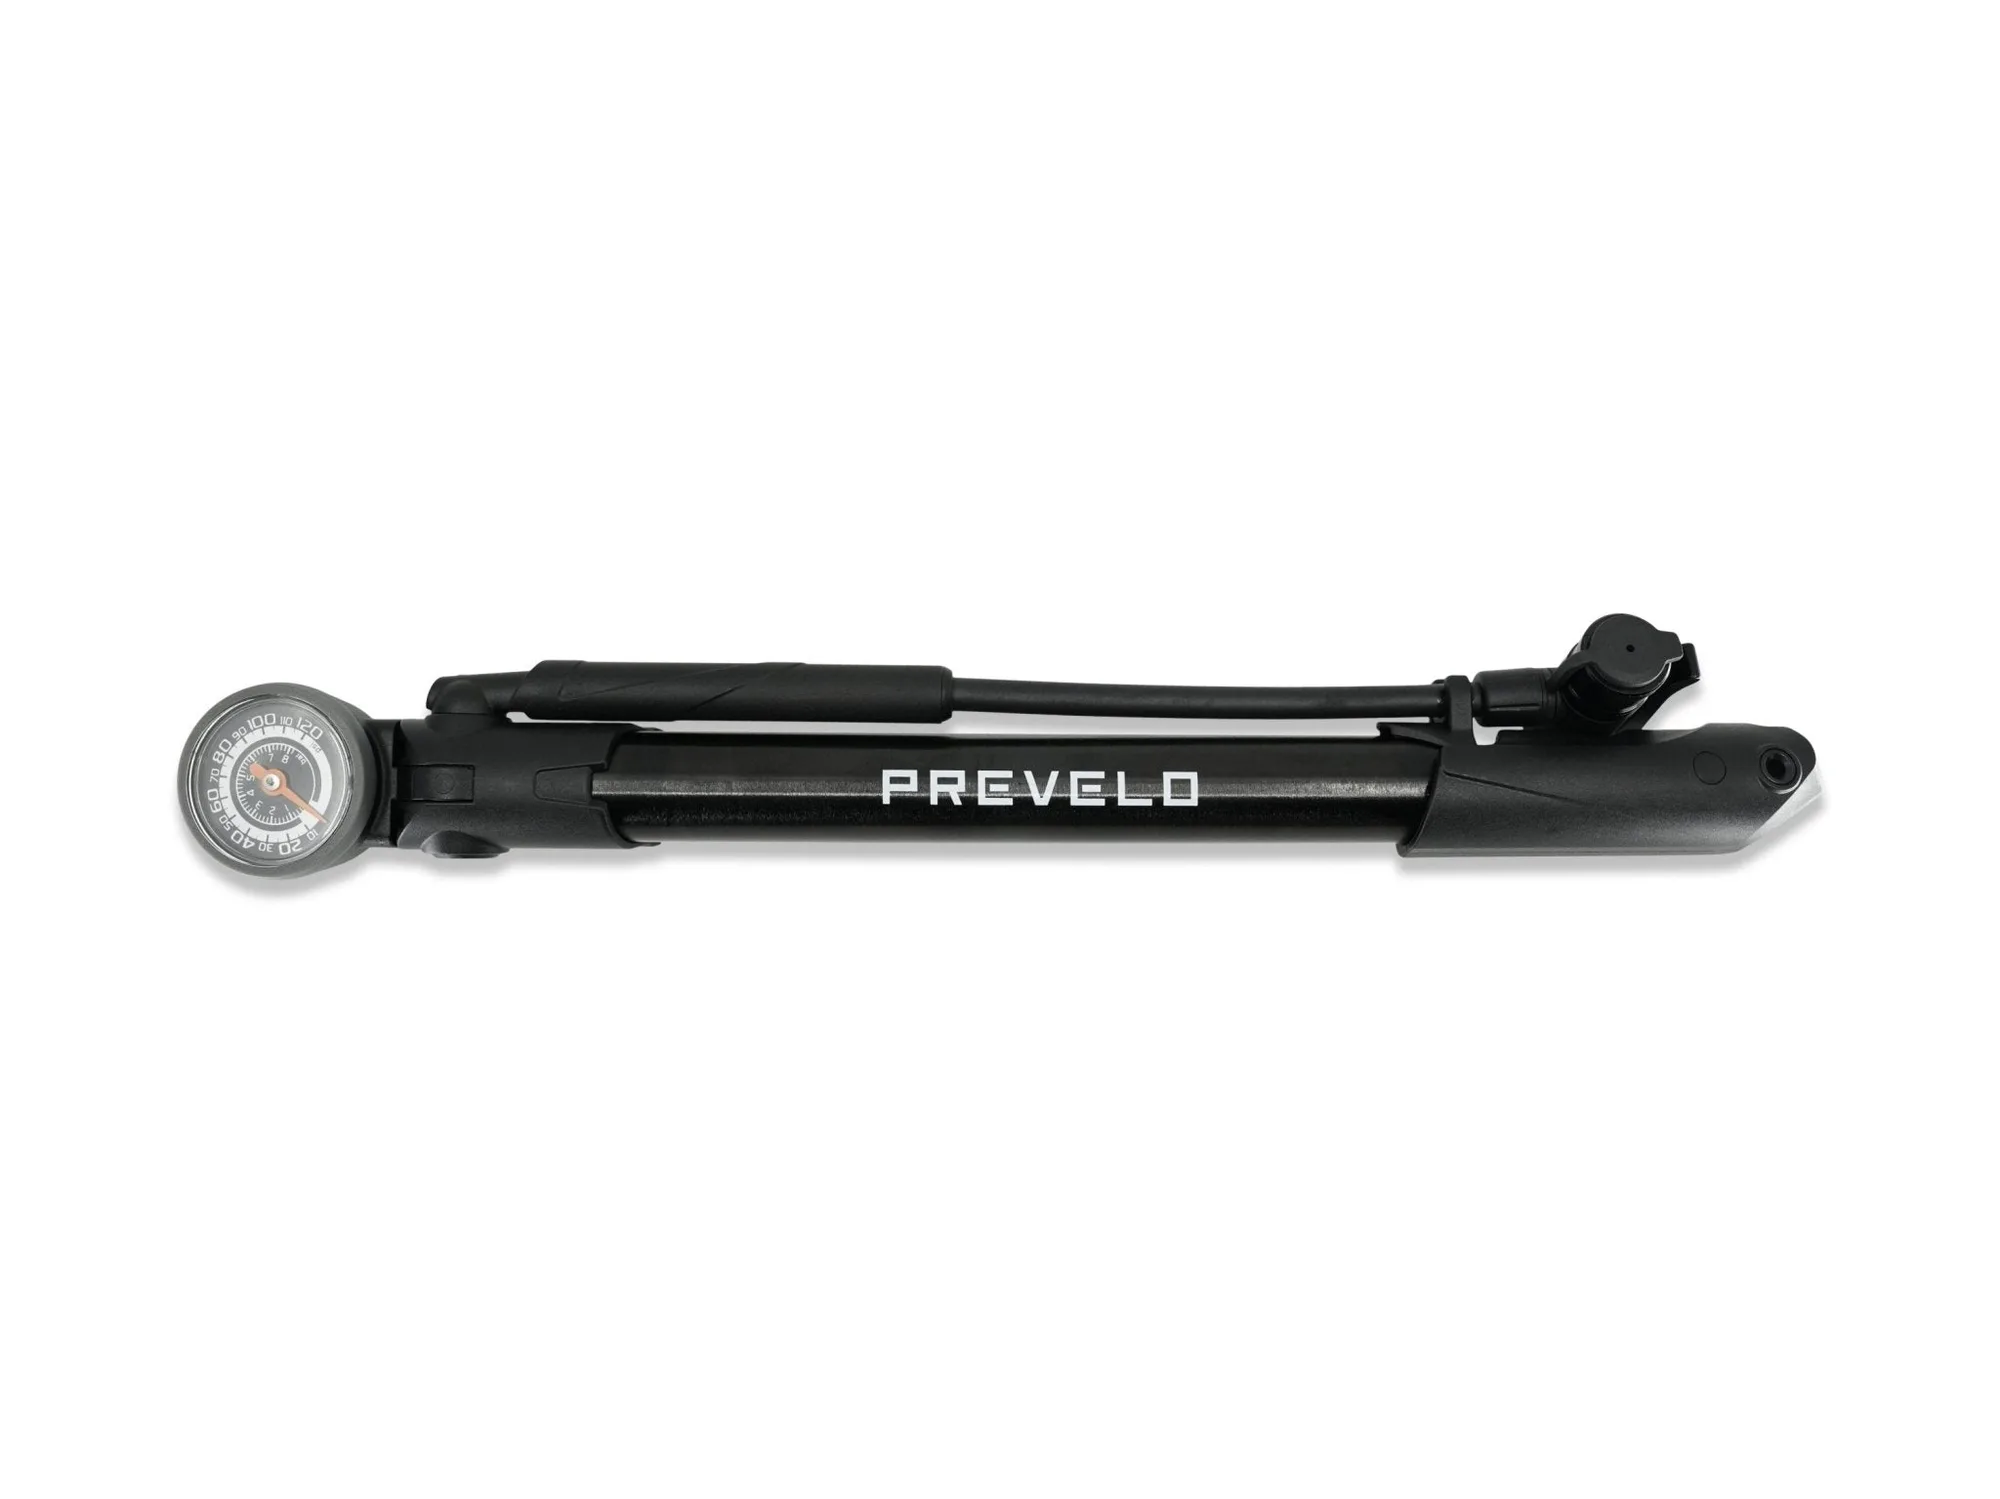
- Air Sender Bike Pump: This versatile pump functions seamlessly as both a hand pump and a floor pump, with a built-in pressure gauge and foldable foot lever. It weighs just 198 grams. Correct tire pressure supports consistent braking grip. A pump that converts from floor to hand mode is useful for home tuning and trailside checks.
- Prevelo Rider's License: Customized with your rider's name and picture, full color, dual side, dye sub printed on plastic. Card dimensions: 3.375" x 2.125". A fun way to recognize a young rider who has learned to check brakes and ride safely, reinforcing good habits without turning maintenance into a chore.
Brake adjustment is a skill worth repeating every few weeks, especially on kids bikes that see hard use. Work through inspection, pad alignment, cable tension, lever reach, and testing in that order. If you find a bent rotor, a cracked lever, or a cable that will not hold tension, replace the part rather than adjusting around it. Safe stopping power comes from small, regular checks.