Quick answer
Aim an angled in-ceiling speaker so its face points at the main listening position, not straight down at the floor. In a typical room, that means placing the speaker slightly behind or beside the seat and rotating the angled baffle toward the listener. Check the result with a mono test tone before you cut or tighten anything.
Why the angle matters more than the hole position
A ceiling speaker radiates most of its energy along the axis of its baffle. When that axis points at a wall or the floor in front of the couch, the direct sound arrives late and off-axis, and the surround effect smears into the room. An angled baffle lets you keep the cutout in a practical ceiling location while steering the acoustic center toward the seats.
That is the core of angled in-ceiling speaker placement: you are solving two problems at once, structural position and acoustic aim. The cutout has to miss joists, ducts, and recessed lights. The aim has to land on the listening area. An angled model gives you room to satisfy both.
Map the listening zone before you choose a cutout
Mark the primary seat and the edges of the main couch on the floor, then transfer those points to the ceiling with a plumb line or laser. For a 5.1 or 7.1 layout, surround speakers belong to the sides and slightly behind the main seat, not directly overhead. For Atmos, the overhead pair sits roughly above and slightly forward of the seat, depending on your processor's layout guide.
Keep the angled face oriented toward the middle of that zone rather than toward a single chair. If two people share the couch, split the difference so neither listener sits far off-axis.
Choose angled or straight per position
Angled vs straight ceiling speaker is not a brand question; it is a geometry question. Positions that sit close to a wall or well off to the side usually benefit from an angle because the driver can still point at the seats. Positions almost directly above the listening area often work fine with a straight driver, and a straight model can be easier to aim consistently across a wide couch.
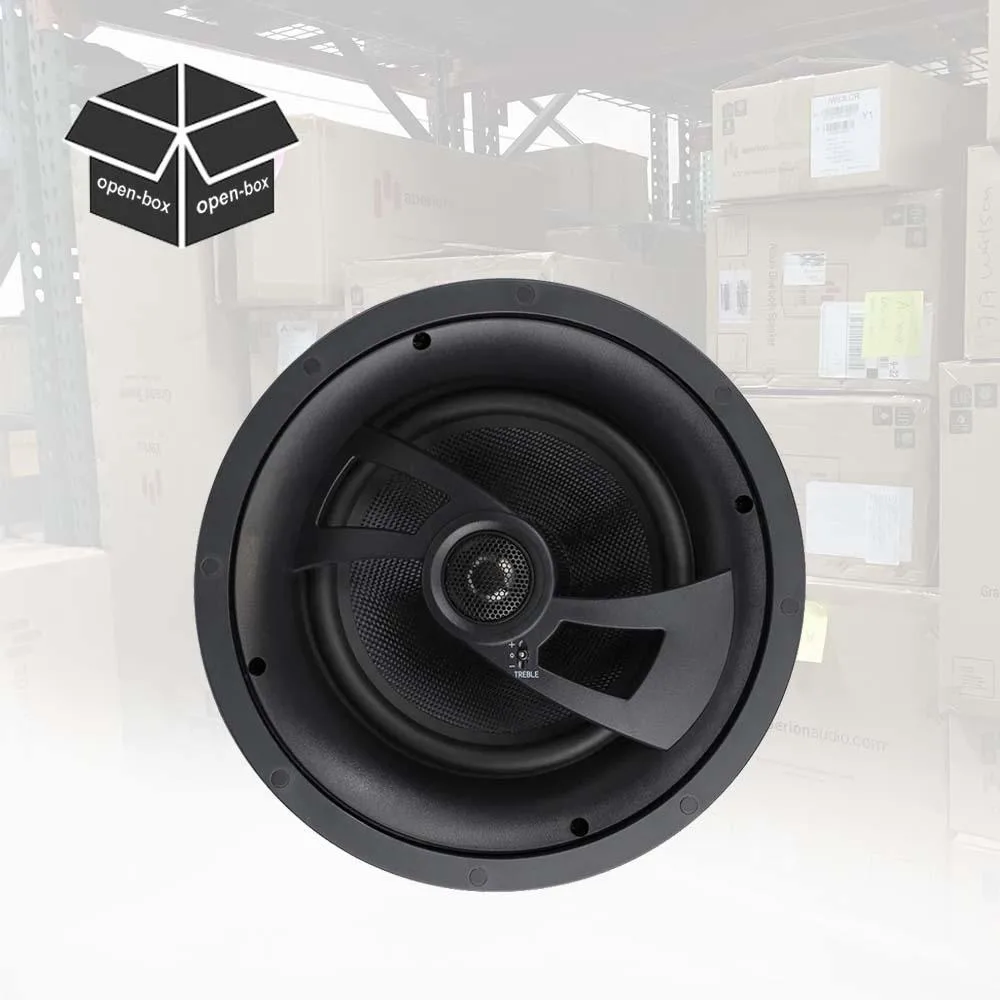
A practical hybrid is common: angled speakers for side surrounds and rear positions, straight or slightly angled models for the overhead Atmos pair. The Clearus C6C is an angled 2-way in-ceiling design, so it suits the positions where you need to steer sound inward.
Match the speaker to the rest of the system
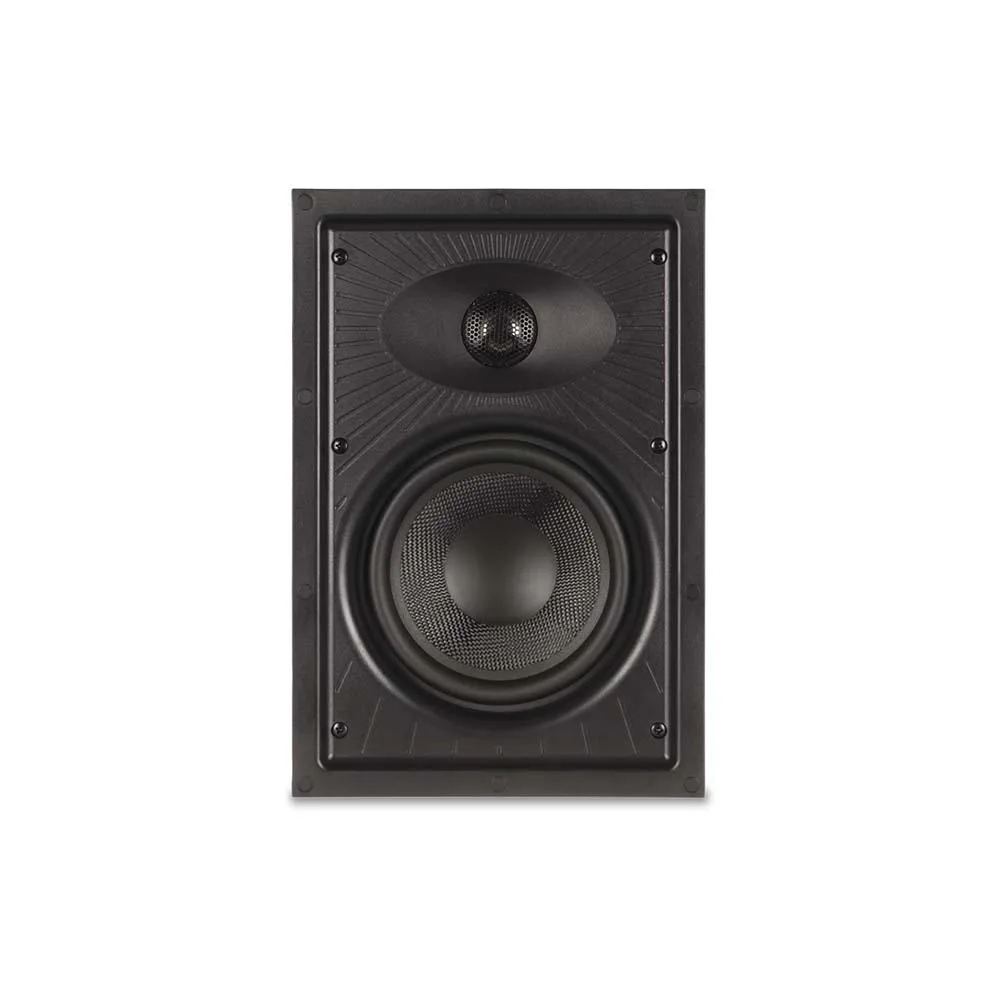
Aim only fixes direction; it does not fix tonal mismatch. Keep ceiling speakers in the same family as your bed-layer speakers where possible. Aperion notes that the Clearus C6W in-wall is acoustically aligned with the C6C and C8C in-ceiling models, which gives you the option to mix sizes across a room without a voicing jump at the surround positions.
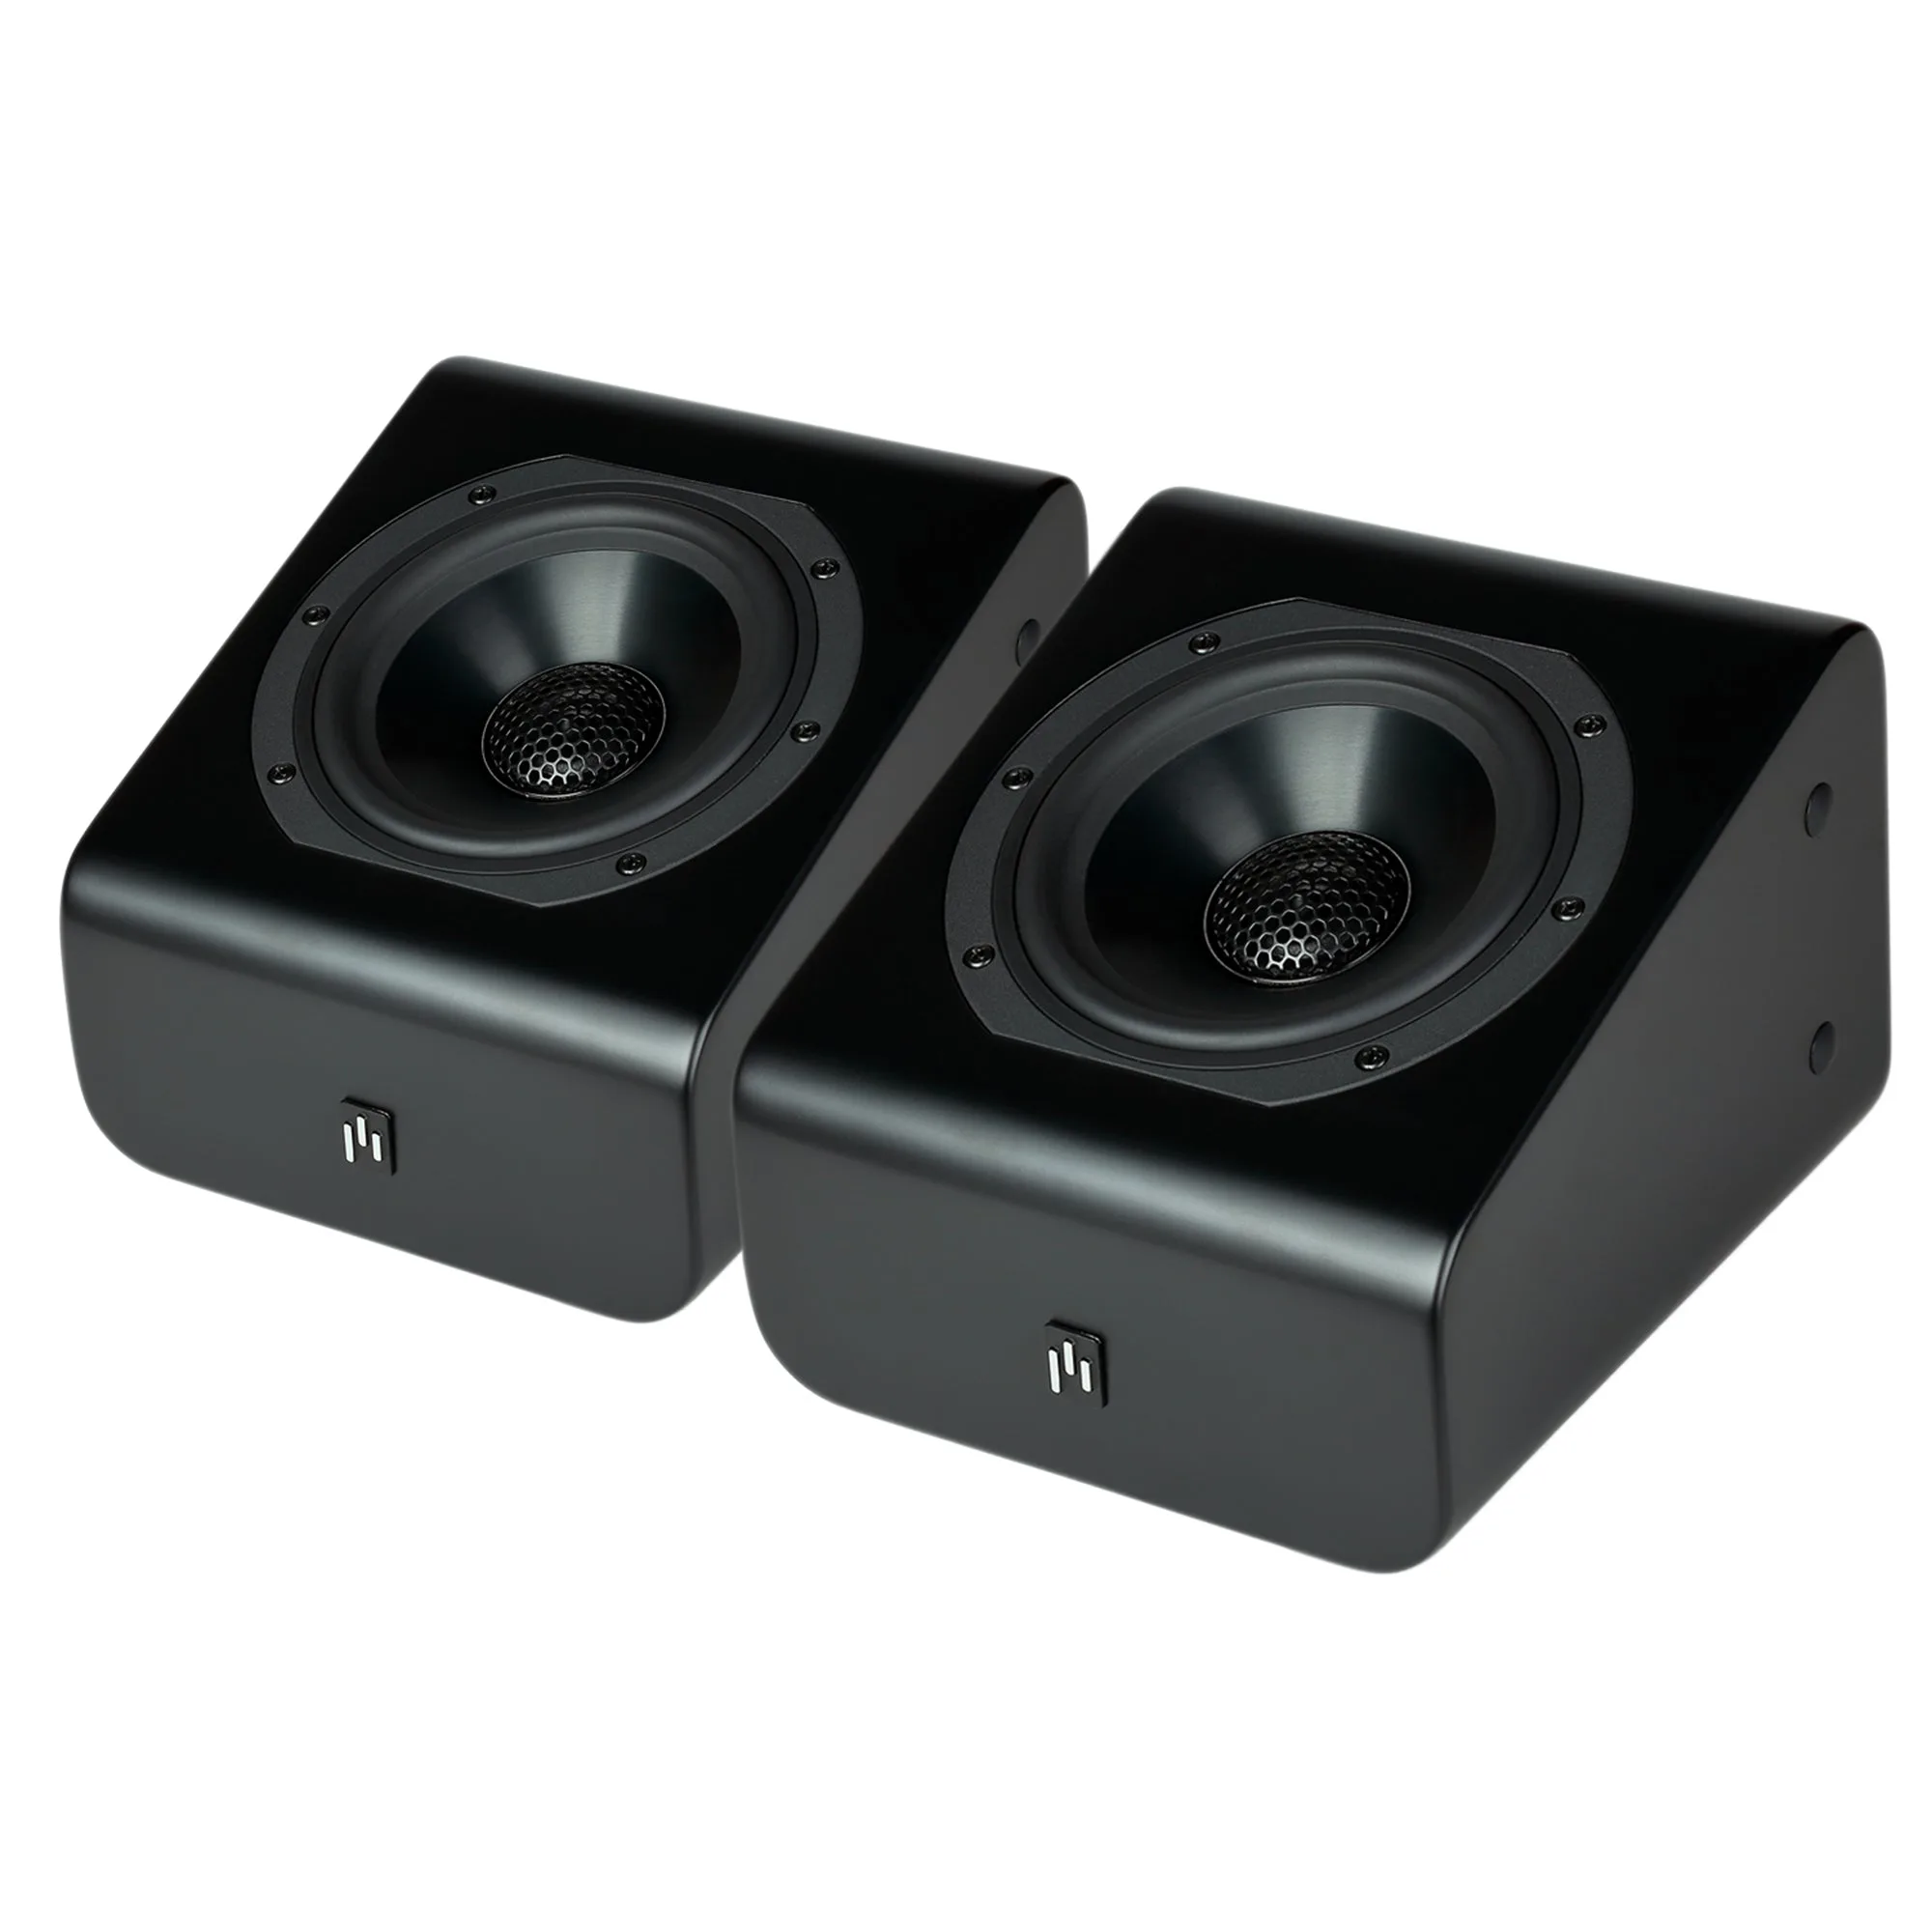
If you are building a 3D audio layer, the A5 Atmos height module is a different tool: it is designed as a reflective or height module rather than an angled in-ceiling driver, so use it where the mounting plan calls for an upward-firing or height-mounted speaker rather than a ceiling cutout.
Step-by-step ceiling speaker aiming process
- Set the reference seat and listening zone: Mark the main seat and the width of the couch on the floor, then project those marks to the ceiling. Use the center of that zone, not one chair, as your aiming target. Checkpoint: the target should sit at seated ear height, roughly 36 to 42 inches above the floor.
- Confirm the cutout clears structure: Probe the ceiling for joists, ducts, and recessed fixtures before marking the hole. Shift the cutout rather than forcing it, and keep the angled face oriented toward the listening zone. Common mistake: cutting first and discovering a joist after the baffle is in hand.
- Dry-fit and rotate the angled baffle: With the speaker unpowered, set it in the cutout and rotate the angled face until it points at the center of the listening zone. Mark the orientation on the ceiling so you can repeat it after wiring. Checkpoint: the tweeter axis should cross the seat, not the wall behind it.
- Wire, mount, and set levels: Connect the speaker, secure it, and run a mono pink-noise or test tone through the surround channel. Set the channel level with a meter or the receiver's calibration routine before judging the aim. Common mistake: judging aim by ear at a different volume than the calibrated level.
- Listen off-axis and adjust in small steps: Sit at the edge of the couch and at the main seat. If the near listener gets too much direct energy, rotate the baffle a few degrees toward the room center and recheck. Checkpoint: both ends of the couch should hear the effect, not just the middle seat.
- Verify phase and blend with the bed layer: Play a familiar surround scene and confirm effects move smoothly from the front stage to the ceiling or surround positions. If the transition collapses, recheck polarity and the aim angle before changing placement. Next step: if the ceiling position still cannot aim at the seats, consider a height module instead of a deeper cutout.
Product facts that affect aiming
- Clearus C6C Angled 6.5" 2-Way In-Ceiling Speaker Single (Open Box): The Clearus C6C is a 6.5-inch angled 2-way in-ceiling speaker, offered here as a single open-box unit. A single angled unit is useful for filling one surround or Atmos position where the cutout cannot sit directly over the seat.
- Clearus C6W 2-Way 6.5" In-Wall Speaker: The Clearus C6W is a 2-way 6.5-inch in-wall speaker that Aperion says is acoustically aligned with the C6C and C8C in-ceiling speakers. If your side surround has to go in the wall instead of the ceiling, this alignment keeps the surround layer closer in voicing to the ceiling speakers.
- A5 Atmos 5.25" Immersive Reflective/Height Module Speaker Pair: The A5 Atmos height module is described as a reflective/height module speaker pair with multiple mounting options. It solves the overhead effect without a ceiling cutout, so compare it against an angled in-ceiling plan before you commit to drywall work.