Quick Answer
To apply 3D charms that stay put, work on fully cured polish, use a wax pen for precise placement, and seal each charm with a thick layer of no-smudge top coat that wraps around the edges. Avoid touching the charm after sealing and let it dry completely before using your hands.
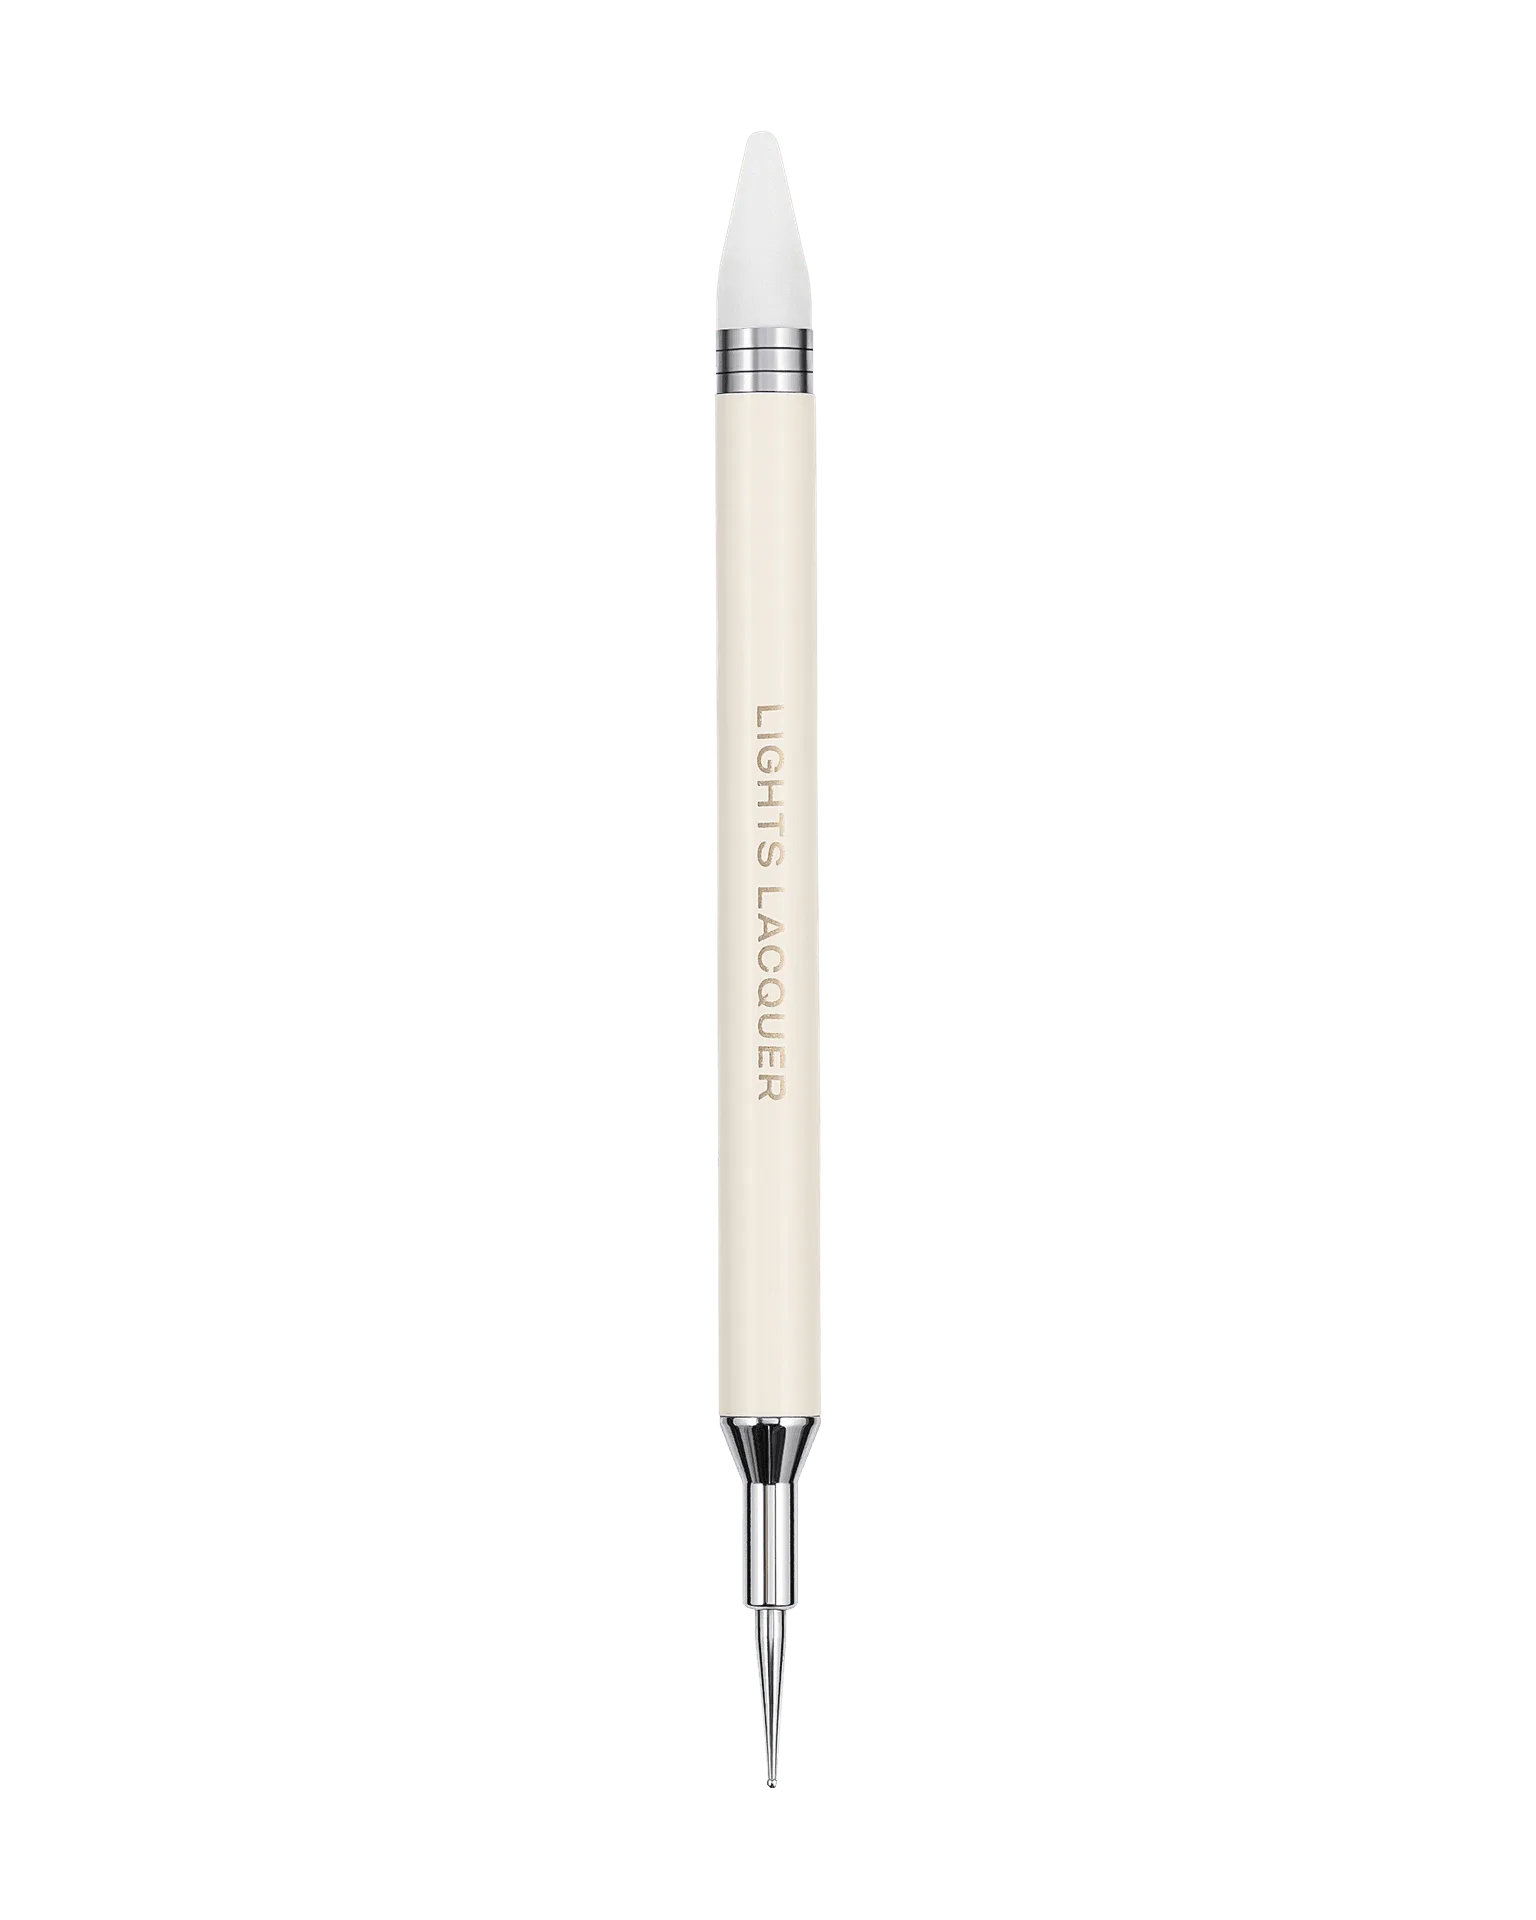
wax pen
Prep Your Nails and Gather Your Tools
Start with clean, dry nails. Push back cuticles and lightly buff the surface to remove shine, then wipe with alcohol to eliminate oils. This gives the polish and charms a better grip. Have your charms, a wax pen, tweezers, and a no-smudge top coat within reach before you begin.
Apply a Base Color and Let It Cure Fully
Paint your nails with your chosen base color and let it dry completely. If you're using gel, cure it under a lamp. A tacky or wet base will cause charms to slide and may smudge your design. Waiting until the polish is fully set is the first checkpoint for a long-lasting charm manicure.
Place Charms with a Wax Pen for Precision
Use a wax pen to pick up small charms and place them exactly where you want them. The tacky tip holds the charm securely without you touching it, which prevents oils from your fingers weakening the adhesive bond. For larger or irregular charms, use tweezers instead. Work one nail at a time so you can adjust placement before sealing.
Seal Charms with a No-Smudge Top Coat
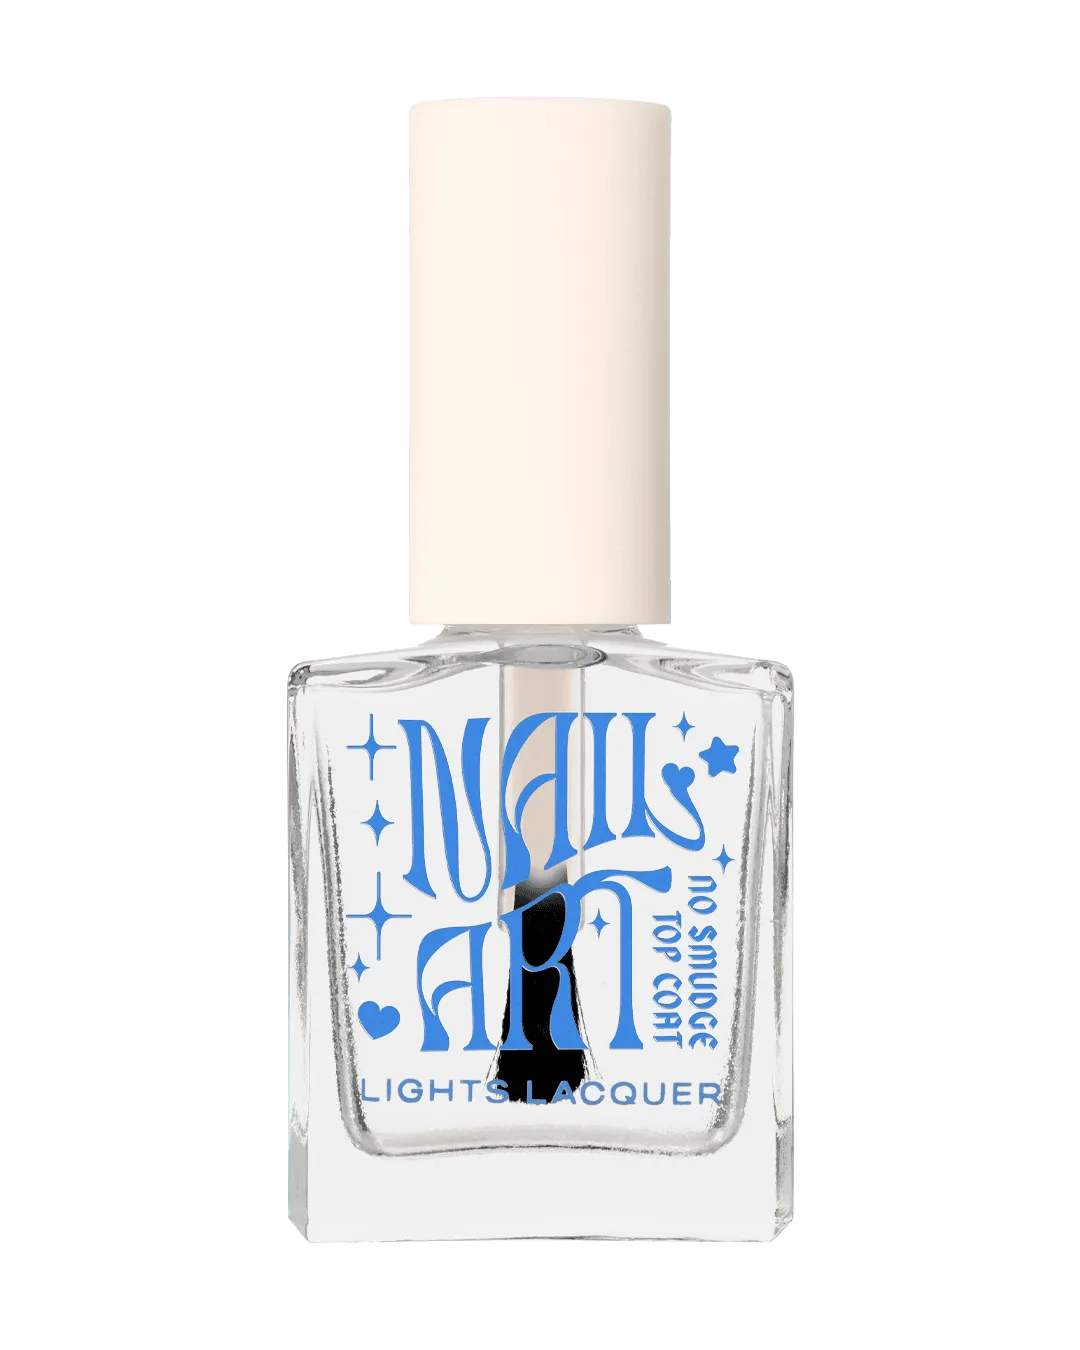
Apply a generous layer of no-smudge top coat over the entire nail, making sure to wrap the brush around the edges of each charm. This locks the charm in place and prevents snagging. A self-leveling formula like Lights Lacquer's Nail Art No Smudge Top Coat smooths over the charm without disturbing your design. Let it dry completely before moving on.
Avoid Common Mistakes That Loosen Charms
Don't press charms into wet polish—they'll sink and shift. Don't use too little top coat; the charm needs a full seal around its base. And don't rush the drying time. If a charm does come loose, remove it, clean the area, and reapply with fresh top coat.
Step-by-Step: How to Apply 3D Charms That Stay Put
- Prep the nail surface: Buff, cleanse, and dehydrate the nail plate so polish and charms adhere properly. Checkpoint: Nails should be matte and free of oils before you start.
- Apply and fully cure base color: Paint a thin, even layer of polish and let it dry completely. For gel, cure according to the lamp instructions. Mistake to avoid: Don't proceed while the polish is still tacky.
- Pick up charms with a wax pen: Use the wax pen to lift each charm and place it on the nail. Adjust position with the tip before releasing. Checkpoint: The charm should sit flat and not slide when nudged gently.
- Seal with no-smudge top coat: Apply a thick layer of top coat over the charm and wrap the edges. Avoid flooding the cuticle. Mistake to avoid: Using too little top coat leaves edges exposed and prone to snagging.
- Let it dry completely: Allow 10–15 minutes for regular top coat, or cure if using gel. Avoid touching or washing hands during this time. Checkpoint: The surface should feel hard and smooth before you use your hands normally.
Products That Make Charm Application Easier
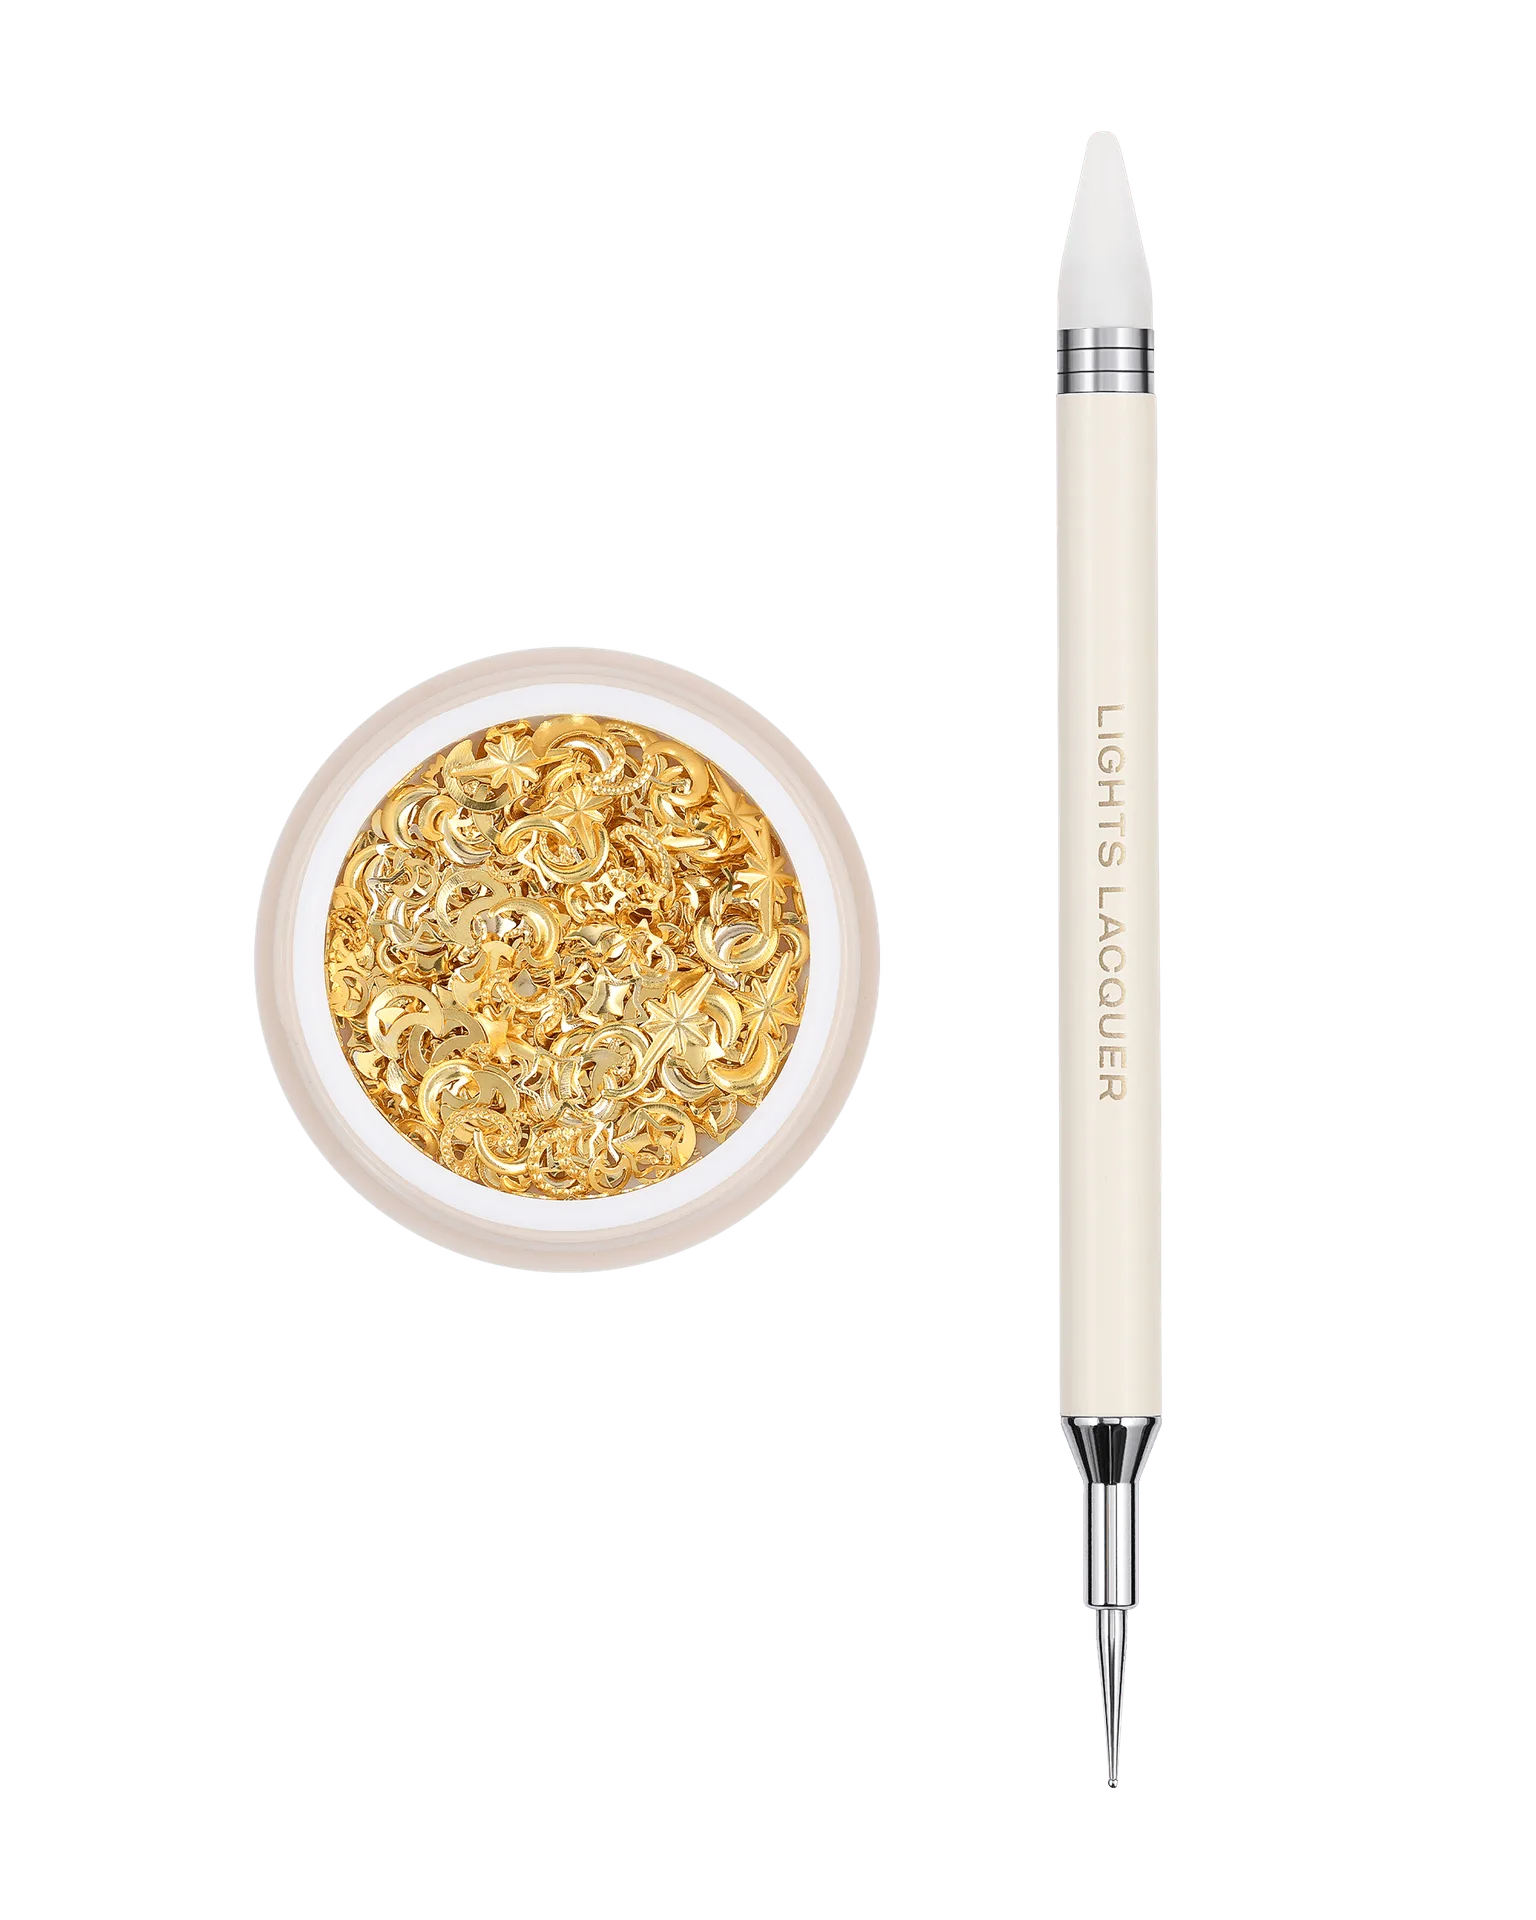
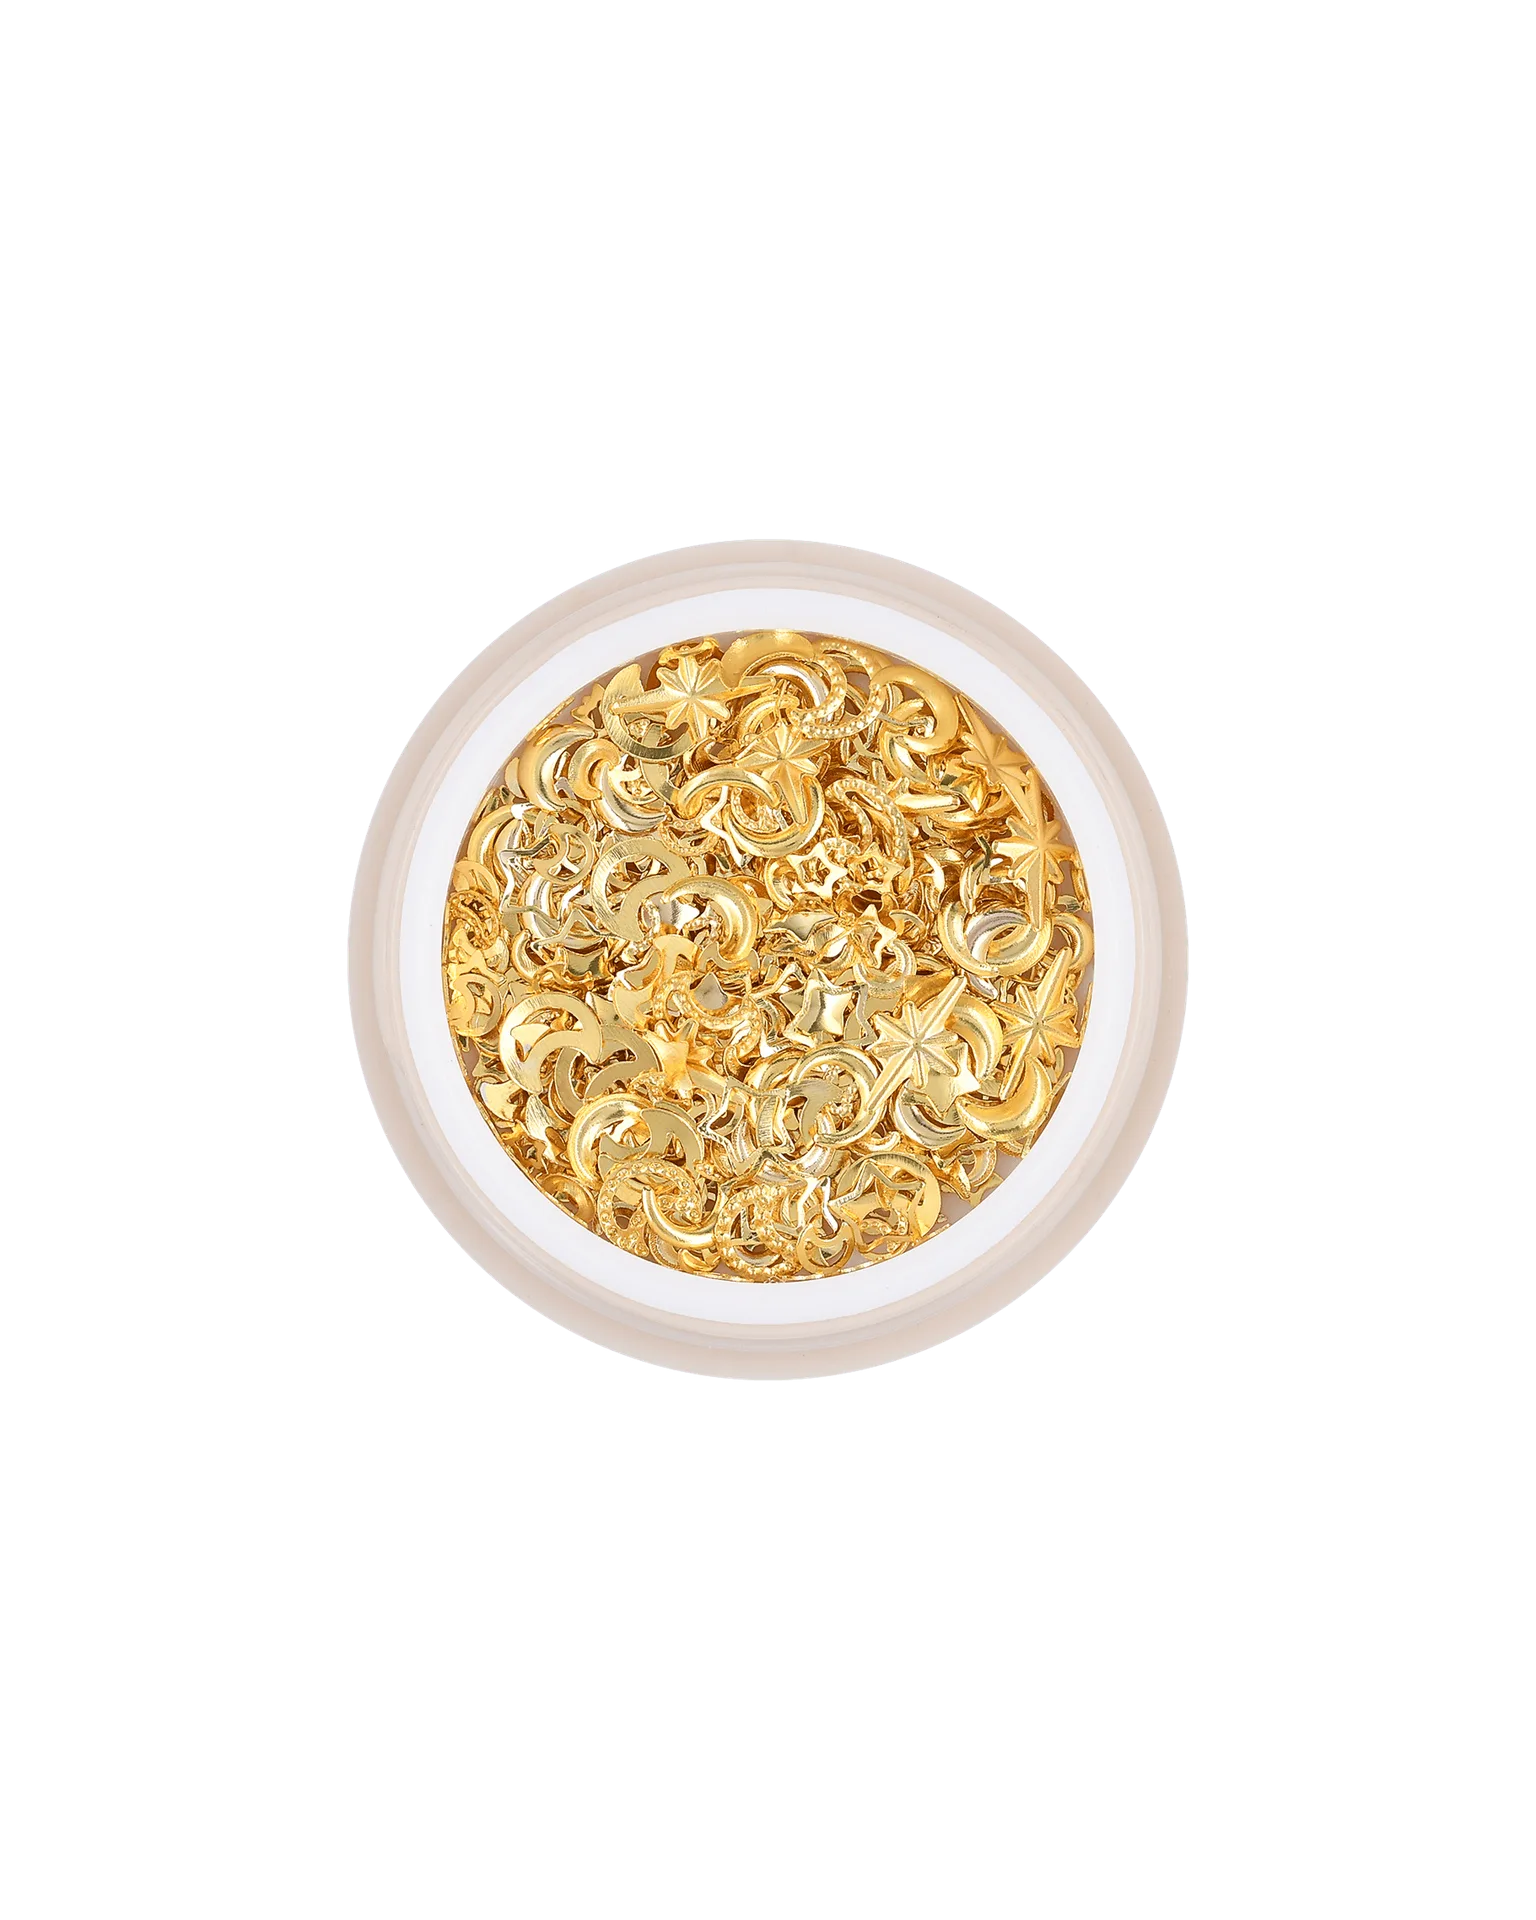
- Gold Celestial Charms + Wax Pen Duo: Gold Celestial Charms + Wax Pen Duo includes a collection of gold celestial charms and a wax pen for precise placement. The wax pen lets you pick up and position small charms without touching them, which keeps the adhesive bond strong and your design clean.
- 3D Pearl Coquette Charms: 3D Pearl Coquette Charms come in a 400-piece pack with assorted sizes, including white pearls, heart-shaped gems, delicate bows, and beaded heart outlines. Having a variety of sizes and shapes lets you create detailed, coquette-style designs and experiment with different placements without running out.
- Nail Art No Smudge Top Coat: Nail Art No Smudge Top Coat is a smudge-proof, non-yellowing, self-leveling top coat that seals intricate designs without smudging. It protects your charm placement and smooths over uneven surfaces, so charms stay put and your manicure looks polished.