Quick answer
To apply an applique or patch to a bag or pouch, first stabilize the fabric, then position the patch and secure it with a fusible web or a few hand stitches before finishing the edges with a machine or hand stitch. This keeps the patch from shifting and gives you a clean, durable result that survives daily use.
Choose the right patch and placement
Not all patches suit all bags. A heavy leather patch on a lightweight quilting cotton pouch will pull and distort the fabric, while a thin fusible patch on a structured canvas tote may peel at the corners. Match the patch weight to the bag material: lightweight woven patches for cotton and linen pouches, and sturdier embroidered or leather patches for canvas, denim, or cork bags.
Placement matters as much as technique. Before you fuse or stitch anything, pin the patch in place and step back. On a tote, a patch centered between the handles or aligned with the bottom edge looks intentional; on a small pouch, offset the patch slightly rather than centering it, which can make the pouch look like it has a target on it. Avoid placing patches over seams, zipper openings, or areas that flex constantly, such as the hinge of a flap.
Stabilize before you stitch
The biggest cause of puckered or wavy appliques is missing stabilizer. Bags and pouches are often made from fabric that has already been interfaced, but that doesn't mean it can support dense stitching. Add a piece of tear-away or cut-away stabilizer behind the patch area, especially if you're using a satin stitch or a dense embroidered patch.
If you're working with a pre-made iron-on patch, check whether it already has a fusible backing. If it does, you may only need a light press to tack it down, but you should still add a few stitches for security. If it doesn't, apply a fusible web such as HeatnBond or Wonder Under to the back of the patch before positioning it.
Fuse or baste the patch in place
For iron-on patches, set your iron to the temperature recommended for your fabric and press from the center outward, holding for 10–15 seconds per section. Don't slide the iron; lift and press. Let the patch cool completely before handling it, because the adhesive needs to set as it cools.
If you're sewing the applique rather than fusing it, baste it in place by hand with a contrasting thread or use a temporary spray adhesive. Basting is slower than pinning, but it prevents the patch from shifting under the needle, which is especially important on curved edges.
Finish the edges with the right stitch
A straight stitch around the perimeter works for flat, simple patches, but it can look plain and may not catch fraying edges. A narrow zigzag or satin stitch covers the raw edge and adds a decorative finish. For a cleaner look on lightweight fabrics, use a small blanket stitch by hand.
If you're using a machine, lower the feed dogs slightly or use a walking foot if the fabric is thick or sticky. Test your stitch length and width on a scrap of the same fabric and stabilizer before you commit to the bag. The goal is a stitch that covers the edge without tunneling or creating a hard, stiff line.
Add hardware or zipper pulls as a finishing touch
Once the patch is secure, you can tie the look together with a small hardware detail. A zipper pull in a coordinating color, for example, can echo the patch without competing with it. If your pouch has a strap, rectangle rings or swivel hooks can make the bag feel more intentional and professional, especially if you've chosen a patch with a motif that repeats elsewhere.
Step-by-step patch application
- Test your patch and fabric together: Press a corner of the patch onto a scrap of your bag fabric using the same method you plan to use. Check for discoloration, stiffness, or adhesive bleed-through. If the test fails, switch to a sew-on patch or add a barrier layer of fabric between the iron and the patch.
- Mark placement lightly: Use a water-soluble pen or chalk to mark the center or corners of the patch on the bag. Don't rely on eyeballing it, especially on a curved surface. Check the mark from a few feet away before you commit; small misalignments are more obvious on a finished bag.
- Stabilize the area: Place tear-away or cut-away stabilizer behind the patch area. If the bag is already lined, you may need to work from the outside with a press cloth and a light hand. Skipping stabilizer is the most common reason appliques pucker; it's worth the extra minute.
- Fuse or baste the patch: For fusible patches, press from the center outward with a dry iron, lifting and pressing rather than sliding. For sew-on patches, baste by hand with a contrasting thread. Let the patch cool completely before moving the bag; warm adhesive can shift.
- Stitch the edges: Choose a straight stitch, zigzag, or satin stitch based on the patch style and fabric weight. Test on a scrap first, then stitch slowly around the perimeter. If the edge frays, switch to a satin stitch or add a line of fray-check before stitching.
- Press and finish: Press the completed patch from the wrong side or with a press cloth to set the stitches. Add any hardware, such as a zipper pull or strap ring, after pressing. Avoid pressing directly on the patch face if it has a raised design or metallic finish.
Products that work well with patched bags
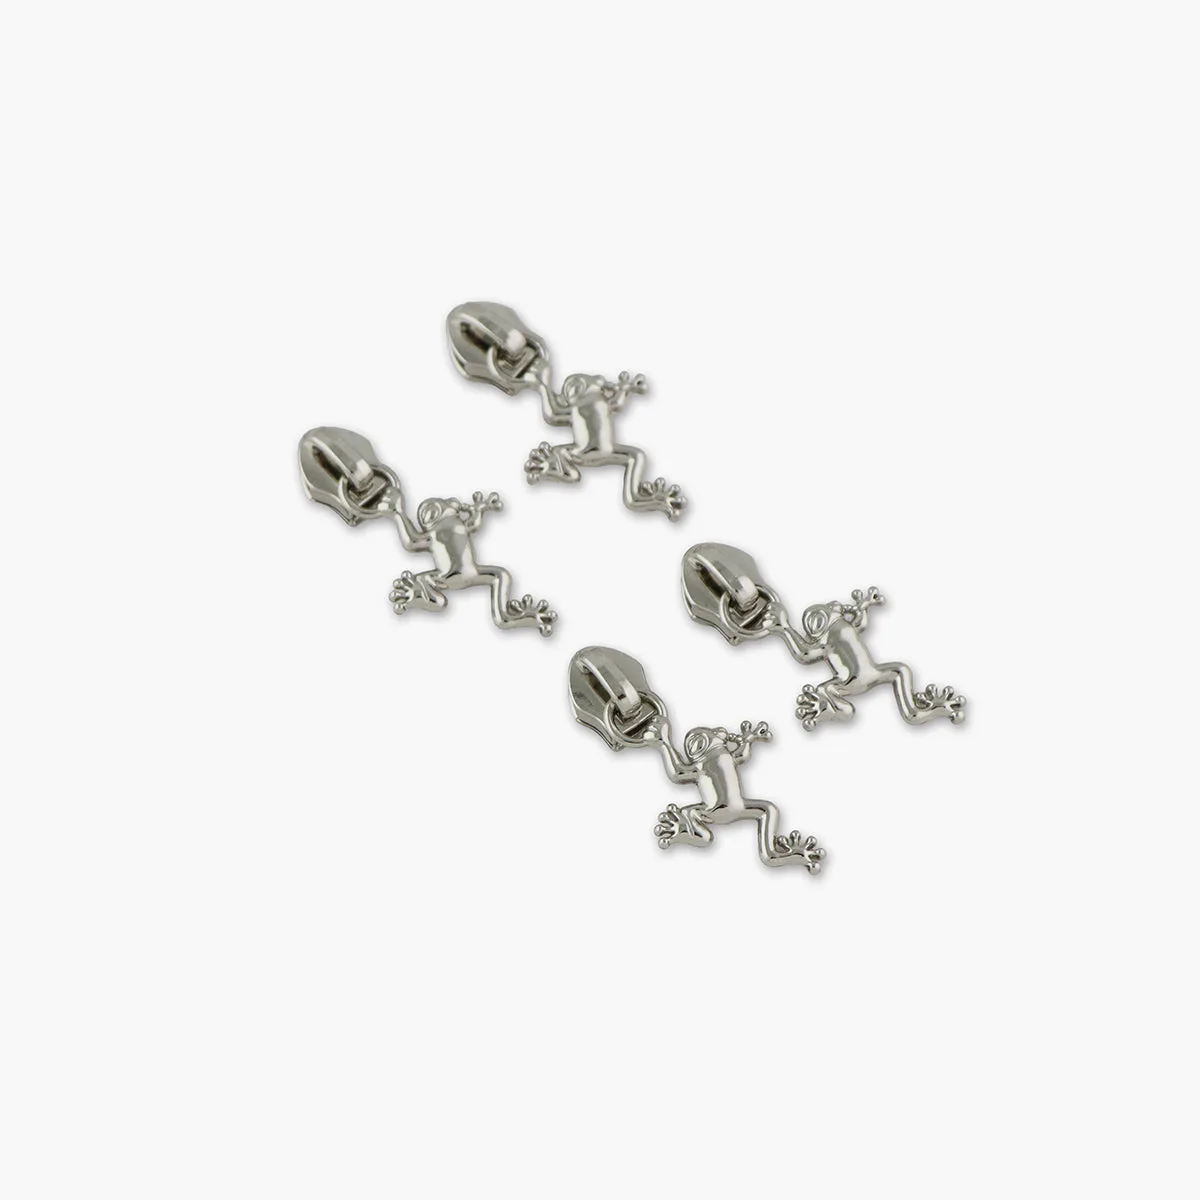
- Four Tree Frog Zipper Pulls: Use these zipper pulls with Sallie Tomato Zippers by the Yard, or any size #5 nylon coil zipper. Size: 1 3/8" from end to end. A coordinating zipper pull adds a polished detail that can tie a patched pouch together without overwhelming the patch design.
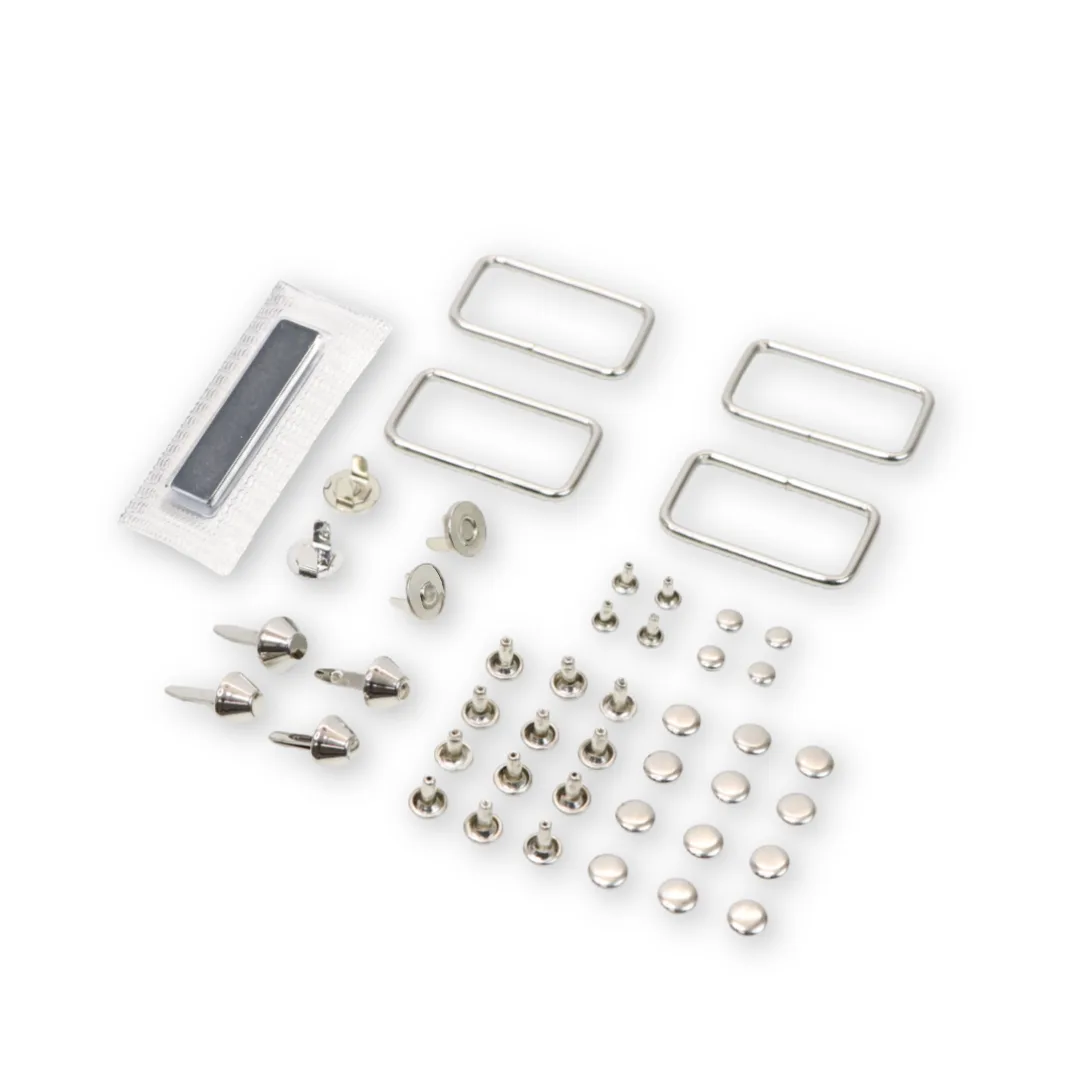
- Four Tula Pink 1 1/2" Rectangle Rings: Rectangle rings are functional and add a bit of bling to your handmade bags. You can attach Rectangle Rings to your straps and handles to give them more mobility. Size: 1 1/2". Number Included: 4 Rectangle Rings. If you're adding a patch to a bag with a strap, rectangle rings let you detach or swap the strap, which is useful if you want to change the bag's look without removing the patch.