Quick Answer
To apply bronzer like a pro, choose a shade slightly deeper than your skin tone, use a fluffy brush, and apply in the shape of a '3' along your forehead, cheekbones, and jawline. Blend well for a natural, sun-kissed effect. Tailor placement to your face shape for the most flattering result.
Bronzer can add warmth, dimension, and a healthy glow to your complexion, but applying it correctly is key to avoiding streaks or an unnatural orange cast. Whether you're a makeup novice or a seasoned enthusiast, mastering bronzer placement and blending can elevate your entire look.
This guide breaks down the process into simple, actionable steps. You'll learn how to choose the right brush, where to place bronzer based on your face shape, and how to blend seamlessly for a professional finish. We'll also clarify the difference between bronzer and contour and share tips for long-lasting wear.
Choose the Right Brush and Formula
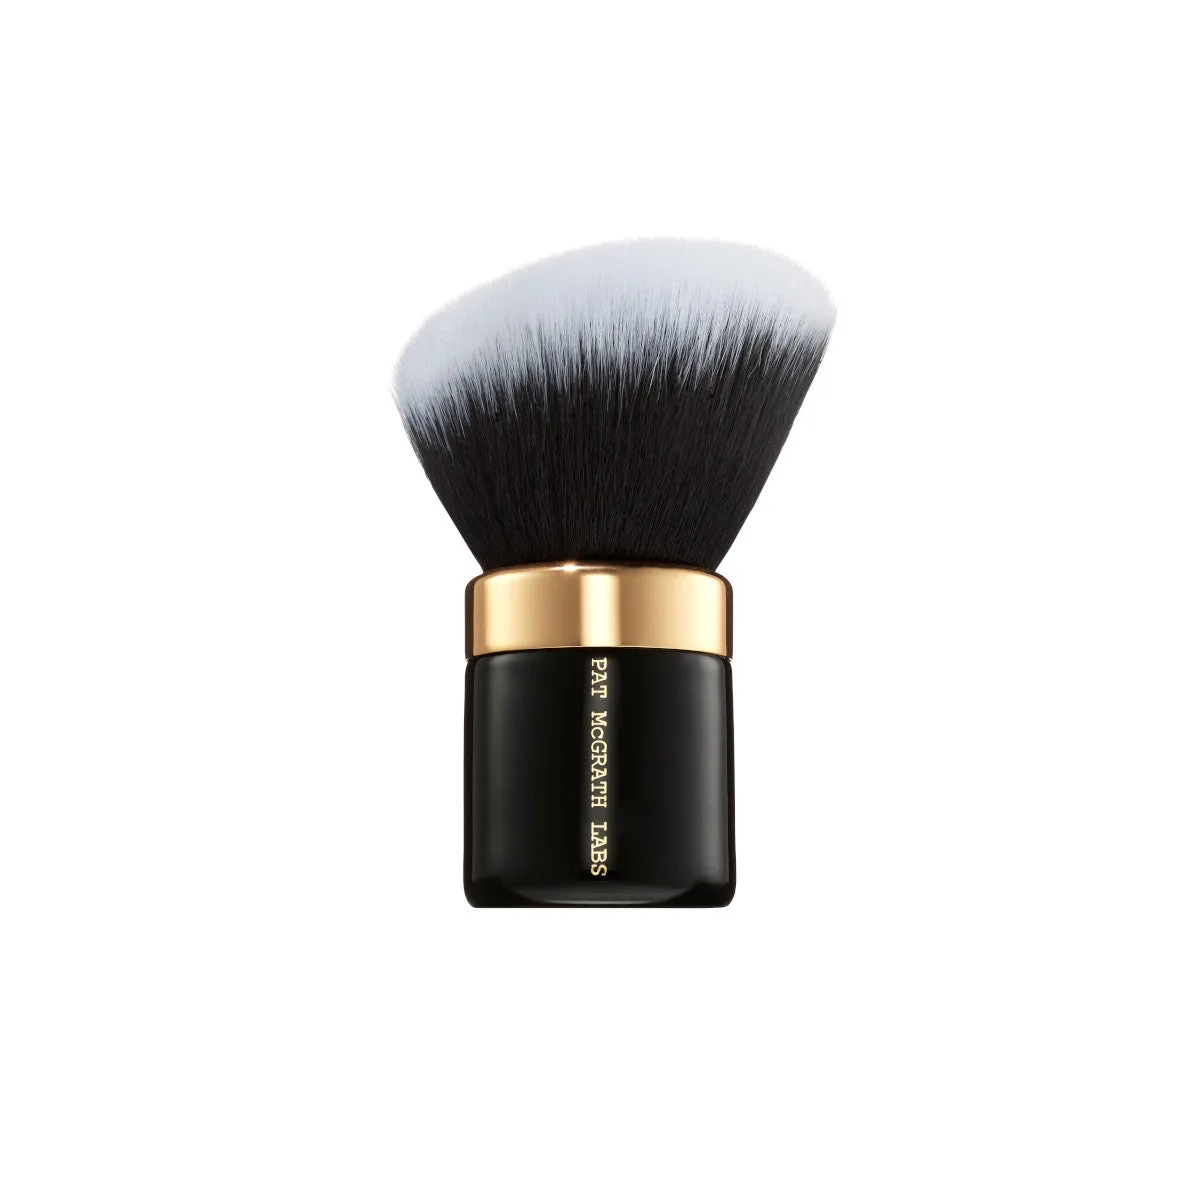
The brush you use can make or break your bronzer application. A fluffy, angled brush is ideal for powder bronzers, as it allows for even, diffused application. For cream or liquid bronzers, a dense, synthetic brush or a damp sponge works best to blend the product into the skin without disturbing your base.
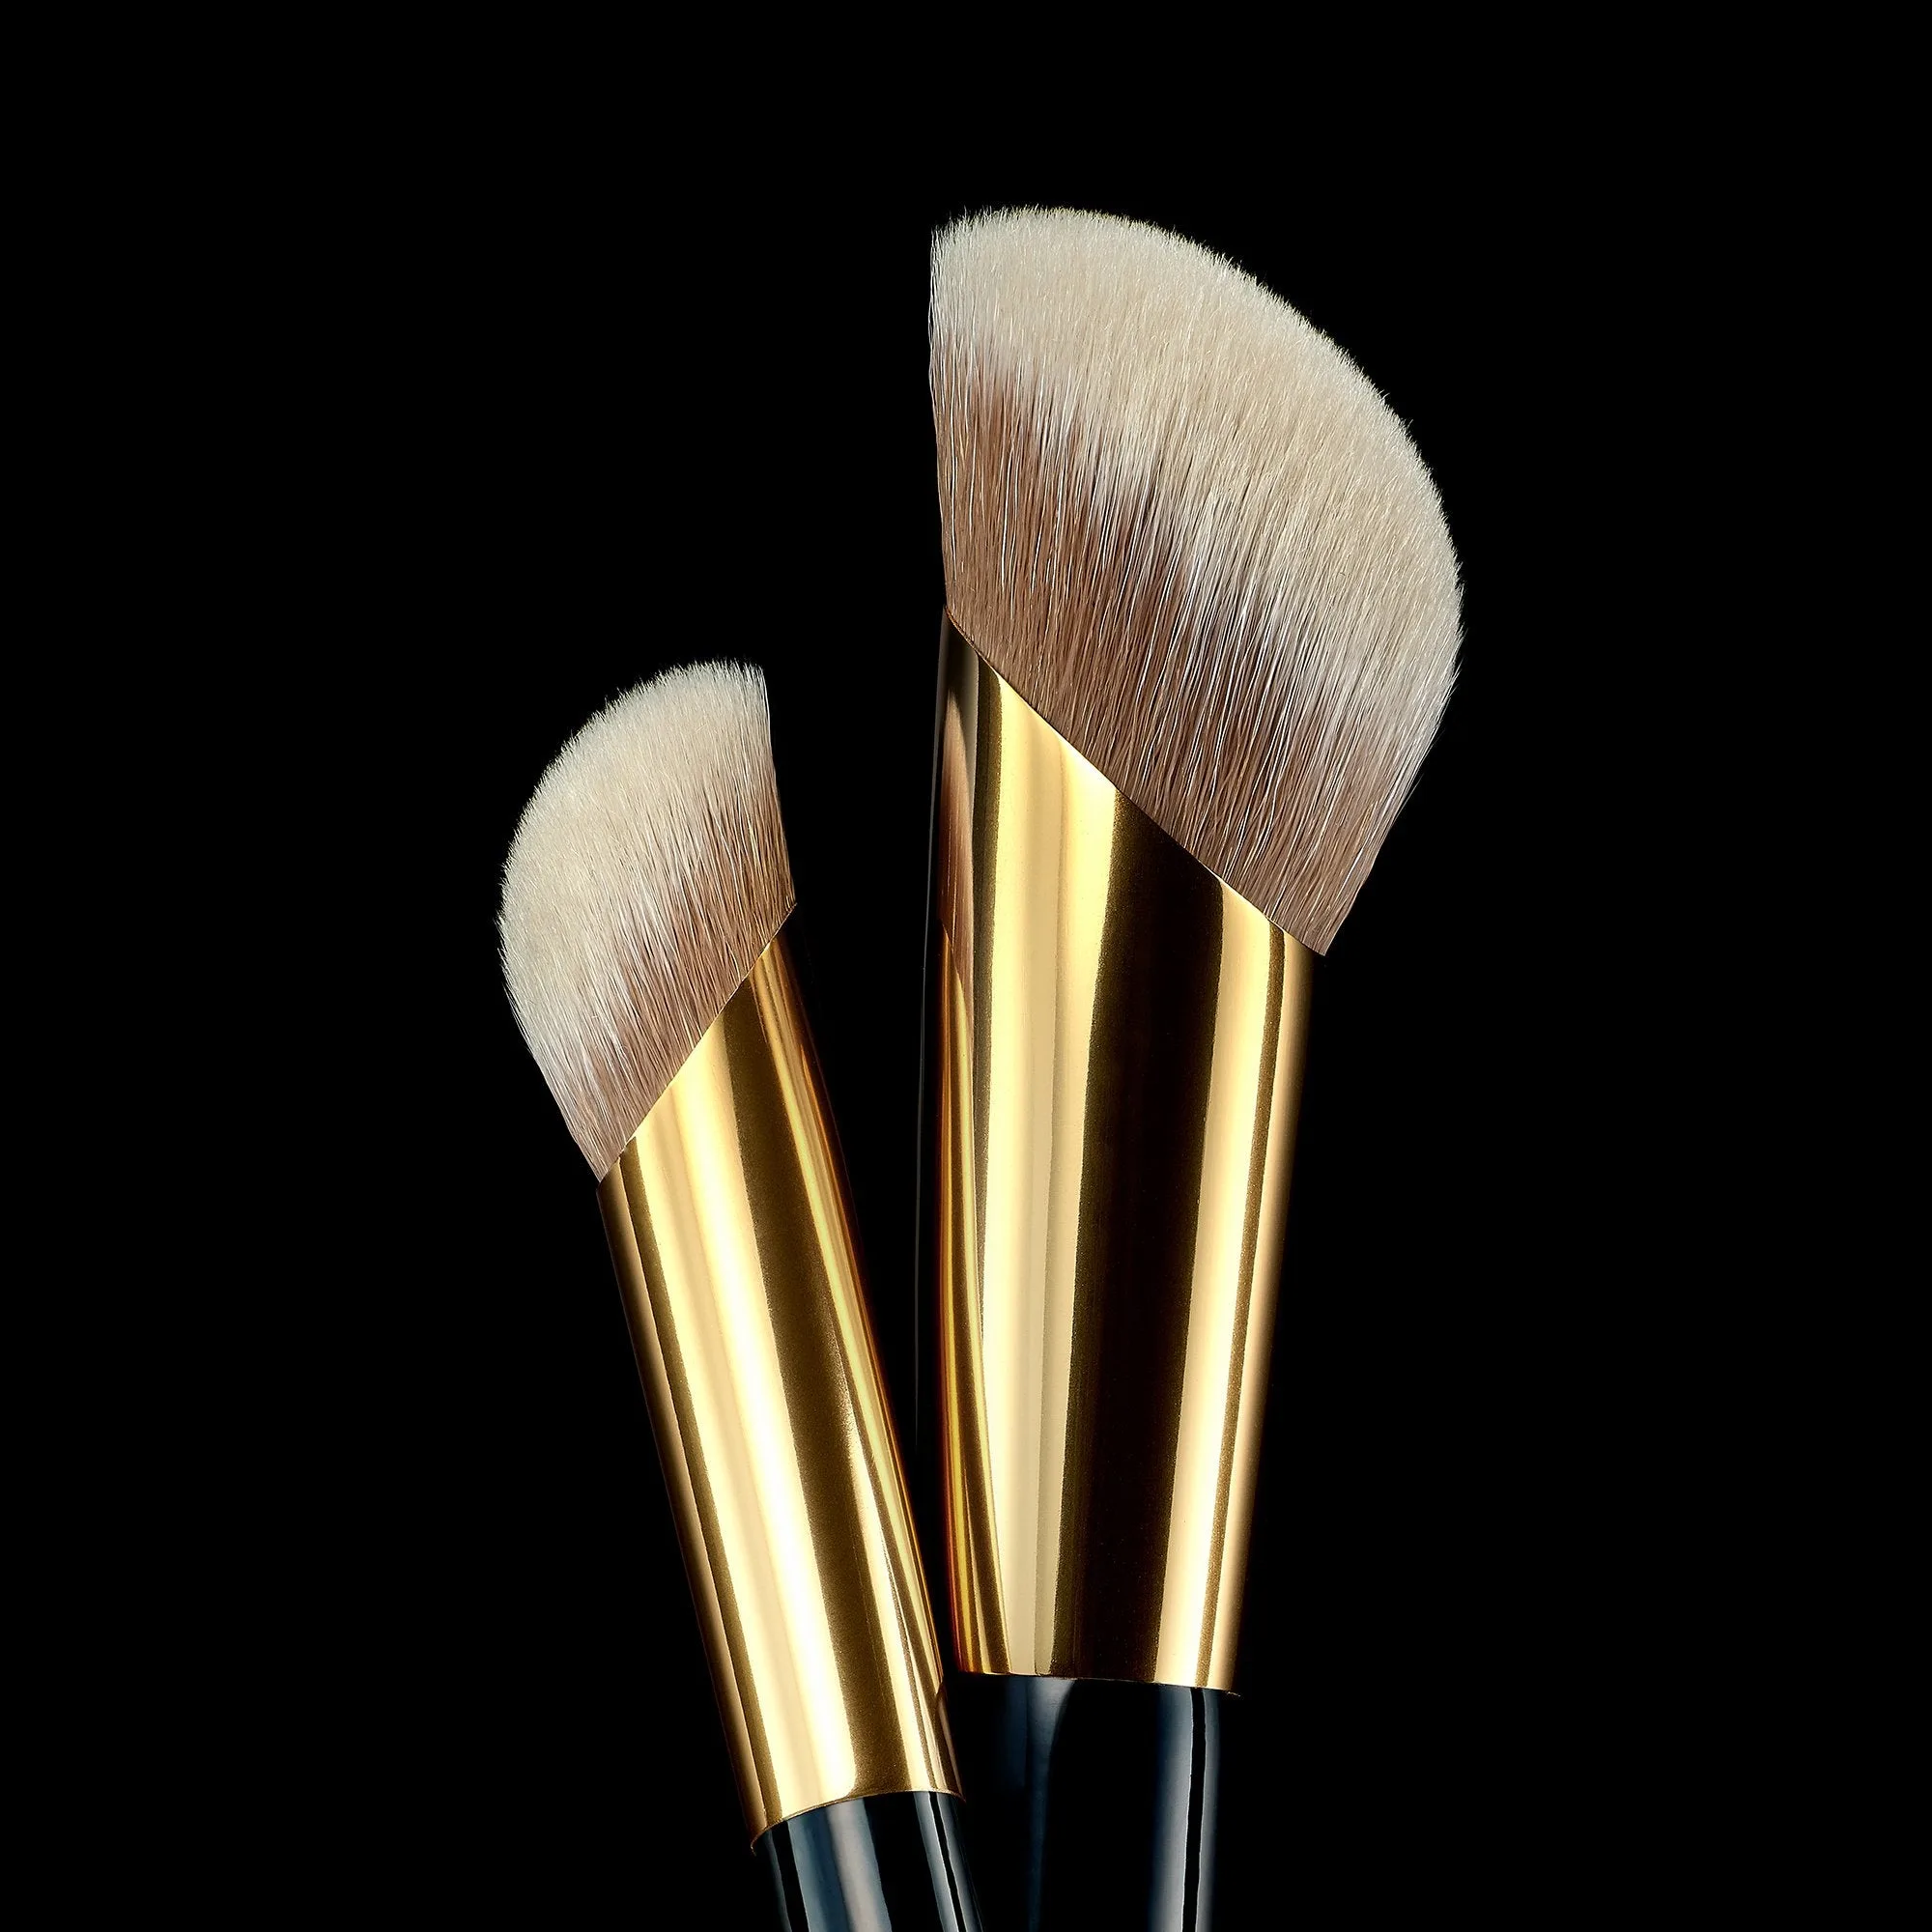
PAT McGRATH LABS offers the Skin Fetish: Sublime Perfection Highlighting Brush, which, despite its name, is excellent for applying bronzer. Its soft, dense bristles are designed for precise placement and seamless blending, making it a versatile tool for achieving a lit-from-within glow. The brush works well with both powder and cream formulas, allowing you to build color gradually.
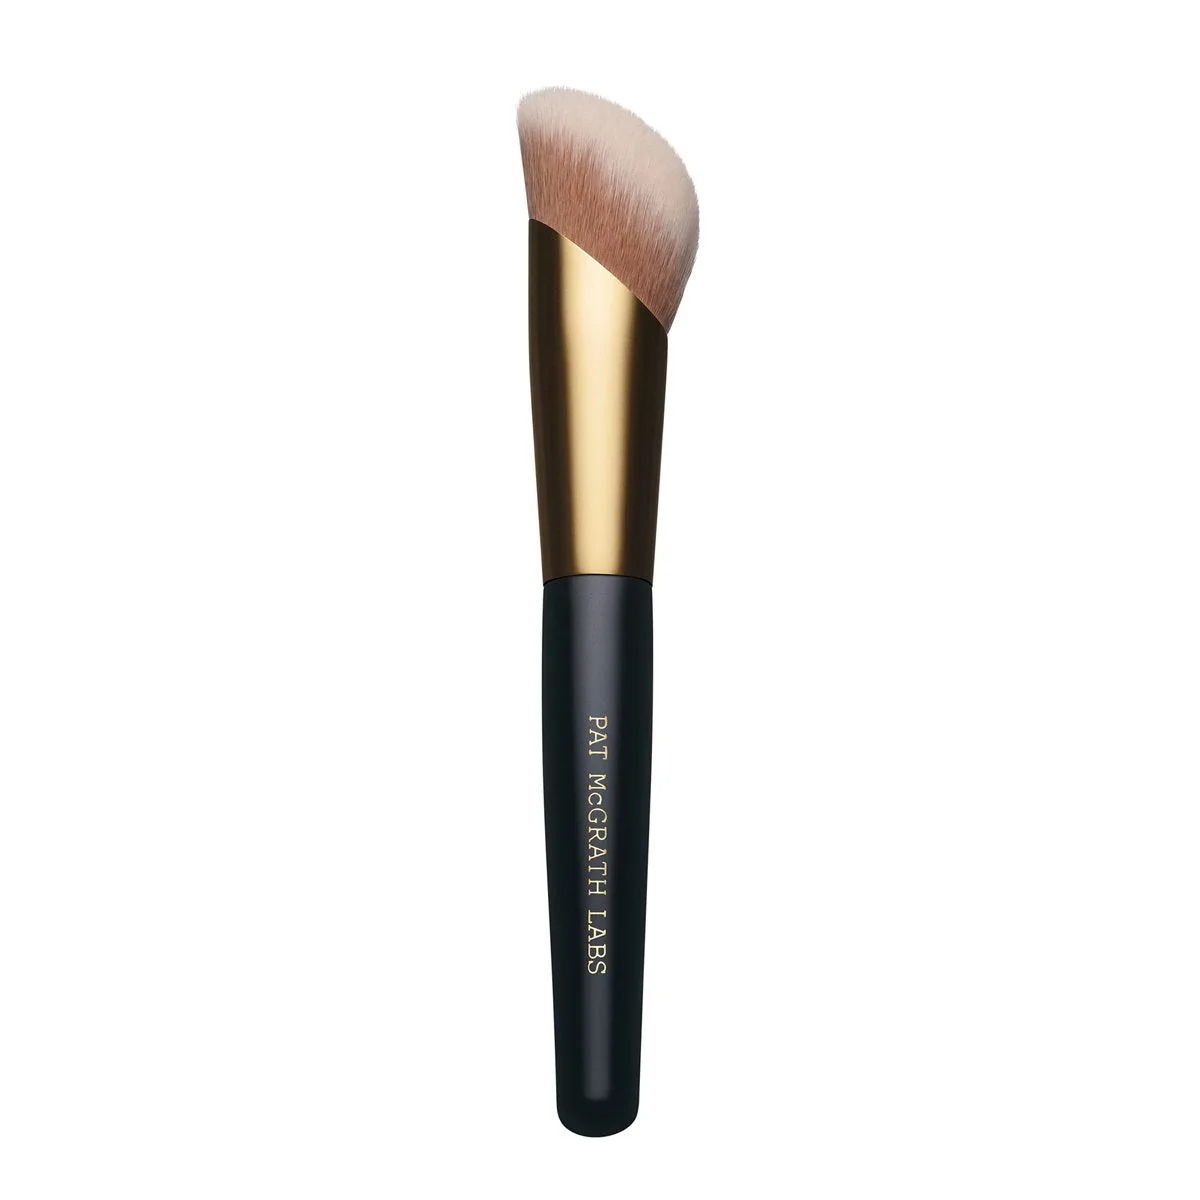
Skin Fetish: Sublime Perfection Highlighting Brush
- Use a light hand and build up the color gradually to avoid a harsh line.
- Tap off any excess product before applying to prevent fallout.
Understand Bronzer vs. Contour
Bronzer and contour are often confused, but they serve different purposes. Bronzer adds warmth and a sun-kissed glow to the areas where the sun naturally hits your face: the forehead, cheekbones, and nose. Contour, on the other hand, creates shadows to define and sculpt the face, typically applied in the hollows of the cheeks, along the jawline, and at the temples.
For a natural look, use bronzer to warm up your complexion and contour only if you want more dramatic definition. Bronzer should be applied with a lighter hand and a slightly larger brush than contour. Remember, bronzer is about adding color, while contour is about creating shadows.
- If you're using both, apply bronzer first, then contour in the specific shadow areas.
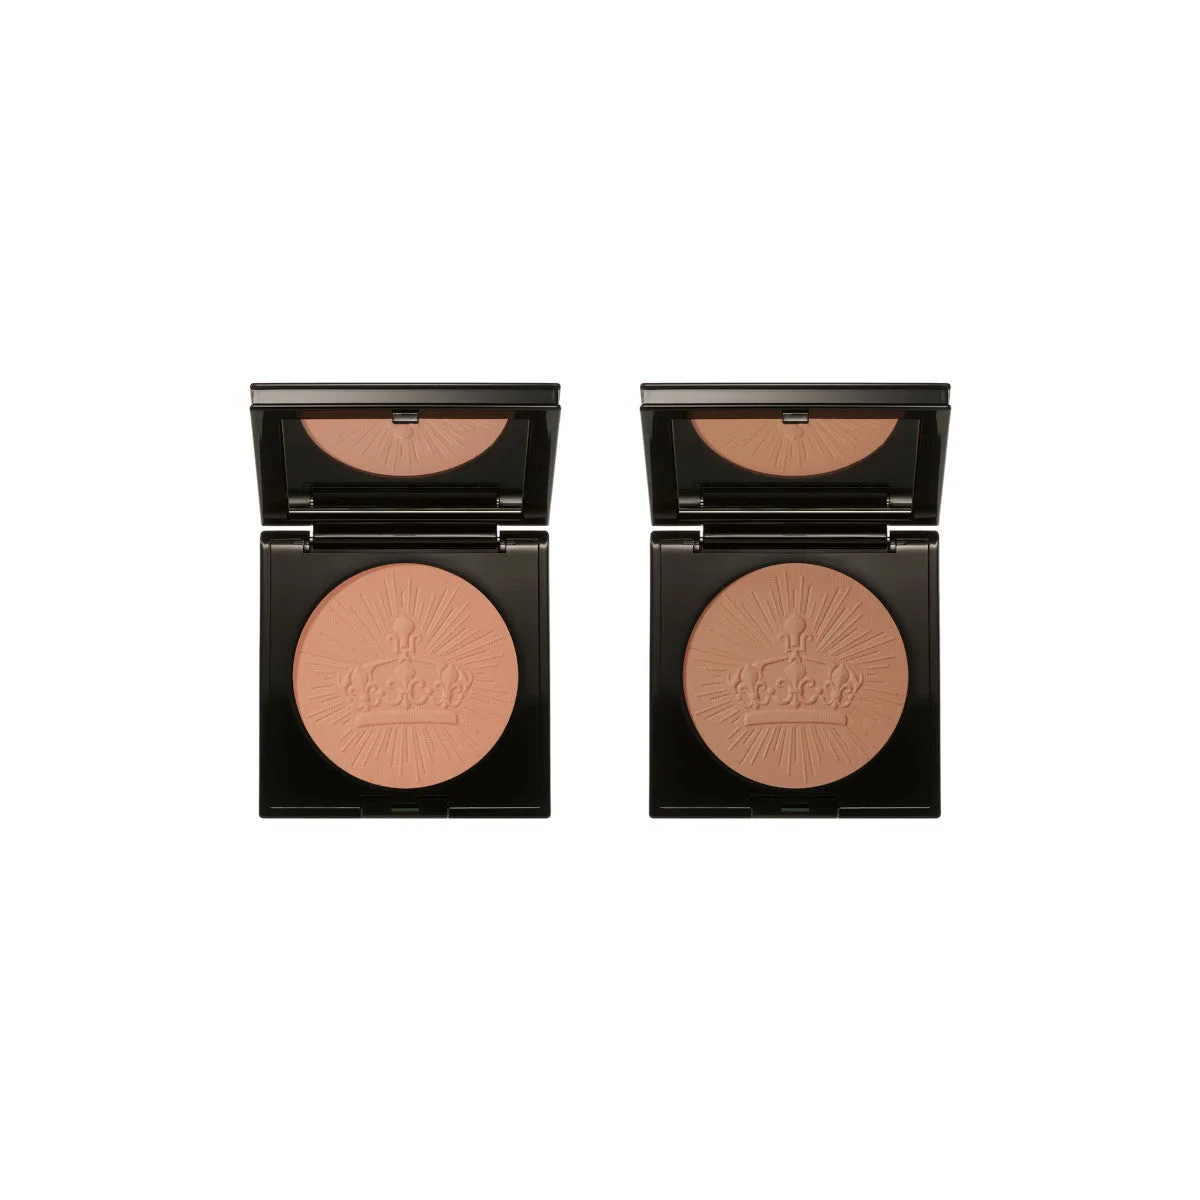
- Choose a bronzer with a satin or matte finish for a natural effect; shimmer is better for special occasions.
Placement by Face Shape
While the classic '3' shape works for most, tailoring your bronzer placement to your face shape enhances your natural features. For round faces, apply bronzer along the sides of the forehead and below the cheekbones to add length. For square faces, soften the angles by applying bronzer on the corners of the forehead and jawline.
If you have an oval face, apply bronzer on the tops of the cheekbones and blend upward toward the temples. For heart-shaped faces, focus on the forehead and chin to balance the width. Long faces benefit from bronzer across the forehead and chin to shorten the appearance of the face.
- Always blend downward and outward to mimic the natural fall of light.
- Take a step back and check your makeup in natural light to ensure the placement looks balanced.
Blending Techniques for a Seamless Finish
Blending is the most critical step in bronzer application. Use a clean, fluffy brush to buff the edges of the bronzer in circular motions. This helps to diffuse the color and eliminate any harsh lines. For cream bronzers, a damp sponge can be used to bounce the product into the skin for a seamless, airbrushed effect.
If you've applied too much bronzer, don't panic. You can soften the look by going over the area with a clean brush or a bit of setting powder. The key is to blend until you achieve a natural, lit-from-within glow that looks like you've just returned from a sunny vacation.
- Use a light hand and build up the color gradually to avoid a harsh line.
- Tap off any excess product before applying to prevent fallout.
Step-by-Step Bronzer Application
- Prep Your Skin: Start with a clean, moisturized face and apply your foundation or tinted moisturizer. Wait a minute for it to set. Checkpoint: Your base should be smooth and dry to the touch before applying bronzer.
- Choose Your Bronzer and Brush: Select a bronzer shade that is 1-2 shades deeper than your skin tone. Use a fluffy brush for powder or a damp sponge for cream formulas. Checkpoint: Avoid shades with too much shimmer for a natural look.
- Apply in a '3' Shape: Starting at your forehead, sweep the brush down along your temples, under your cheekbones, and along your jawline, creating the shape of the number '3'. Checkpoint: Use a light hand and build the color gradually.
- Blend Thoroughly: Use clean, circular motions to blend the bronzer into your skin, ensuring there are no harsh lines. Checkpoint: If you see a line, blend more; the goal is a seamless, natural finish.
- Check and Set: View your makeup in natural light and add more bronzer if needed. Finish with a setting spray to lock in your look. Checkpoint: Your bronzer should look like a natural tan, not a stripe.
Tools and Products to Consider
- Skin Fetish: Sublime Perfection Highlighting Brush: Soft, dense bristles ensure effortless, precise placement of powder or cream formulas on the high points of the face. This brush's dense yet soft bristles make it perfect for applying and blending bronzer evenly, whether you're using a powder or cream formula.
- https://patmcgrathes.com/products/skin-fetish-sublime-perfection-concealer-brush-254390Skin Fetish: Sublime Perfection Concealer Brush: Tapered tip for precise, controlled application, ideal for blending concealer seamlessly into the skin. While designed for concealer, the tapered tip is also great for precise bronzer placement, especially under the cheekbones or along the hairline.
Mastering bronzer application is all about choosing the right tools, understanding your face shape, and blending well. With these tips, you'll be able to achieve a sun-kissed glow that looks natural and professional. Remember, practice makes perfect, so don't be afraid to experiment with different placements and formulas to find what works best for you.