Quick Answer
To apply bronzer like a pro, choose a shade slightly deeper than your skin tone, use a fluffy brush for powder or your fingers for cream, and apply in the shape of a '3' on each side of your face. Blend well, and tailor placement to your face shape—focus on the perimeter for round faces, the forehead and jawline for square faces, and the temples and cheeks for heart-shaped faces.
Bronzer is a makeup staple that adds warmth, dimension, and a healthy glow to your complexion. But applying it incorrectly can leave you looking muddy or orange. Whether you're a beginner or a makeup enthusiast, mastering bronzer application is a skill that elevates your entire look. This guide will walk you through the essential steps, from choosing the right formula to blending techniques tailored to your face shape.
We'll cover the classic '3' shape, how to adapt placement for oval, round, square, and heart-shaped faces, and common mistakes to avoid. Plus, we'll highlight some of our favorite bronzer products to help you achieve that sun-kissed glow.
Choosing the Right Bronzer Formula
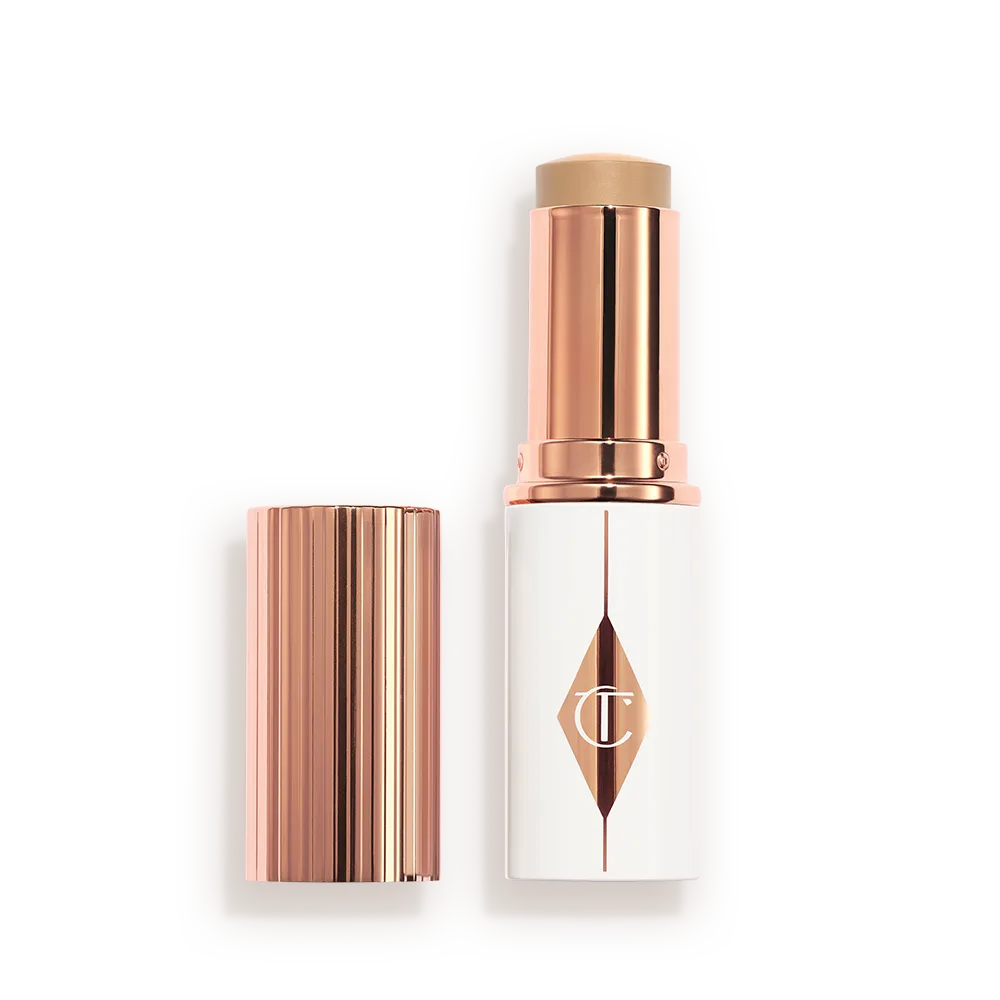
Bronzers come in powder, cream, and liquid formulas, each with its own benefits. Powder bronzers are great for oily skin and offer buildable coverage, while cream bronzers like the BEAUTIFUL SKIN SUN-KISSED GLOW BRONZER - 3 TAN provide a dewy, natural finish that melts into the skin. Cream bronzers are ideal for dry or mature skin as they add hydration and glow.
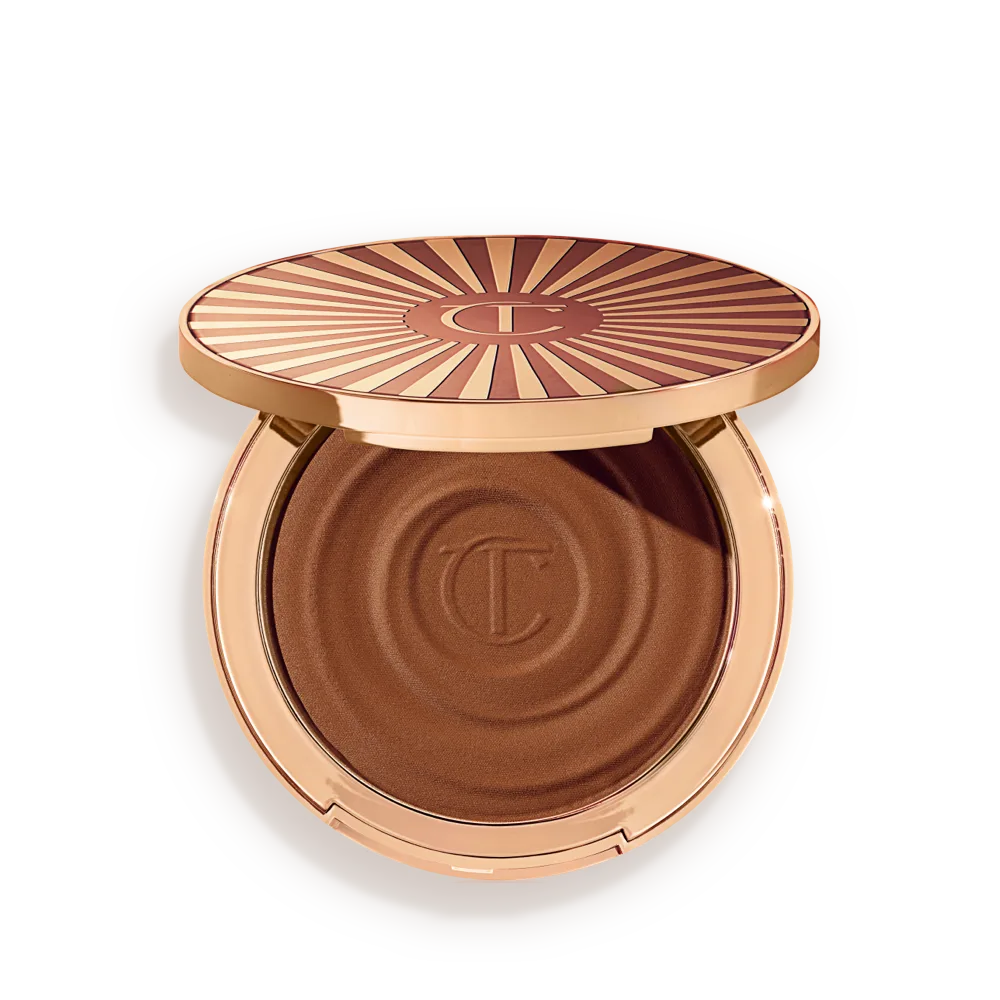
BEAUTIFUL SKIN SUN-KISSED GLOW BRONZER - 3 TAN
When choosing a bronzer, pick a shade that is one to two shades deeper than your natural skin tone. Avoid shades with too much red or orange undertone, as they can look unnatural. For fair skin, opt for a soft taupe; for medium skin, a warm golden bronze; and for deep skin, a rich terracotta.
- Test bronzer on your jawline to ensure it matches your skin tone.
- Cream bronzers are perfect for a dewy, fresh look; powders are better for a matte finish.
Tools and Application Techniques
The right tools make all the difference. For powder bronzer, use a fluffy, angled brush that allows for even distribution and easy blending. For cream bronzer, you can use your fingers, a damp beauty sponge, or a dense brush. Fingers are great for warming the product and pressing it into the skin for a seamless finish.
Start with a light hand and build up the color gradually. Tap off any excess product from your brush before applying to avoid harsh lines. Always blend in circular motions or downward strokes to mimic the way the sun naturally hits your face.
- Use a stippling brush for a more diffused, airbrushed effect.
- For cream bronzer, apply in small dots and blend quickly before it sets.
The Classic '3' Shape for Most Face Shapes
The '3' shape is a universal bronzer placement technique that works for most face shapes. Start at your forehead, sweep the bronzer along your hairline, then down to your cheekbone, and finally along your jawline. This creates a natural, sun-kissed effect that enhances your features.
To execute the '3' shape, imagine drawing the number '3' on each side of your face. Begin at the temple, curve down to the hollow of your cheek, and then sweep along the jawline. This technique adds warmth and definition without making your face look dirty.
- Use a light hand when applying bronzer to the forehead to avoid a heavy look.
- For a subtle glow, focus on the cheekbones and skip the forehead.
Bronzer Placement for Different Face Shapes
While the '3' shape is a great starting point, adjusting placement based on your face shape can enhance your natural bone structure. For oval faces, apply bronzer to the forehead and cheekbones to add width. For round faces, focus on the sides of the forehead and below the cheekbones to elongate the face. For square faces, soften the jawline by applying bronzer along the jaw and blending downward. For heart-shaped faces, apply bronzer to the temples and cheekbones to balance a wider forehead.
Each face shape benefits from strategic bronzer placement. For example, if you have a round face, avoid bronzer on the apples of your cheeks, as this can make your face appear fuller. Instead, apply it in the hollows of your cheeks and along your hairline.
- For a square face, apply bronzer in a C-shape from the ear to the jaw to soften angles.
- For a heart-shaped face, focus on the temples and cheekbones to draw attention to the center of the face.
Blending Techniques for a Seamless Finish
Blending is the key to a professional-looking bronzer application. Harsh lines are a common mistake. To avoid them, use a clean brush or sponge to blend the edges of the bronzer into your skin. For powder bronzer, use a fluffy brush to buff the product in circular motions. For cream bronzer, use a damp sponge to bounce the product into the skin for an airbrushed effect.
Another technique is to layer bronzer with blush and highlighter. Apply bronzer first, then blush on the apples of your cheeks, and finish with highlighter on the high points of your face. This creates a natural, multidimensional glow.
- Use a setting spray after applying bronzer to melt the powders into the skin.
- If you apply too much bronzer, go over the area with a clean brush to soften the color.
Step-by-Step Bronzer Application
- Step 1: Prep Your Skin: Start with a clean, moisturized face. Apply your foundation and concealer as usual, and set with a light dusting of powder if you're using a powder bronzer. Checkpoint: Your base should be smooth and even before applying bronzer.
- Step 2: Choose Your Bronzer and Tool: Select a bronzer that matches your skin tone and formula preference. For cream bronzer, use your fingers or a damp sponge; for powder, use a fluffy brush. Checkpoint: Ensure your brush is clean and fluffy for even application.
- Step 3: Apply in the '3' Shape: Starting at your forehead, sweep the bronzer along your hairline, down to your cheekbone, and then along your jawline. Repeat on both sides. Checkpoint: Use a light hand and build up gradually to avoid harsh lines.
- Step 4: Adjust for Your Face Shape: For a round face, focus on the sides of the forehead and below the cheekbones. For a square face, soften the jawline. For a heart-shaped face, apply to the temples and cheekbones. Checkpoint: Tailor placement to enhance your bone structure.
- Step 5: Blend, Blend, Blend: Use a clean brush or sponge to blend the edges of the bronzer into your skin. For cream bronzer, bounce a damp sponge over the area for a seamless finish. Checkpoint: No visible lines or patches; the bronzer should look like a natural shadow.
- Step 6: Set Your Look: Finish with a setting spray to lock in your makeup and melt the bronzer into your skin for a natural, long-lasting glow. Checkpoint: Your bronzer should last all day without fading or creasing.
Product Facts
- BEAUTIFUL SKIN SUN-KISSED GLOW BRONZER - 3 TAN: My face + body cream bronzer with hyaluronic acid and sunshine provitamin D3 for a beautiful, healthy looking, beachy bronzed glow! This cream bronzer not only adds a natural bronze but also hydrates your skin, making it ideal for dry or mature skin types. The hyaluronic acid ensures a smooth, dewy finish that doesn't settle into fine lines.
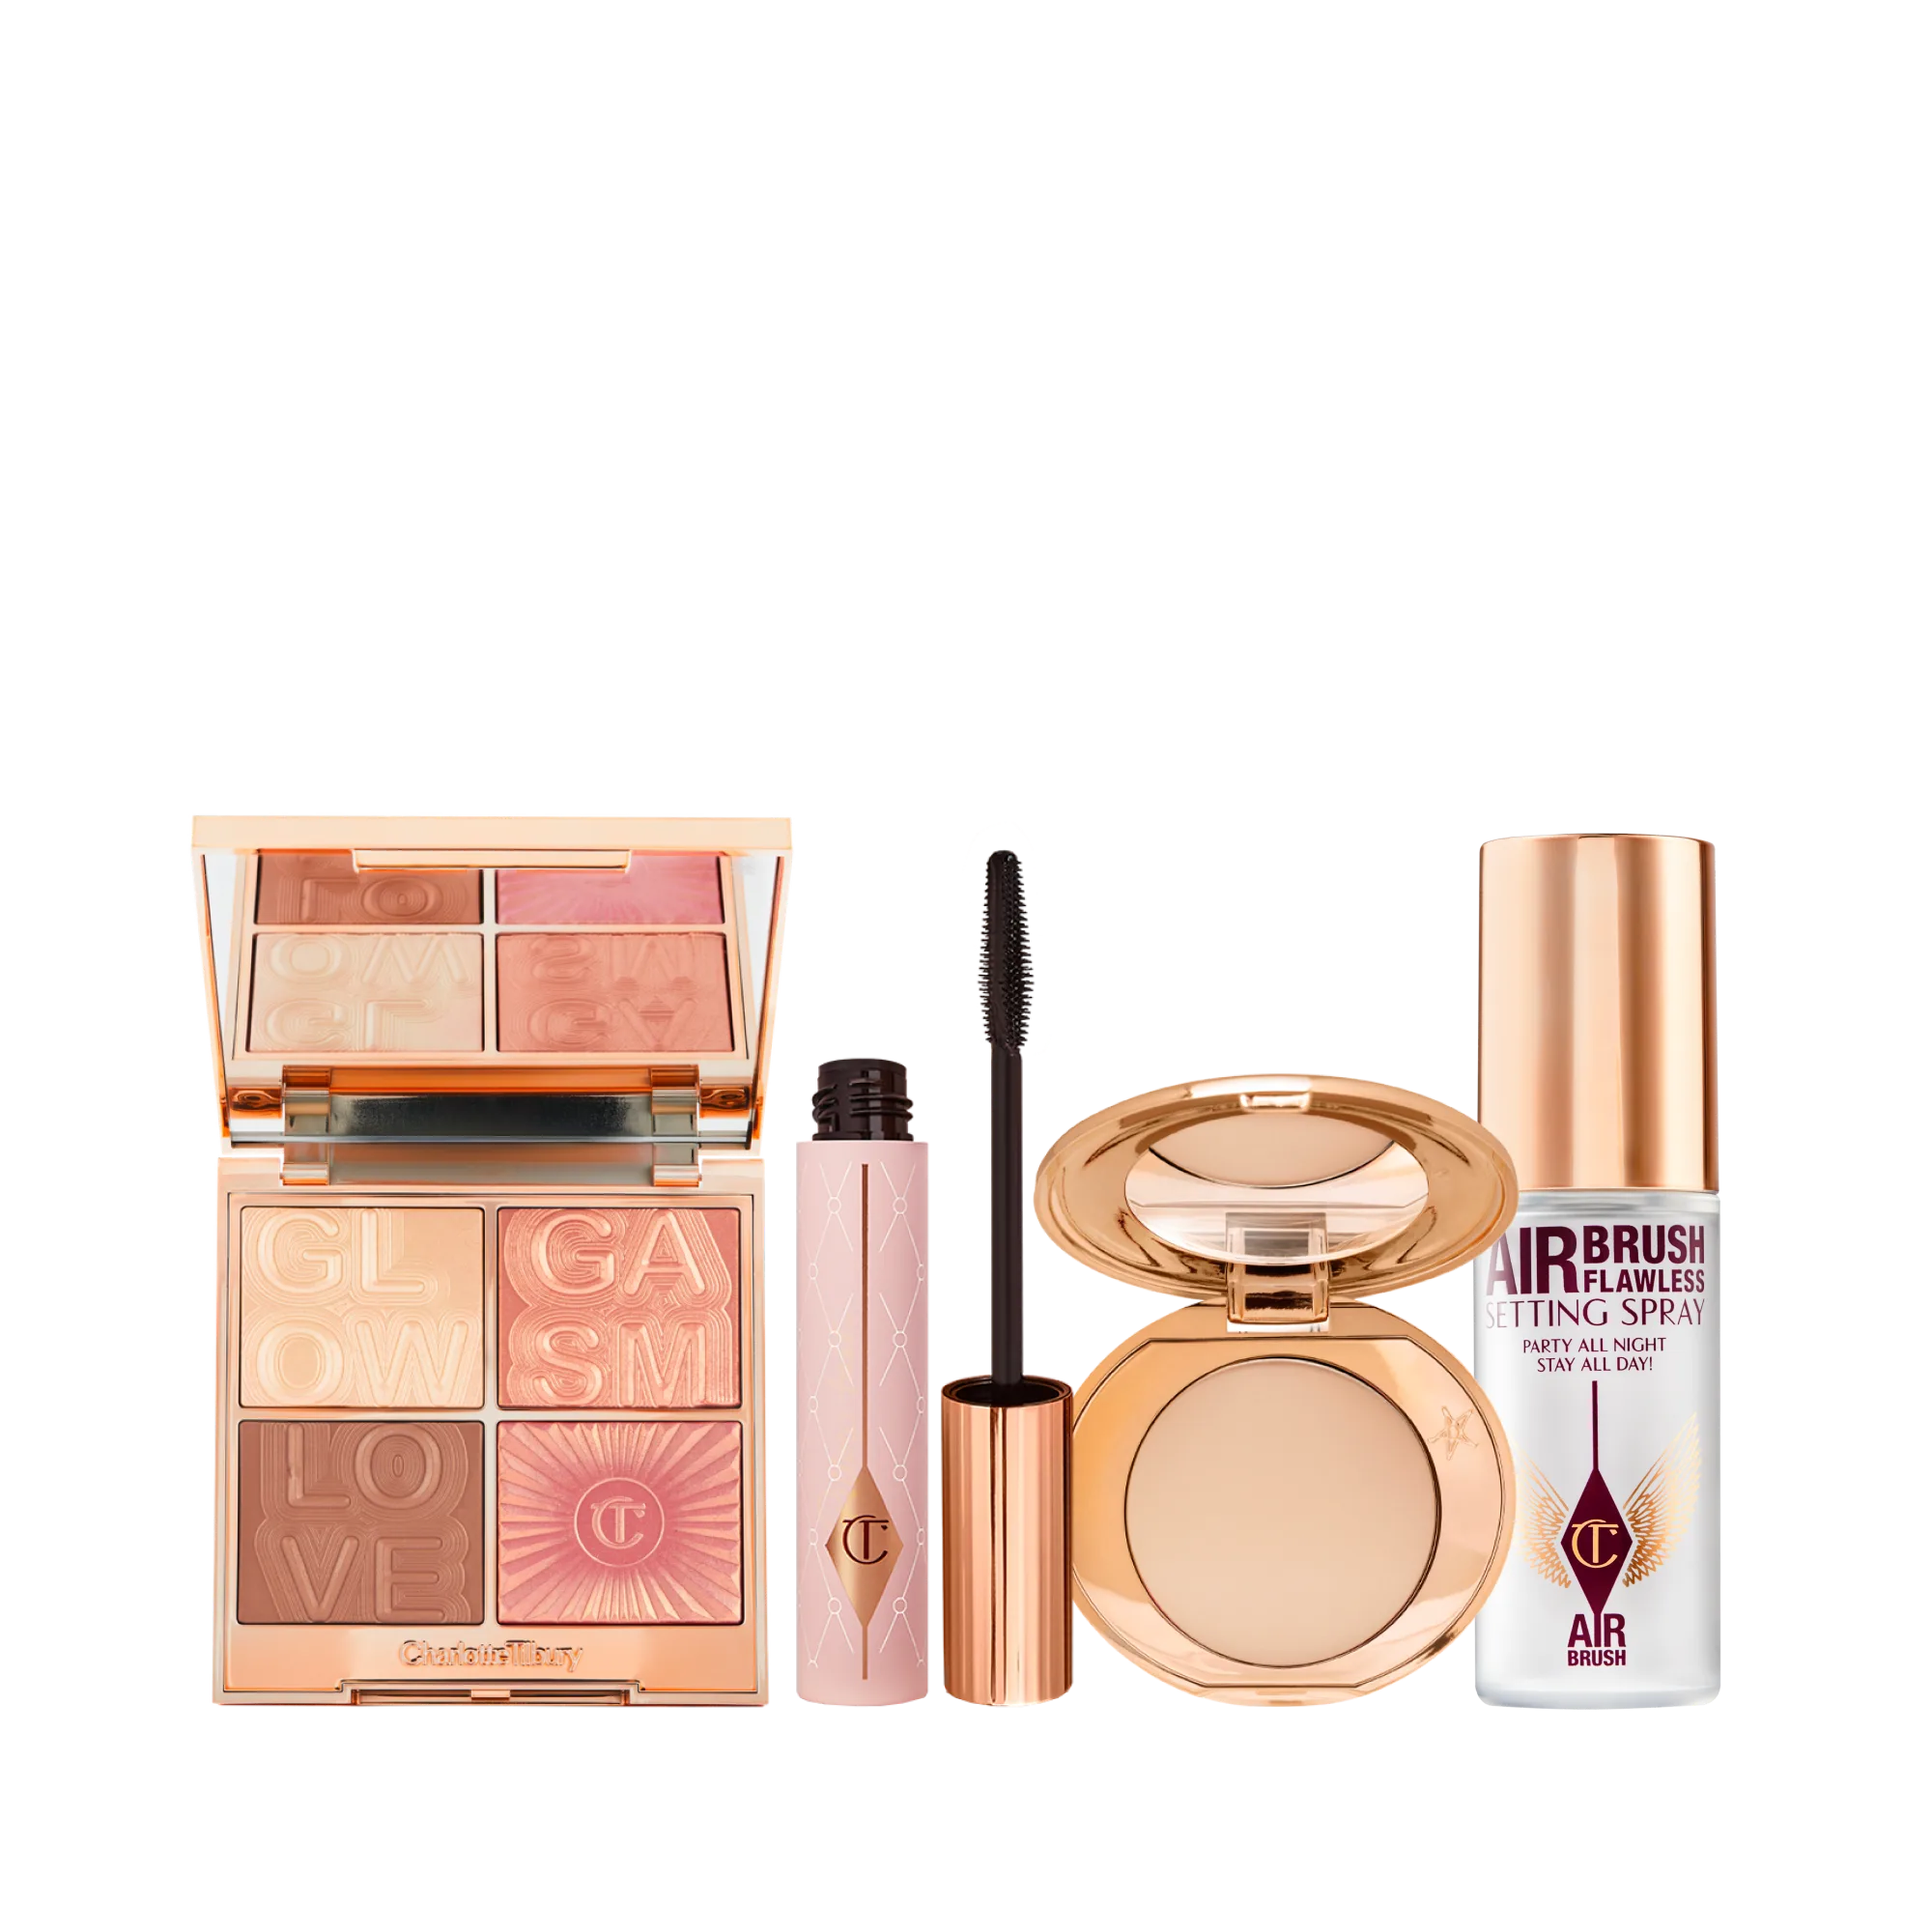
- AIRBRUSH GLOW & SET TRAVEL KIT - FACE KIT: Magical makeup kit featuring my travel-size setting spray, NEW! travel-size Hollywood Flawless Filter & NEW! travel-size Airbrush Flawless Finish. Savings based on usual price of products sold separately. This kit is perfect for on-the-go touch-ups. It includes everything you need to set your bronzer and maintain a flawless complexion throughout the day, making it a great travel companion.
Bronzer is a versatile product that can transform your makeup look when applied correctly. By following these steps and tailoring placement to your face shape, you'll achieve a natural, sun-kissed glow like a pro. Ready to elevate your bronzer game? Try the BEAUTIFUL SKIN SUN-KISSED GLOW BRONZER - 3 TAN for a hydrating, dewy finish that feels as good as it looks.