Quick Answer
To apply cluster lashes, clean your natural lashes, measure and trim the clusters to fit your eye shape, apply a thin layer of lash adhesive to the band, wait 30 seconds for the glue to become tacky, then place each cluster under or over your natural lashes using tweezers. Hold for 10 seconds and repeat across the lash line for a full, natural look.
What You'll Need for Cluster Lash Application
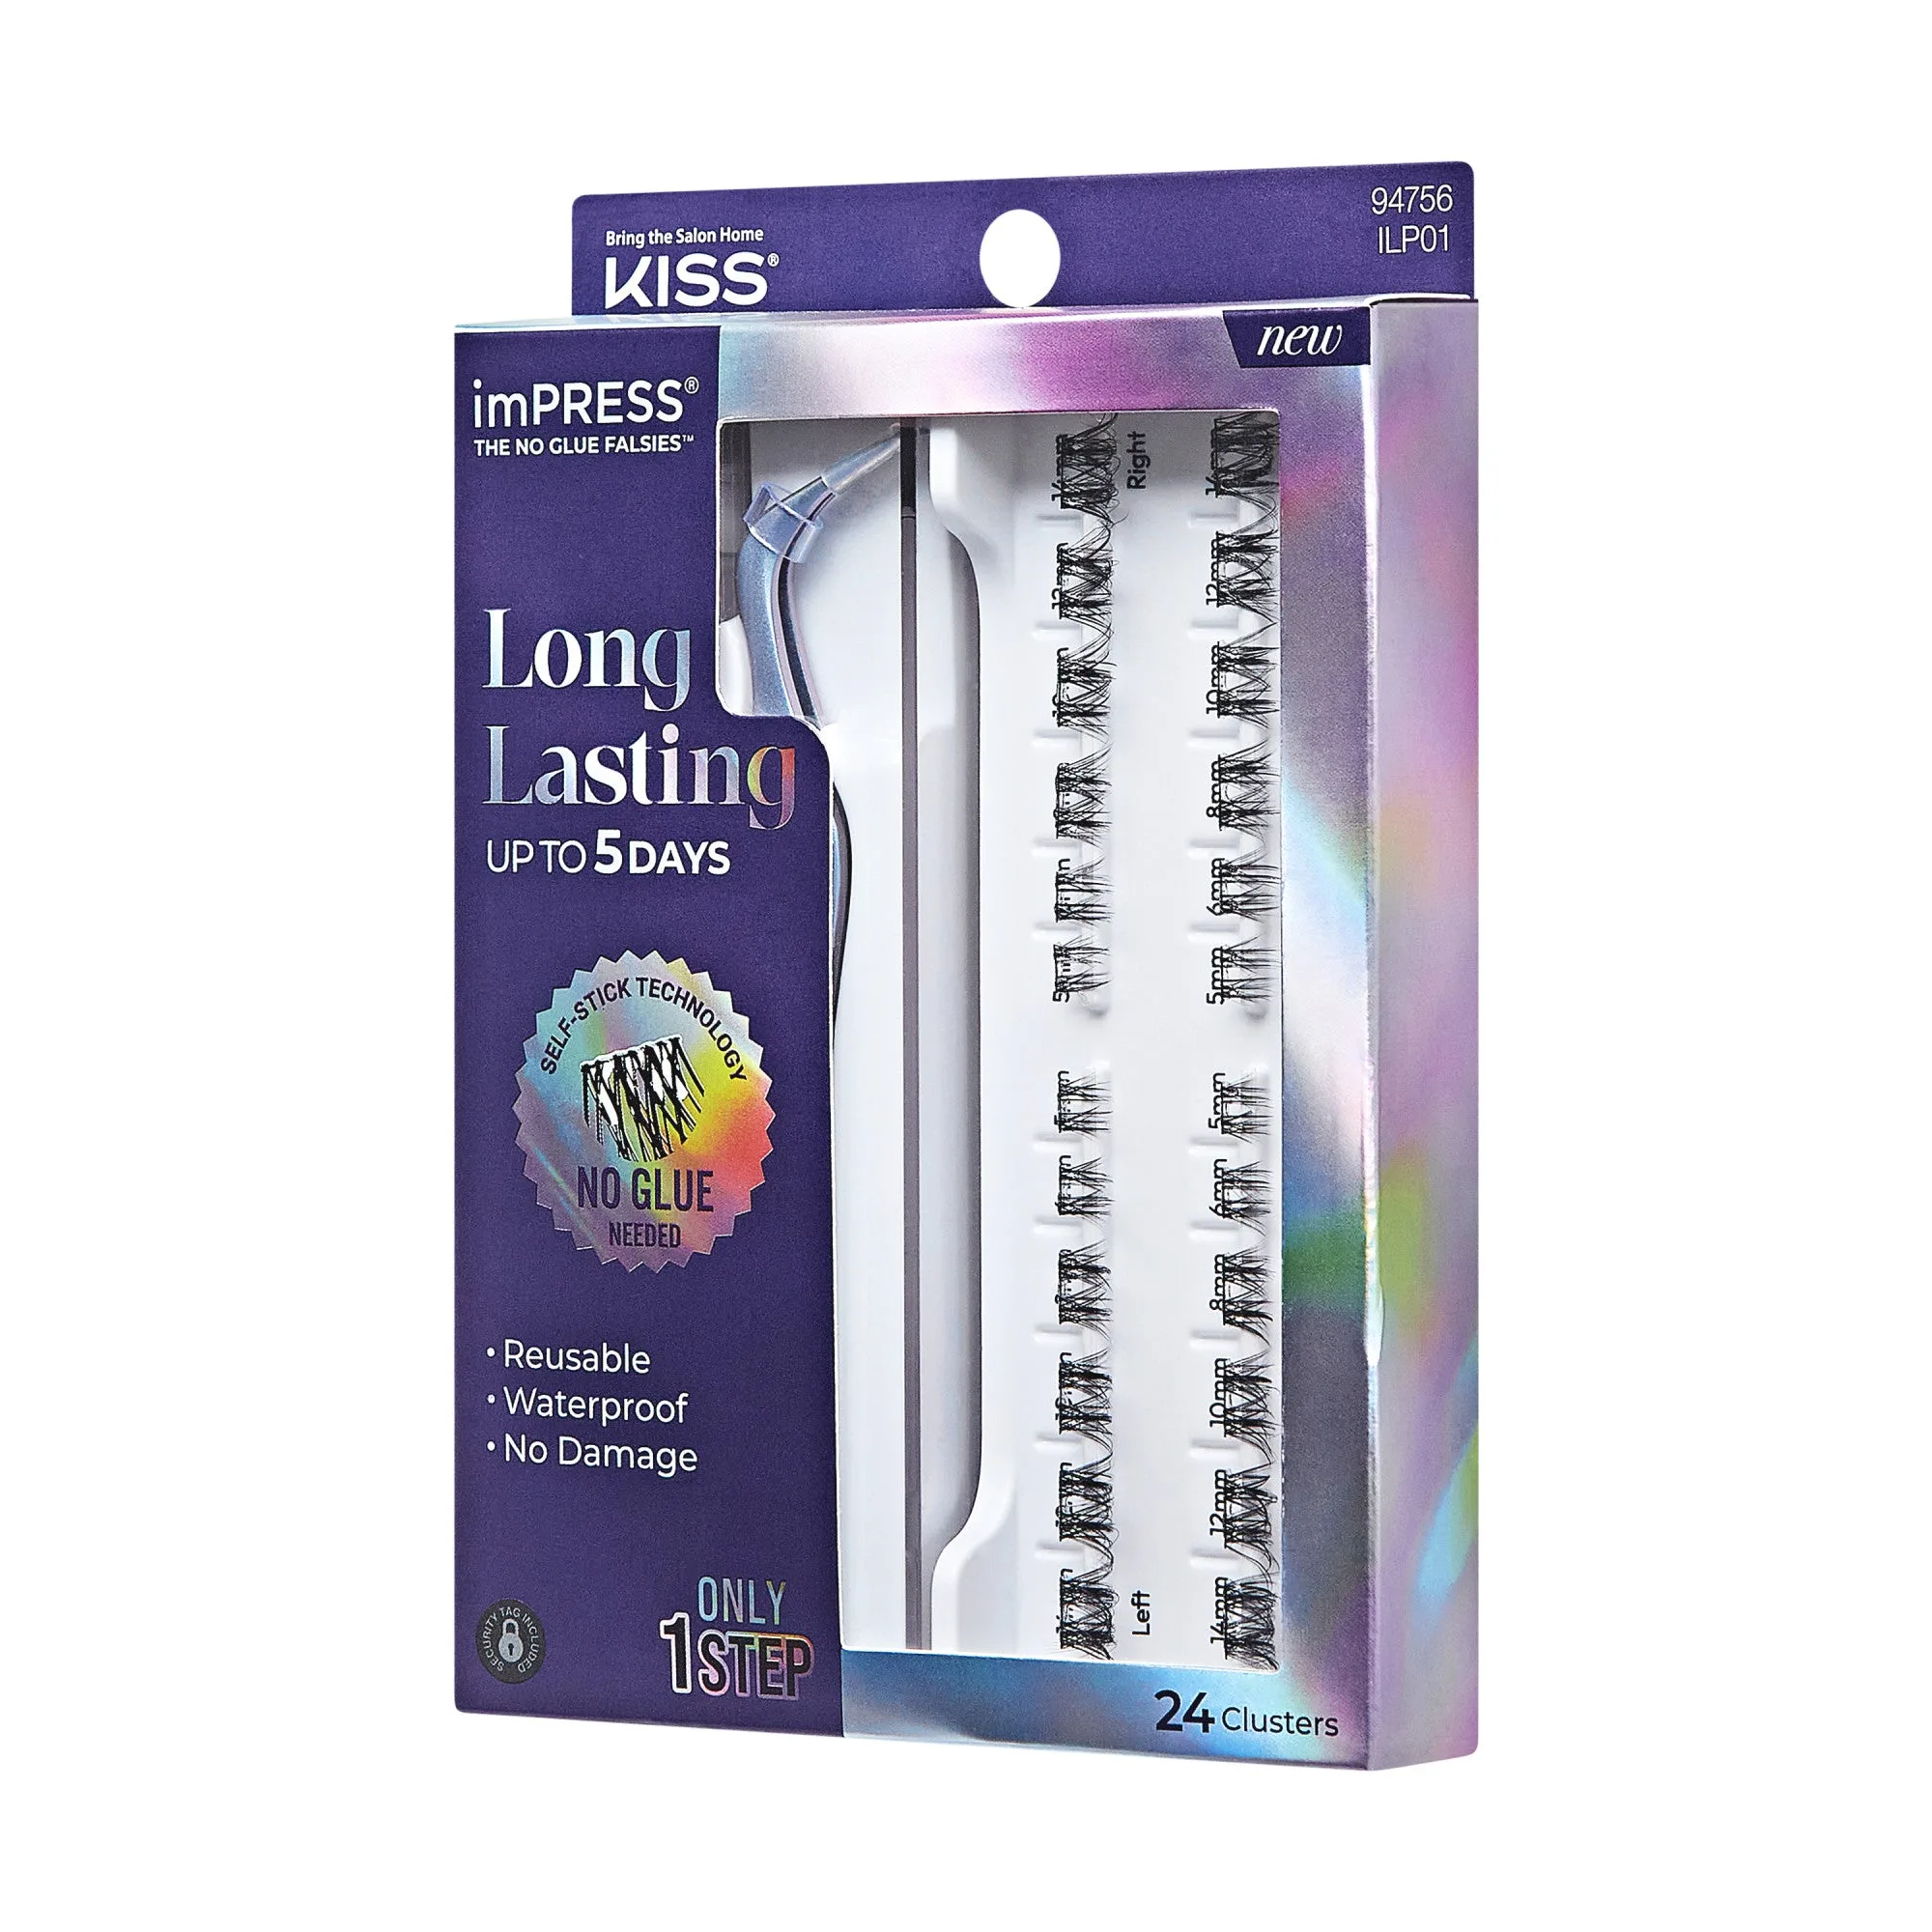
Before you start, gather your supplies: a set of false eyelash clusters (like the Kiss Peony Moonlit Bloom set with 180 clusters in 9mm-16mm lengths), lash adhesive, tweezers, a small mirror, and a spoolie brush. Having everything within reach makes the process smoother and reduces the chance of the glue drying before placement.
Choose clusters that match your natural lash length. For a gradual, natural look, use shorter lengths (9mm-10mm) on the inner corner and longer ones (14mm-16mm) on the outer corner. The Falscara Ultra Natural Multipack offers pre-sorted 8mm-12mm wisps for a subtler enhancement.
Step-by-Step Cluster Lash Application
- Step 1: Prep Your Natural Lashes: Cleanse your eyelids and lashes with an oil-free makeup remover to remove any residue. Brush your natural lashes upward with a spoolie so they are separated and ready for bonding. Common mistake: applying clusters over oily or dirty lashes causes them to slip off within hours. Always start with a clean, dry base.
- Step 2: Measure and Trim Clusters: Hold a cluster against your lash line to check the fit. If the band is longer than your eye, trim it from the outer end. For a graduated look, sort clusters by length—shorter for inner corners, longer for outer corners. Checkpoint: clusters that extend past your natural lash line can poke or look unnatural. Trim conservatively; you can always cut more.
- Step 3: Apply Adhesive and Wait: Squeeze a tiny drop of lash glue onto a clean surface. Dip the cluster band into the glue, coating it thinly. Wait 20–30 seconds until the glue becomes tacky (not wet). Common mistake: applying clusters while the glue is still wet leads to sliding and poor hold. Tacky glue grips immediately.
- Step 4: Place the Cluster: Using tweezers, pick up the cluster by the band. Position it as close to your natural lash line as possible—under your lashes for a seamless extension effect, or on top for easier access. Gently press the band against your lashes and hold for 10 seconds. Checkpoint: if the cluster feels uncomfortable or lifts at the ends, remove it, reapply fresh glue, and try again. Never force a cluster into place.
- Step 5: Repeat and Set: Continue adding clusters, spacing them about 1–2mm apart, until you reach your desired fullness. Use a spoolie to gently blend your natural lashes with the clusters. Avoid touching or wetting the lashes for at least 2 hours to let the adhesive cure fully. Common mistake: placing clusters too close together creates clumps. Leave small gaps so the lashes fan out naturally.
Product Facts
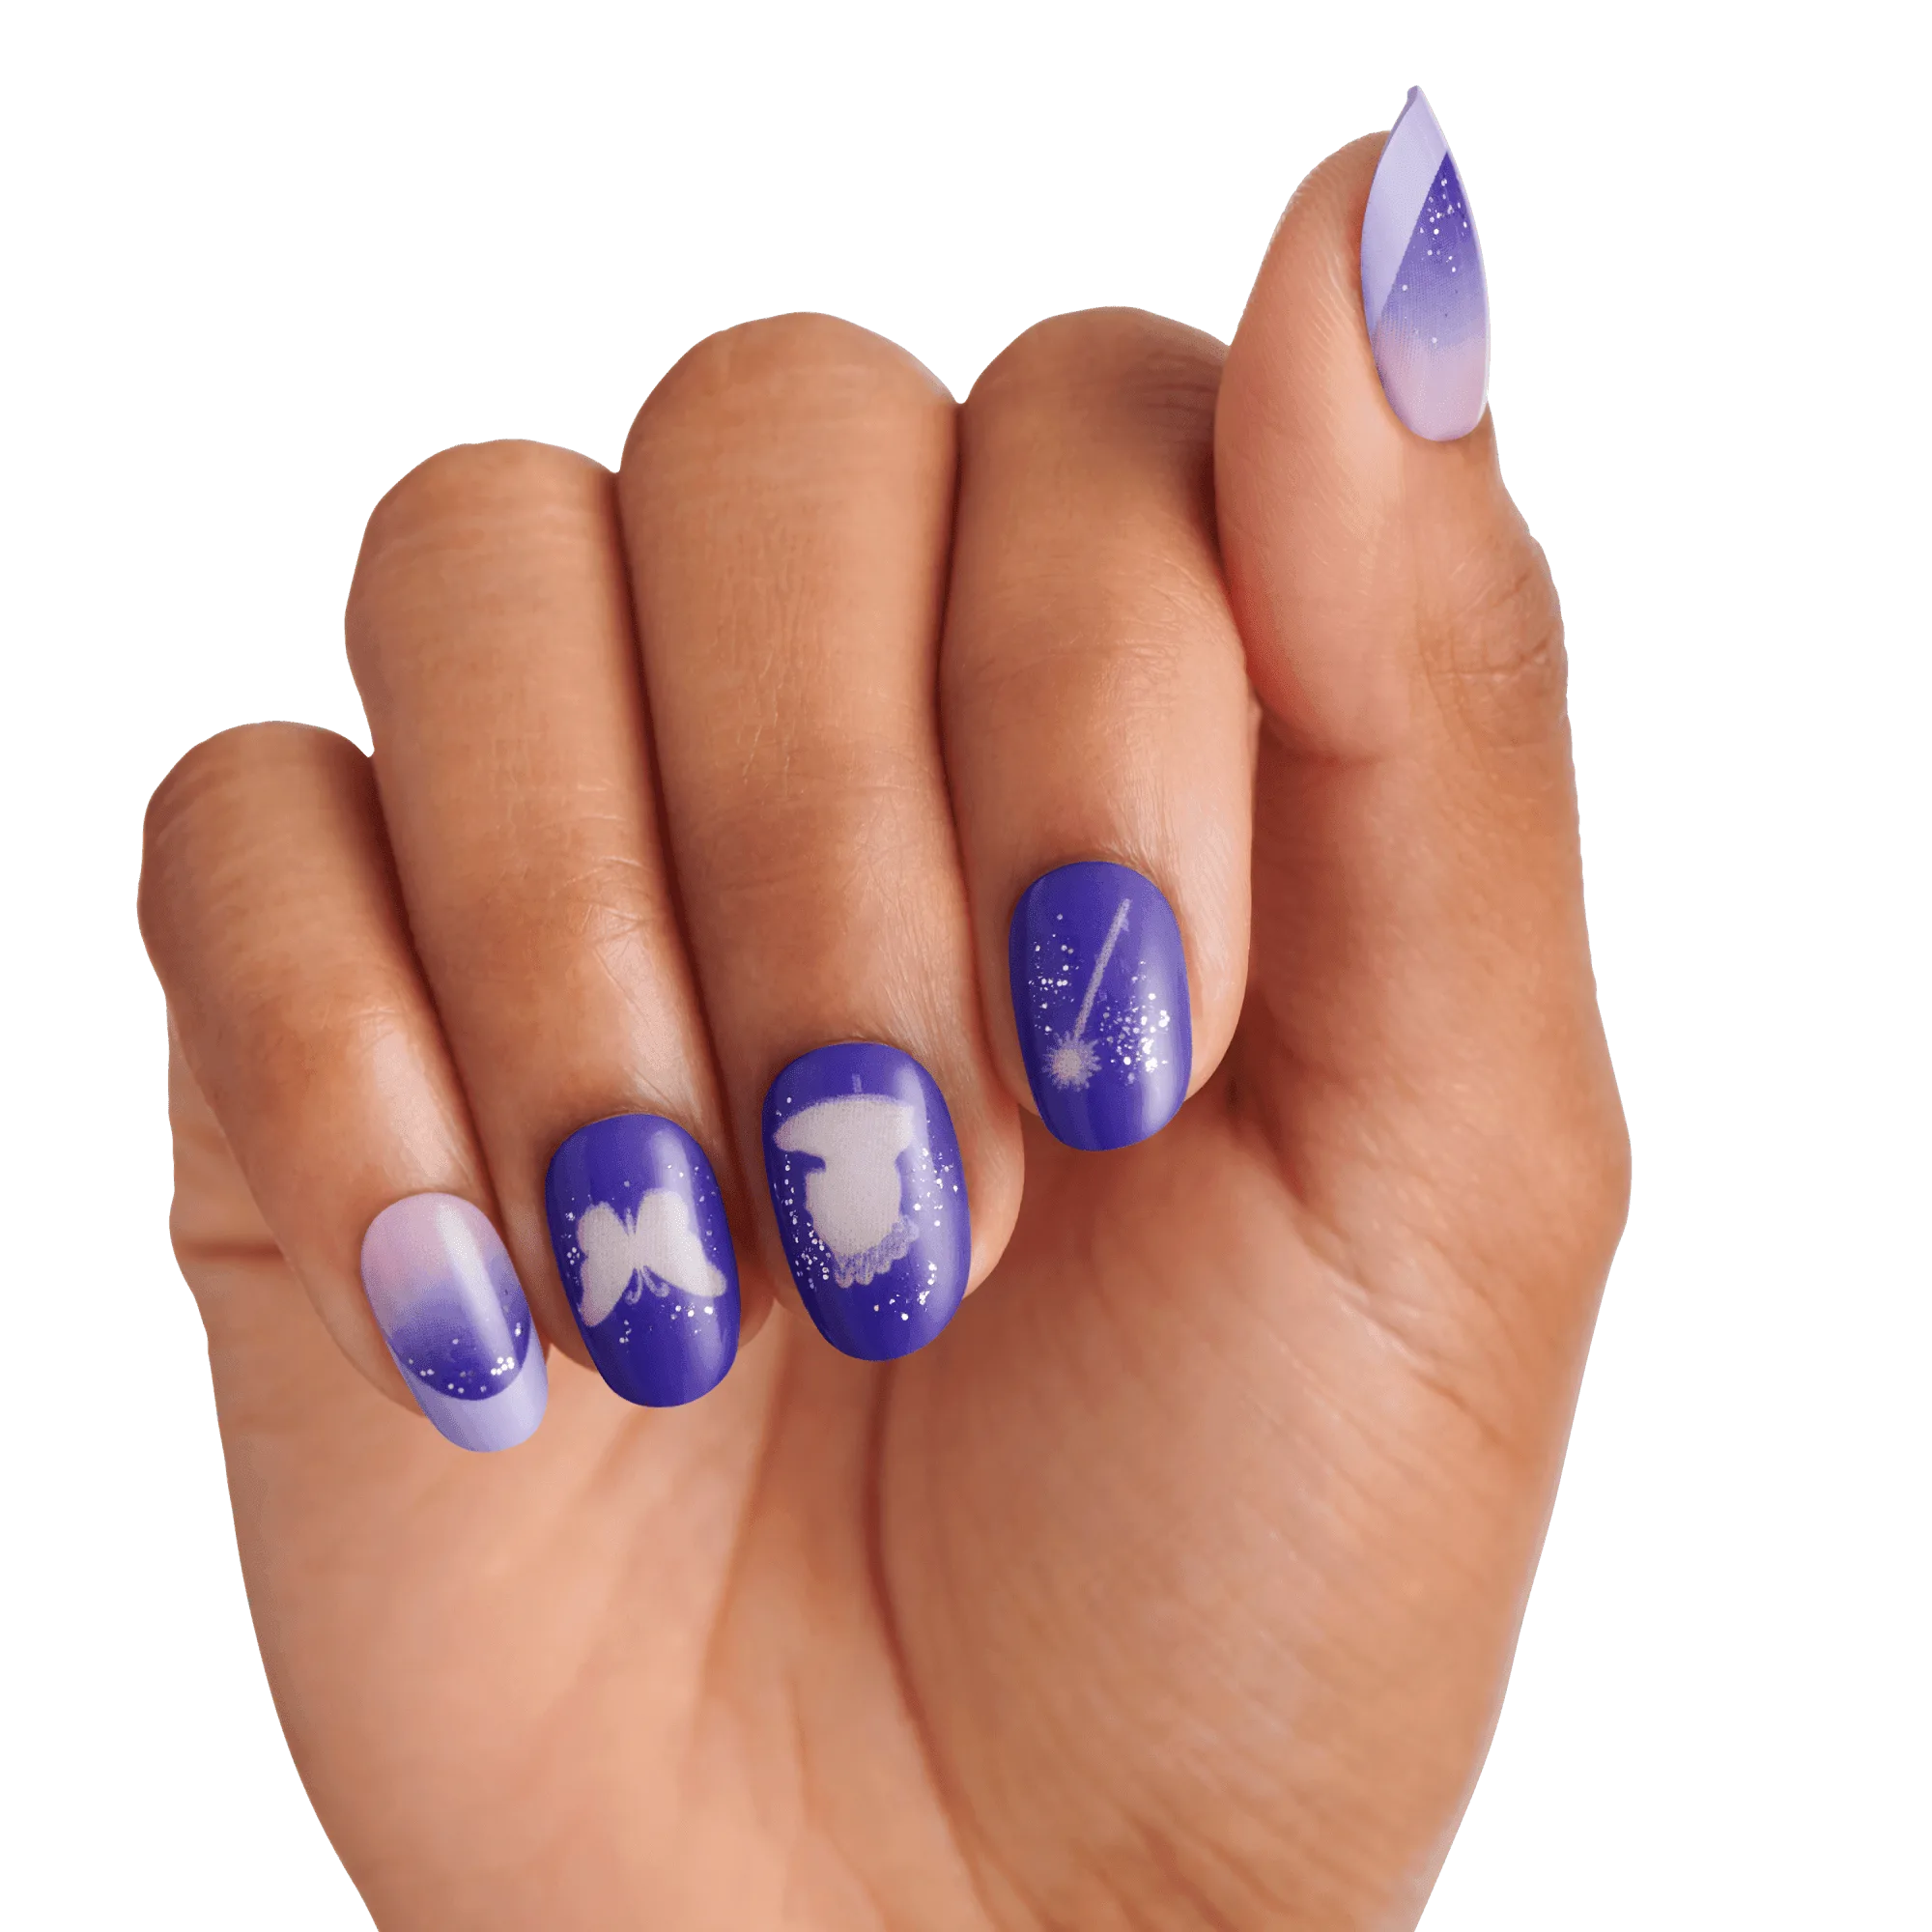
- Kiss Peony False Eyelashes Lash Extension Kit - Moonlit Bloom | 180 Clusters, Cluster Lashes, 9mm- 16mm: 180 assorted voluminous false eyelash clusters in 9mm-16mm length; 30 clusters come with an invisible clear band; lash clusters go under or over your natural lashes. The wide length range lets you customize the look from natural to dramatic, and the invisible band makes placement flexible—underlash for a seamless extension effect or over-lash for easier application.
- Falscara Ultra Natural Multipack | DIY False Lash Extensions, Natural, Cluster Lash, Wispy Lashes, Light & Airy, 24 Wisps, 8mm-12mm: 24 light & airy natural volume lash clusters, 8mm-10mm-12mm; DIY lash extensions stay secure & comfortable for 24 hours or up to 14 days. Ideal for beginners who want a barely-there enhancement; the shorter lengths reduce the risk of clumping and the extended wear time means less frequent touch-ups.