Quick answer
Silvering happens when air or matte texture is trapped under a waterslide decal, so the clear film catches light and looks milky. Prevent it by laying decals over a smooth glossy surface, sliding them into a puddle of water, and pressing the film down with a soft brush before adding a decal setting solution. If silvering appears, prick the film with a pin, re-wet it, and press again before it fully cures.
A decal that looks painted on disappears into the surface. A decal that silvers looks like a sticker you forgot to peel — and no amount of clear coat fully hides it. The difference is almost never the decal itself. It is the surface underneath and how much air you leave trapped.
This waterslide decal guide walks through the order that works on Revell kits, from gloss prep to the final sealing coat. It also covers the decal application mistakes that cause most silvering, so you can catch them while the film is still movable. The same process works whether you are marking a racing Porsche or a Tiger II.
Why silvering happens (and why gloss matters more than brand)
A waterslide decal is a printed image on a thin clear film. That film needs to sit flat against the paint with no air underneath. On a matte or slightly rough surface, the film bridges tiny peaks and traps air pockets. Light hits those pockets and scatters, which reads as silver or white haze around the artwork.
Gloss is not about shine for its own sake. It is about giving the film a continuous surface to bond to. If your base coat is flat, satin, or has visible orange peel, you are stacking the odds against yourself. You can still succeed, but you will need more setting solution and more patience.
Temperature and humidity matter too. Very dry, warm rooms make decals grab fast, leaving little time to reposition. Work in a comfortable room, keep your water clean, and do not rush the press-down step.
- Checkpoint: hold the painted part under a lamp at a low angle. If the reflection is broken or fuzzy, the surface is not glossy enough for decals yet.
- Do not touch fresh paint with bare fingers. Skin oils create a slick spot that decals will not bond to evenly.
What you need before you start
You do not need a bench full of products. You need clean water, a soft flat brush, a lint-free cloth or paper towel, a hobby knife or pin, and a decal setting solution. A shallow dish or clean saucer works better than a deep bowl because you can see the decal release.
Keep a small cup of clean water for wetting the surface and a separate dish for soaking the decal. Reusing dirty water spreads paper fibers and adhesive residue onto your model. If you are working on a small kit like the Porsche 934 RSR "Martini", cut the decal sheet into individual pieces first so you are not fumbling with a full sheet.
Setting solution is the one product worth having. It softens the film so it conforms to curves and panel lines. Some modelers also use a stronger solvent on stubborn areas, but start mild. Aggressive solutions can wrinkle or distort thin decals if you flood them.
- Checkpoint: test one small decal on an inconspicuous area before committing to the main livery.
- Never let setting solution pool on bare paint for long periods. Wipe excess away with a soft brush.
Step 1: Prep the surface
Wash your hands and clean the model surface with a damp lint-free cloth. Any dust, sanding residue, or fingerprint will show through the clear film. If you have just sanded or polished, wipe again. If the paint is fully cured and glossy, you can go straight to wetting.
If your paint is matte or has a texture, apply a thin gloss clear coat and let it cure fully. This is the single biggest decal silvering fix. A smooth clear layer gives the decal something to bond to and protects the paint underneath from setting solution.
Do not apply decals over a tacky or semi-cured clear coat. The film can sink in and wrinkle, and you cannot reposition it without tearing.
- Checkpoint: the surface should feel slick and dry, not tacky. If it feels even slightly sticky, wait longer.
- Work in a dust-free area. A single stray hair under a decal is permanent.
Step 2: Cut and soak the decal
Cut around the decal with a hobby knife or scissors, leaving a small margin of backing paper. Cutting too close to the artwork risks slicing the film. Cutting too far leaves a big paper flap that makes handling awkward.
Soak the piece in lukewarm water for 15 to 30 seconds. The decal is ready when it slides freely on the backing paper with a gentle nudge. Do not leave it in the water until it floats off on its own; over-soaking washes out the adhesive and makes the film limp.
If you are applying several decals, soak only one or two at a time. Decals that sit in water too long become difficult to position and more likely to tear.
- Checkpoint: the decal should slide, not swim. If it will not move, soak a few seconds more.
- Use lukewarm water, not hot. Hot water can curl thin decals.
Step 3: Position and press out the water
Wet the model surface with a small puddle of clean water. Slide the decal off the backing paper onto the model. Use a soft brush to nudge it into place rather than your fingers, which can stretch the film.
Once positioned, gently press the decal down with a dry soft brush, working from the center outward. This pushes water and air out from under the film. Blot the excess with a lint-free cloth. Do not press so hard that you drag the decal out of position.
For decals that cross panel lines or curves, add a small drop of setting solution and let it work. The film will soften and settle into the detail. If it wrinkles, leave it alone. Most wrinkles flatten as the solution dries.
- Checkpoint: look at the decal at a low angle. If you see trapped water bubbles, press them out now while the film is movable.
- Do not use a hair dryer to speed drying. Heat can curl the film and trap air.
Step 4: Fix silvering before it sets
If you spot a milky or silver halo around the decal, act before it fully cures. Prick the film with a pin or the tip of a hobby knife in the silvered area, add a drop of water or setting solution, and press the film down again with a soft brush. This releases trapped air and lets the film bond.
For stubborn silvering over a matte surface, the real fix is to lift the decal, gloss the area, and reapply. Trying to force it down with more solution alone rarely works because the texture is still there. If the decal is already dry, wet it carefully and peel it up with a knife blade.
Once the decal is flat and dry, inspect it under a lamp. A slight sheen is normal. A white or silver outline is not.
- Checkpoint: if the silvering returns after pressing, the surface underneath is the problem, not the decal.
- Keep a spare decal from the sheet if possible. Some kits include duplicates for common markings.
Step 5: Seal and protect the decals
After the decals are fully dry, apply a clear coat to seal them. This blends the film edge and protects the artwork from handling. Use the same type of clear coat you used under the decals if possible, and apply thin coats rather than one heavy pass.
A gloss clear coat over decals gives the most invisible result. If you want a matte or satin final finish, apply a gloss coat first to bury the film edge, then your matte or satin coat on top. This two-stage approach hides the decal edge better than going straight to matte.
Let each coat cure before the next. Rushing the clear coat can lift the decal edge or trap solvent underneath.
- Checkpoint: the decal edge should disappear under the first gloss coat. If it still shows, add another thin coat.
- Do not handle the model heavily for at least 24 hours after the final coat.
Decal application checklist: the order that prevents silvering
- Gloss the surface first: Apply a thin gloss clear coat over matte or textured paint and let it cure fully before any decal touches the model. Checkpoint: the surface should reflect a lamp cleanly. If it looks fuzzy, wait or add another coat.
- Cut, soak, and slide: Cut around each decal with a margin, soak in lukewarm water until it slides on the backing, then slide it into a puddle of clean water on the model. Checkpoint: if the decal will not slide, soak a few more seconds. Do not force it.
- Press out water and air: Use a soft brush to work from the center outward, pushing trapped water and air from under the film, then blot the excess. Checkpoint: look at a low angle for bubbles. Fix them now while the film is still movable.
- Set and fix silvering early: Add setting solution on curves and panel lines. If silvering appears, prick the film, re-wet, and press down before it cures. Checkpoint: if silvering returns, lift the decal and gloss the area underneath.
- Seal with clear coat: Once dry, apply a thin gloss clear coat to bury the film edge. Add matte or satin on top only after the gloss has cured. Checkpoint: the decal edge should disappear under the first gloss coat.
Where these decal steps fit in the Revell range
- Porsche 934 RSR "Martini": 104 parts, 179 mm long, easy to build and suitable for beginners, with a true-to-original body and multi-part engine. A beginner-friendly kit with a prominent racing livery is a good place to practice decal work. The multi-part engine and body mean you can decal the shell before final assembly, which is easier than working around installed parts.
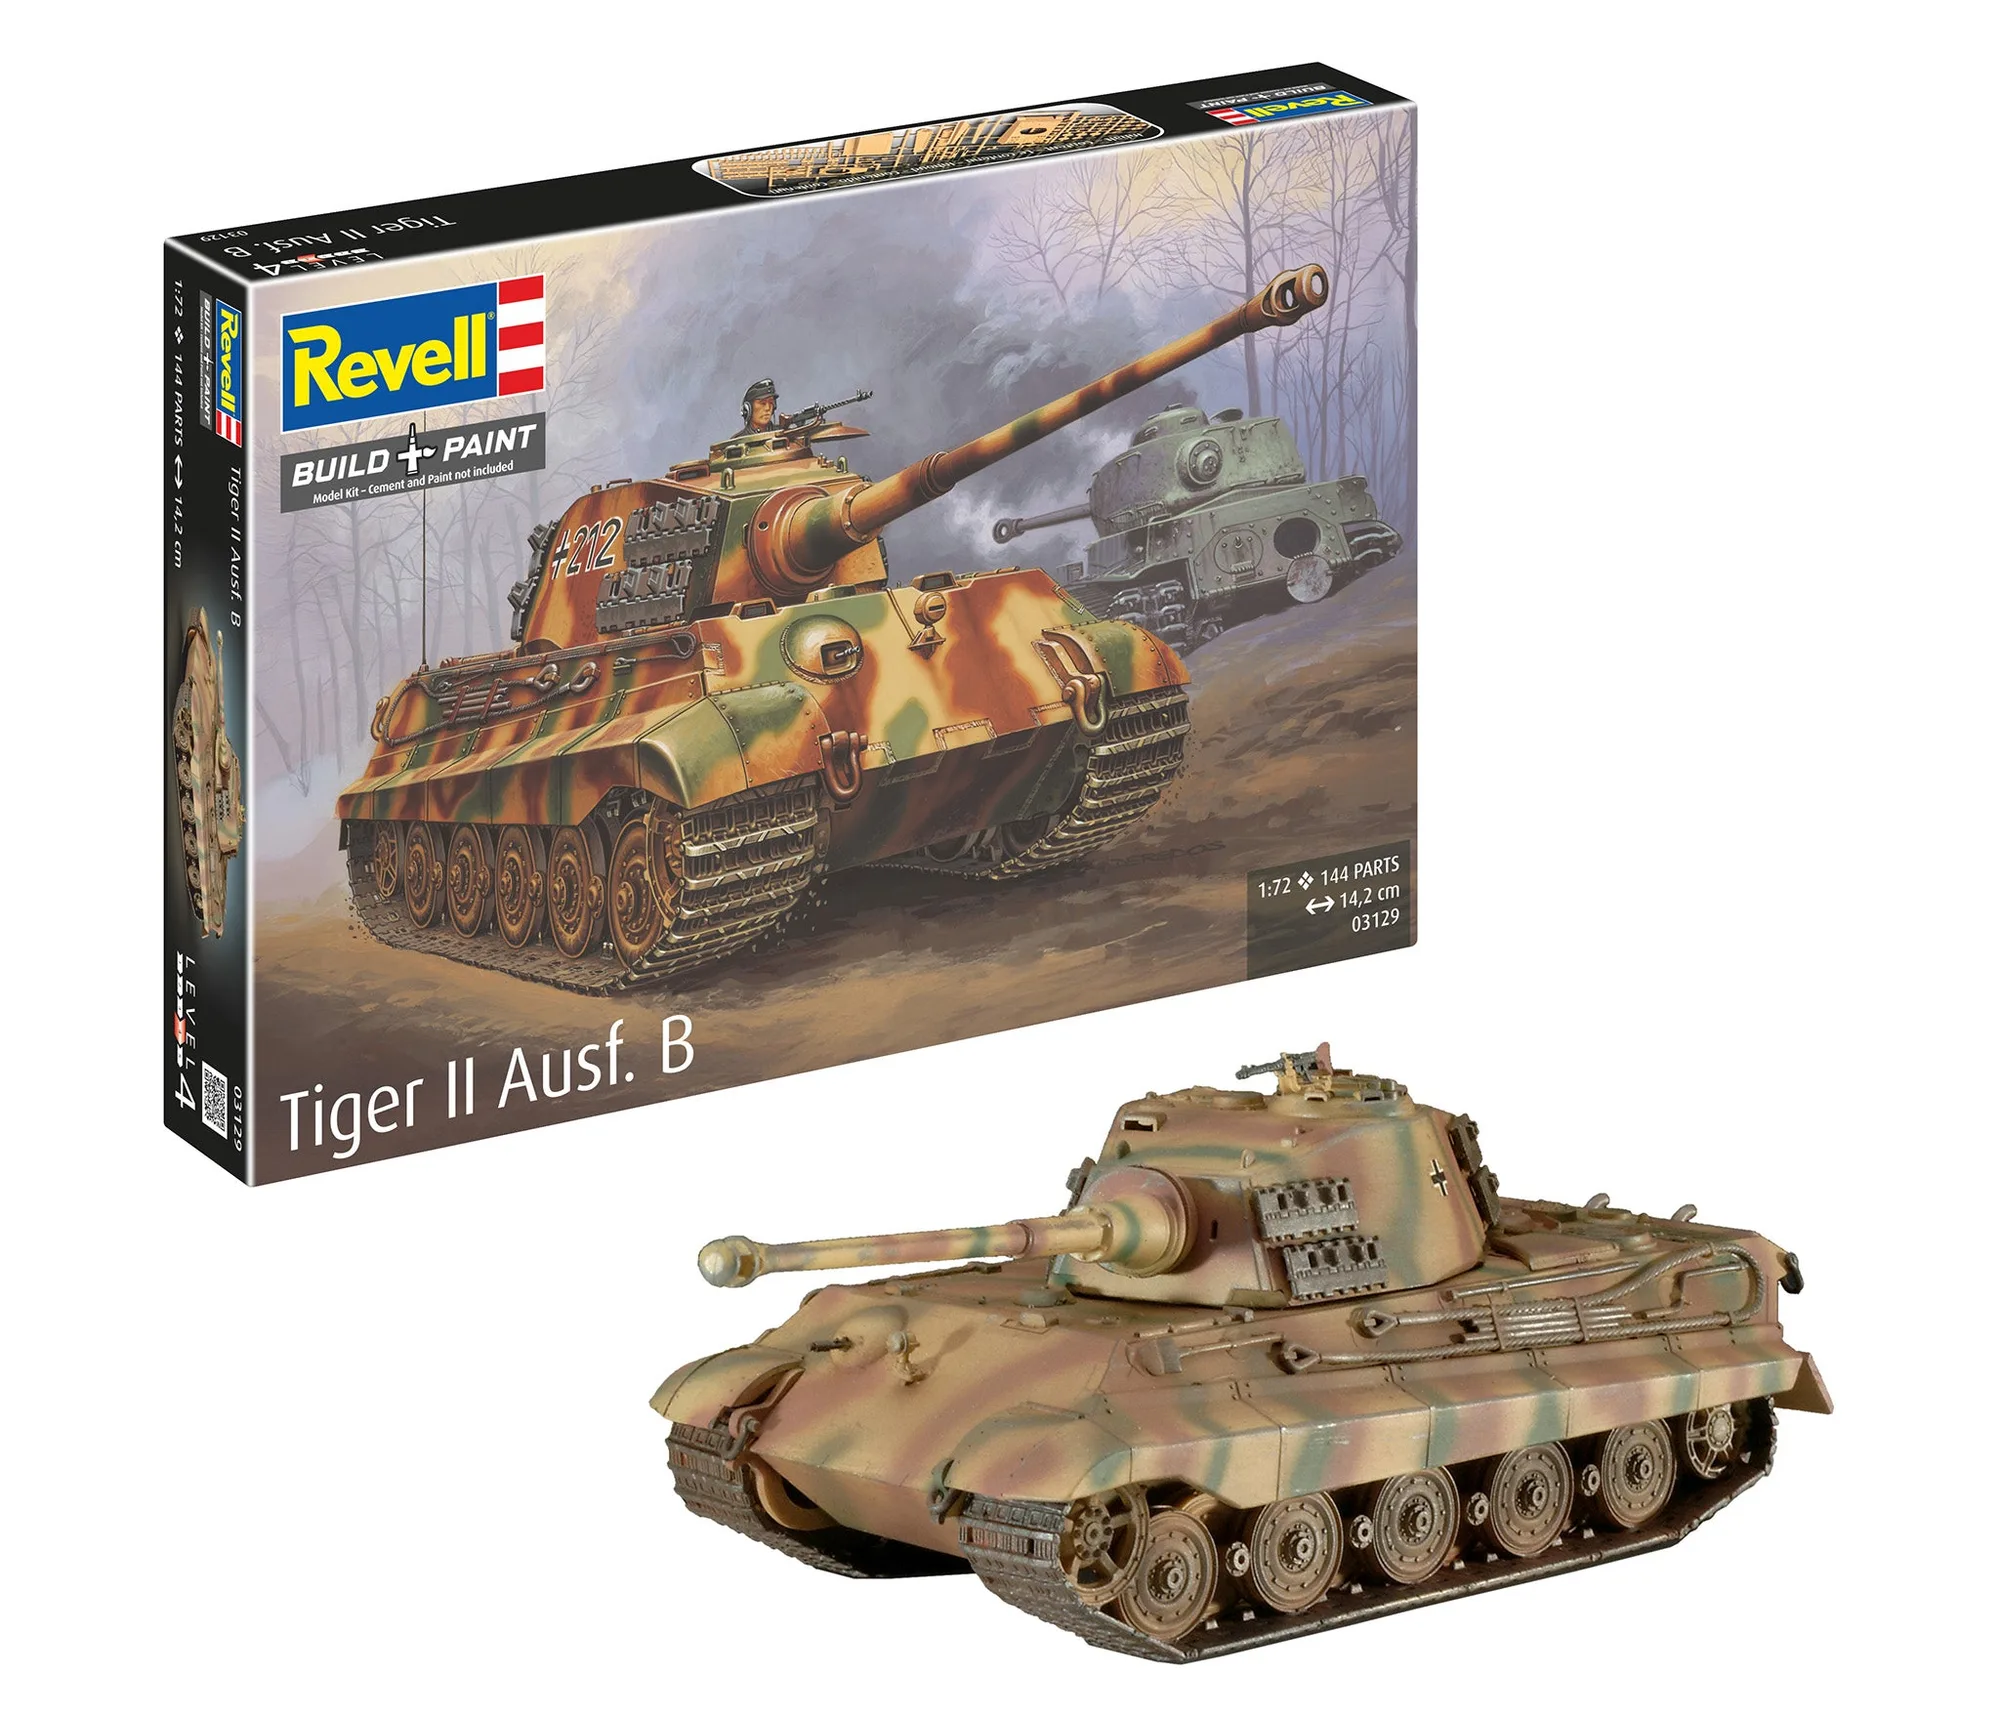
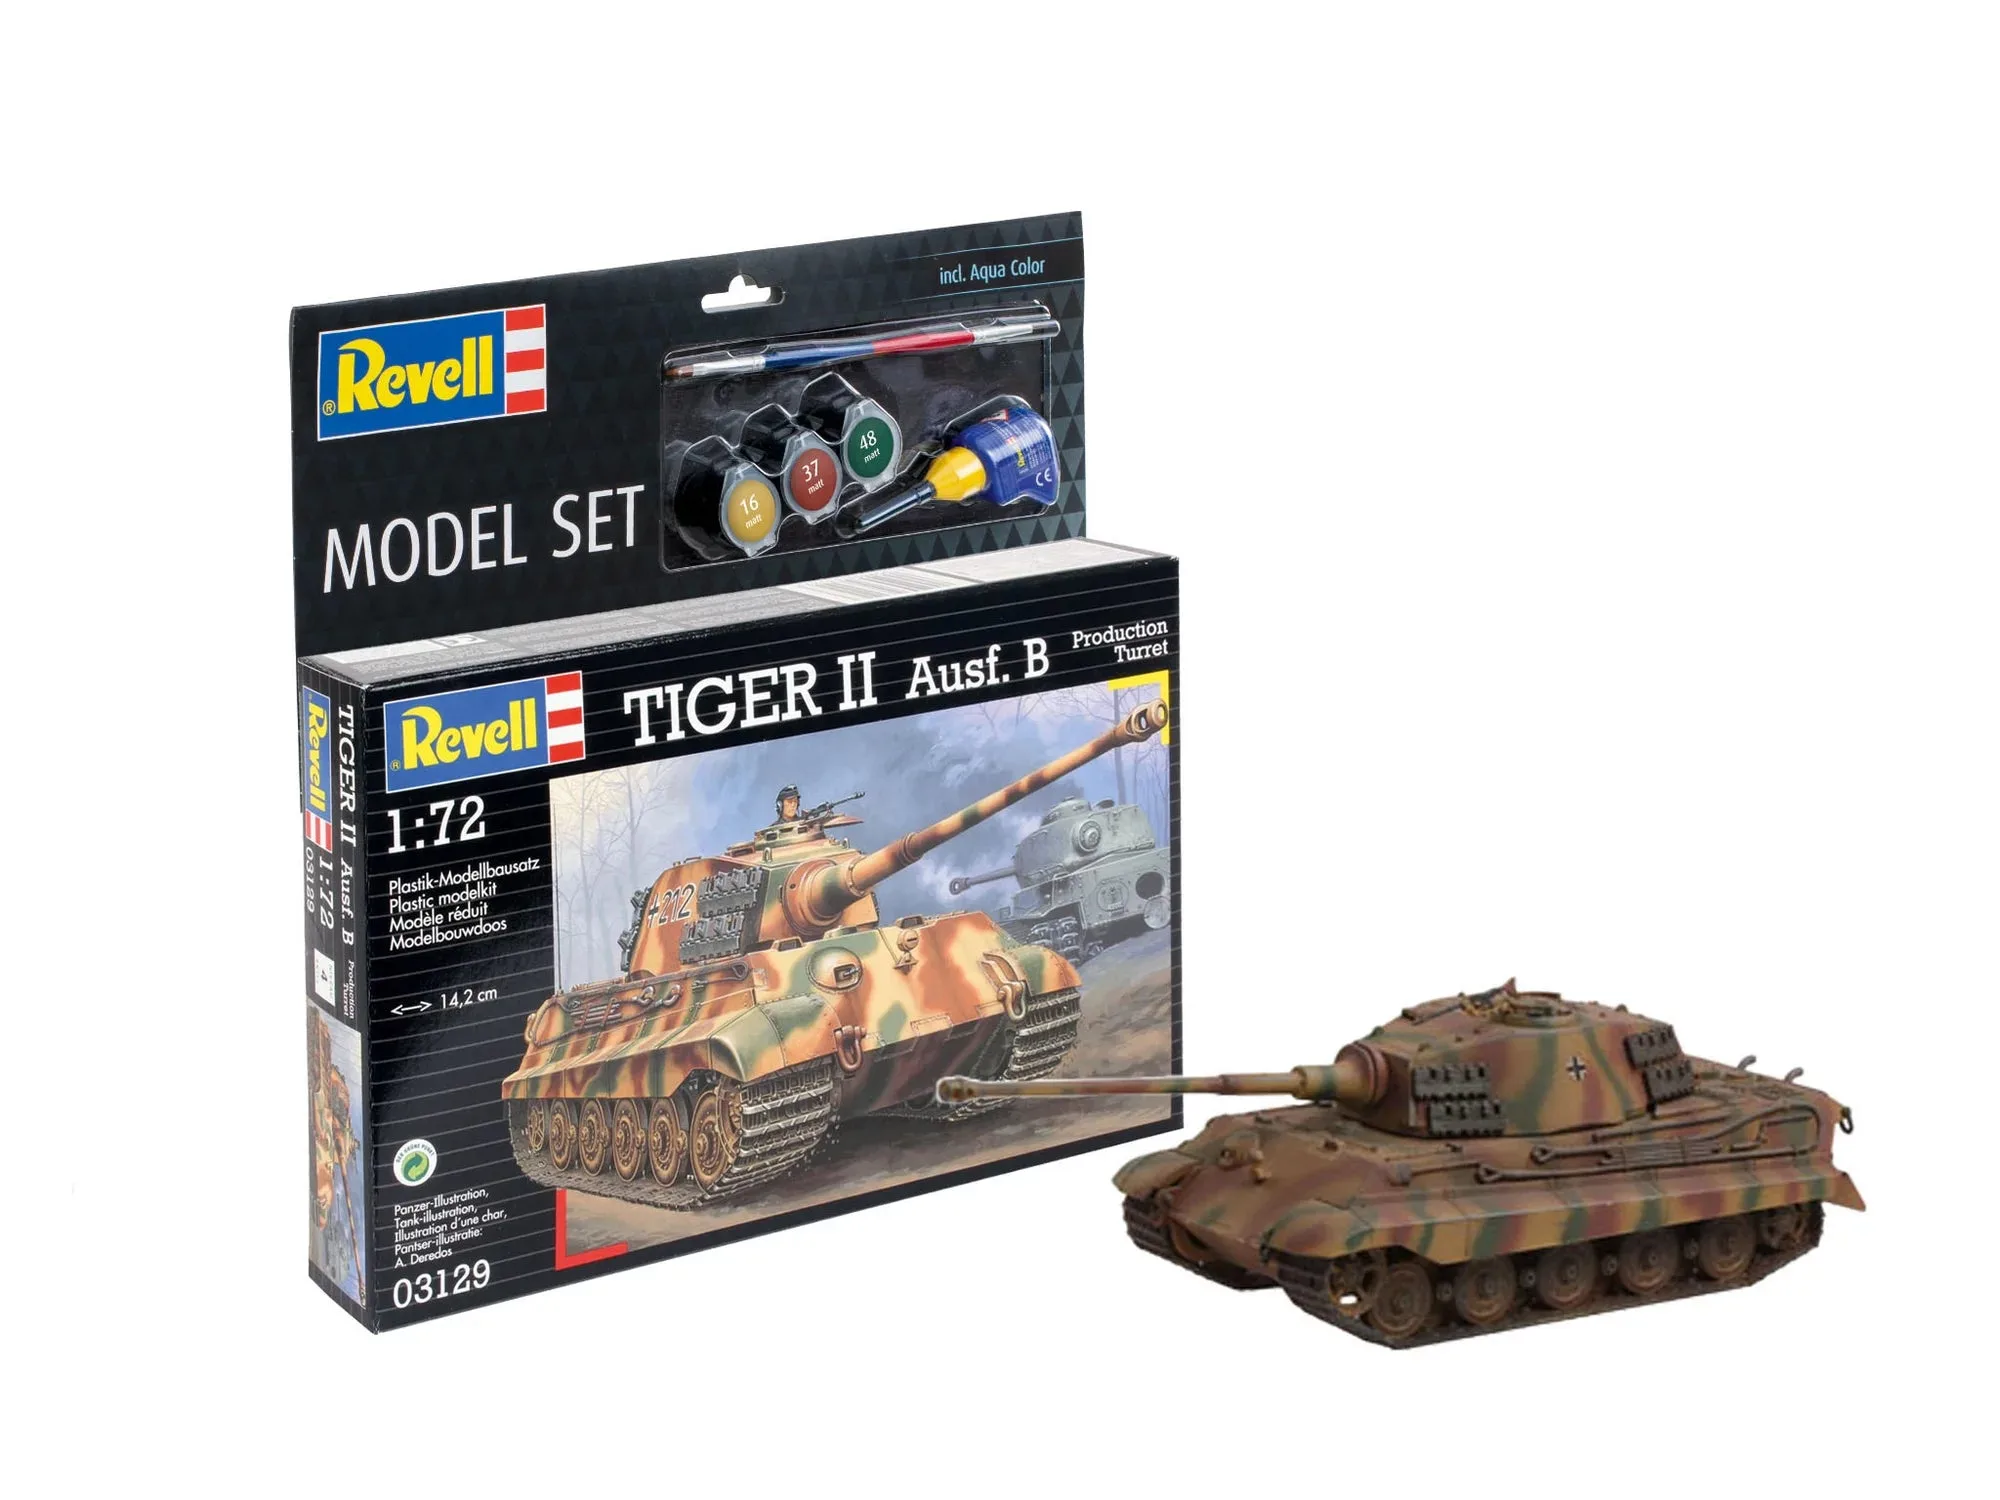
- https://revellesy.com/products/model-set-tiger-ii-ausf-b-17adad86b75d38031e1c3103-1572520Model Set Tiger II Ausf. B: A model kit of the Tiger II "King Tiger", a 1943 tank described as a technical masterpiece and a legend on World War II battlefields. Military subjects often have small stencil markings and turret numbers that silver badly on matte armor texture. Gloss prep and setting solution matter even more here because the markings are small and the surface is often flat.
- Citroen 2CV "Charleston": 126 parts, 1:24 scale, 160 mm long, bringing the 1948 small car to life. A 1:24 classic with body trim and small badges gives you curved surfaces to practice on. Decals over curved fenders are where setting solution earns its place.
Decal work rewards patience more than products. Gloss the surface, keep the film wet until it is positioned, press out every bubble, and fix silvering before it dries. Do that and your Revell kit will look painted, not stickered.