Quick Answer
To apply dramatic lash extensions at home, start with clean, dry natural lashes, then apply a bonding adhesive and place clusters from outer to inner corner, focusing volume on the outer half. For a bold look, choose a fluffy, structured style like Uptown and finish with a gentle press to secure the bond.
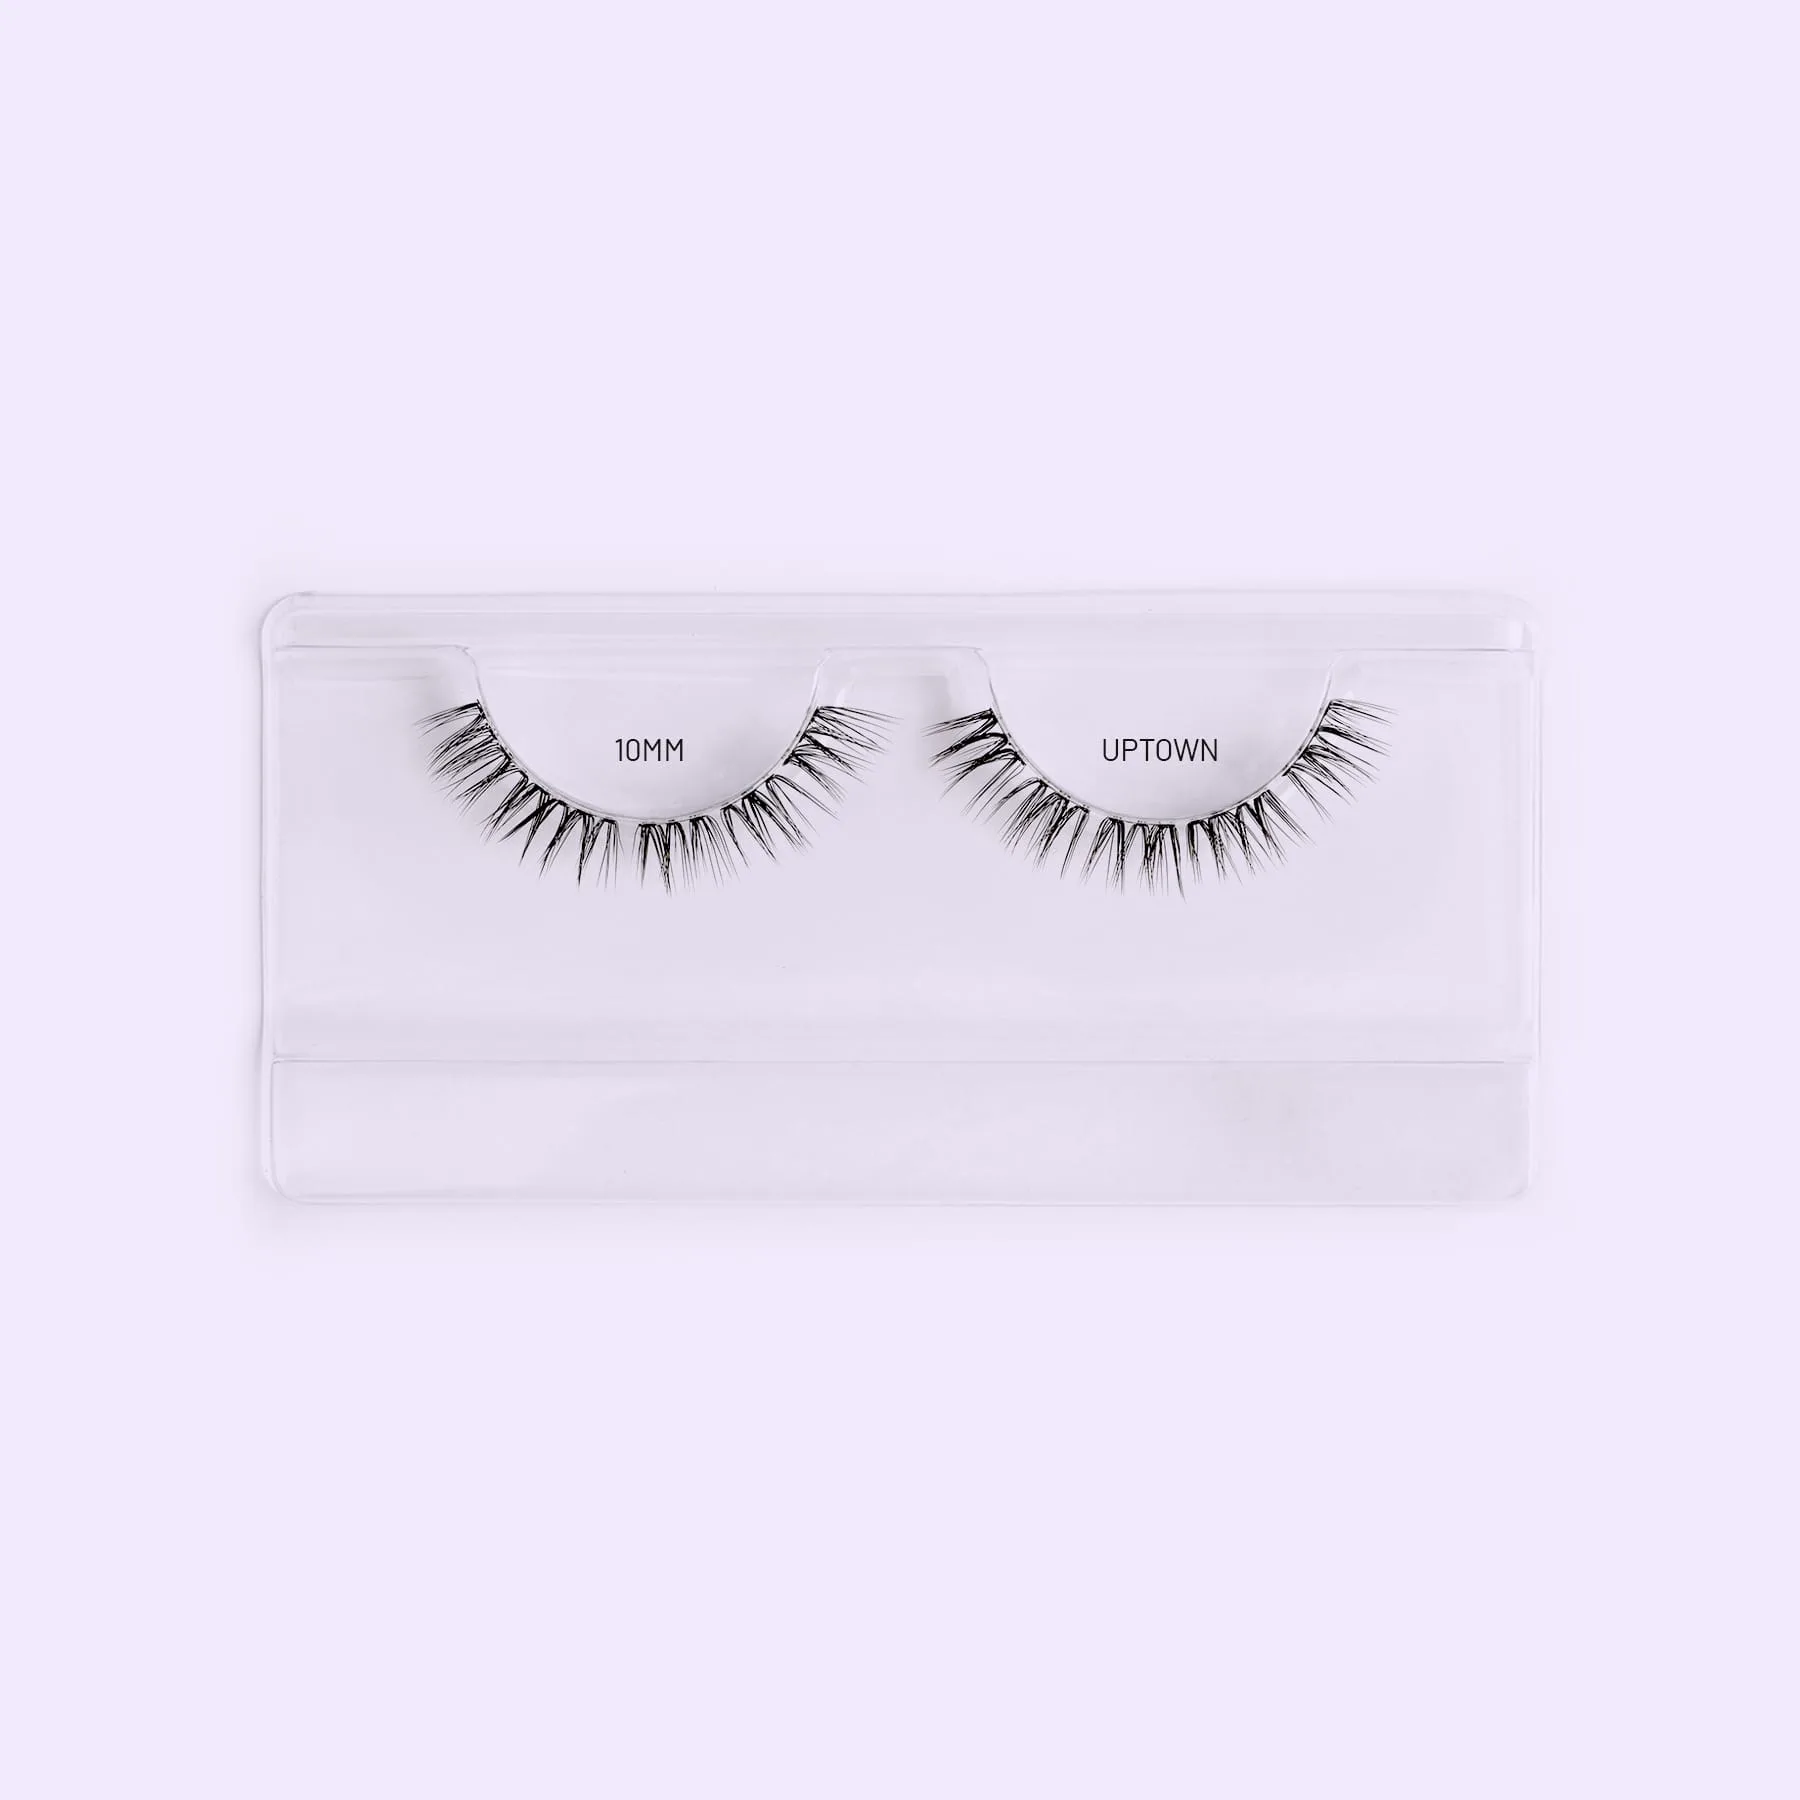
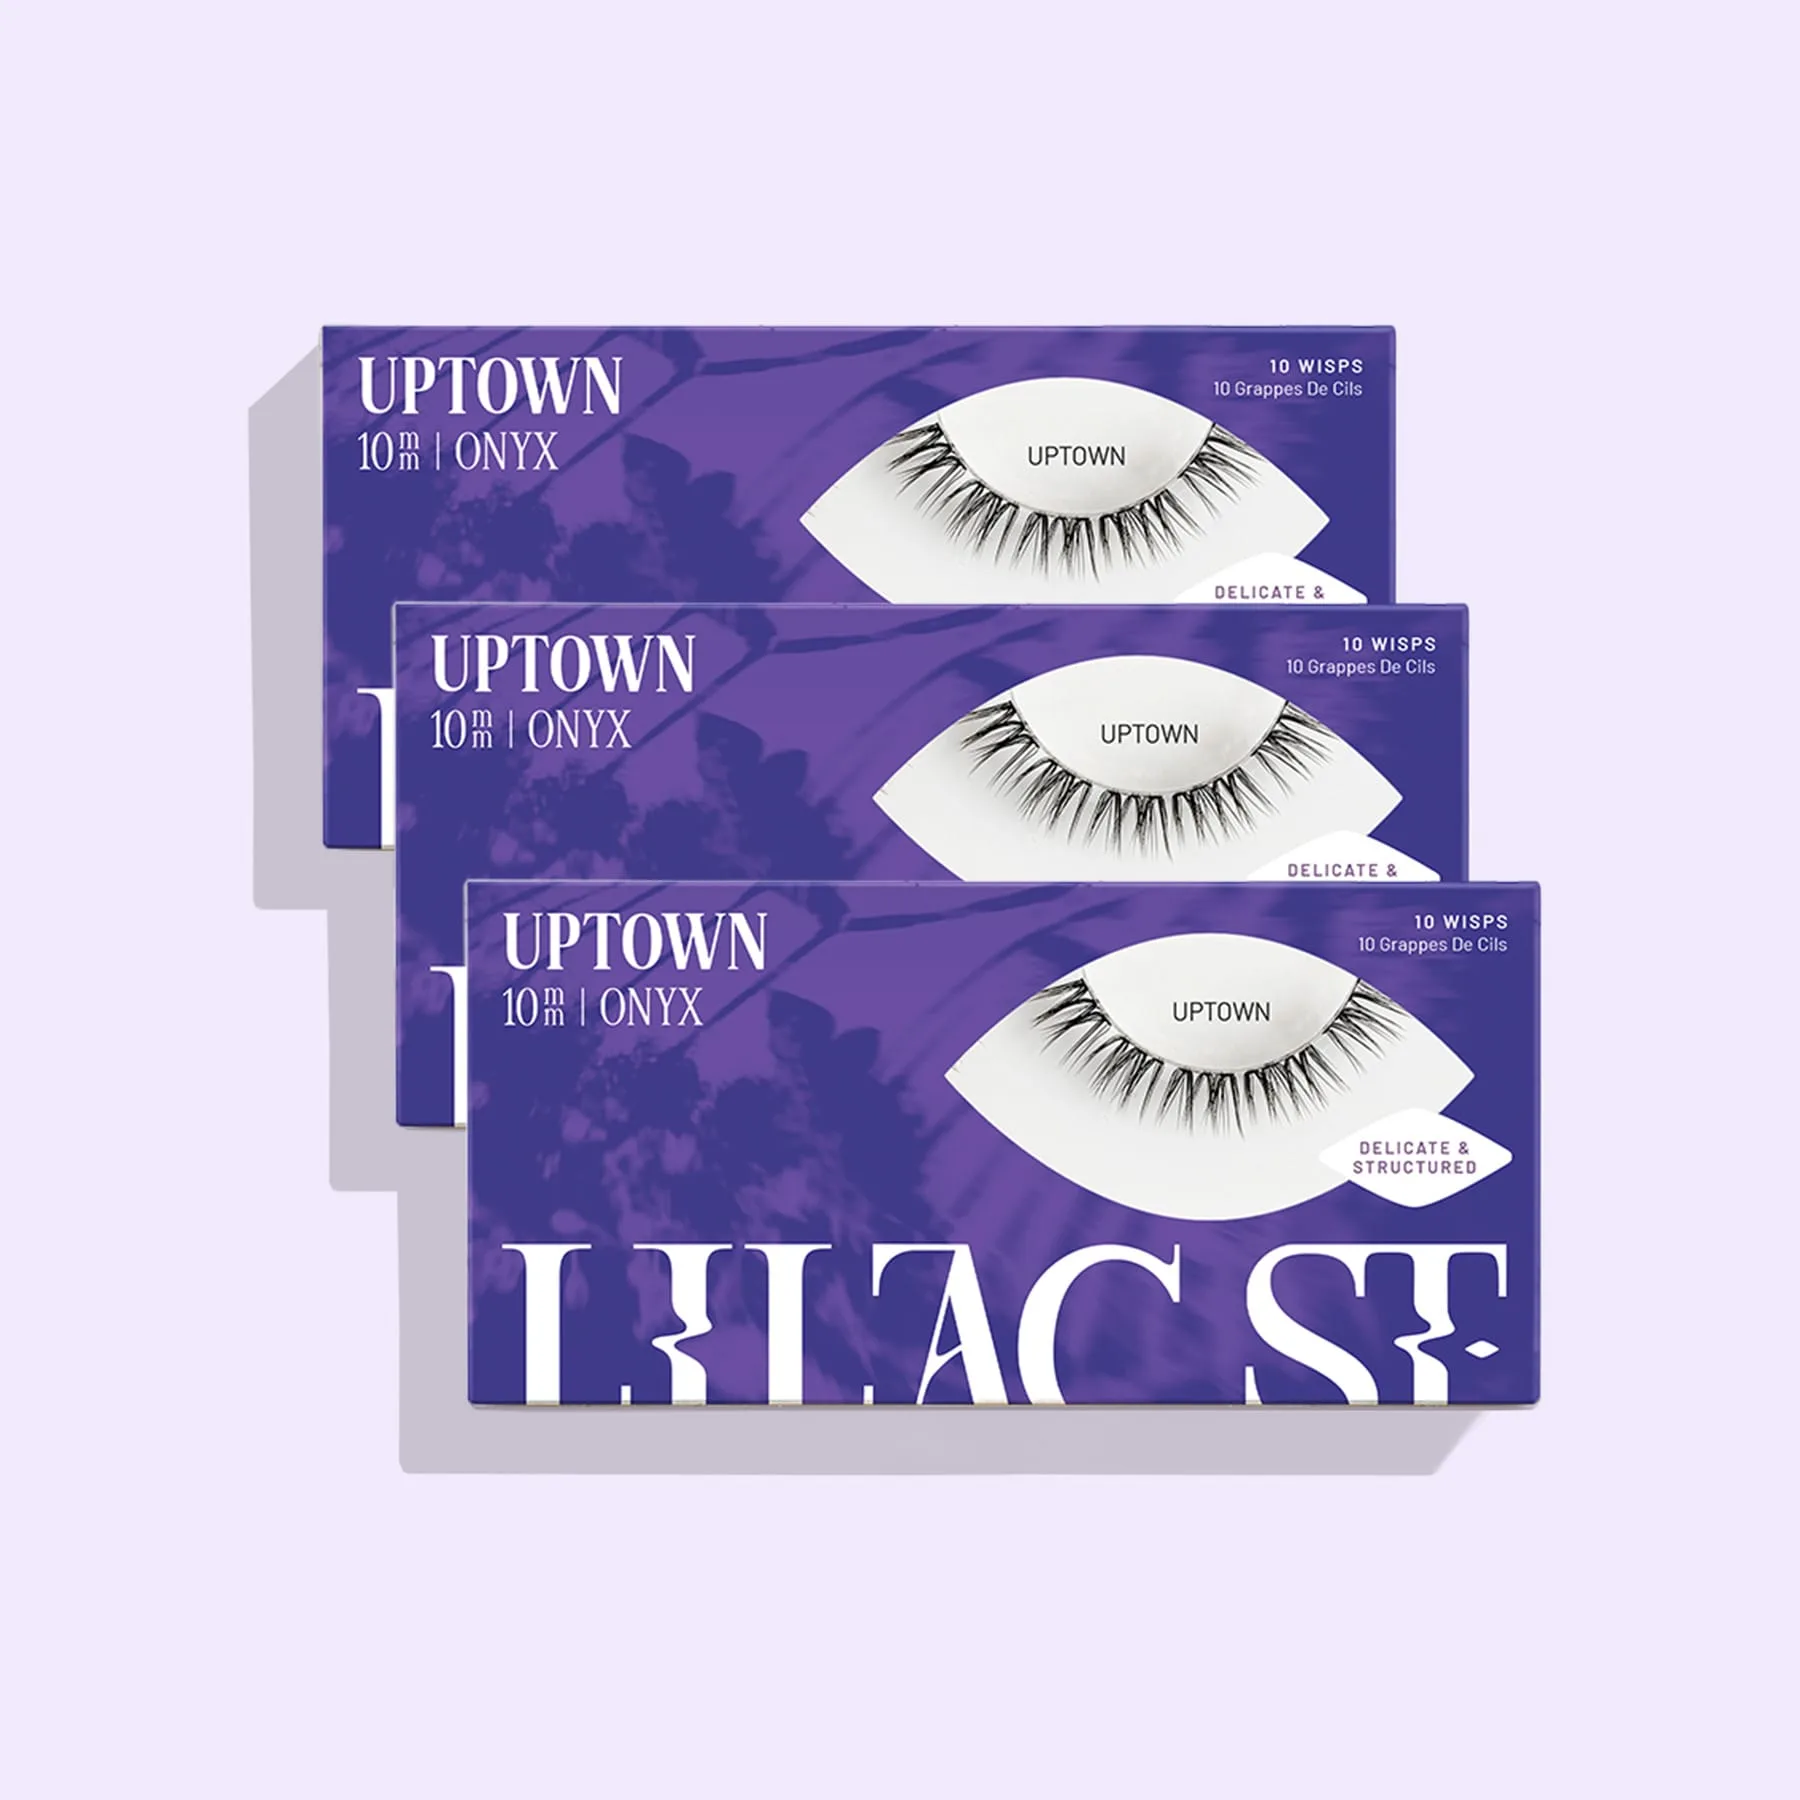
Uptown
Dramatic lash extensions are all about volume, length, and that eye-catching flutter. Whether you're prepping for a night out or just love a high-impact everyday look, mastering the application at home saves time and money. This guide walks you through the process step by step, with practical checkpoints to help you avoid common mistakes.
Before you start, know that dramatic doesn't mean messy. The key is strategic placement: denser clusters on the outer corners and a gradual taper inward. With the right technique and a quality lash style, you can achieve a bold look that stays put for days.
What Makes a Lash Style Dramatic?
A dramatic lash style is defined by noticeable volume, length, and often a winged or cat-eye silhouette. Unlike natural styles that mimic your own lash pattern, dramatic lashes use denser clusters and longer lengths to create a high-impact effect. The placement matters more than the product: concentrating the heaviest volume on the outer third of your lash line opens up the eye and creates that signature bold flick.
When choosing a lash style for drama, look for descriptions like 'fluffy,' 'structured,' or 'wispy separated clusters.' These features add texture and depth, making the lashes appear fuller without looking clumpy. A style like Uptown, with its wispy separated clusters, is a great example of a lash that delivers drama while keeping each lash defined.
- Dramatic lashes often use a mix of lengths, with the longest placed at the outer corner.
- Fluffy, structured styles photograph well and catch light for extra impact.
Prep Your Natural Lashes for a Strong Bond
The foundation of any lash extension application is a clean, oil-free lash line. Oil and makeup residue prevent the bond from adhering, causing lashes to fall out prematurely. Wash your face and gently cleanse your lashes with a lash-safe cleanser, then dry them completely. Avoid using oil-based makeup removers or moisturizers near the eye area.
Comb through your natural lashes with a spoolie to remove any tangles and ensure they're pointing upward. This gives you a smooth base and helps the extensions blend seamlessly. If your lashes are straight, consider curling them before application—but do this before applying any adhesive, not after.
- Use a lash cleanser or a gentle foaming wash to remove all traces of oil.
- Dry lashes thoroughly; even a little moisture can weaken the bond.
Map Out Your Dramatic Lash Placement
Before you pick up any lash clusters, plan where each one will go. For a dramatic look, you'll want the longest and fullest clusters at the outer corner, gradually shortening as you move inward. This creates a winged effect that lifts the eye. You can mark your lash line with a eyeliner pencil to guide your placement, but make sure it's oil-free.
Lay out your lash clusters in order from outer to inner corner so you can grab them quickly. This prevents adhesive from drying out while you search for the right size. Having a clear plan also helps you avoid over-lashing the inner corner, which can look heavy and unnatural.
- Start with the outer corner cluster and work inward for a smooth gradient.
- Use a mirror with magnification to see your lash line clearly.
Apply the Bond and Place Clusters
Dip the base of a lash cluster into your lash bond, coating it thinly and evenly. Too much adhesive can cause clumping or make the cluster slide. Wait a few seconds for the bond to become tacky—this helps the cluster stick in place instantly. Then, using tweezers, place the cluster on top of your natural lashes, close to the lash line but not on the skin.
Press the cluster gently against your natural lashes to secure the bond. Hold for a few seconds to allow it to set. Continue placing clusters according to your map, working from the outer corner inward. For a dramatic look, you can layer two clusters on the outer corner for extra density, but avoid overloading any single area.
- A thin, even coat of bond is better than a thick glob.
- Place clusters on the lash line, not on the eyelid skin, to avoid irritation.
Finish and Set Your Bold Lashes
Once all clusters are in place, give your lashes a final check. Use a clean spoolie to gently brush through the lashes, blending your natural lashes with the extensions. This helps remove any tangles and ensures the lashes fan out properly. If any cluster feels loose, apply a tiny bit more bond to the base and press it down.
Finally, avoid getting your lashes wet for at least 12 hours to allow the bond to fully cure. Avoid using oil-based products on or near your lashes, as they can break down the adhesive. With proper care, your dramatic lash extensions can last several days, giving you a bold look that's ready for anything.
- Brush lashes gently to avoid pulling them out.
- Sleep on your back or use a silk pillowcase to preserve the curl.
Step-by-Step Application Checklist
- Cleanse and dry: Wash your face and lashes with an oil-free cleanser, then dry completely. Checkpoint: Lashes are clean and free of any makeup or oil residue.
- Map placement: Decide where you'll place each cluster, with the longest at the outer corner. Checkpoint: You have a clear plan and all clusters laid out in order.
- Apply bond to cluster: Coat the base of the cluster thinly with bond and wait until tacky. Checkpoint: Bond is tacky but not dry—this ensures a strong hold.
- Place cluster on lash line: Using tweezers, position the cluster on your natural lashes, close to the lash line. Checkpoint: Cluster sits on lashes, not on the skin, and is pressed gently to secure.
- Repeat from outer to inner: Continue placing clusters, working from the outer corner inward, following your map. Checkpoint: Even spacing and a gradual taper toward the inner corner.
- Brush and set: Gently brush through lashes with a spoolie to blend and remove tangles. Checkpoint: Lashes are fluffy and separated; avoid water for 12 hours.
Products That Help You Achieve the Dramatic Look
- Uptown: Uptown features wispy separated clusters of fluffy, structured volume lash. The wispy, separated clusters give you that bold, dramatic texture without looking clumpy—ideal for a high-impact look that still appears defined.
- https://lilacstop.com/products/deluxe-starter-kit-set-ember-350886https://lilacstop.com/products/deluxe-starter-kit-set-350889Deluxe Starter Kit Set - Ember: This comprehensive kit includes everything you need to begin your at-home lash extension journey, with a warm, rich Ember shade. If you're new to DIY lash extensions, starting with a complete kit ensures you have the right bond, applicator, and lashes to achieve a dramatic style successfully.
Applying dramatic lash extensions at home is a skill you can master with practice. By following this step-by-step guide, you'll be able to create a bold, eye-catching look that lasts. Remember to choose a lash style with the right texture and density, like Uptown, and always start with a clean, well-prepped lash line. With the right technique and products, you'll enjoy stunning dramatic lashes without the salon price tag.