Quick Answer
To get the longest wear from your Electric Prayer press-on nails, start with clean, dry, oil-free natural nails, then apply each nail with a thin, even layer of adhesive and press firmly for 30 seconds. Follow the detailed steps below to keep them secure for up to 3 weeks.
Why Preparation Matters for Long Wear
The secret to press-on nails that last isn't the glue—it's the prep. Oils, lotion, and even natural nail moisture can create a barrier that weakens the bond, causing nails to lift or pop off early. By taking a few minutes to prep your nails properly, you give the adhesive the best chance to grip firmly, which is especially important for a detailed design like Electric Prayer that you'll want to show off for weeks.
Choosing the Right Size and Shape
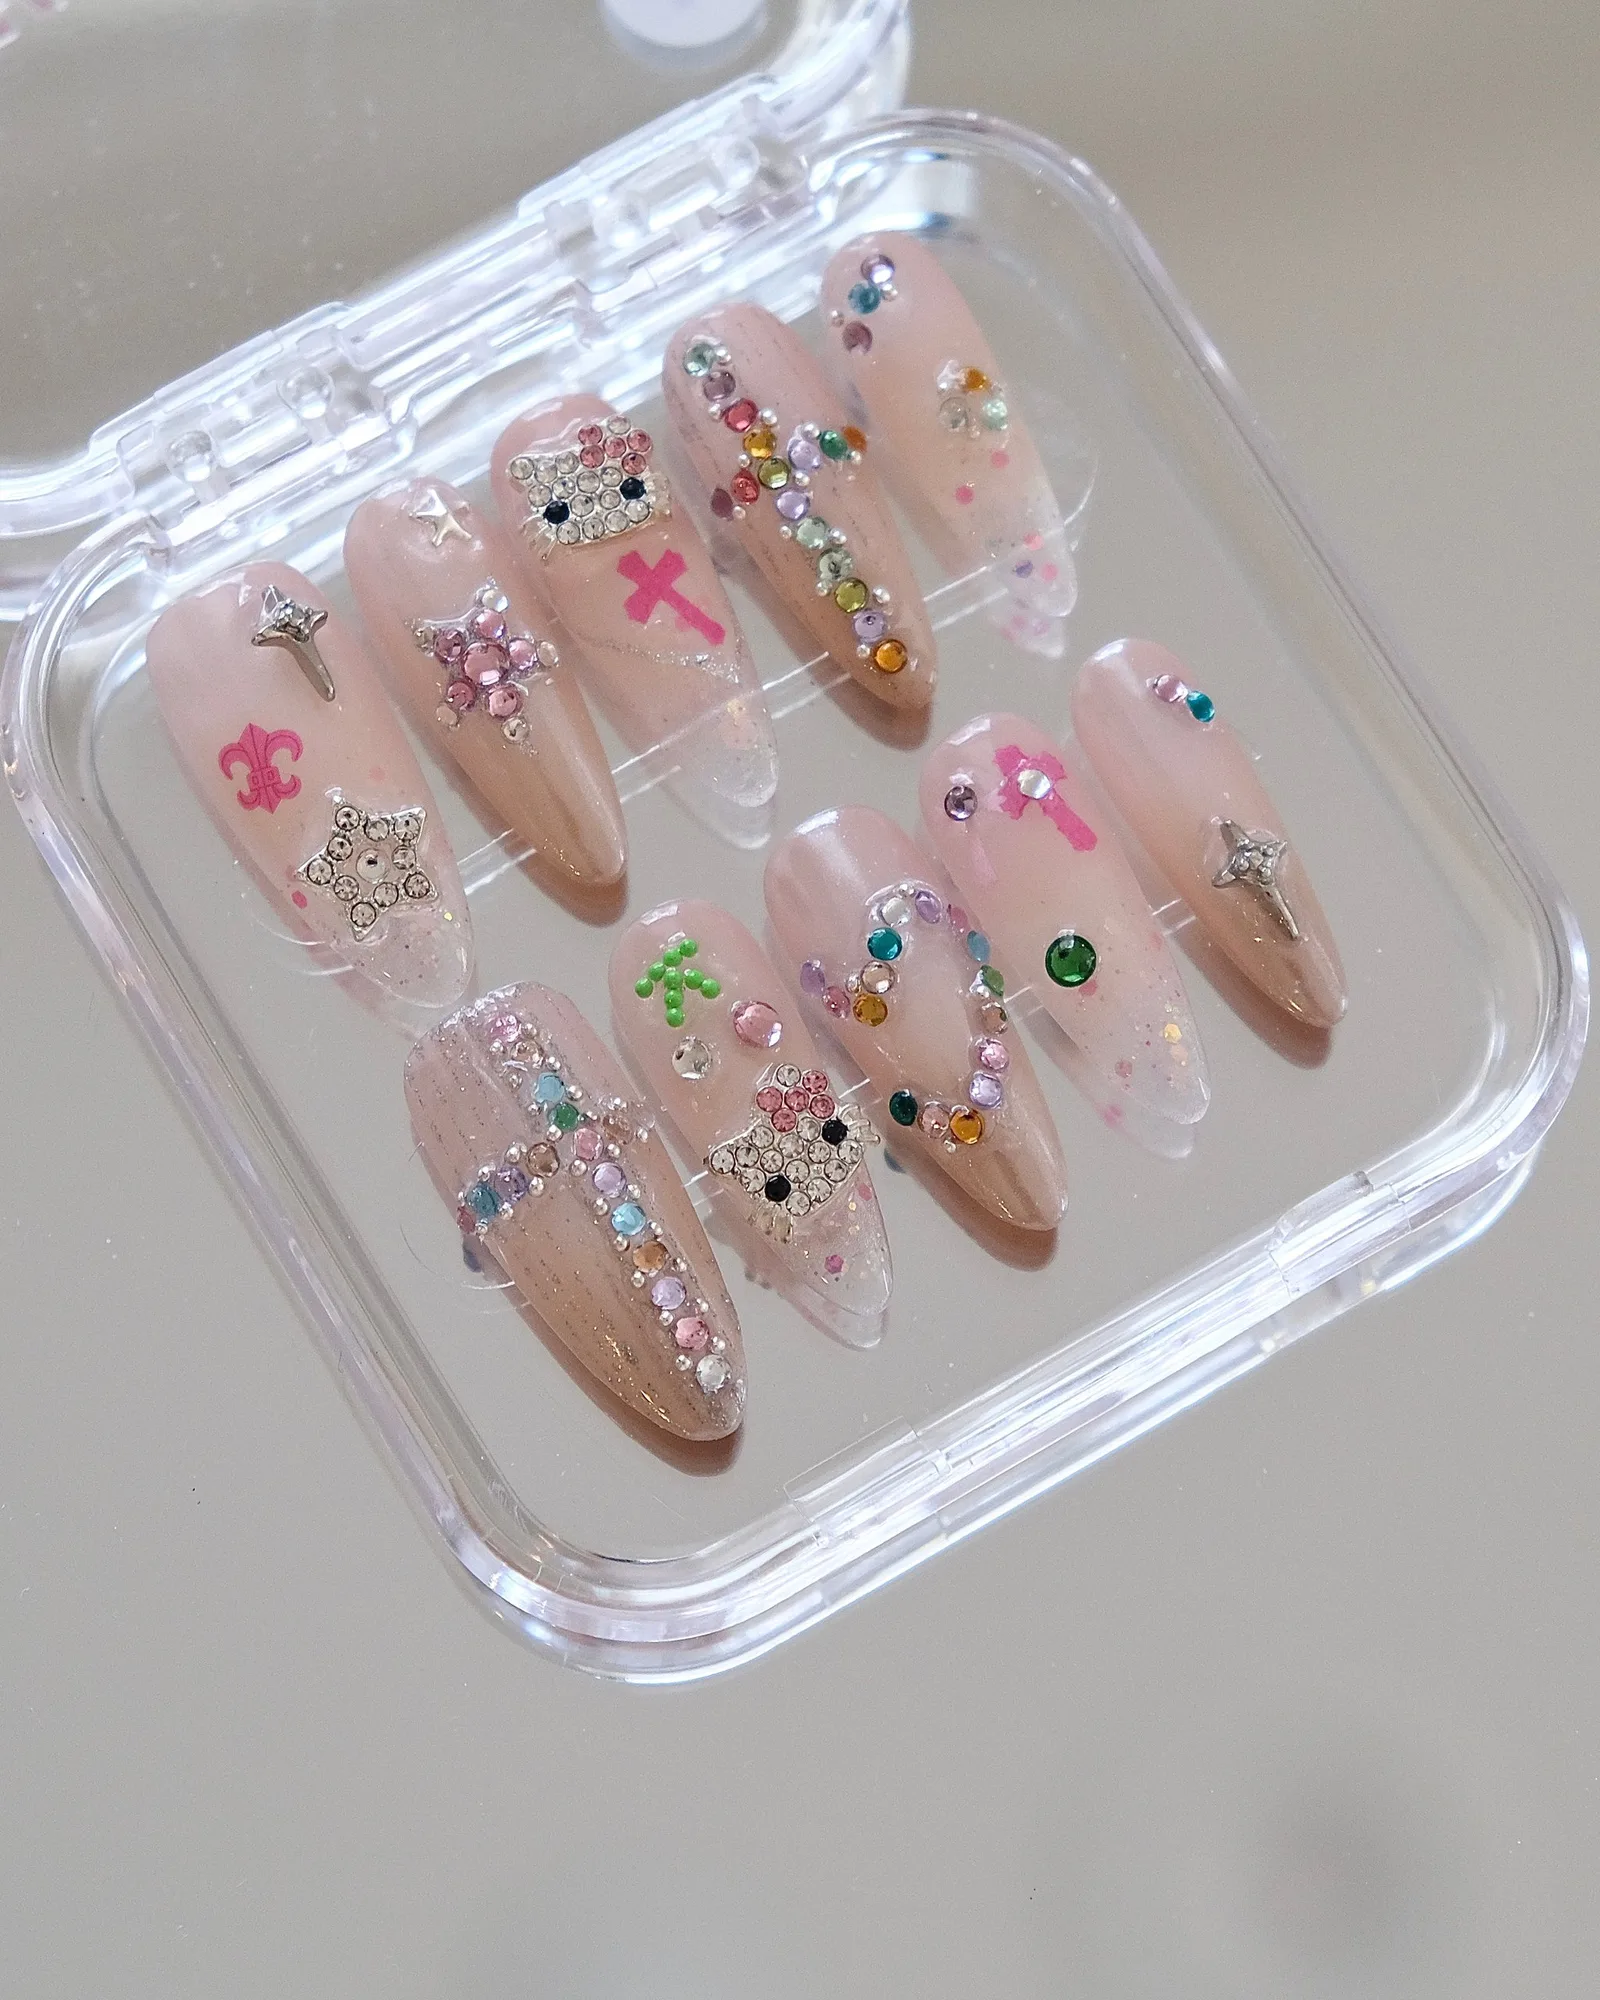
Electric Prayer press-on nails come in sizes S, M, and L, and you can also choose the nail shape that suits your style. A perfect fit isn't just about looks—it's about durability. If a nail is too small, it can pinch or leave gaps where moisture gets in; if it's too large, it may look bulky and catch on things. Use the sizing chart to match each nail to your natural nail, and remember that your dominant hand might need slightly different sizes.
Step-by-Step Application for Long-Lasting Wear
- Prep Your Natural Nails: Remove any old polish, then gently push back your cuticles and lightly buff the surface of each nail to remove shine. Wash your hands with soap and water, and dry thoroughly. Avoid using lotion or oil right before applying. Checkpoint: Your nails should feel completely dry and slightly rough to the touch—this helps the adhesive bond.
- Match and Arrange Your Nails: Lay out all the Electric Prayer nails in order and test-fit each one on your natural nail. Choose the size that covers the entire nail without overlapping your cuticle or extending past the free edge. Note the order so you can apply them quickly. Checkpoint: If a nail feels too tight or too loose, swap it with another size before applying adhesive—don't force it.
- Apply Adhesive (Tabs or Glue): If using adhesive tabs, peel off the backing and press the tab onto your natural nail, then remove the other film. If using glue, apply a thin, even layer to the back of the press-on nail, avoiding the edges to prevent overflow. Work on one nail at a time. Checkpoint: Use just enough adhesive—too much can cause it to seep out and weaken the seal.
- Press and Hold Each Nail: Place the press-on nail at a 45-degree angle at your cuticle, then press down and hold firmly for 30 seconds. Apply pressure across the entire nail, especially the edges, to eliminate air bubbles. Checkpoint: A secure fit means no visible gaps and no shifting when you wiggle the nail gently.
- Seal and Protect: Wait at least 1 hour before exposing your nails to water or heavy use. For extra durability, apply a clear top coat over the press-ons to seal the edges and add shine. Checkpoint: After the hour, test one nail by gently tapping it—if it feels solid, you're good to go.
About Electric Prayer Press-On Nails
-
Electric Prayer: Electric Prayer press-on nails are handmade, reusable, and designed to stay on for up to 3 weeks with proper application. Because they're reusable, you can get multiple wears from one set, making the extra prep time worth it for a long-lasting, salon-quality look.
Electric Prayer