Quick Answer
To apply false eyelashes like a pro, start with clean, dry lashes, measure and trim the strip, apply a thin layer of adhesive, wait for it to become tacky, then place the lash as close to your natural lash line as possible. Press gently, hold for a few seconds, and finish with mascara to blend.
False eyelashes can instantly elevate your look, whether for a special occasion or everyday glam. But if you've ever struggled with crooked placement or lashes that pop off mid-day, you're not alone. The key to a flawless application is preparation, patience, and a few simple techniques.
In this guide, we'll walk you through each step, from choosing the right lash to securing it perfectly. You'll also learn common mistakes to avoid, so you can apply lashes with confidence—even if you're a beginner.
Prep Your Natural Lashes
Before you even open your lash box, make sure your eyelids are clean and free of oil or makeup residue. Use an oil-free cleanser to remove any traces of makeup, then dry your lashes thoroughly. Oil can prevent the adhesive from bonding properly, leading to lashes that lift or fall off.
Next, curl your natural lashes and apply a light coat of mascara. This gives your natural lashes a base to blend with the false lashes, making the transition seamless. Skip heavy mascara, as it can weigh down your lashes and make them droop.
- Always start with clean, dry lashes to ensure maximum adhesive grip.
- Curl your lashes before applying mascara to open up your eyes.
Measure and Trim Your Lashes
False lashes rarely fit perfectly out of the box. Hold the lash strip against your eyelid and mark where it should end—usually just past the outer corner of your eye. Use small scissors to trim the excess from the outer edge, not the inner corner, to maintain the natural shape.
If you have smaller eyes, you may need to trim more. Always cut from the outer edge to avoid losing the tapered inner corner that blends naturally. Remember, it's better to trim a little at a time than to cut too much.
- Trim from the outer edge for a natural fit.
- When in doubt, cut less—you can always trim more later.
Apply Adhesive Correctly
Squeeze a thin, even line of lash adhesive along the band. Wait about 30 seconds for the glue to become tacky—this is crucial for the lash to stick properly. If you apply too early, the lash will slide around; if you wait too long, the glue may dry out and lose its stickiness.
For extra hold, you can apply a bit more glue to the corners, as they tend to lift first. Some people prefer to apply adhesive directly to the eyelid, but the lash band is usually easier for beginners to control.
- Wait for the glue to become tacky before applying the lash.
- A little extra glue on the corners helps prevent lifting.
Position and Press
Using tweezers or your fingers, place the lash as close to your natural lash line as possible. Start by positioning the center of the strip, then press down the inner and outer corners. Look slightly downward into a mirror to see your lash line clearly.
Once the lash is in place, gently press along the band for a few seconds to ensure a secure bond. You can use the blunt end of tweezers to press the lash into place, but be careful not to pull or tug.
- Look down into a mirror to see your lash line easily.
- Press the lash for a few seconds to secure it.
Blend and Finish
After the adhesive has dried, apply a coat of mascara to blend your natural lashes with the false lashes. This helps hide the band and creates a unified look. You can also use eyeliner to fill any gaps between the lash band and your lash line.
Finish with a gentle curl if needed, but avoid curling after application as it can pull the lashes off. Your lashes should now be securely in place, ready to last through the day or night.
- Mascara helps blend and hide the lash band.
- Avoid eyelash curlers after application to prevent lifting.
Step-by-Step Lash Application Checklist
- Prep: Clean your eyelids and lashes, curl your natural lashes, and apply a light coat of mascara. Checkpoint: Lashes are clean and dry for maximum adhesive grip.
- Measure and Trim: Hold the lash strip against your eyelid, mark the excess, and trim from the outer edge. Verdict: A proper fit prevents lifting and discomfort.
- Apply Adhesive: Apply a thin, even layer of lash glue and wait 30 seconds until tacky. Checkpoint: Glue is tacky but not dry—this is key for a strong hold.
- Position and Press: Place the lash as close to your natural lash line as possible, starting from the center, then press corners. Checkpoint: Lash is secure and aligned with your lash line.
- Blend and Finish: Apply mascara to blend, and use eyeliner to hide any gaps. Next step: Enjoy your flawless lash look!
Related Products
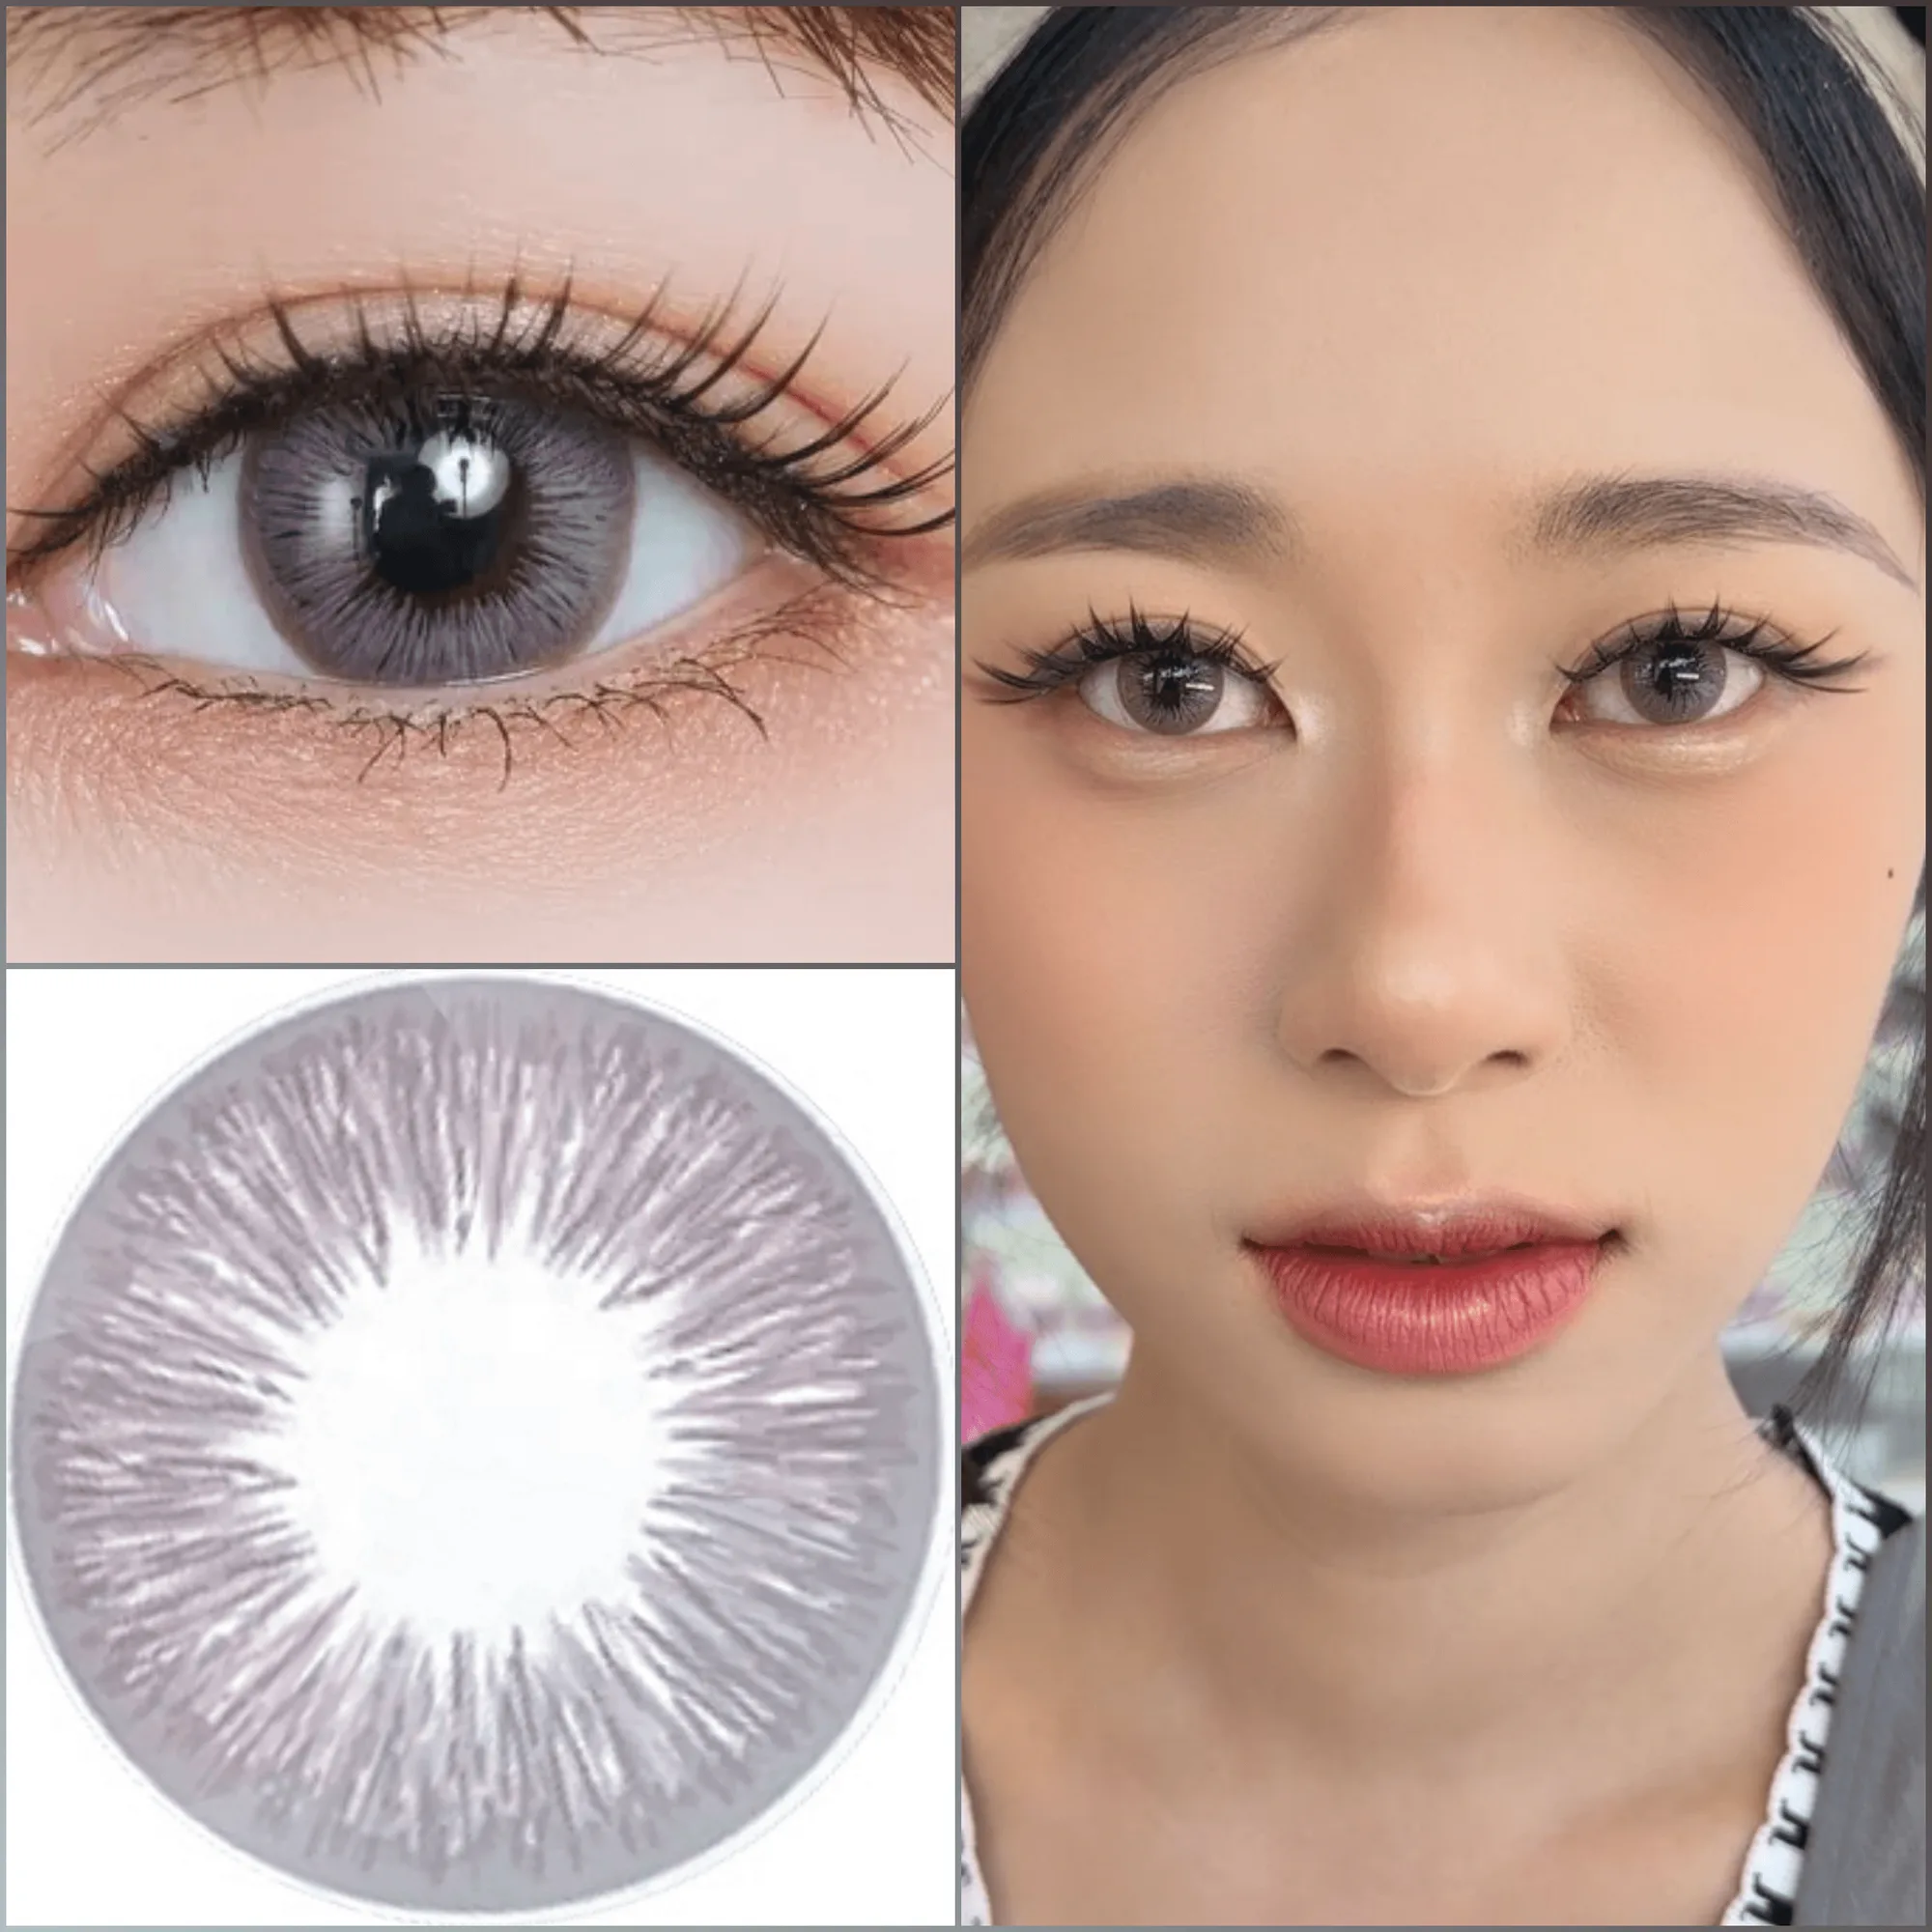
- Acuvue Daily Fresh Lilac (10 pieces / box): Diameter 14.2mm, Water Content 58%, Base Curve 8.50mm, Replacement Period Daily Disposable If you're wearing contact lenses with your false lashes, daily disposables like these offer comfort and hygiene, making your lash application easier without worrying about lens care.
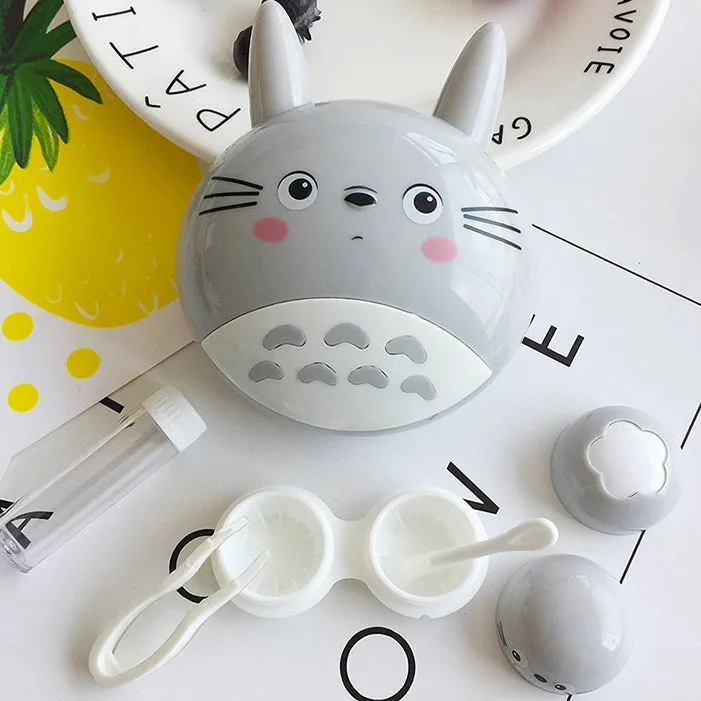
- Totoro head Cute Lens Case: Includes adorable Totoro storage case, Lens Case, Lens Applicator, Small solution container, Tweezer. A tweezer is essential for precise lash placement, and this kit provides one along with a lens case—perfect for contact lens wearers who want all their tools in one cute set.
Now that you know the steps, practice makes perfect. With a little patience, you'll be applying false lashes like a pro in no time. For contact lens wearers, remember to handle your lenses with clean tools—like the ones in our Totoro case kit—to keep your eyes healthy and your look stunning.