Quick Answer
Apply false lash clusters under your natural lashes, starting from the outer corner and using short, gentle pressure to bond them securely. This method gives a natural, wispy look that lasts all day.
Why Under-Lash Application Works Best for a Natural Look
Placing lash clusters under your natural lashes (rather than on top) keeps the band hidden against your lash line. This creates a seamless blend that looks like your own lashes, just fuller. It also reduces the risk of the clusters lifting at the inner corner, a common issue with top-of-lash application.
Choosing the Right Cluster Length and Volume
For a natural look, use clusters that match your natural lash length or are slightly shorter. Clusters in the 8mm-10mm range work well for everyday wear. Avoid overly thick or dramatic styles if your goal is subtle enhancement. The WICKED X Impress clusters, for example, offer a natural volume with a touch of pink glitter, but you can choose a solid black or brown cluster for an even more understated effect.
Step-by-Step Guide: Applying Lash Clusters Under Your Lashes
- Prep Your Natural Lashes: Clean your eyelids and lashes with an oil-free makeup remover to remove any residue. Curl your natural lashes and apply a thin coat of mascara to give the clusters something to grip onto. Skipping this step can cause clusters to slide off within a few hours.
- Select and Arrange Your Clusters: Remove one cluster from the tray using the applicator or tweezers. Hold it near the base and gently bend the band to make it flexible. For a natural look, plan to use 3-4 clusters per eye: a longer one on the outer corner, then shorter ones moving inward. Do not touch the adhesive strip with your fingers—oils can weaken the bond.
- Position the Cluster Under Your Natural Lash Line: Look downward into a mirror. Place the cluster directly underneath your natural lashes, as close to the lash line as possible without touching the waterline. Press gently but firmly for 10-15 seconds to activate the self-stick adhesive. If the cluster feels uncomfortable or pokes your eye, it is too close to the waterline—lift and reposition slightly higher.
- Repeat and Blend: Apply the remaining clusters in the same under-lash manner, spacing them evenly. Once all clusters are placed, gently press your natural lashes and clusters together with your fingers to blend them into one seamless fringe. Avoid applying clusters too close to the inner corner—it can cause irritation and an unnatural, spiky look.
- Set and Finish: Lightly squeeze the lashes together once more. If desired, apply a second thin coat of mascara or a clear lash sealer to lock the bond. Avoid rubbing your eyes for the first hour. Do not use an oil-based makeup remover when taking off the clusters—it will dissolve the adhesive and make them slide off prematurely.
Product Used in This Guide
-
WICKED X Impress | Welcome to OZ | 12 Lash Clusters, 8mm-10mm: WICKED X Impress Welcome to OZ clusters are 8mm-10mm natural volume false eyelashes with pink glitter and a self-stick technology that requires no glue. The self-stick technology makes application quick and mess-free, ideal for beginners who want a natural look without dealing with wet adhesive.
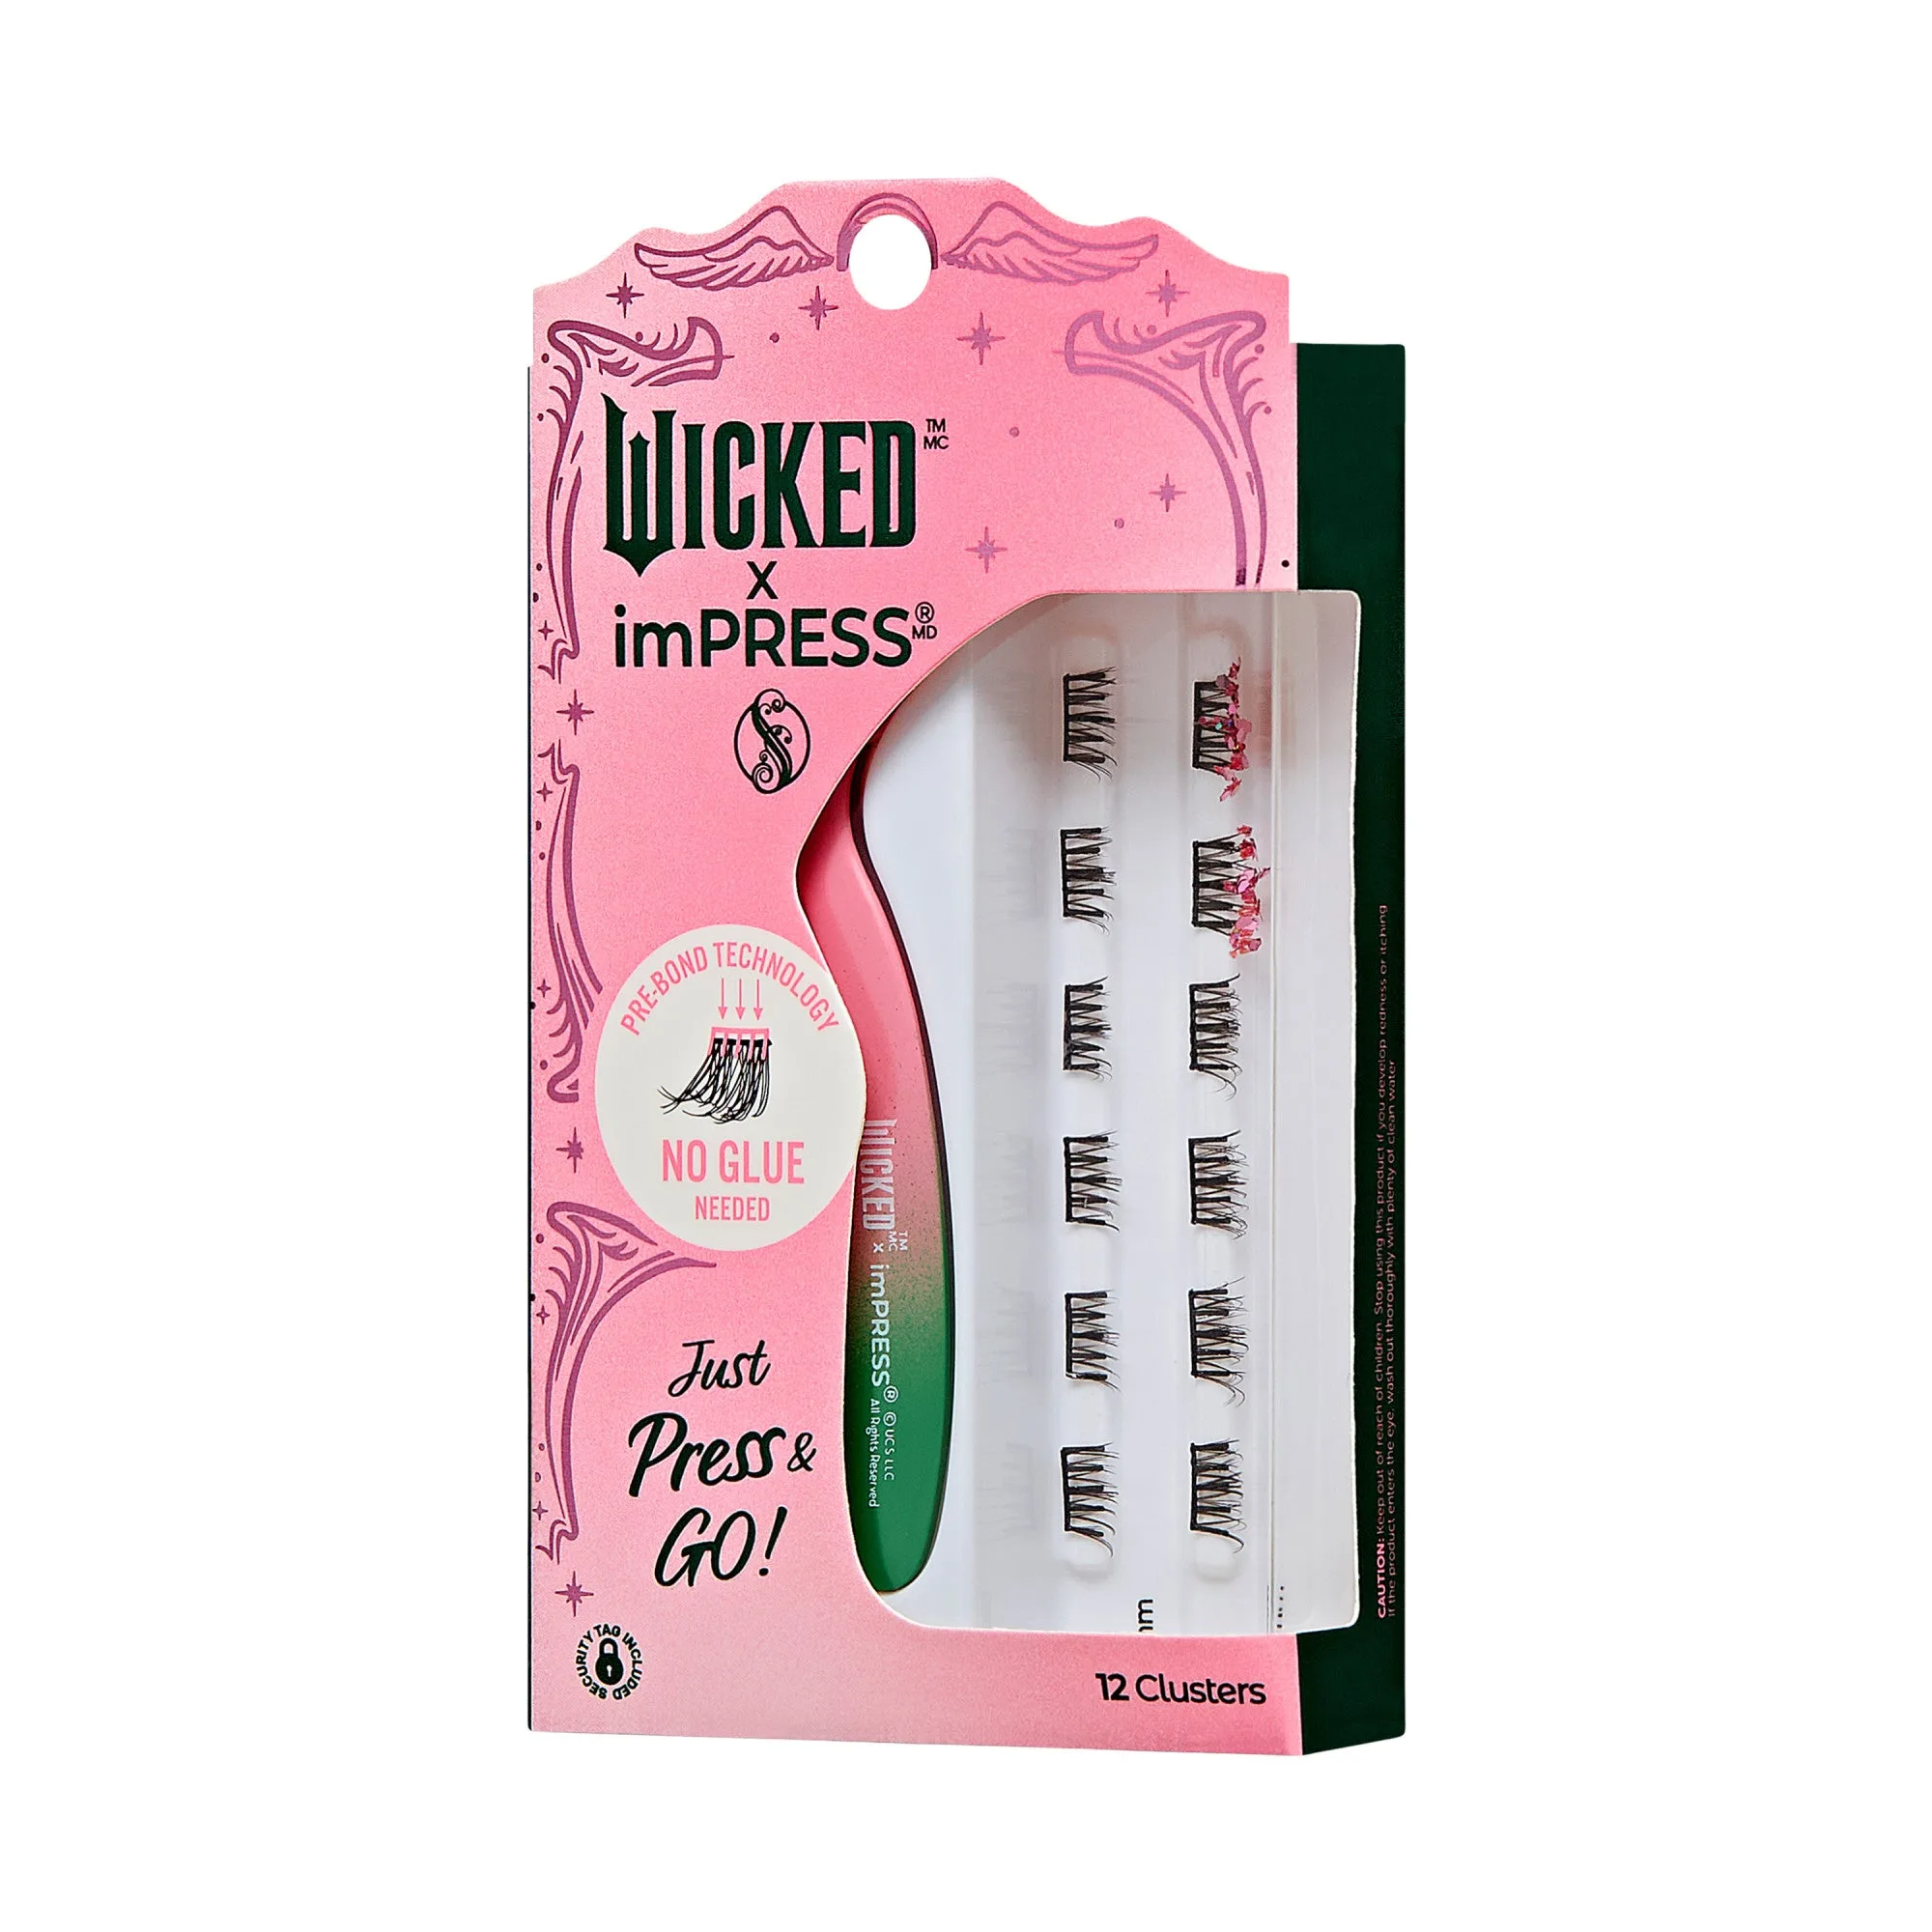
WICKED X Impress | Welcome to OZ | 12 Lash Clusters, 8mm-10mm