Quick answer
To apply French Rosebud press-on nails flawlessly, start with clean, dry, and oil-free natural nails. Match each press-on to your nail bed, apply a thin layer of glue, press firmly for 20 seconds, and avoid water for at least an hour. The short almond shape and sheer pink base make alignment easy, but skipping nail prep is the most common reason for early lifting.
What You Need Before You Start
Before applying your French Rosebud nails, gather a few basics: a cuticle pusher, a fine-grit nail buffer, rubbing alcohol or nail dehydrator, and press-on nail glue or adhesive tabs. The French Rosebud set features a short almond shape with a sheer pink base and white tip, so your natural nails should be trimmed and filed to a similar shape for the best fit. Avoid applying hand cream or cuticle oil right before — oils interfere with adhesion.
How to Prepare Your Natural Nails
Push back cuticles gently with a cuticle pusher, then lightly buff the surface of each nail to remove shine. This creates a slightly rough texture for the glue to grip. Wipe each nail with rubbing alcohol or a dehydrator wipe to remove dust and moisture. Do not skip this step — leftover oils or residue are the top cause of press-ons popping off early. If your nails are naturally oily, consider a primer for extra hold.
Choosing the Right Size for Each Nail
The French Rosebud set includes multiple sizes. Test each press-on against your natural nail without glue first — it should cover the nail bed from cuticle to sidewall without overhanging or touching skin. A size that is too small leaves gaps where lifting starts; a size too large presses on the cuticle and causes early detachment. If you are between sizes, choose the smaller one and file the edges slightly.
Step-by-Step Application Process
- Step 1: Apply a thin layer of glue to your natural nail: Squeeze a drop of glue onto the center of your nail bed, then spread it evenly with the nozzle or a small applicator. A thin, even layer bonds faster and prevents excess glue from seeping out. Common mistake: using too much glue — it creates a weak bond and messy edges. Checkpoint: If glue oozes out when you press, you used too much. Wipe it off immediately with a dry cloth.
- Step 2: Apply glue to the press-on nail: Add a tiny drop to the underside of the French Rosebud nail, focusing on the center. Do not spread it to the edges — pressure will distribute it naturally. Common mistake: skipping glue on the press-on itself, which reduces grip strength. Checkpoint: The glue should cover about 70% of the nail surface after pressing.
- Step 3: Press and hold for 20 seconds: Place the press-on at a 45-degree angle starting near the cuticle, then lower it flat. Press firmly on the center for 10 seconds, then the sides for 10 seconds. Common mistake: pressing only the center — the tip and edges lift first. Checkpoint: You should see no air bubbles or gaps. If you do, remove and reapply immediately.
- Step 4: Avoid water and heavy use for 1 hour: After applying all 10 nails, wait at least 60 minutes before washing hands, applying lotion, or typing vigorously. The glue needs time to cure fully. Common mistake: testing the bond too early by tapping or picking at the nails. Checkpoint: After 1 hour, gently press each nail — if any feel loose, re-glue that nail before going about your day.
About the French Rosebud Set
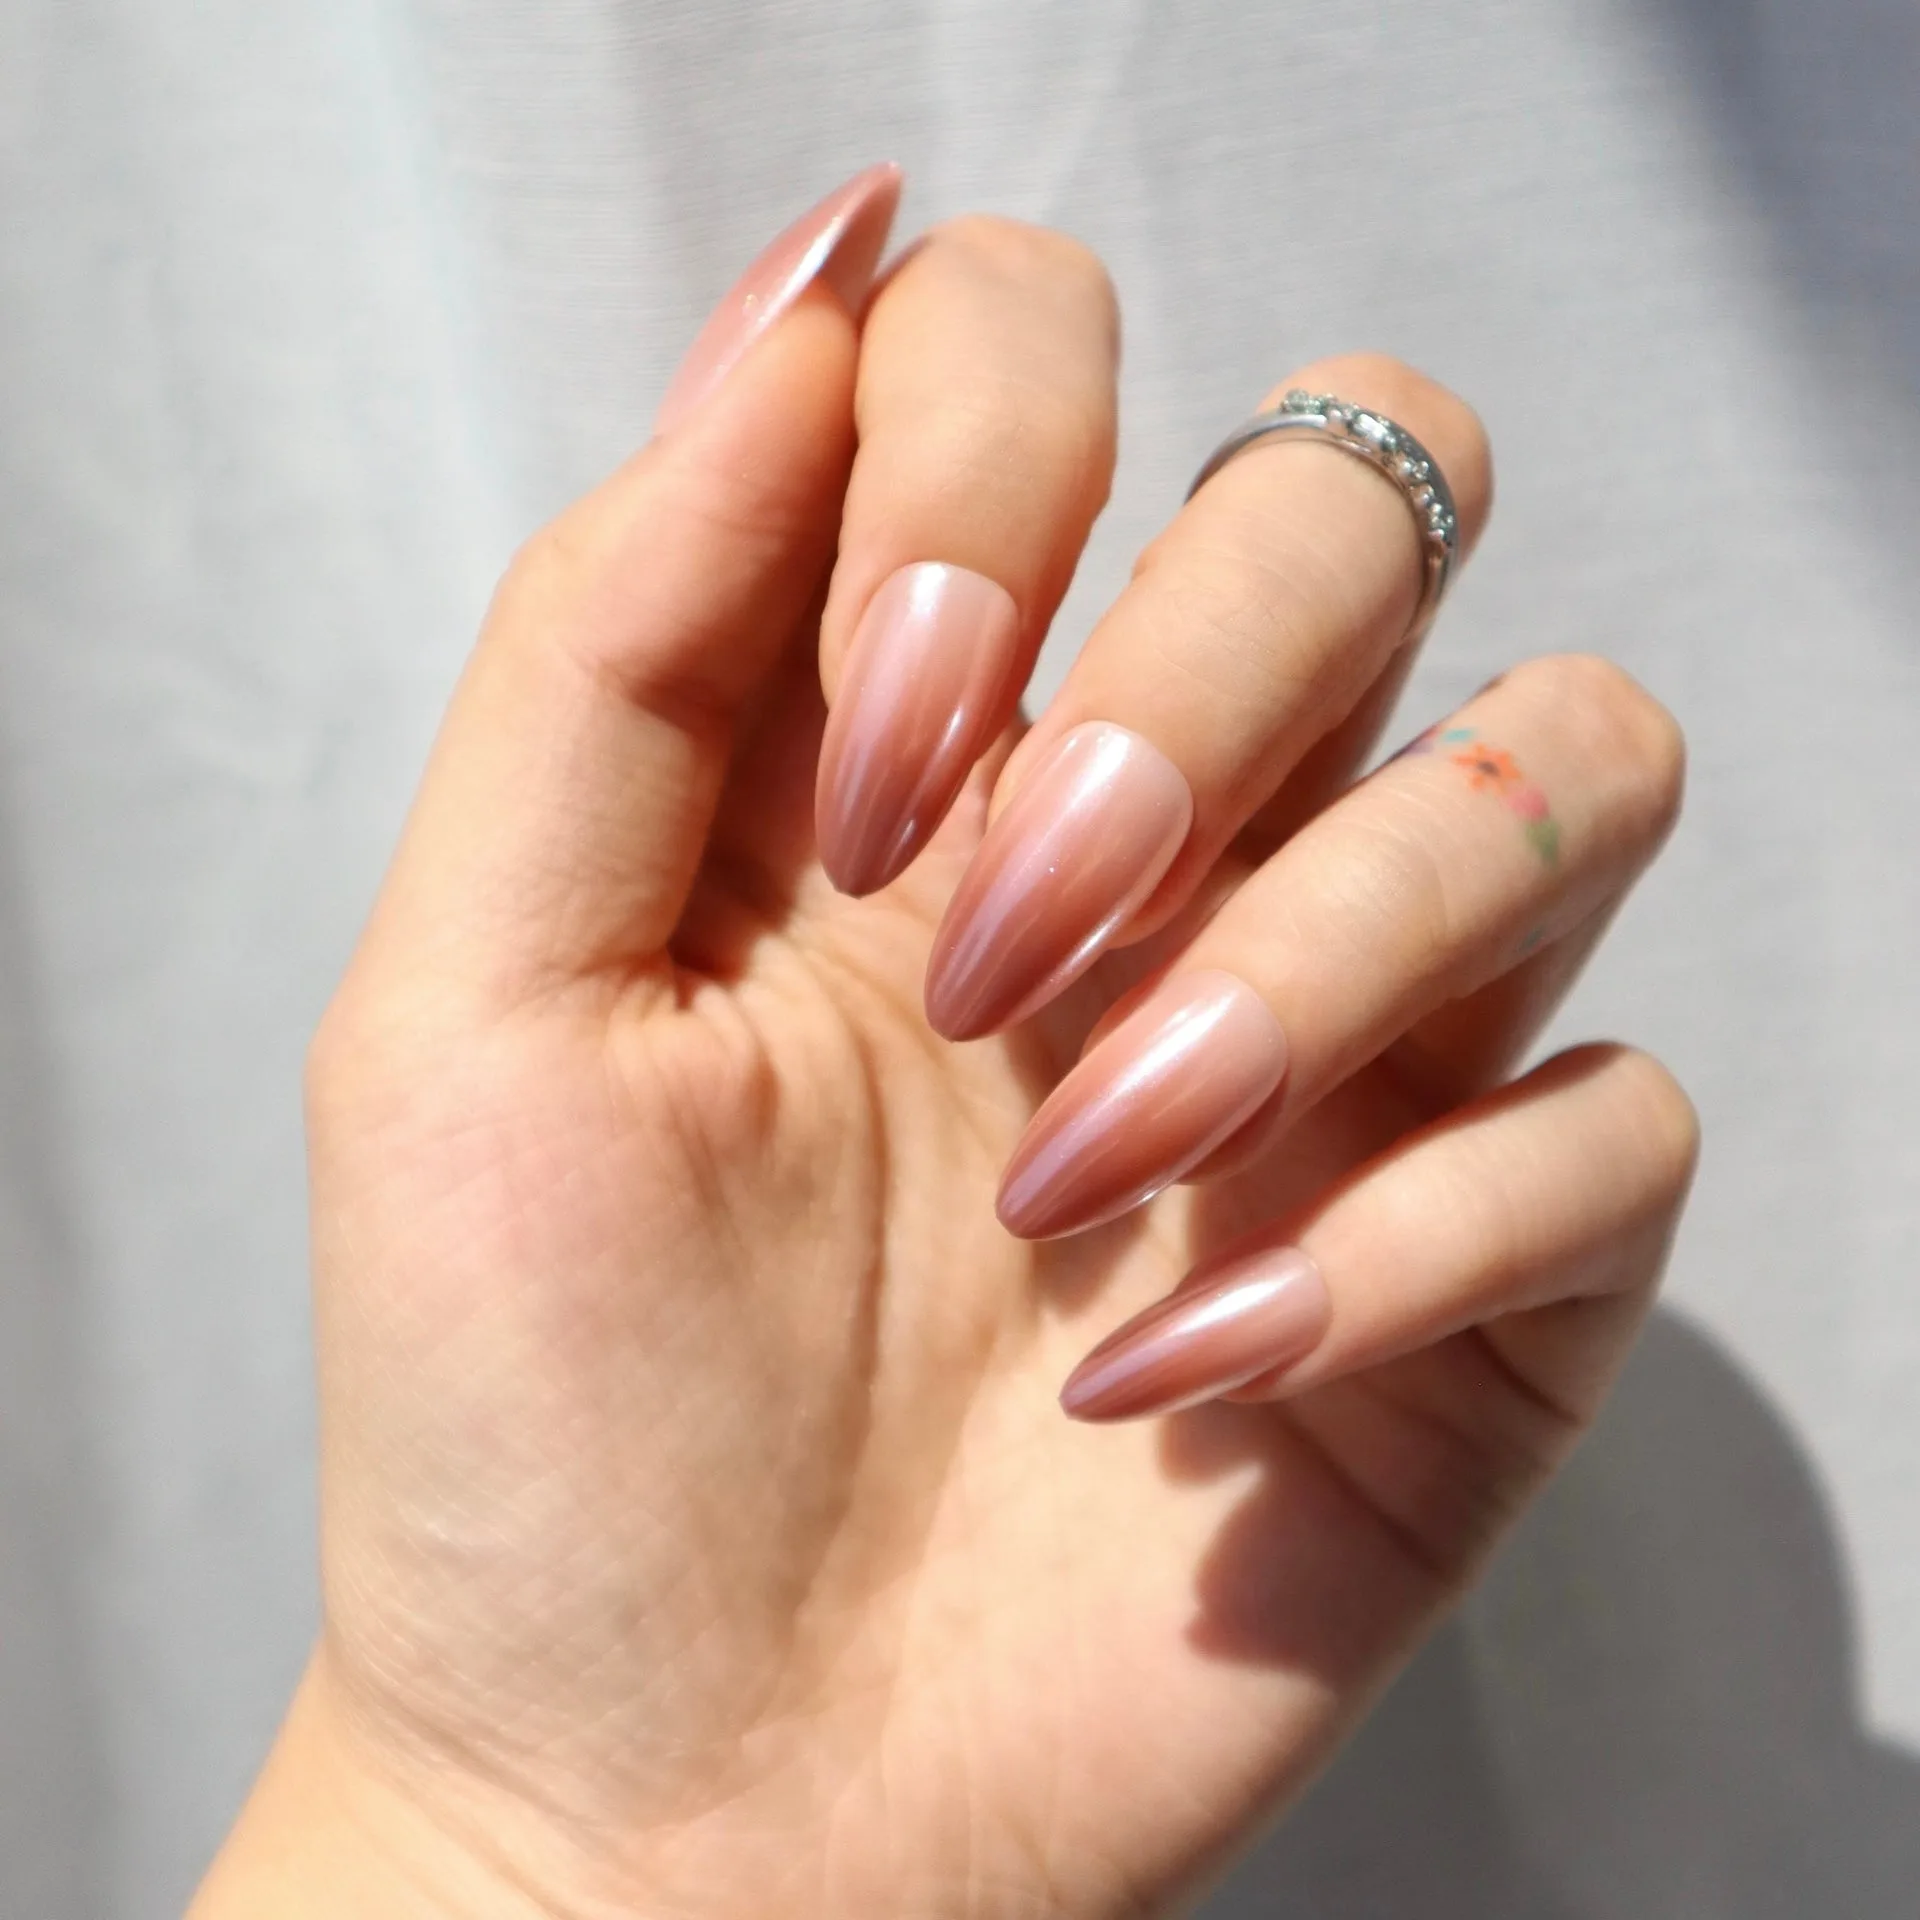
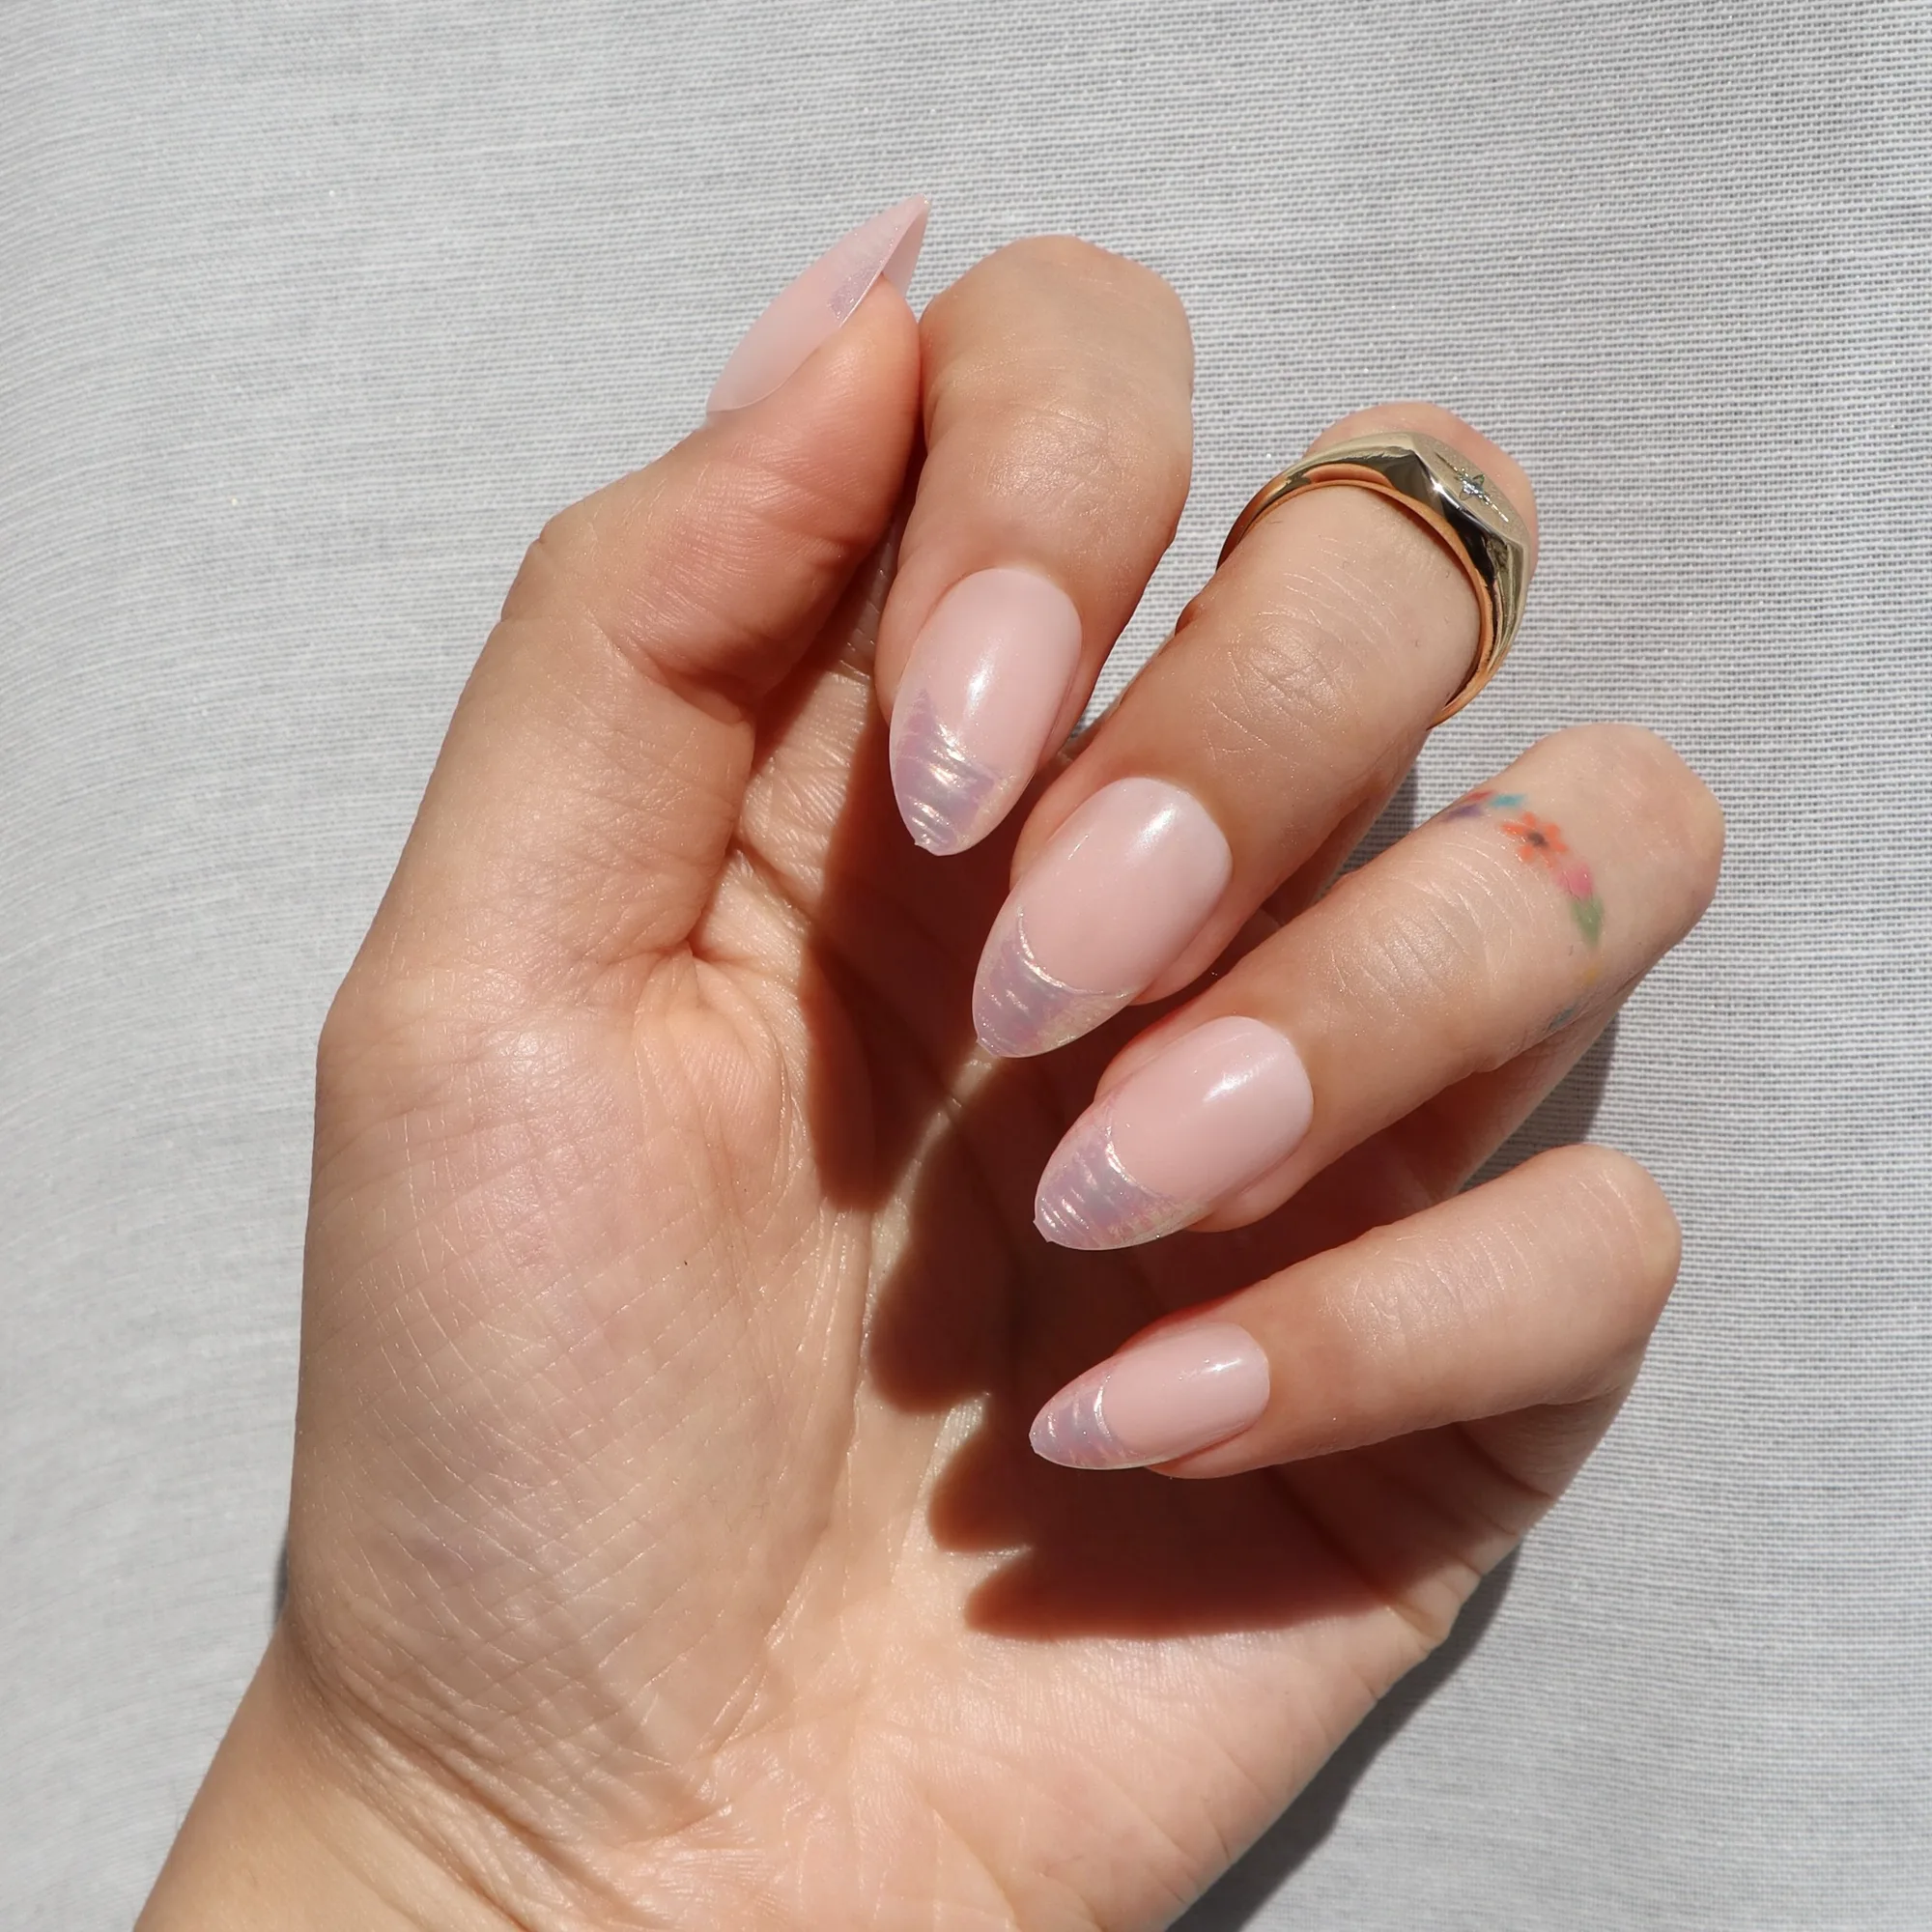
- French Rosebud: The French Rosebud delivers a romantic and refined take on the traditional French manicure. Designed in an elegant short almond shape, each nail features a soft, sheer pink base that transitions seamlessly into a crisp, delicate white tip. This high-shine finish provides a 'your nails but better' look that feels light, fresh, and sophisticated. The short almond shape is forgiving for beginners because it matches most natural nail beds without needing much filing. The sheer pink base also hides minor alignment errors better than opaque designs.