Quick Answer
Start with clean, dry nails, then gently push back cuticles and lightly buff the surface. Apply the gel sticker, smooth out air bubbles, and seal the edges with a top coat for extended wear. Cure under a UV/LED lamp if your sticker set requires it.
Why Prep Matters More Than You Think
The biggest difference between a one-day manicure and one that lasts a week is surface preparation. Oils, lotion, or even natural moisture on your nail plate prevent the gel sticker from bonding fully. Wipe each nail with a lint-free pad soaked in rubbing alcohol or a nail dehydrator before you start. This one step dramatically reduces lifting and peeling.
Choosing the Right Size and Fit
Gel nail stickers come in multiple sizes for a reason. A sticker that is too large will wrinkle at the edges, while one that is too small leaves gaps where dirt and water can sneak in. Test a few sizes on each nail before removing the backing. For a natural look, the sticker should cover about 90 percent of the nail surface, leaving a tiny gap at the cuticle and sidewalls.
Step-by-Step Application Guide
- Step 1: Clean and Dehydrate: Remove any old polish, wash hands with soap, and dry thoroughly. Wipe each nail with alcohol or a nail dehydrator to remove oils. Skipping this step is the most common cause of early peeling.
- Step 2: Push Back Cuticles and Buff Lightly: Gently push back cuticles with a wooden stick. Lightly buff the nail surface with a fine-grit buffer to create a slightly matte texture for better adhesion. Do not over-buff — you only want to remove shine, not damage the nail.
- Step 3: Select and Apply the Sticker: Pick the best-fitting sticker for each nail. Peel off the clear protective layer, position the sticker just above the cuticle, then press from the center outward to push out air bubbles. If you see wrinkles, gently lift and reapply — do not stretch the sticker.
- Step 4: File Off the Excess: Use a fine-grit file at a 45-degree angle to file off the extra sticker along the free edge. File in one direction only to avoid lifting the edge. A common mistake is filing back and forth, which can pull the sticker away from the nail tip.
- Step 5: Seal with Top Coat (Optional but Recommended): Apply a thin layer of gel or regular top coat over the sticker, making sure to cap the free edge. If using a gel top coat, cure under a UV/LED lamp as directed. Sealing the edges is what gives you that extra day or two of wear.
Product Spotlight
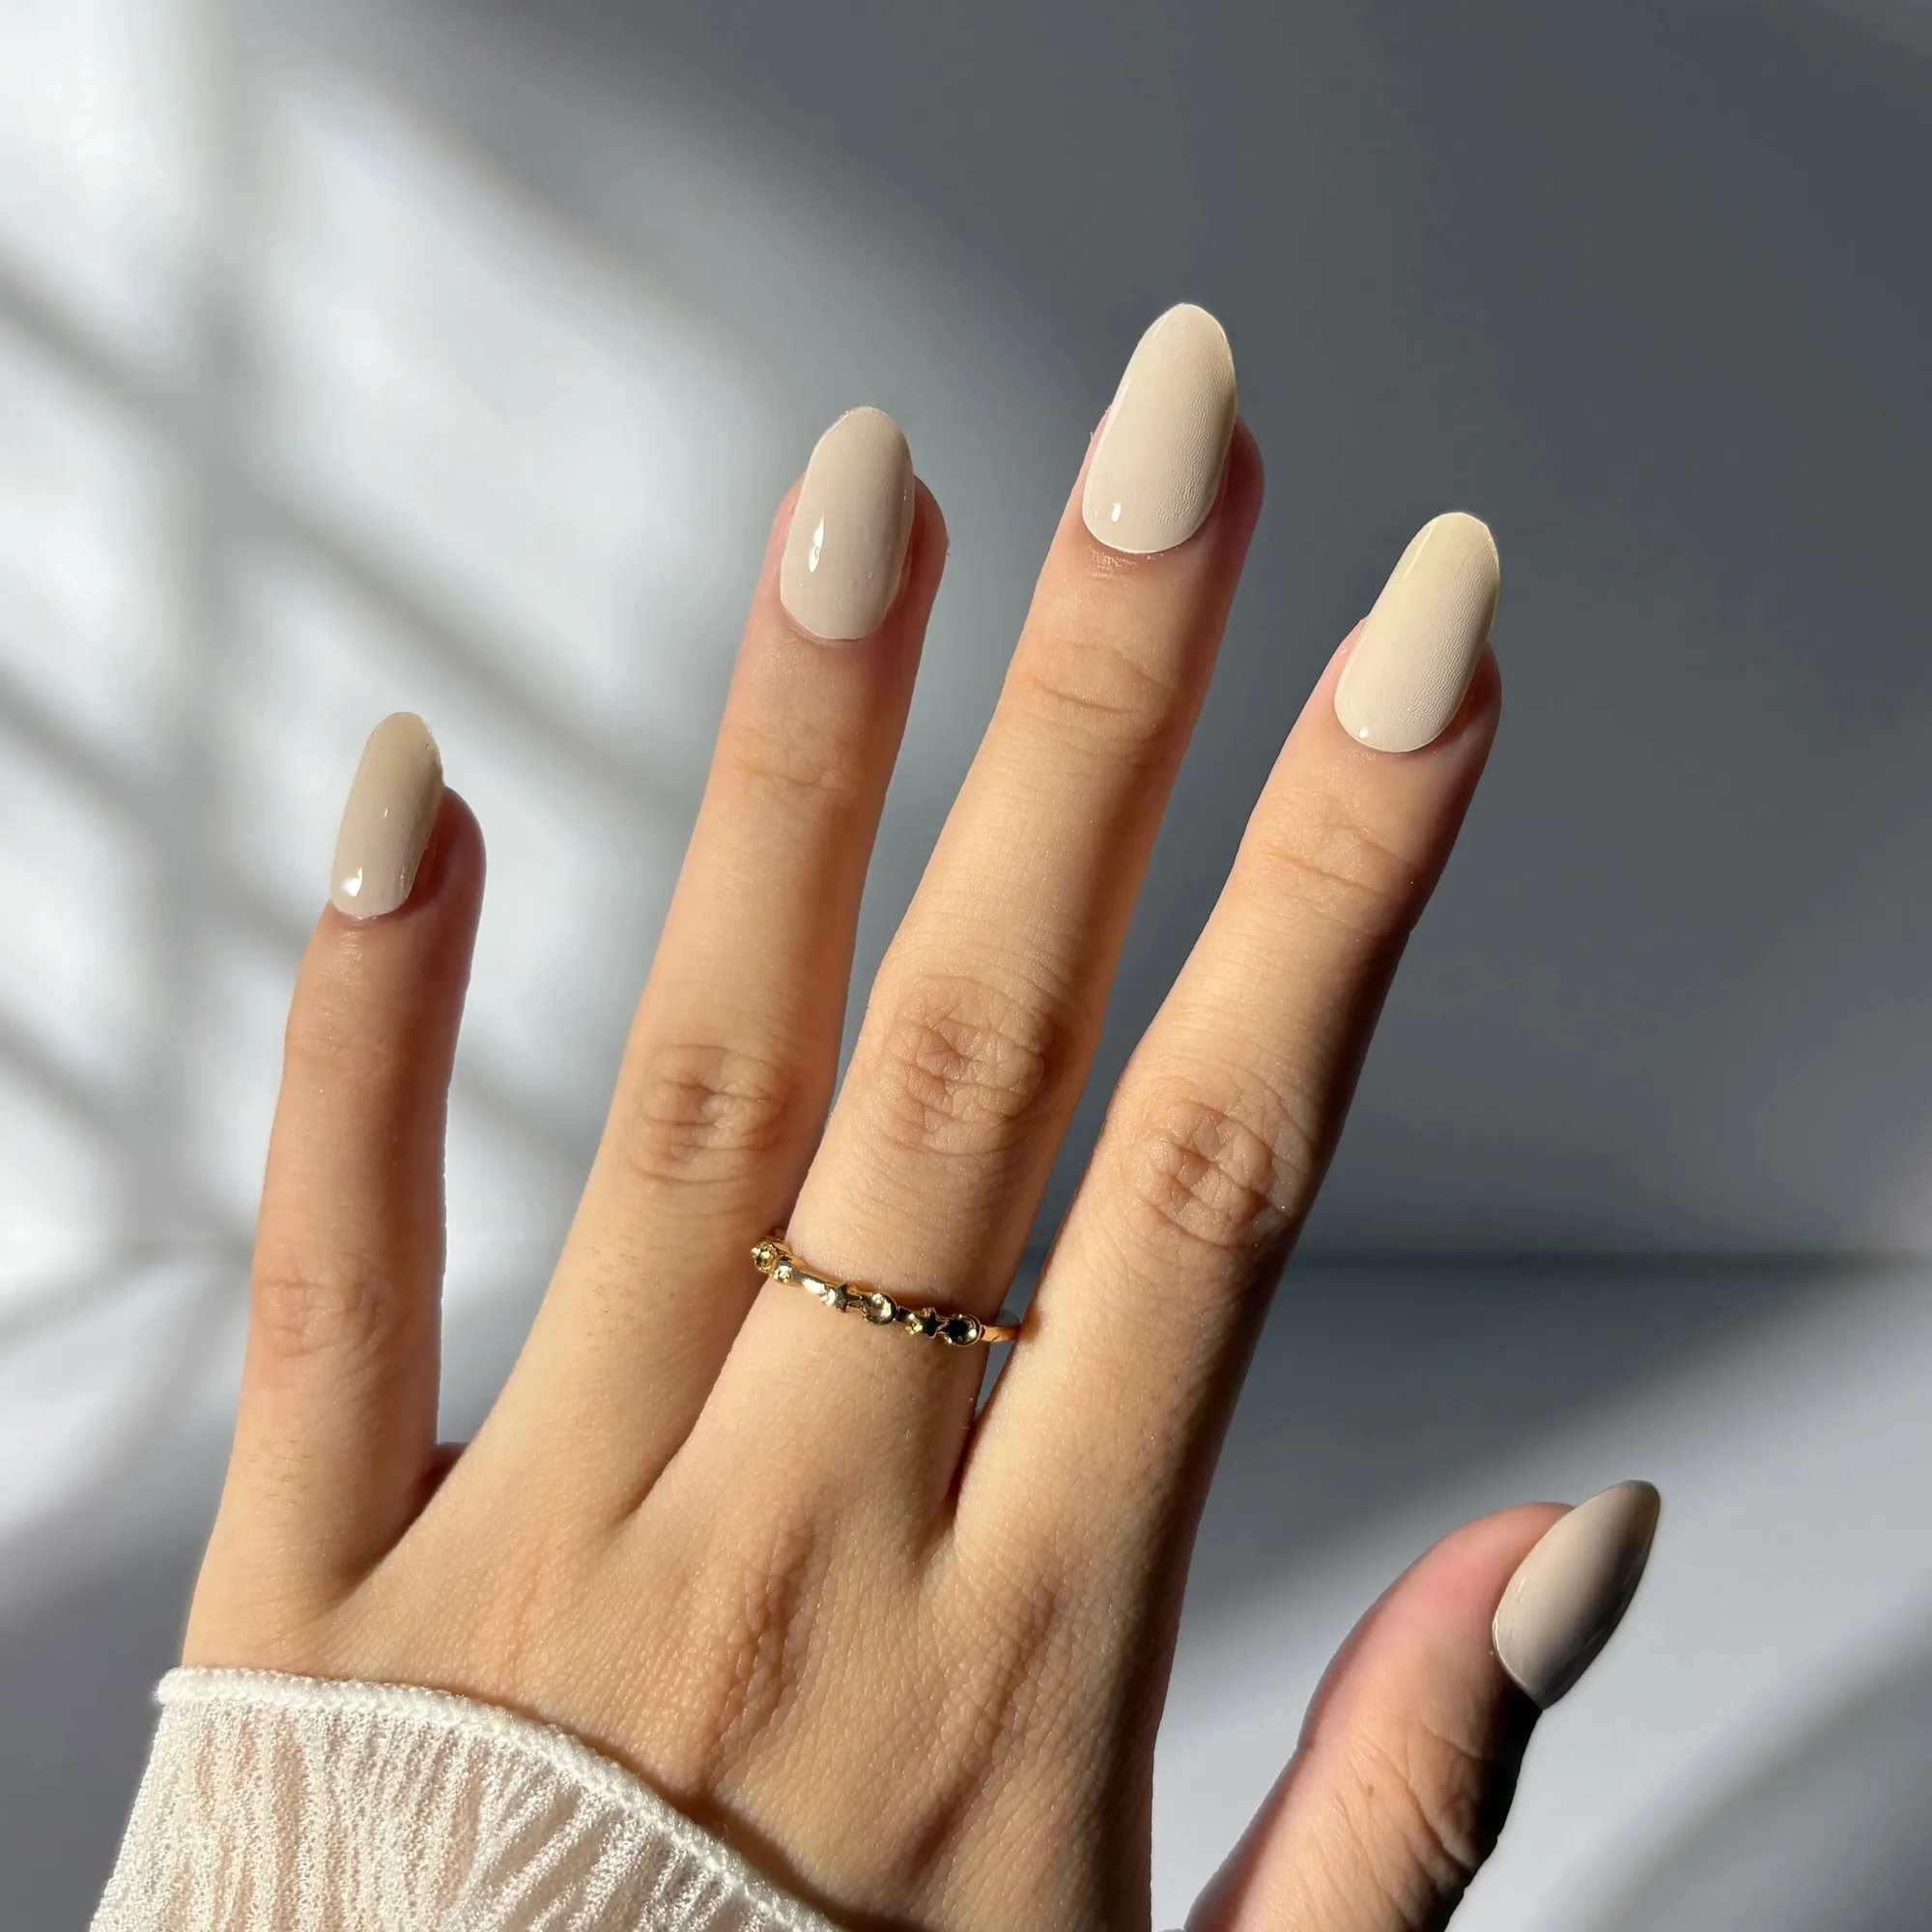
- Moo-n Beam Gel Nail Sticker Set: Moo-n Beam Gel Nail Sticker Set features a creamy pastel coffee hue on a milky brown base, designed for everyday sophistication. The set includes multiple sizes to fit different nail shapes. The variety of sizes in one package makes it easier to find the right fit for each finger, reducing the chance of lifting or wrinkles.
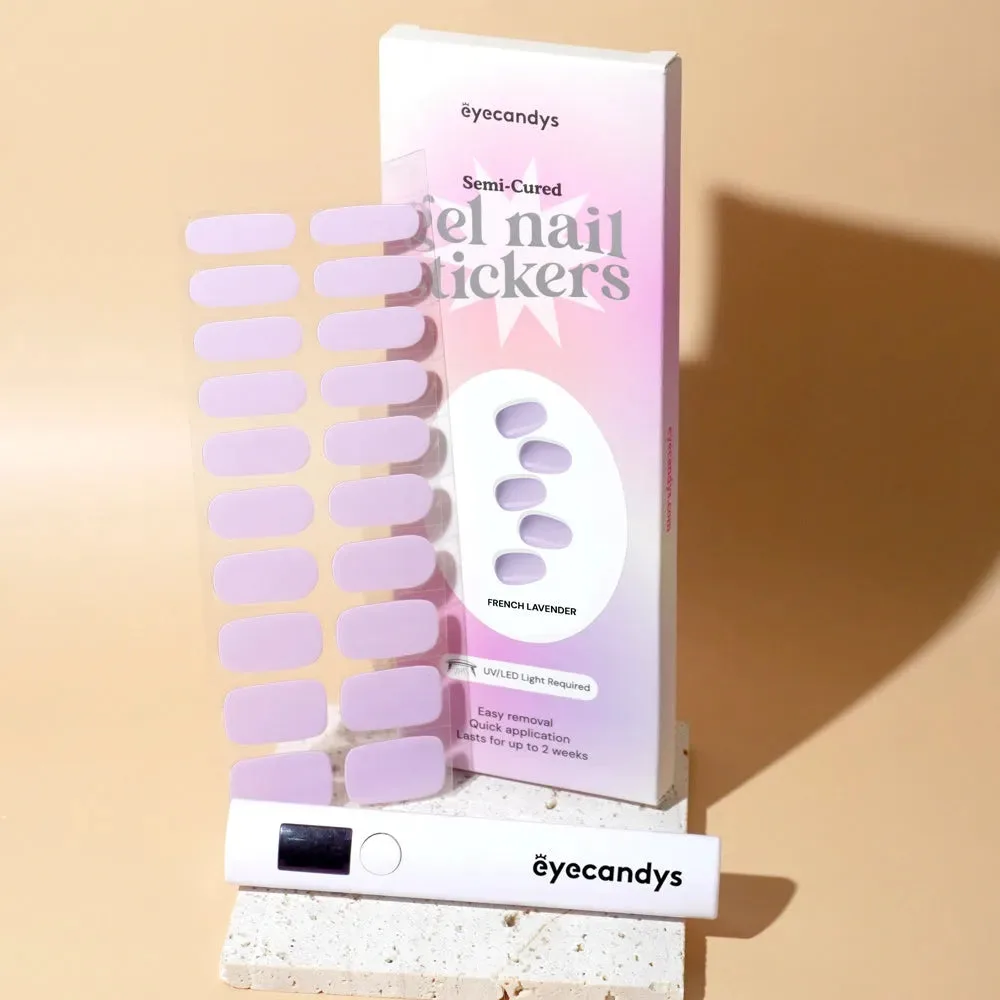
Gel Nail Sticker Set