Quick answer
To apply gel nail strips without bubbles, prep your nails thoroughly, warm the strips slightly, and apply them with firm, even pressure from the center outward.
Why bubbles happen and how to prevent them
Bubbles under gel nail strips usually form because of trapped air, moisture, or oil on the nail plate. Even a tiny amount of residue can lift the strip and create a pocket of air. Proper nail prep is the single most important step to avoid this.
Another common cause is applying the strip when it's too cold. Gel strips are slightly flexible at room temperature, but if they're stiff from storage, they won't conform smoothly to the nail curve. Warming them gently—by keeping the pack in your pocket for a few minutes or using body heat—makes them more pliable and less likely to crease or bubble.
Step-by-step: Applying gel nail strips without bubbles
- 1. Prep your nails: Remove any old polish, push back cuticles, and gently buff the nail surface. Wipe each nail with a lint-free wipe and rubbing alcohol to remove oils and dust. Do not use oily cuticle oil before applying the strips. Any moisture or oil left on the nail will cause bubbles. A clean, dry surface is non-negotiable.
- 2. Select the right size strip: Match each strip to your nail width. The strip should cover the nail from cuticle to tip without overlapping the skin or touching the sidewalls. If in doubt, choose a slightly smaller size and stretch it gently. A strip that is too wide will lift at the edges, trapping air and creating bubbles.
- 3. Warm the strip slightly: Hold the strip between your palms for 10–15 seconds before peeling off the backing. This softens the gel and makes it more flexible. Do not use direct heat like a hair dryer, which can over-soften the strip. A warm strip conforms to the nail curve without creasing, reducing the chance of air pockets.
- 4. Apply from center outward: Peel the strip from the clear backing and place the center of the strip at the base of your nail, just above the cuticle. Press firmly from the center toward the edges and tip, smoothing out any air as you go. Use your thumb to press down the entire strip. Starting at the center and moving outward pushes air to the edges, preventing bubbles from forming in the middle.
- 5. File off the excess and seal: Use the included mini file to file the free edge in one direction (not back and forth) to remove the excess strip. Then, press down the tip once more to seal it. If using a UV/LED lamp, cure according to the strip instructions. Filing in one direction prevents lifting at the tip, which can let air sneak in later.
Product used in this guide
-
Nail Addict Gel Nail Strips - Moonlit Pearl: Ardell Nail Addict Gel Nail Strips are semi-cured gel strips that last up to 14 days and do not require acetone or soaking to remove. Because they're gentle on natural nails and leave no sticky residue, you can focus on getting a smooth application without worrying about damaging your nails during removal.
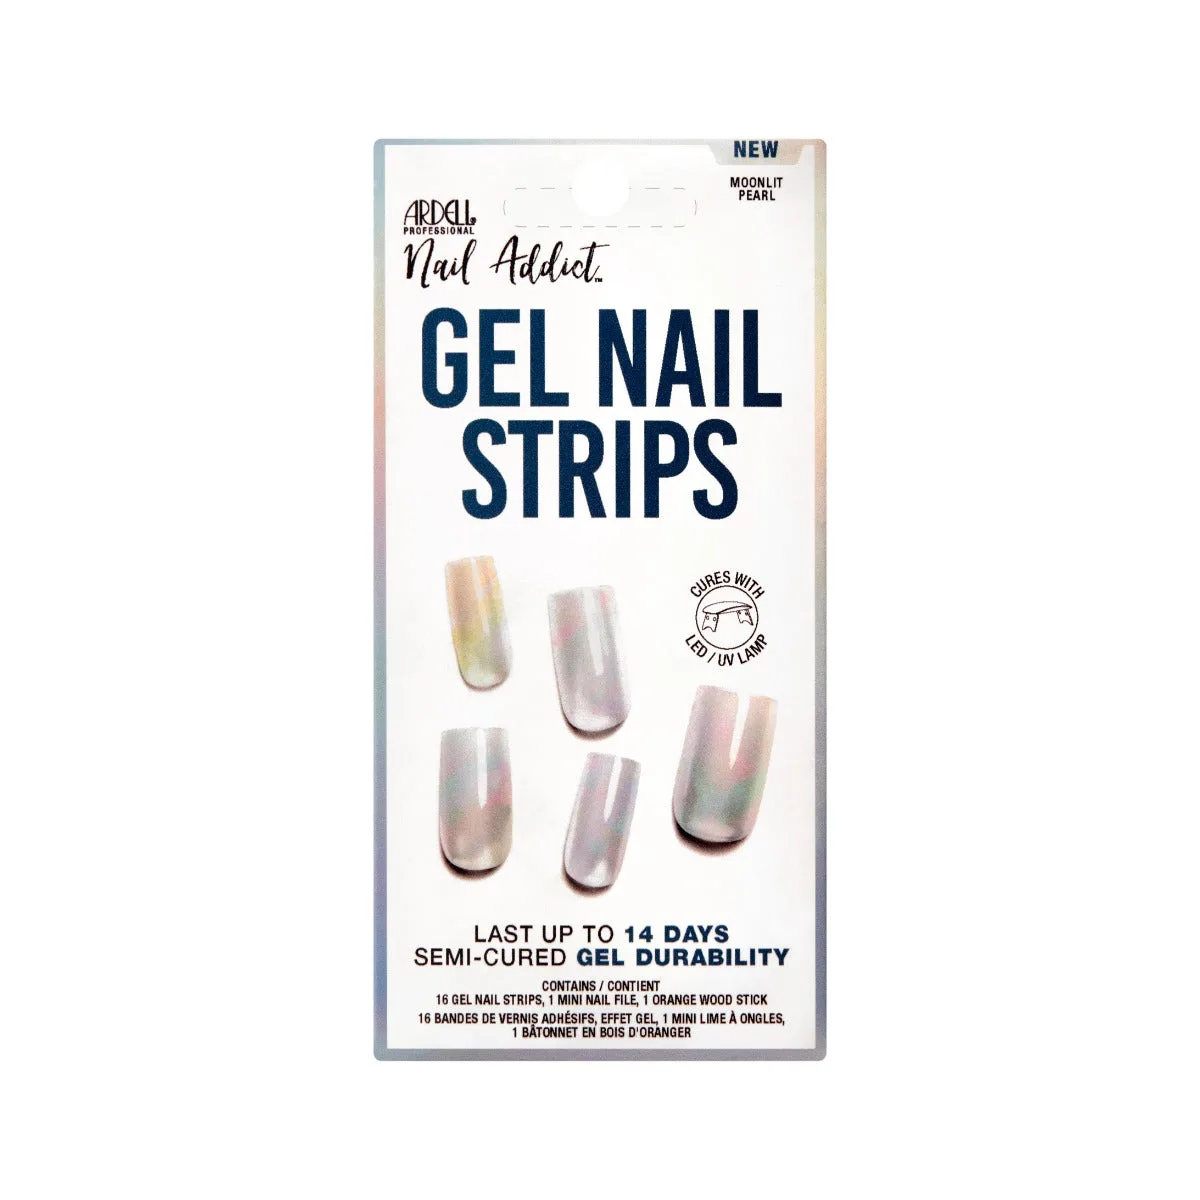
Nail Addict Gel Nail Strips - Moonlit Pearl